
Quick and Easy Reversible Baby Quilt
By Linda Hall
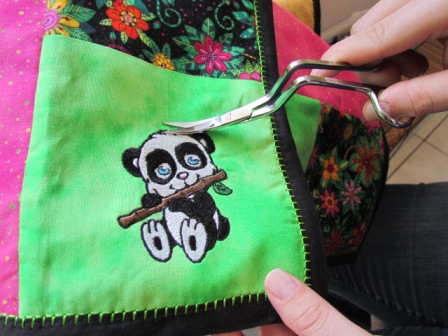
You will love making this fun reversible quilt in an afternoon! It’s the perfect gift to 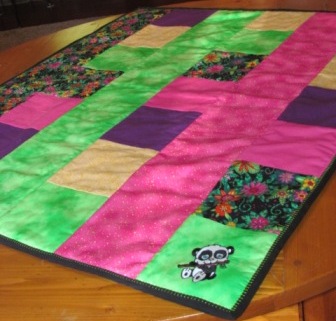 have on hand for baby showers, or for the special babies in your life. Add your own special touches. If you have an embroidery machine you can add fun designs to some of the squares.
Sewing Supplies:
- Sewing Machine.
- Sewing Thread.
- Dual feed foot.
- Clear 1/4” piecing foot with guide.
- Quilting needles.
- 3/8 yard each of five fabrics for the quilt squares.
- 3/8 yard each of three fabrics for the quilt strips.
- 3/8 yard binding fabric
- Baby quilt size cotton or low loft polyester batting.
- HAVEL’S 7″ Serrated Fabric Scissors.
- HAVEL’S Ulti-Mates Scissors (If you incorporate embroidery).
- HAVEL’S Rotary Cutter.
Cut:
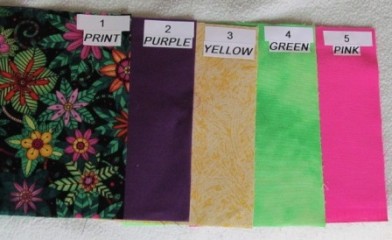
From print #1:
9 squares 6”x 6
From print/ solids #2:
8 squares 6”x 6”
From print/solids #3:
8 squares 6”x6”
From print/solids #4:
9 squares 6”x6”
From print/solid #5:
8 squares 6’x6”
 From each of the three strip fabrics:
Two strips 6”x width of the fabric
From Batting:
Six strips 6” wide x 39”
Sew:
- Thread your sewing machine with sewing thread top and bobbin.
- Attach the 1/4” piercing foot.
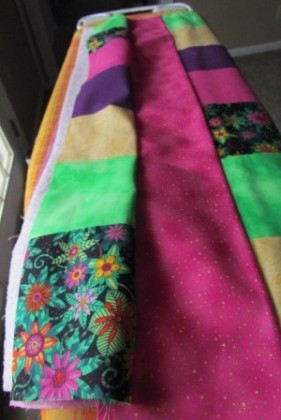
- Begin by sewing 7 squares into vertical strips following the diagram above. Mark each row by number as you finish it. These will be referred to as the pieced strips.
- Press the seam allowances all towards the bottom of the strip. Set aside.
- Attach the dual feed foot.
- Place pieced strip #1 wrong sides together with one of the plain 6” strips with batting in between them. Sew the left edge close to the raw edges securing all the layers together. This will be the outside edge of the quilt.
- Place a plain strip on right side down on top of the pieced strip (these two will be right sides together). Pin.
- Place pieced strip 4 right sides up underneath the plain 6” strip (these two will be right sides together). Re-pin through the new layers.
- Place batting underneath all.
- Align the edges of the fabric and batting with the edge of the Dual Feed. This will be a bit more than 1/4”. Stitch the strip in place.
- Fold out the pieces and press with steam. Pin the new edges together.
- Repeat, adding the remainder of the strips in the same manner. Always combine a pieced strip and a solid strip right side together. On the side where strip #1 was placed, strip #2 goes next. On the side where strip #4 was placed strip #5 goes next, etc.
- Stitch the outer edge on the final strip securing the edges together.
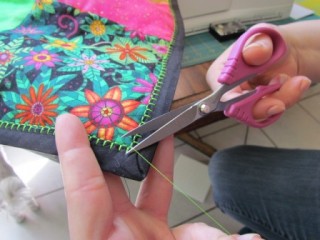
- Bind the quilt in whatever method you choose.
Click here to Get the Tools You Need
Related articles


2 Responses to How to Make A Baby Quilt