
By Leslie Tucker Jenison
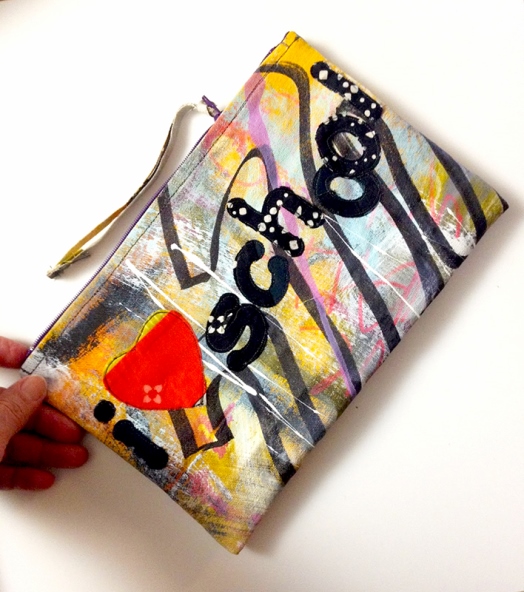
Whether or not you “really” love school,
you are bound to fall in love with this
fun little pouch!
To create this pouch you will need a sturdy piece of canvas. I used a section of painted, ungessoed canvas left over from another project and some leftover strip-pieced cotton for the lining.
Supplies needed:
One 11.5 x 14″ piece of sturdy canvas or home-dec weight fabric
One 9-inch zipper
One piece of 11.5 x 14″ fabric (or pieced remnants) for the lining
Fabric (pre-fused) or felt for die-cut or hand-cut letters and heart
Fusible (I prefer Mistyfuse)
Notions
Thread
Sewing machine
Havel’s cutting mat
Havel’s rotary cutter
Clear ruler
Havel’s nippers
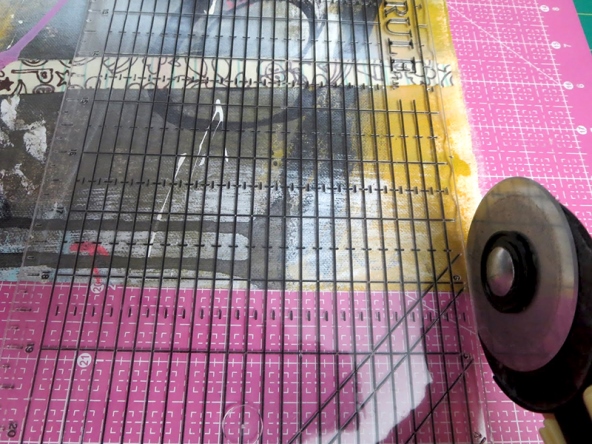
1.) Cut an 11.5 x 14″ rectangle of sturdy fabric. Set aside.
 2.) Pre-fuse and cut another piece of cotton fabric and cut to 11.5 x 14″.
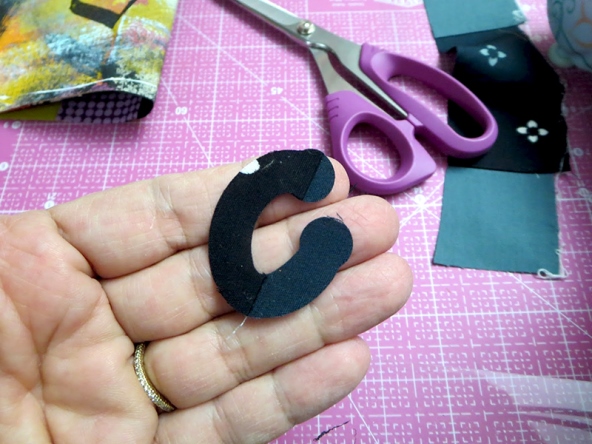
 3.) Select your fabric to use for lettering and pre-fuse. Cut pieces that are large enough to cover each letter to be die-cut.
4.) Place each small piece of fabric, fusible side up, over the letter and process through the die-cutter. (Note: if the fusible side is up, your letter will be properly oriented when you fuse it to the surface of your pouch.)

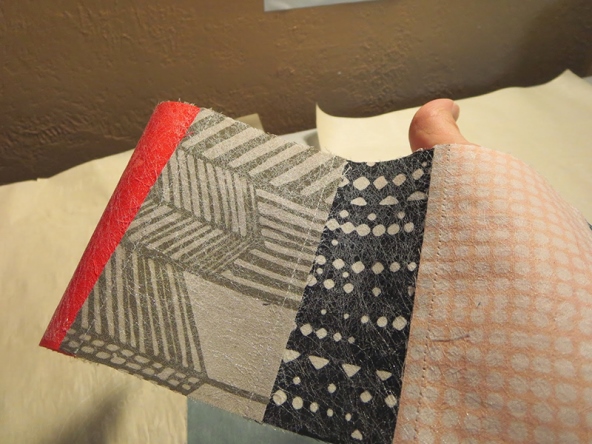
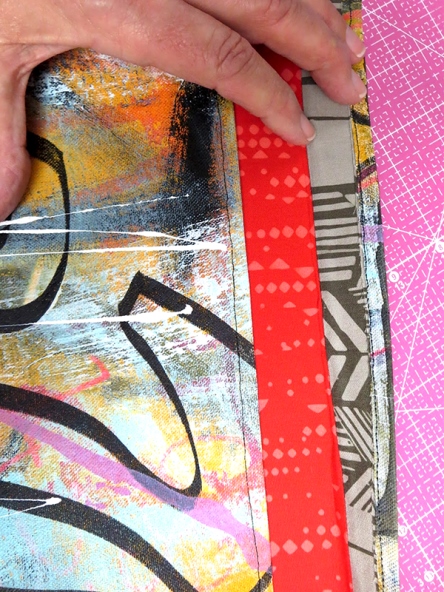
 5.) Fuse the two rectangles together, right sides out. Trim edges with the rotary cutter. Fold the short ends in 1/4-inch toward the inside and stitch.
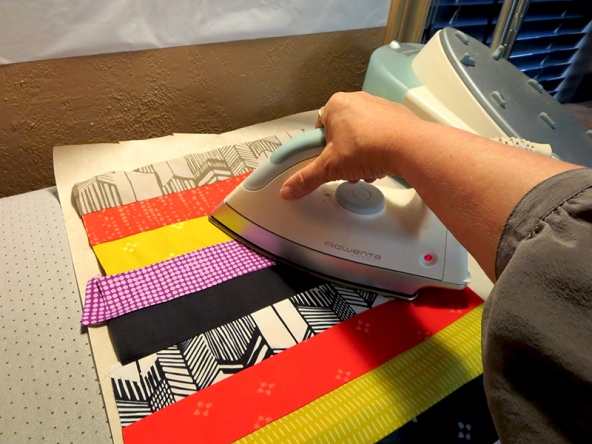

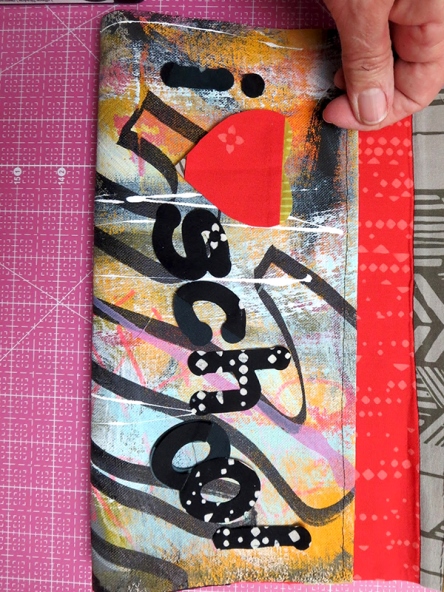
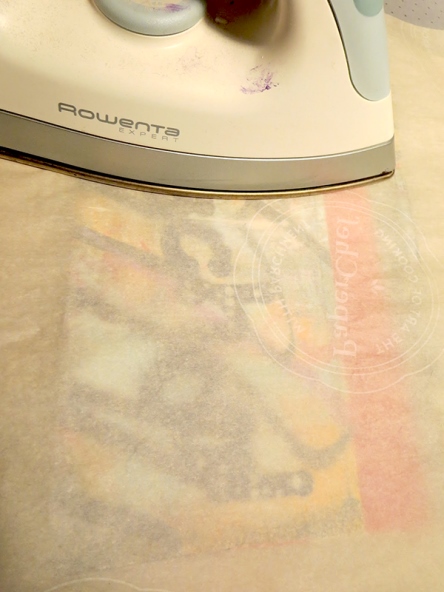
 6.) Now, position your die-cut, pre-fused letters and heart (which was hand-cut with scissors) to the outside surface of the pouch on one side. Place between pressing sheets or parchment and fuse to the surface with a medium dry iron.
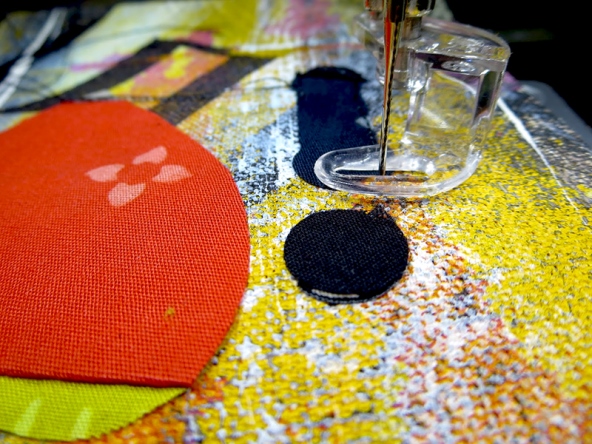
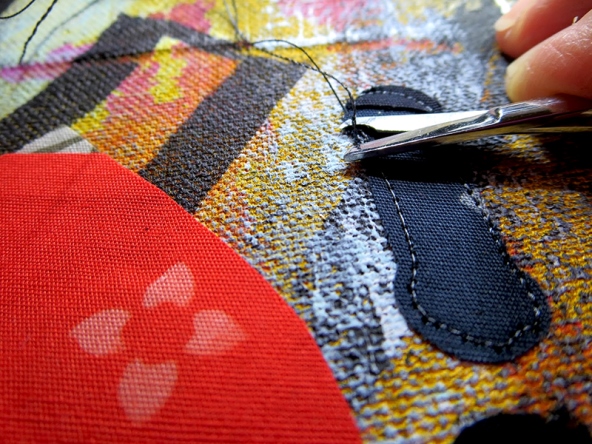
 7.) At the sewing machine with feed dogs down, machine applique around each letter and the heart.
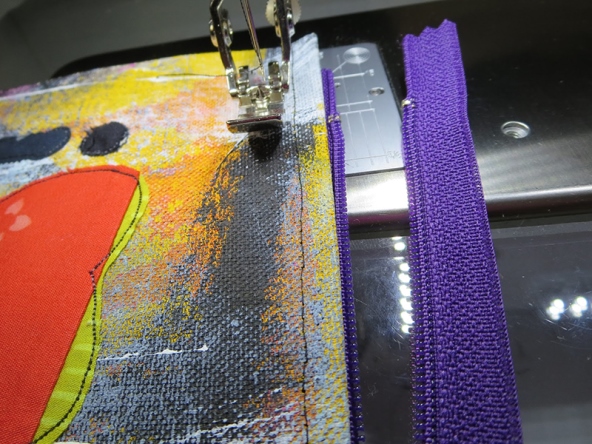
 8.) Position the folded edge of the canvas next to one side of the zipper and stitch in place.
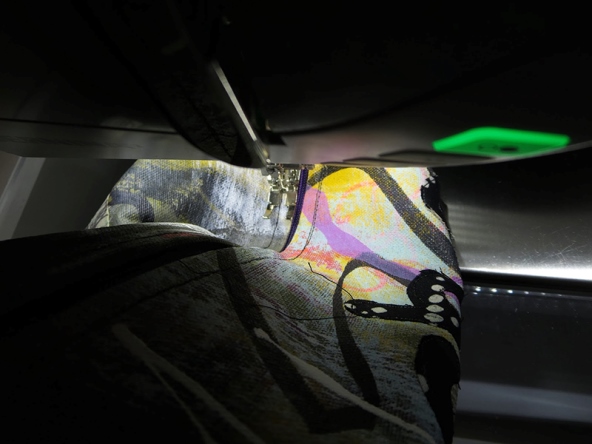
9.) Bring the other end of the canvas to the zipper, right sides together. Since the canvas is quite stiff it is necessary to begin near the center of the second side and stitch outward toward the edge. Turn and repeat toward the opposite edge being careful to avoid catching the center of the bag under the needle. Trim threads.
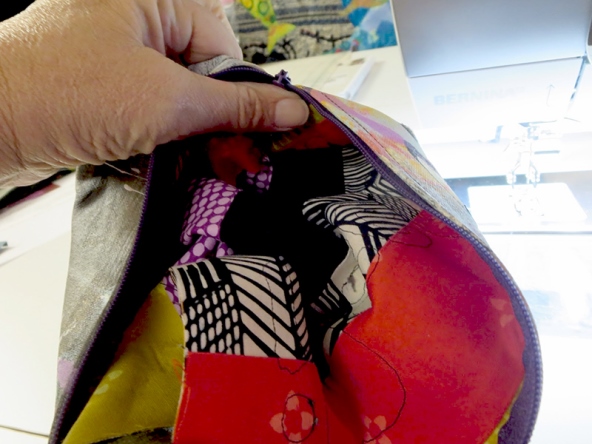
 10.) Open zipper and turn pouch right side out. Using an awl or the ends of a pair of scissors gently push the corners from the inside to fully extent the corners.
 11.) At each end of the zipper stitch across the opening from one side to the other to stabilize the ends of the zipper. Repeat on both ends.
 12.) You may wish to add some trim to the zipper pull for a bit more flair! Finished!
Get the best supplies for all your
fall projects! Click here:

 San Antonio artist Leslie Tucker Jenison is inspired by the textural beauty found in the patterns of natural and man-made environments. Leslie loves the tactile experience of working with cloth and paper. Using dye, paint, and thread, Leslie creates unique imagery on these surfaces. The juxtaposition of the macro to microscopic world is a recurring theme in her work. Long fascinated by the historical connection of quilts and the people who make them, she serves on the board of the Alliance for American Quilts. Leslie exhibits internationally in galleries and juried exhibitions. Her work is held in both corporate and private collections. Leslie teaches a variety of quilt and mixed media workshops. She curates exhibitions and teaches as one half of “Dinner At Eight Artists” along with Jamie Fingal.