Lotta Love Blocks Tutorial


Lotta Love Blocks Tutorial
by Jessica Schunke of Blue Sky Modern Craft

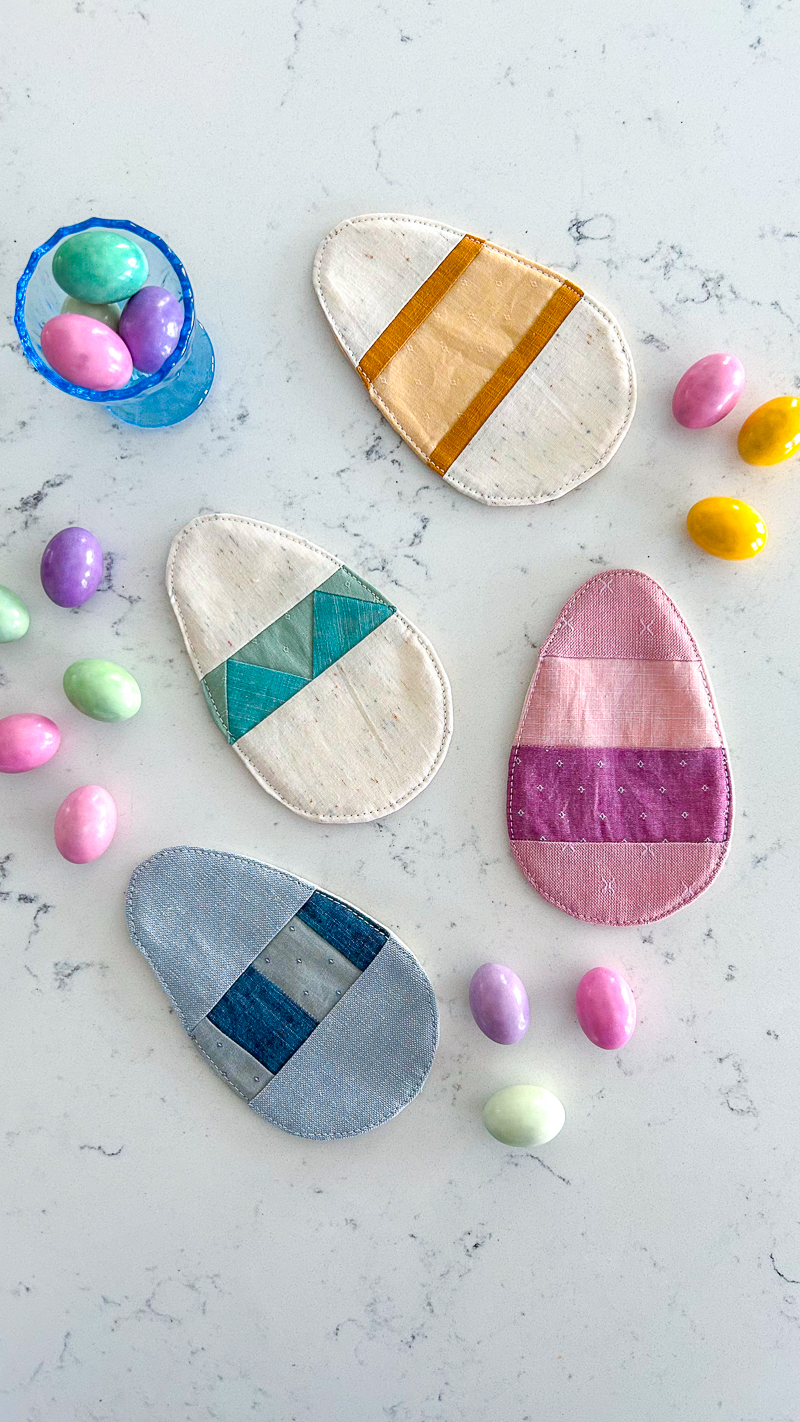
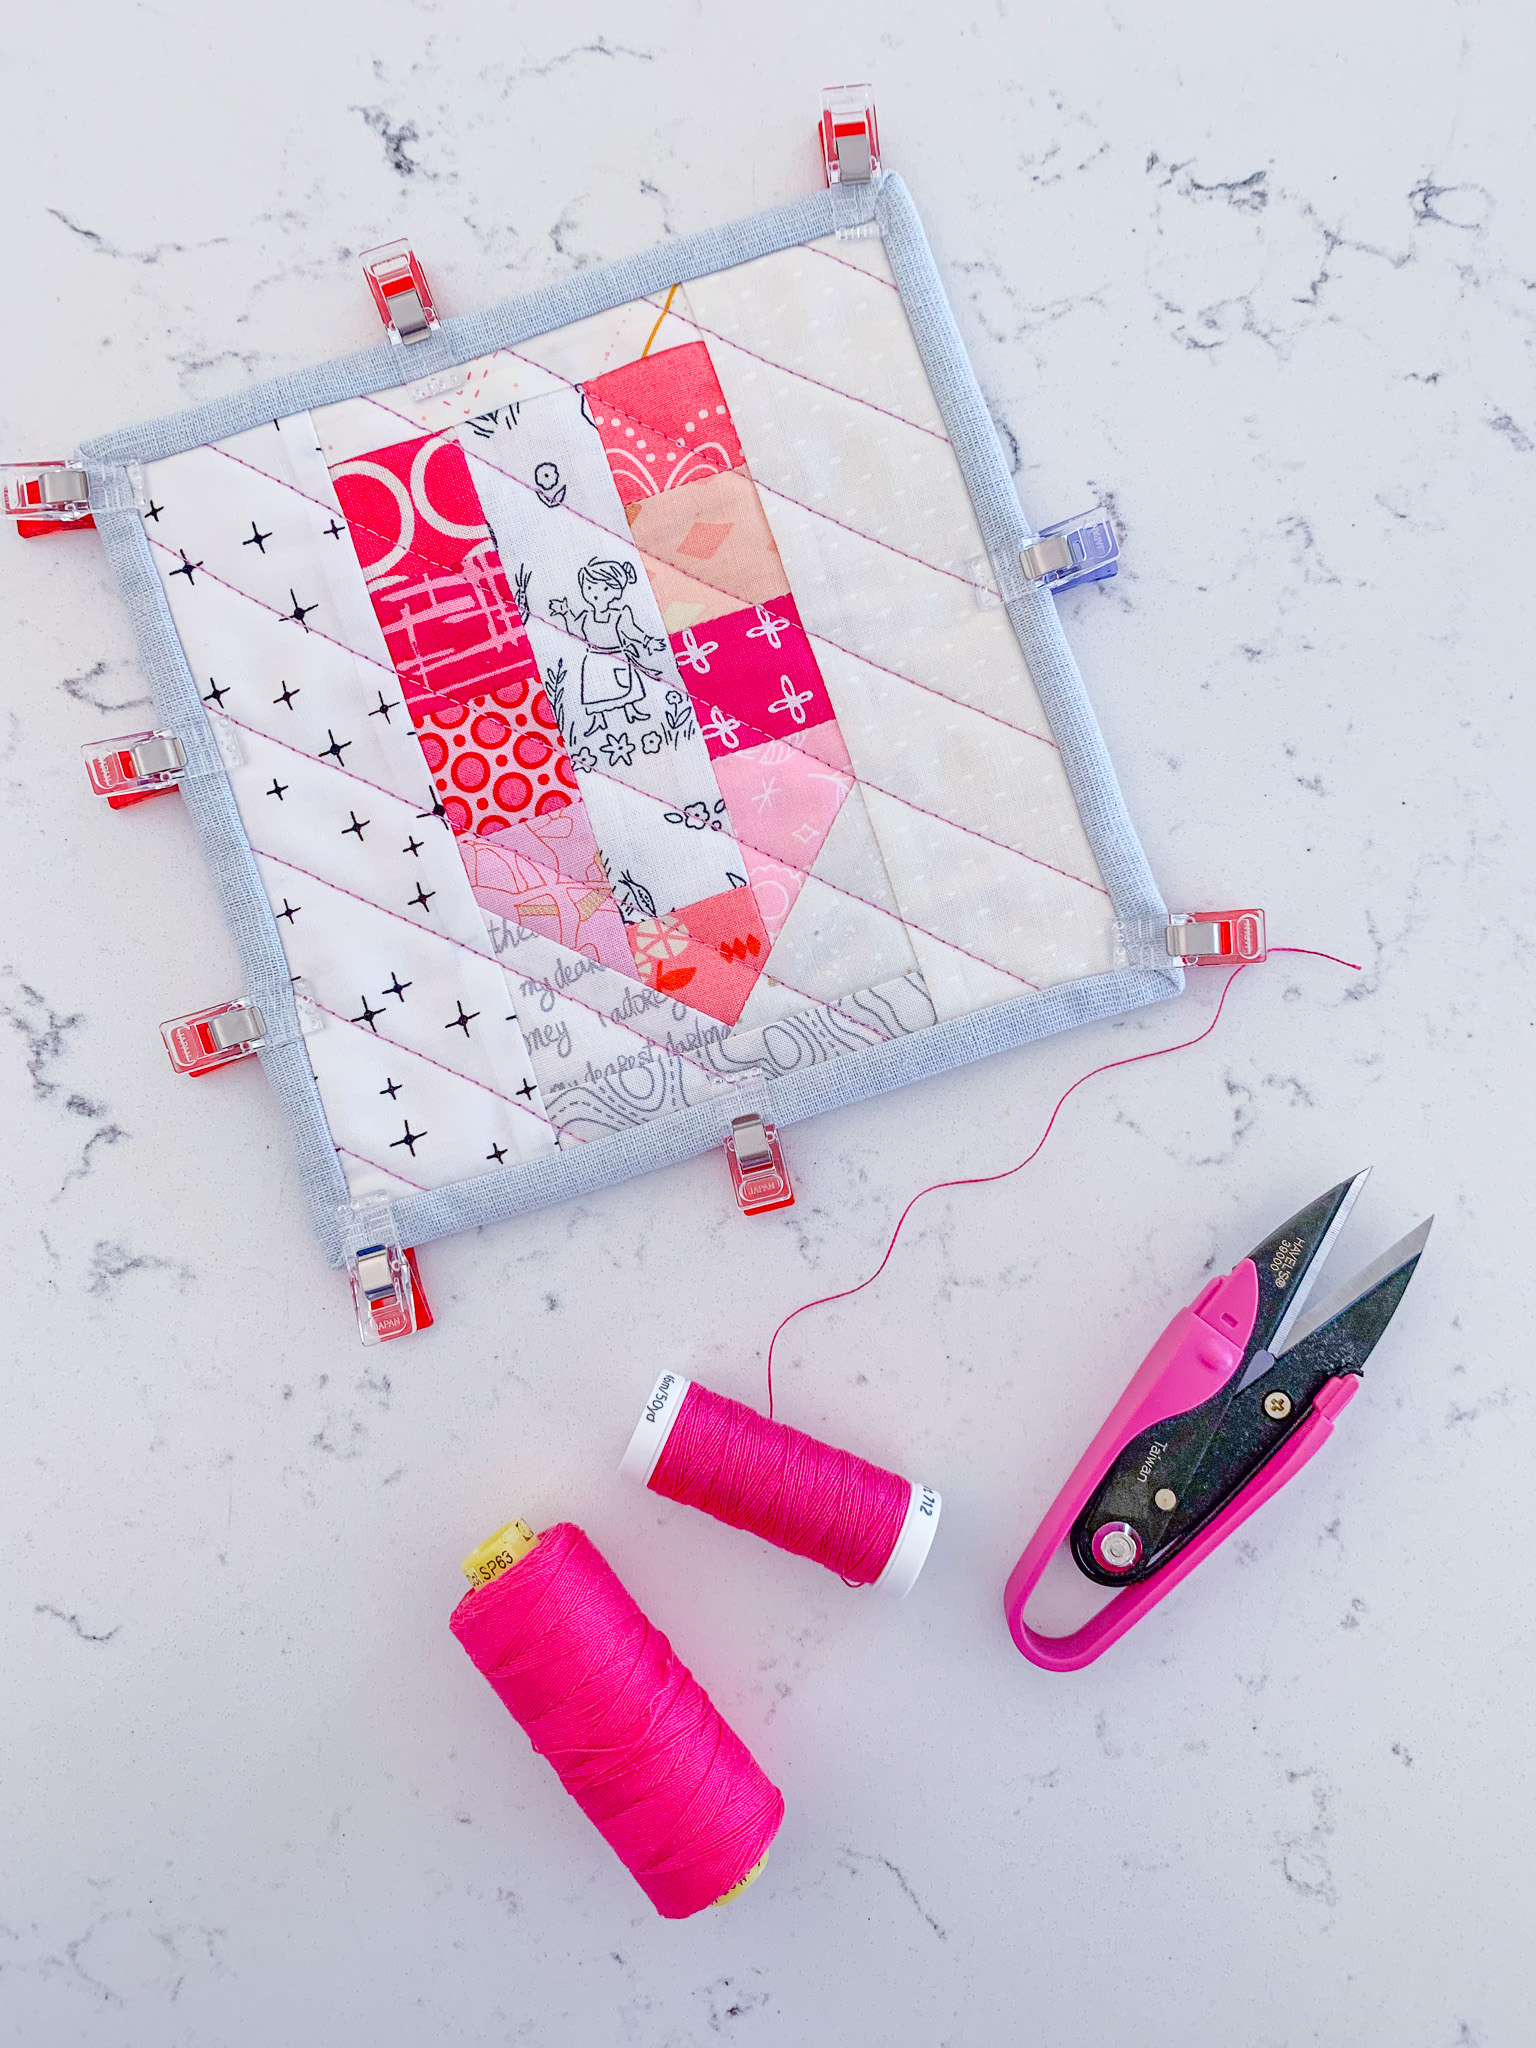
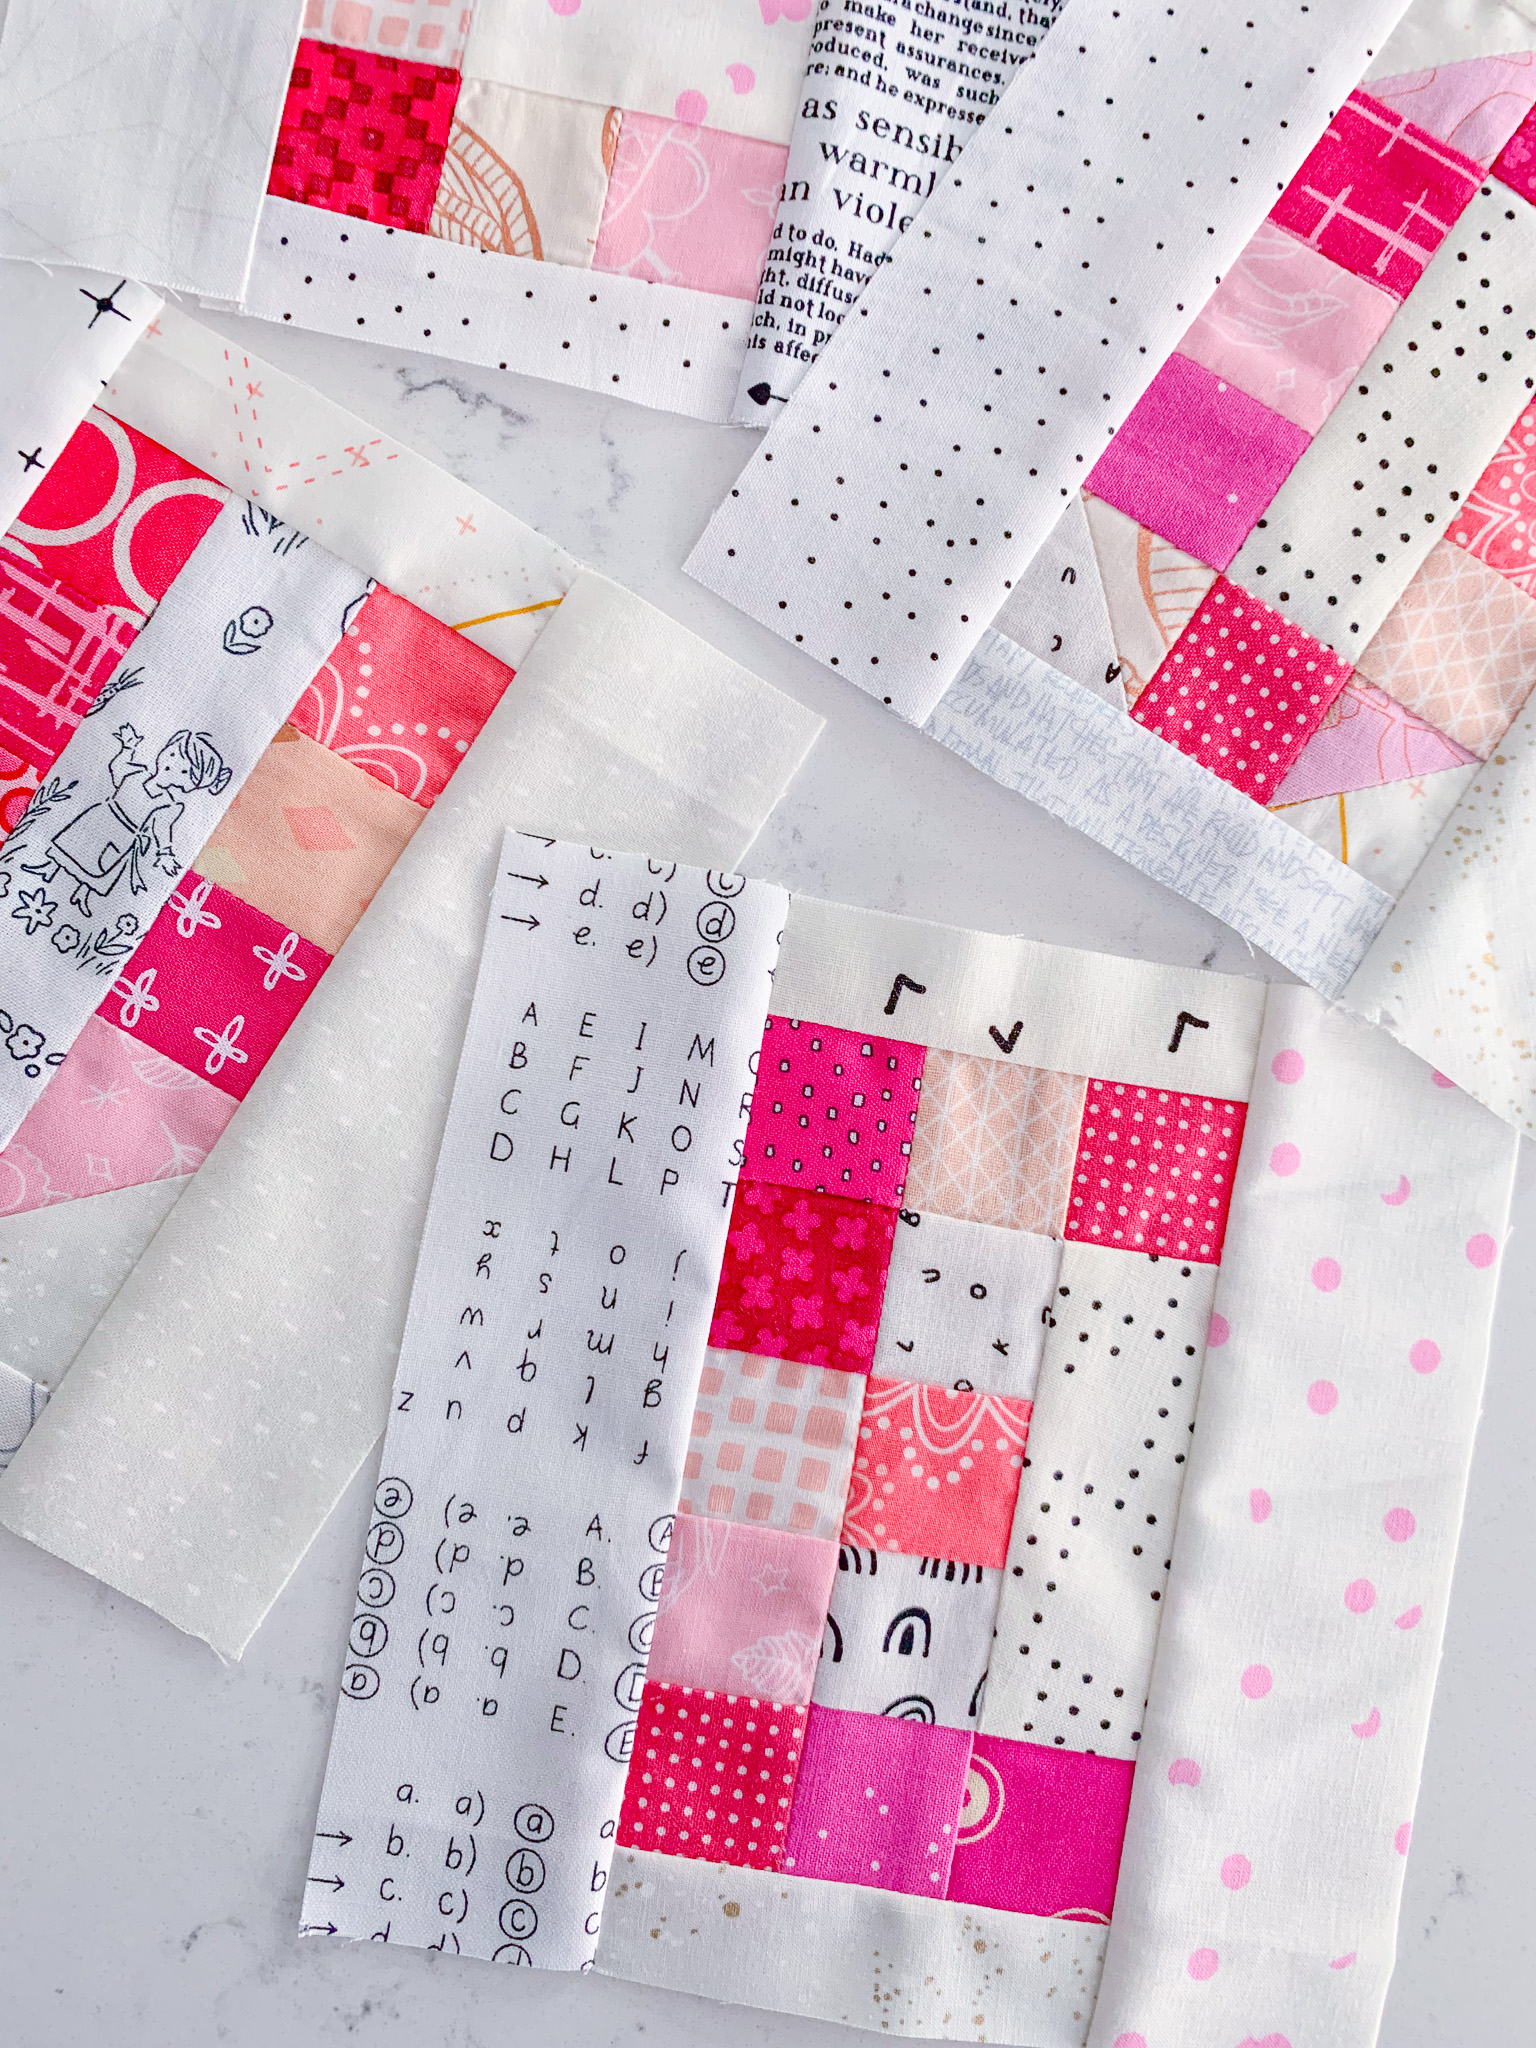
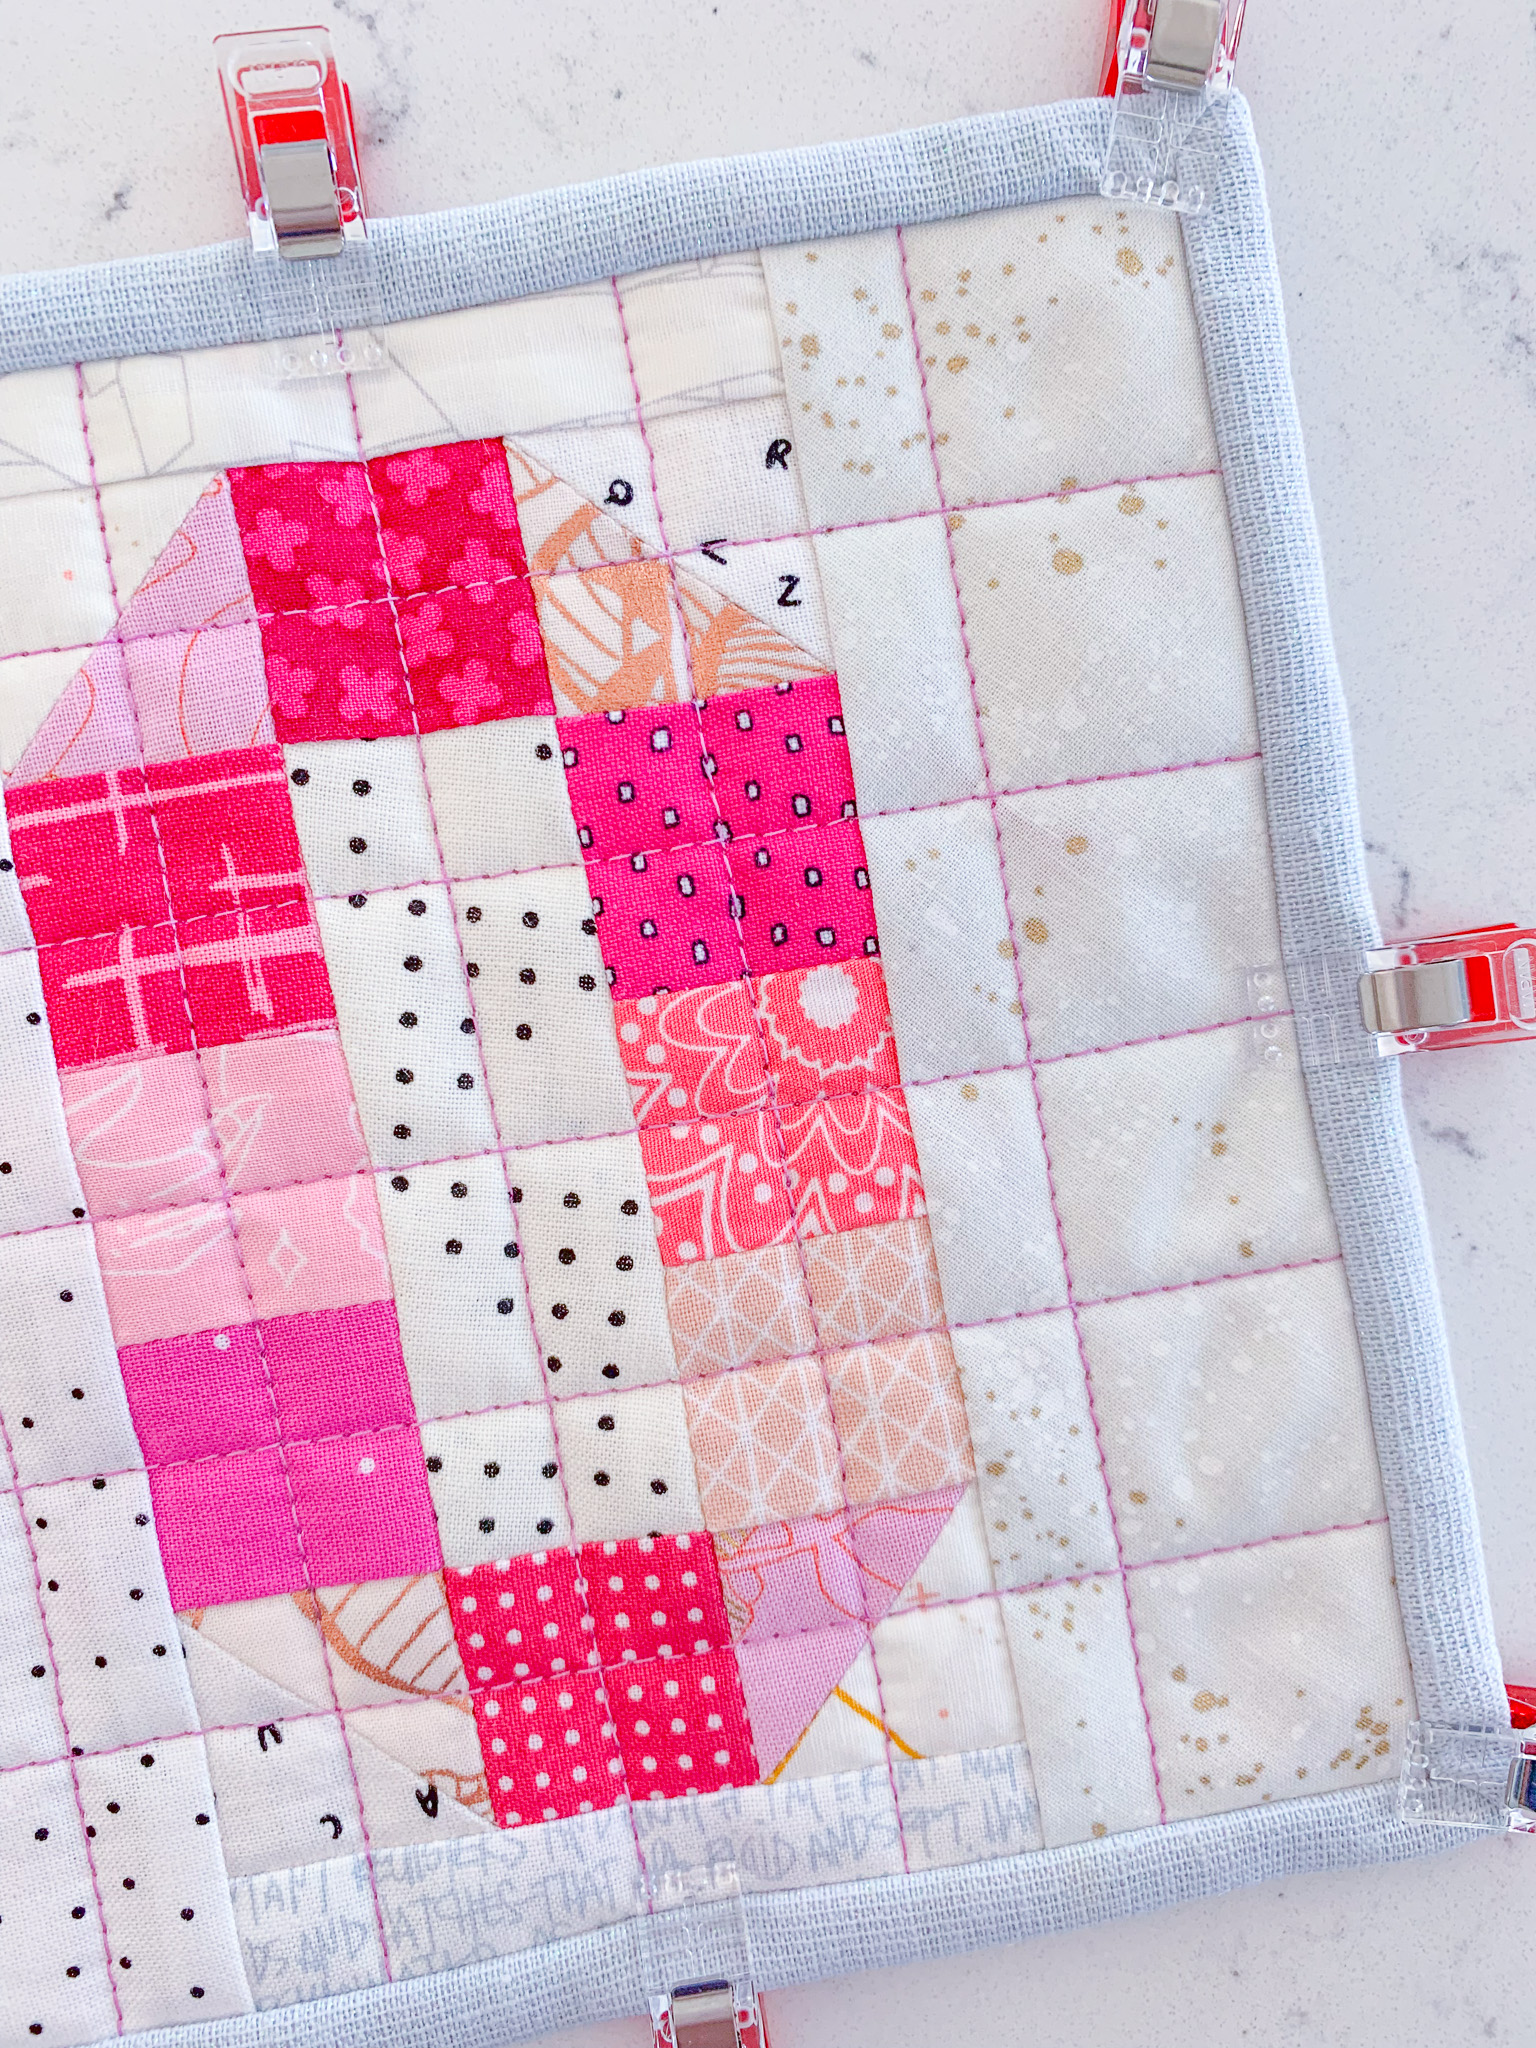
The Lotta Love Blocks are an extension of the fun that started with my Halloween BOO! Blocks and Christmas Cheer Blocks patterns. With the addition of “L,” “V,” and “E” blocks, you’re all set to bring a little extra love into your home for Valentine’s or any time of the year. And while I didn’t include it in the pattern, these blocks also work with the exclamation-point block from the BOO! Blocks pattern, so feel free to add it on for a little extra fun.

The Lotta Love Blocks pattern walks you through making the individual blocks and then provides basic instructions for turning them into coasters/trivets (with two finishing options) or a sweet “Love” pillow. The size of these blocks also makes them perfect for sampler-style quilts. I can’t wait to see how you use them in your own crafts!

You can download the pattern here LottaLoveBlocksPattern. Happy holiday crafting!


Jessica Schunke is the owner/designer of Blue Sky Modern Craft, where she writes and tech edits her own and other designers’ patterns. In her quilting, she loves using bright prints and solids and incorporating texture and handwork wherever she can. She lives in the Midwest with her husband and two sons. Follow her quilty adventures on her website, https://www.blueskymoderncraft.com, and on Instagram @blueskycrafter.

Posted in Uncategorized | Comments Off on Lotta Love Blocks Tutorial

ROCKET POPS – a beginner quilt

Rocket Pops Quilt Tutorial
by Jessica Schunke of Blue Sky Modern Craft

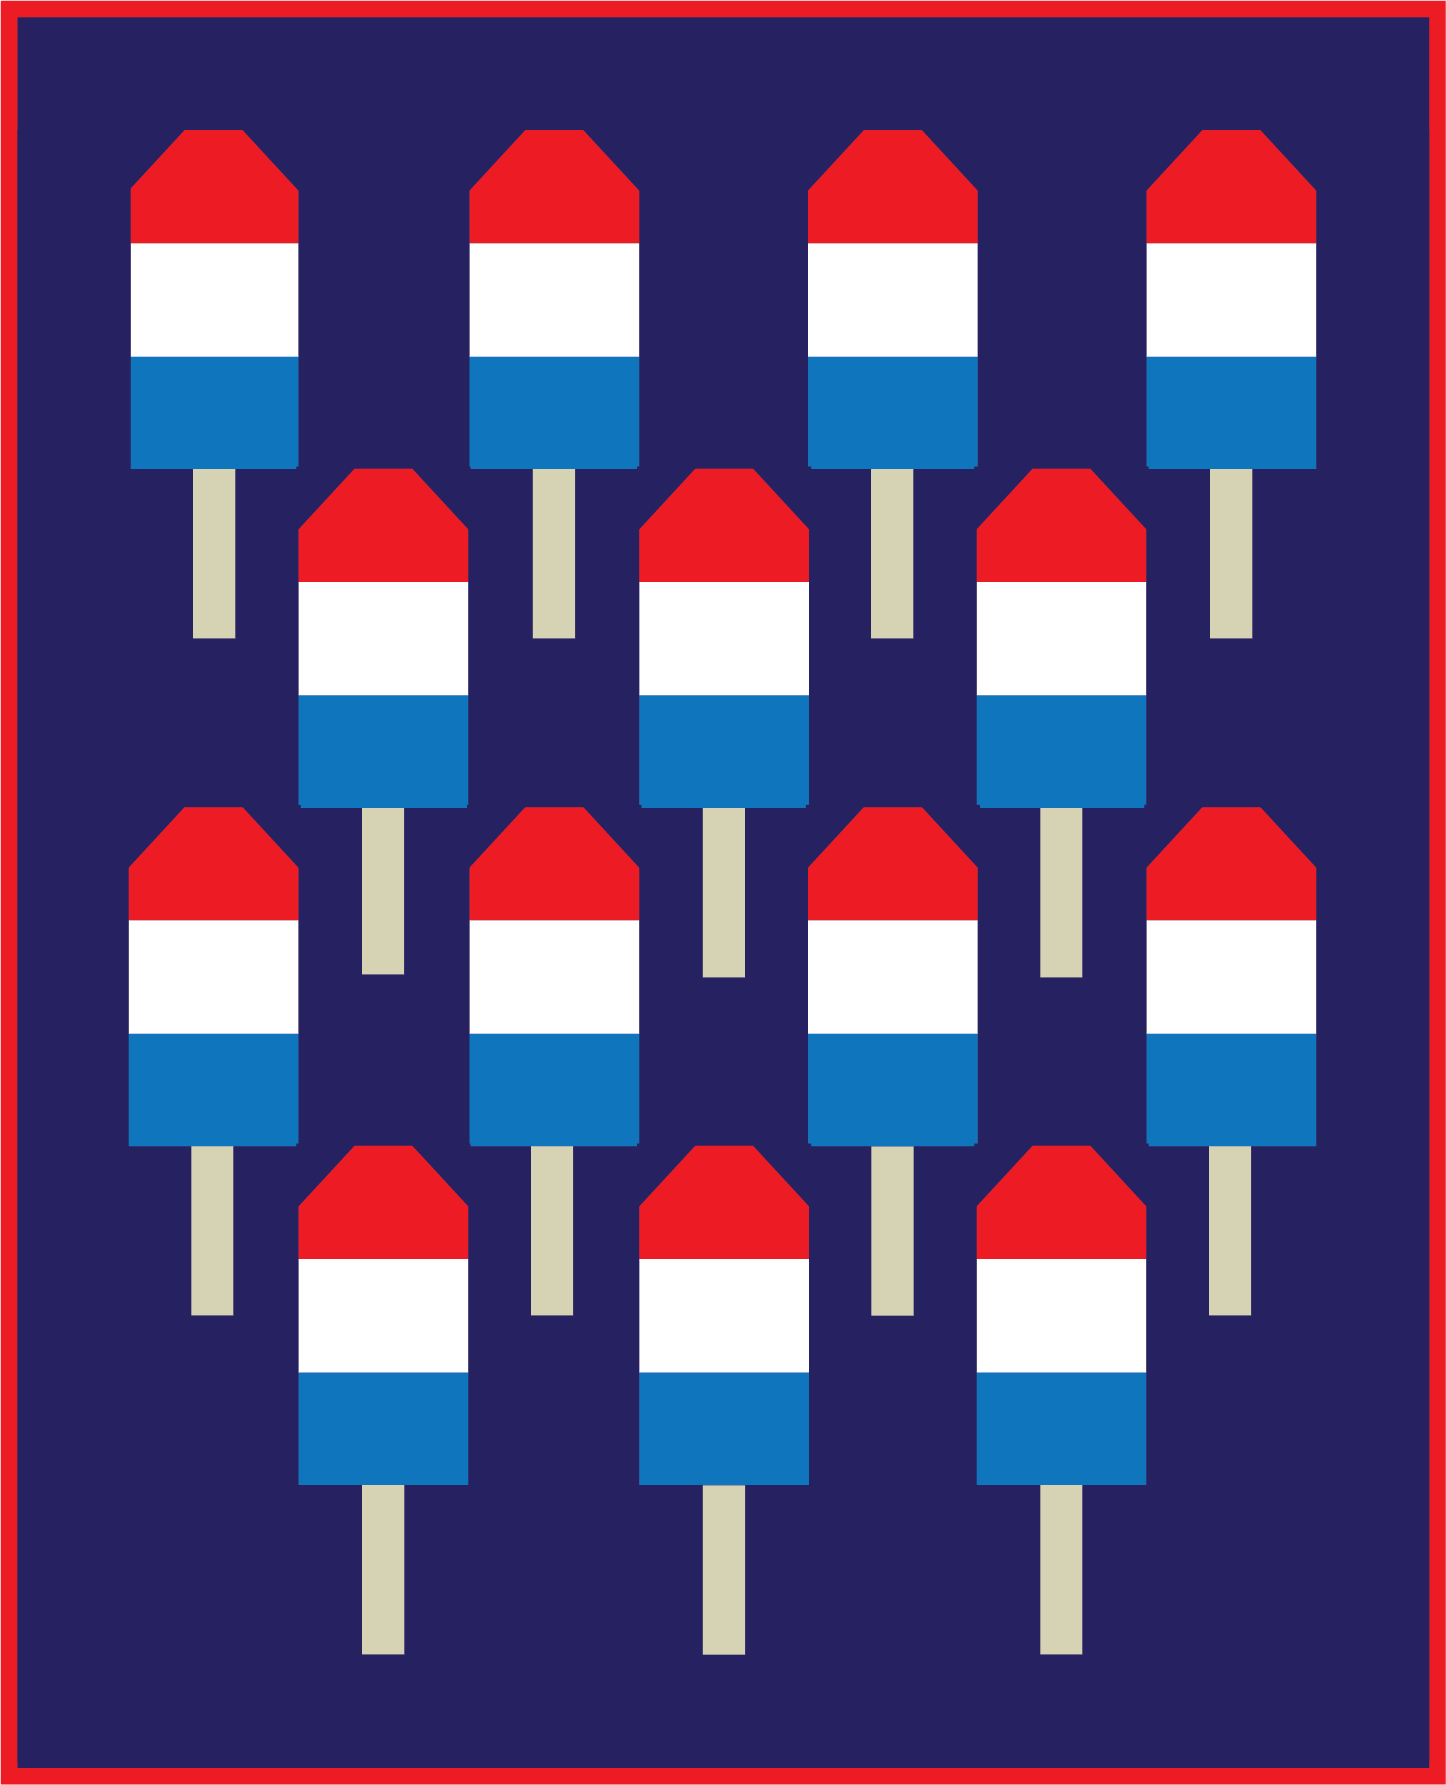
If the hot summer days have you longing for a simple, sweet quilt to whip up, I’ve got just the thing for you. Several years ago, I created the Ombré Popsicle throw quilt for the Havel’s Sewing blog, and I’ve loved it so much that I’ve added three more takes on it since then so you can satisfy your sewing sweet tooth in multiple sizes and styles. But this year, I decided to return to the original for a spin celebrating the iconic (trademarked, wink) American popsicle we’ve all loved since our earliest ice-cream truck days. The strip-pieced Rocket Pops quilt goes together in no time and is the perfect backdrop for summer picnics. Try it in solids or small-scale prints to make those popsicles “pop”!

The pattern includes instructions for a throw-size quilt — 50″ x 62″ — perfect for hauling around on all your summer adventures. Throw it in the back of the car and go! I can’t wait to see your version!

You can download the pattern here RocketPopsPattern. Happy summer sewing!


Jessica Schunke is a proud Texan living in St. Louis, Missouri. She began sewing and quilting in 2009 after being inspired by months of reading sewing blogs. A former president and secretary of the St. Louis Modern Quilt Guild, she is the owner/designer of Blue Sky Modern Craft, founded in 2021, and an editor by trade who’s bridged the gap between her work and craft, writing and tech editing her own and other designers’ patterns. In 2020, she co-founded Modern Service Quilts, an organization devoted to getting more modern honor quilts into the hands of veterans and service members. Follow her crafty adventures on her website, https://www.blueskymoderncraft.com, and on Instagram @blueskycrafter.

Posted in 4th of July, art ideas, Craft to make, Holiday Projects, Jessica Schunke, Patterns, Quilting, Uncategorized | Comments Off on ROCKET POPS – a beginner quilt

One Scrappy Witch

One Scrappy Witch Block and Tote Tutorial
by Jessica Schunke of Blue Sky Modern Craft

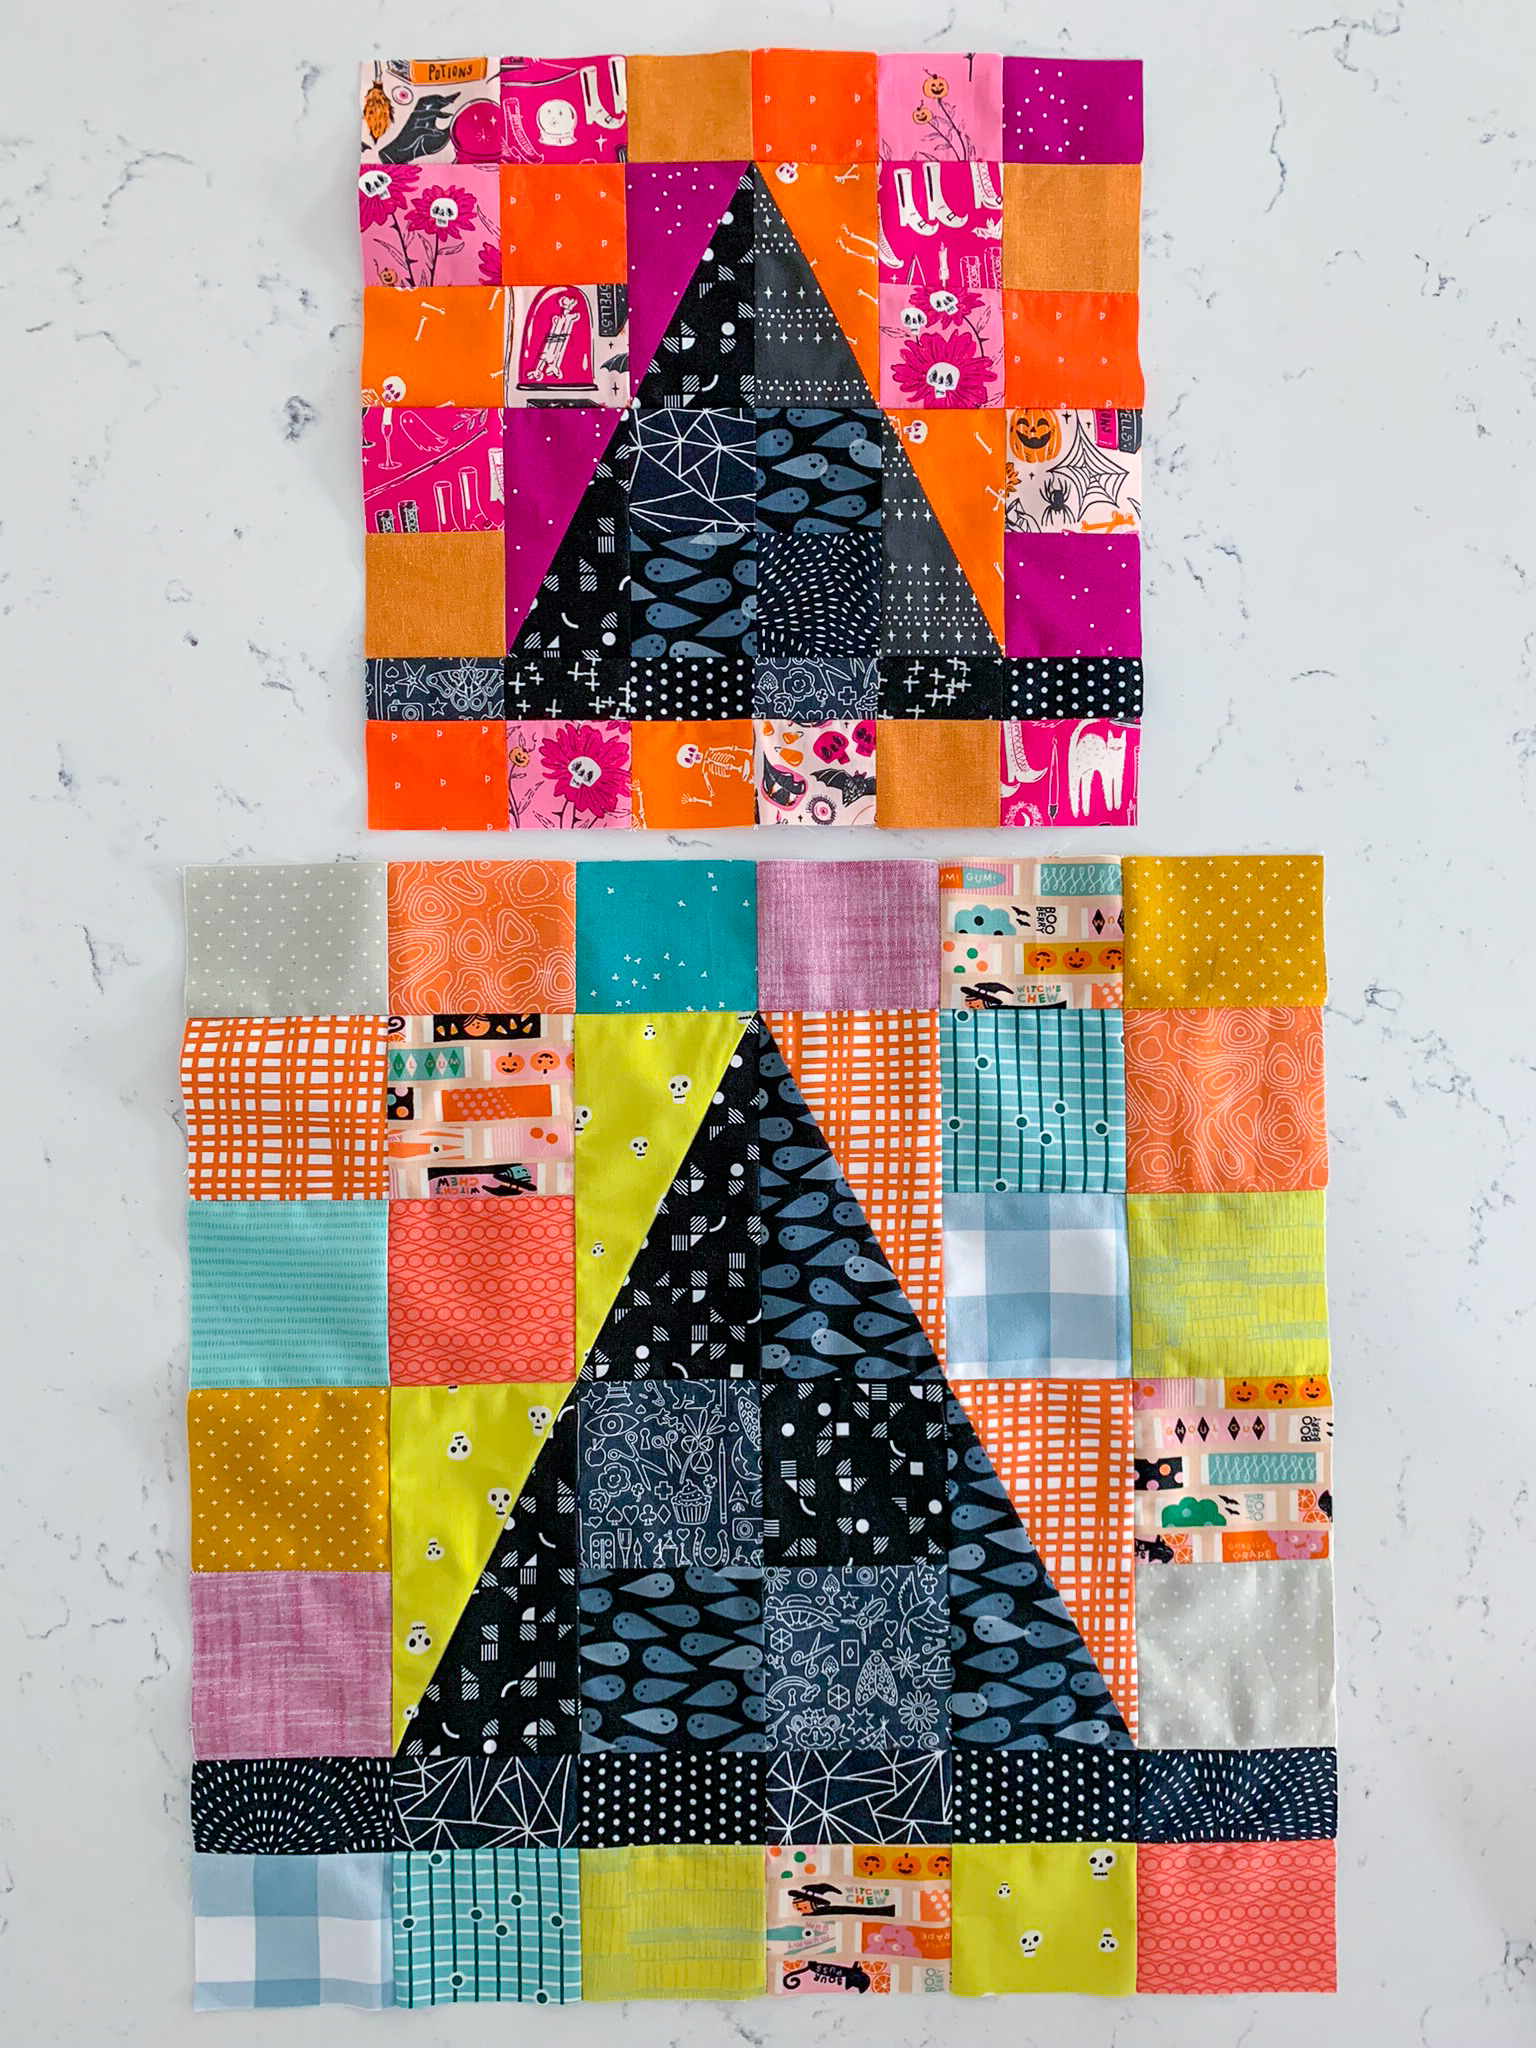
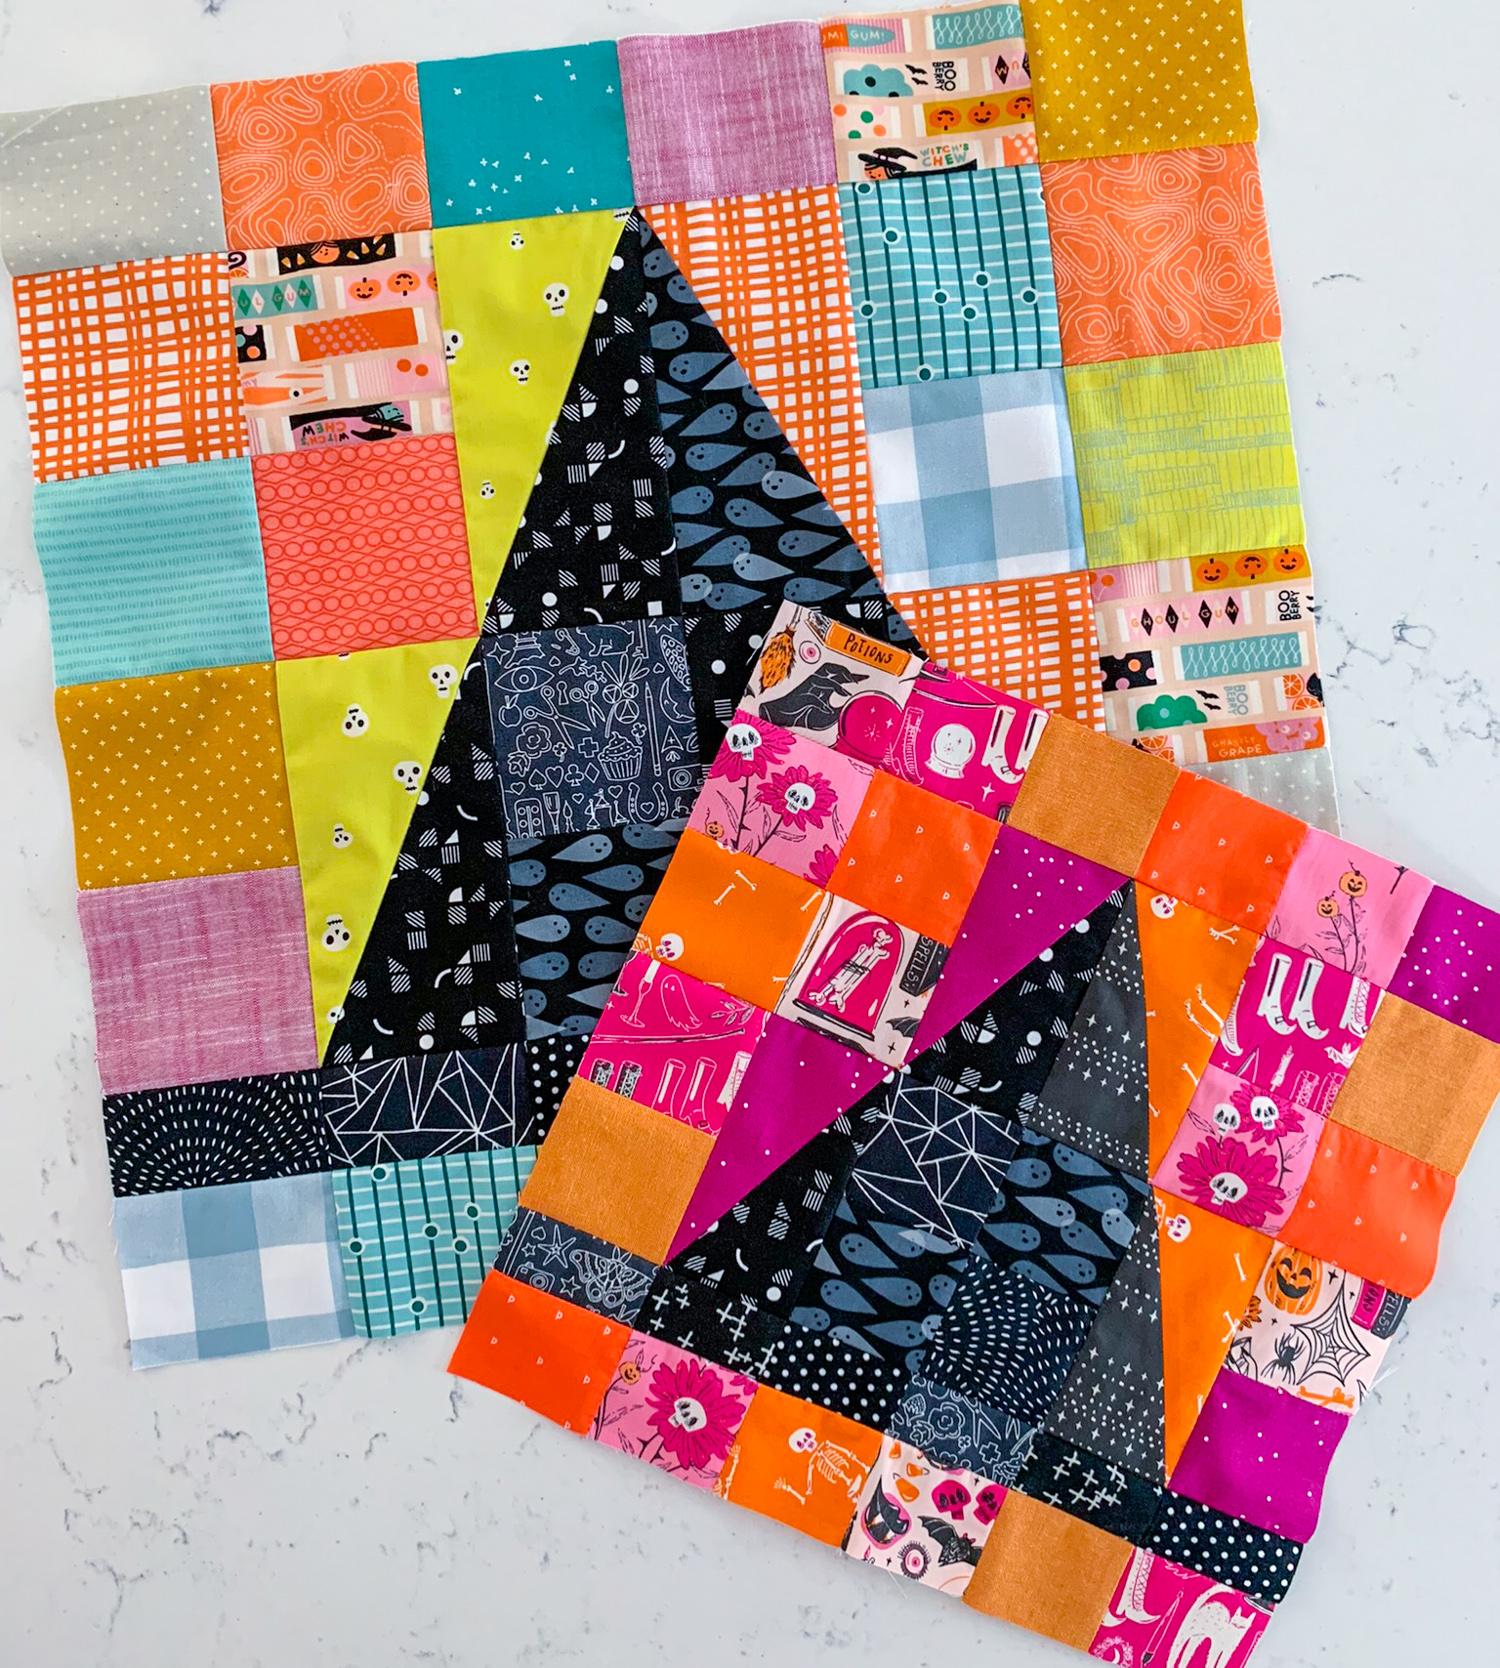
Happy spooky crafting season! Is everyone as immersed in Halloween sewing as I am? I can’t seem to stop myself this year. There are so many cute Halloween fabrics available these days, and I wanted to create a pattern that would let me use as many of them as possible. While I’ve seen a ton of pumpkin blocks over the years, scrappy witches had yet to have their day in the sun (err…night under the moon?), so I decided to put an end to that. The result is the One Scrappy Witch block, a sassy, sweet, and just a little bit spooky addition to your Halloween sewing repertoire. I think you’ll find it’s hard to make just one of these blocks.

The free pattern includes two block sizes — 12 ½” and 18 ½” square (unfinished) — so you can choose the size that works for your needs. Consider any of these options:
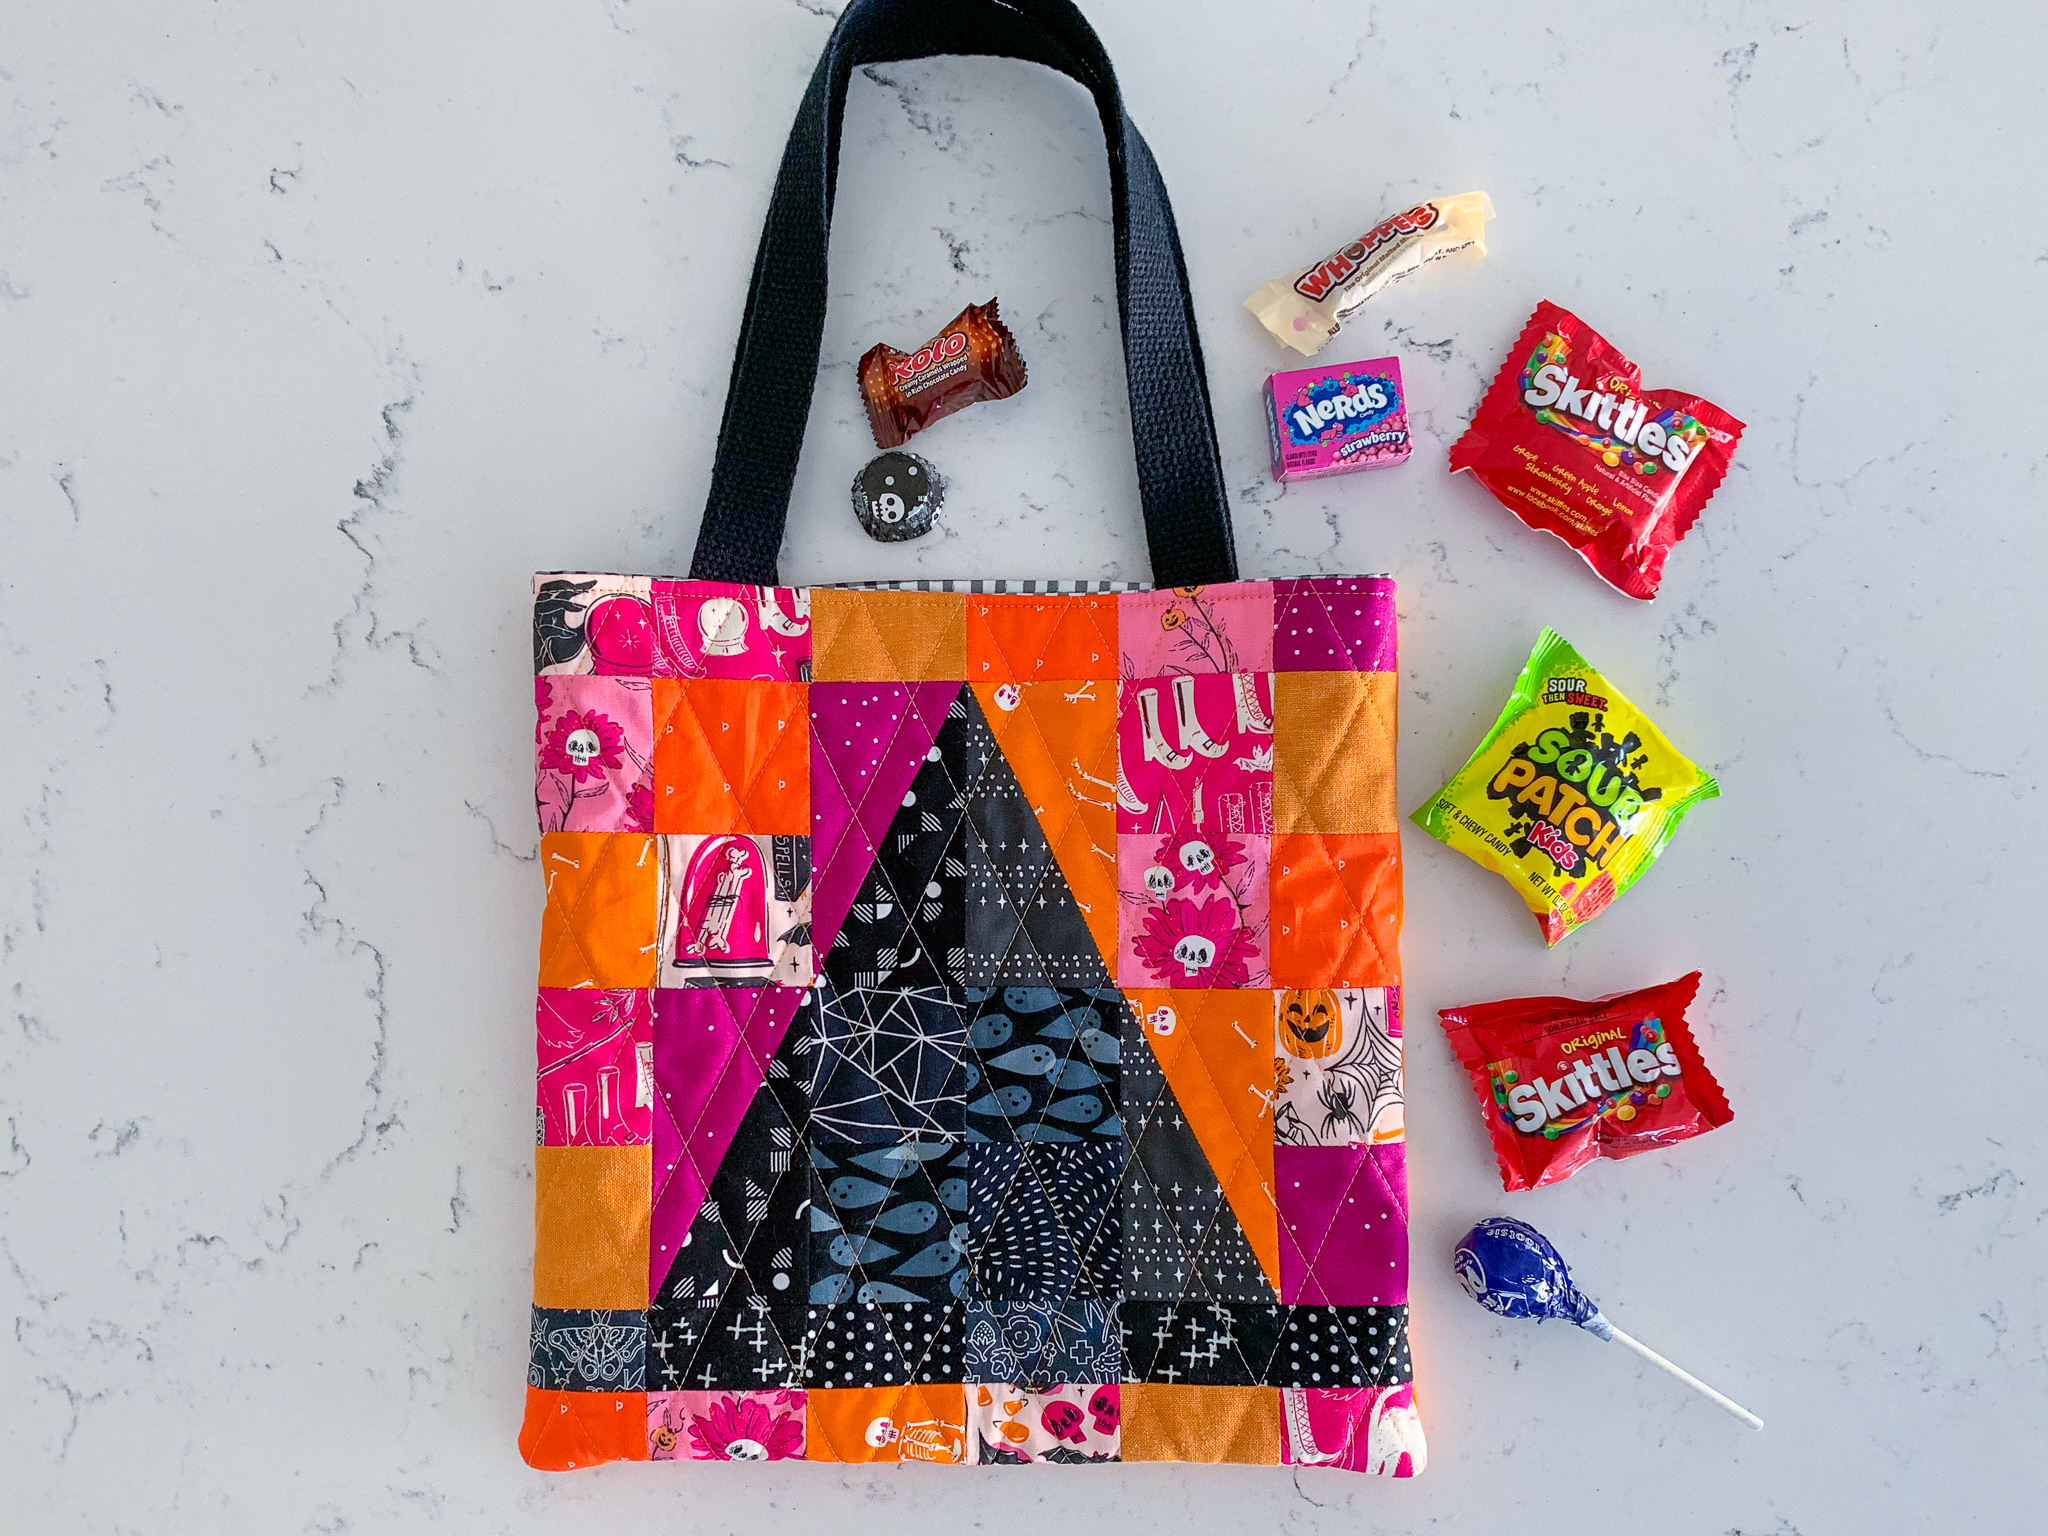
• Turn the 12 ½” block into a tote bag for trick or treating — more on this below!
• Turn the 18 ½” block into a seasonal throw pillow for your couch.
• Make multiples of either block to create a table runner (three 12 ½” blocks would work great for this; you could add sashing and/or borders to make it larger if desired) or Halloween quilt (nine 18 ½” blocks in a 3 x 3 layout — again, with or without sashing and borders — would make a fun throw-size quilt).
• Include either of the blocks in a Halloween sampler quilt.
• Quilt either block as-is or stretch it over a canvas for a fun wall hanging.
• Anything else your witchy heart desires!
To help you get your creative juices flowing, I’ve also put together a tutorial for how to turn the 12.5″ block into the cutest tote for trick or treating — or anything else you need a tote with a witch’s hat for! My Havel’s 60 mm rotary cutter and 12.5″ square cutting ruler are my favorites for projects like this. The ruler is so handy for squaring up quilt blocks!

I can’t wait to see how you use the blocks in your own crafts. You can download the One Scrappy Witch block pattern on my blog here and find the tote tutorial here. Oh, and don’t forget the Boo Blocks pattern from last year! You can still download it for free here on the Havel’s blog. I turned my blocks from last year into coasters, and I’m loving how they look on my coffee table. Happy spooky crafting!
______________________________________________________________

Jessica Schunke is a proud Texan living in St. Louis, Missouri. She began sewing and quilting in 2009 after being inspired by months of reading sewing blogs. A former president and secretary of the St. Louis Modern Quilt Guild, she is the owner/designer of Blue Sky Modern Craft, founded in 2021, and an editor by trade who’s bridged the gap between her work and craft, writing and tech editing her own and other designers’ patterns. In 2020, she co-founded Modern Service Quilts, an organization devoted to getting more modern honor quilts into the hands of veterans and service members. Follow her crafty adventures on her website, https://www.blueskymoderncraft.com, and on Instagram @blueskycrafter.

Posted in Uncategorized | Comments Off on One Scrappy Witch

Back to School in Style!

By Stephanie Kendron of Modern Sewciety
Modern-DittyBag-683x1024 (1)

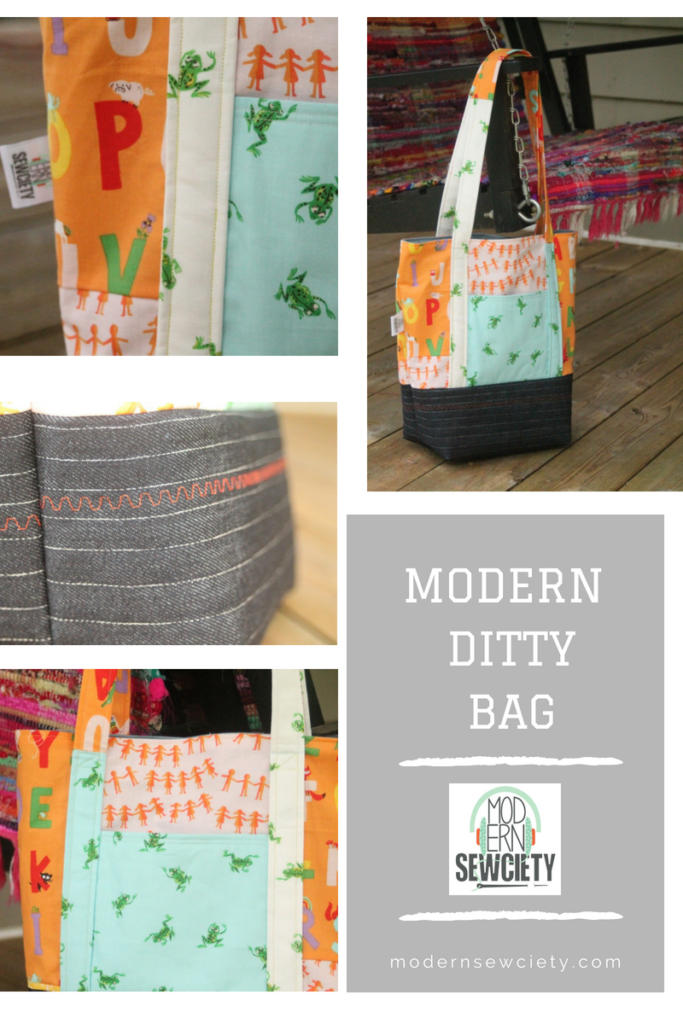
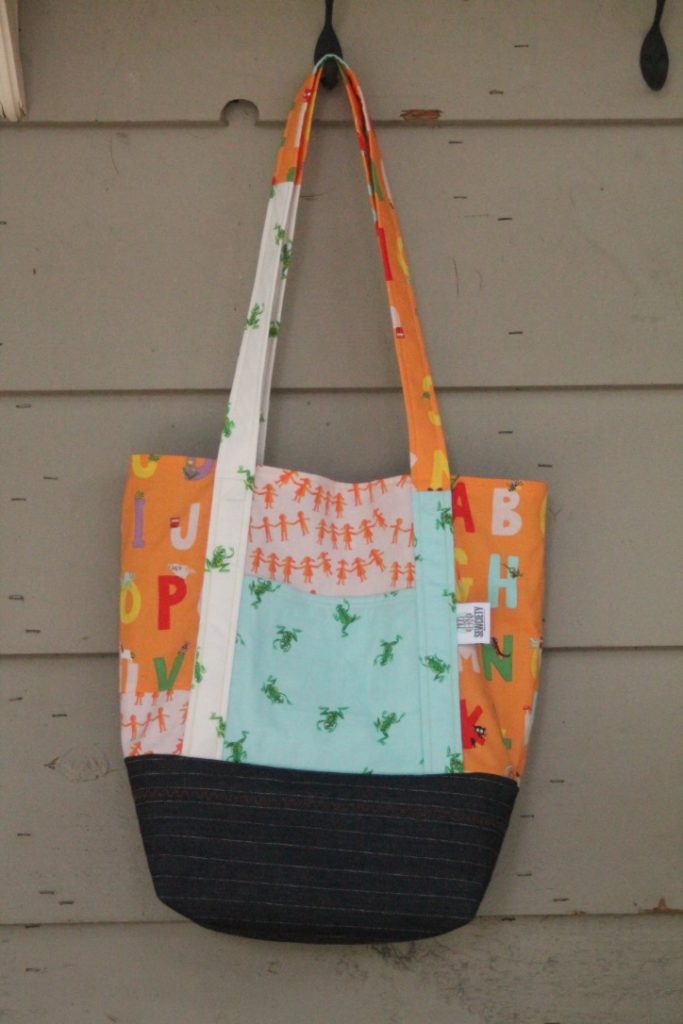
I started making the Modern Ditty Bag last year for a back to school post for Janome. I would see the teachers at my girl’s school carrying around a bag that held essentials when they weren’t in the classroom but the bag was not pretty and this maker couldn’t handle that. I always like to give teachers something useful for their classrooms and so the Modern Ditty Bag was born. It is a simple bag with an outside pocket to hold their walkie talkie that they need to be able to grab quickly. I don’t put pockets on the inside, although you could, but I find sometimes clipboards and such get hung up on the inside pockets. I like to have fun with the fabrics and usually make scrappy versions of the bag but you could use one fabric or a couple for a completely different look.
UNADJUSTEDNONRAW_thumb_1446-683x1024

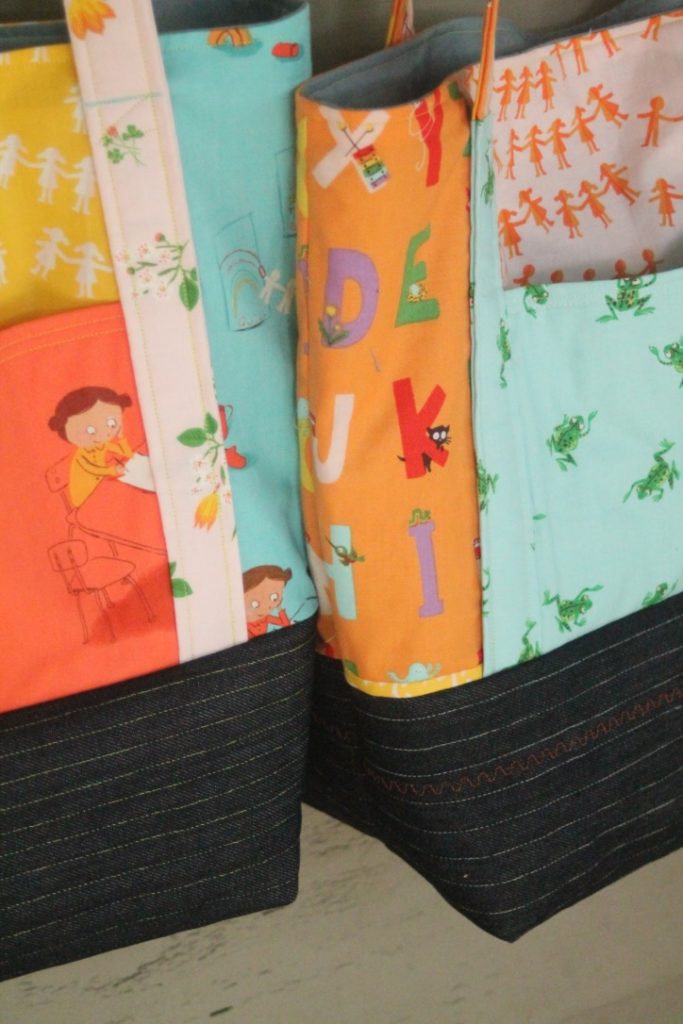
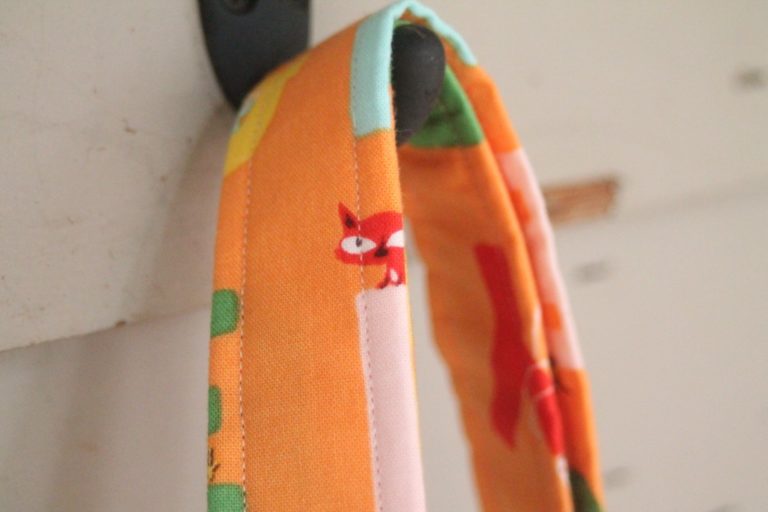
I used several fat quarters from Heather Ross’ Kinder fabric line and tried to use some contrasting colors to make it fun. The hands are pretty long so I used several prints but you could also use a fat quarter to keep them simple. I had to get a little peek of that cute fox on the strap! That is the fun thing about this fabric line there are so many hidden creatures you discover when you are using it on a project. I love those little details that I think Heather does so well. The denim on the bottom is from my fabric stash.
UNADJUSTEDNONRAW_thumb_1441-768x512

UNADJUSTEDNONRAW_thumb_143f-768x512

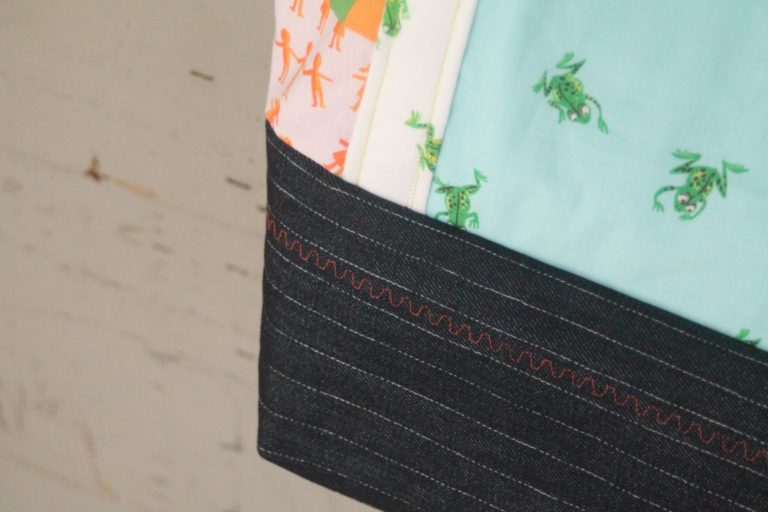
I used Sulky’s Cotton+Steel 50 wt thread on the entire bag for piecing, quilting, and topstitching. I love Cotton+Steel threads and if you ever listen to the podcast you know I have always loved neutral thread colors until I discovered this line. I love that the colors go so well with modern fabrics. I used Bright White, Neon Yellow and Light Red for this bag and I love how well it matches the Kinder fabrics. I am learning all of the cool features on my new Janome Skyline S9 so I did some decorative stitching on the bottom on the bag. I know I know the Skyline S9 can embroider but I am not quite ready to show you my beginning skills just yet. Soon I promise.
UNADJUSTEDNONRAW_thumb_143e-683x1024

One of the important things about bag making is using stabilizers to give it some strength and help it stand up when you set it down. I like to use a combination of Hobb’s cotton batting and Sulky’s Soft n’ Sheer Extra, an iron-on, cut-away, permanent stabilizer. For the bottom of the bag I used a denim and quilted it with Hobbs cotton batting then ironed on the Soft n’ Sheer Extra. I don’t like to quilt too much on the Soft n’ Sheer so that is why I quilted with the batting first then ironed on the stabilizer. I also used the stabilizer on the straps, the panels (after they were sewn together), and pocket. I love the Soft n’ Sheer because it gives the bag some stability but doesn’t make it too stiff.
Havels product Modern Ditty Bag
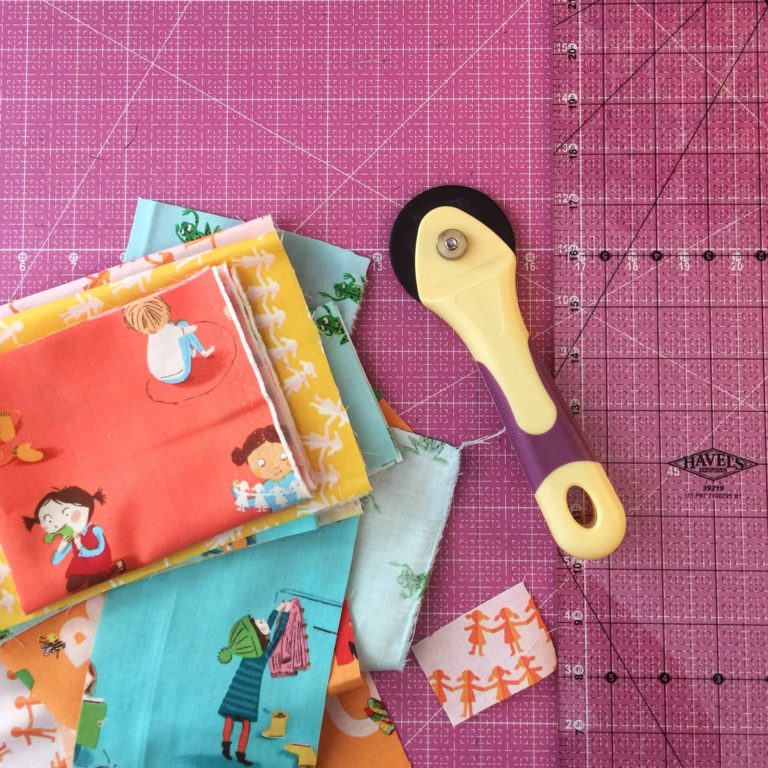
I never make a sewing project without my Havel’s Pink Extra Large cutting mat with my all time favorite 60mm rotary cutter. I love using a bigger rotary cutter because I am impatient and often use it to cut through several layers of fabric. Yep, you read that right it will cut through several layers at once! You can get your own pink mat and rotary cutter for a great price using the code MODERNSEWCIETY7 for $7 off $25 order. You can’t beat Havel’s prices so go check out their store!
UNADJUSTEDNONRAW_thumb_1447-683x1024

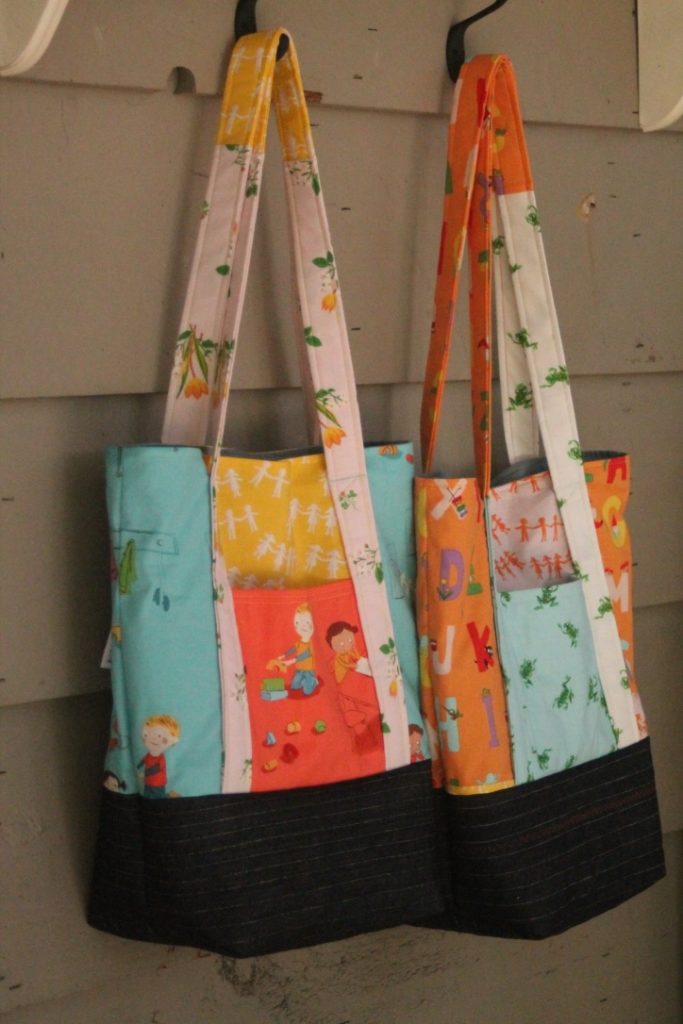
I love making these bags and I think I need one for myself! I hope you make your own and if you do make sure to use #moderndittybag so I can check it out.

All opinions are my own on the products mentioned but supplies were provided by my sponsors to make this project.

#SewBetterWithSulky #BackToSchoolSewing #windhamfabrics #hobbsbatting #havelssewing #janome #modernsewciety #kinderfabrics
Modern Sewciety_Day One Instagram

Hi! I am Stephanie, host of the Modern Sewciety podcast. I love to chat with creatives in the sewing industry getting all of the latest trends, tips, and information for you!
 

Posted in Uncategorized | Comments Off on Back to School in Style!

Charming Geese Comfy Pillow

Charming Geese Pillow Tutorial
by Jessica Schunke of A Blue Sky Kind of Life

Do you, like me, have a million mini charm packs lying around, just waiting for the chance to be put into service? Sometimes they just seem too cute to pop open, but let’s face it, they’re not doing anyone any good just sitting in a bin. So let’s put them to use, shall we? This fun flying geese pillow uses about half of a standard mini charm pack, but you can easily expand on this idea to transform it into a wall hanging, table runner, baby quilt, or even larger project if you’re really trying to make a dent in your stash. Don’t have any mini charm packs? No worries; this pattern is super scrap friendly.

Here’s what you need to make an 18″ pillow:
(1) 24 – 2.5″ squares in a variety of fabrics (pull from a mini charm pack or cut from your stash or scraps)
(2) 1/4 yd. or FQ secondary fabric (for outside part of flying geese and binding on pillow back); sub-cut the following:
• 6 – 4.5″ squares
• 2 – 2.25″ x 18″
(3) 1/2 yd. border and backing fabric; sub-cut the following:
• 2 – 3.75″ x 15″
• 2 – 2″ x 18″
• 2 – 12″ x 18″
(4) 20″ square of batting
(5) Pillow form (I like to use the 20″ Ikea Inner pillow forms; they’re inexpensive and squish down nicely into the 18″ pillow cover)
(6) Standard sewing supplies: Havel’s rotary cutter and cutting mat, coordinating thread, ruler, marking pen

This tutorial uses a 1/4″ seam allowance throughout.

Note: If you want to add on additional geese, you will need 4 – 2.5″ squares (mini charms) and 1 – 4.5″ square of secondary fabric for each finished goose. Adjust your borders as needed to reach your desired finished size.

Instructions:
(1) Group your mini charms into sets of four. Sew each set into a four-patch block.

(2) Draw a line diagonally on the wrong side of each square of secondary fabric. Pair each four-patch block with a 4.5″ square of secondary fabric and place right sides together. Sew 1/4″ away from the line on each side. (Note: In the second picture, my marked line has disappeared, but you can see the sewn lines are 1/4″ to each side of the square’s diagonal.)


(3) Using your rotary cutter, cut each set along the marked line. Press seams open.

(4) Match up the new half-square triangle units in sets of two as shown. I chose to mix up my blocks for a scrappy look.

(5) Sew sets of two half-square triangle units together to form flying geese. Press seams open.

(6) Sew flying geese together into two columns and then sew the columns together. Make sure your geese are facing the direction you want (I made my columns go in opposite directions). Press seams open.

(7) Attach the two 3.75″ x 15″ border strips to the top and bottom of the geese unit. Press seams toward border strips.

(8) Attach the two 2″ x 18″ border strips to the sides of the geese unit. Press seams toward border strips.

(9) Center pillow top on top of batting and baste using your preferred method. Quilt as desired. Square up your pillow top to 18″ (don’t worry if it’s a bit smaller). Set aside.

(10) To make the binding strips for the pillow back, press the two 2.25″ x 18″ binding strips in half lengthwise. Open the strips and press each side in toward the middle crease, then press the strip in half again.

(11) Sandwich each backing piece inside one of the binding strips. Clip or pin in place. Topstitch binding 1/8″ from the edge.

(12) Layer your pillow sandwich in the following order: (1) quilted pillow top right side up; (2) top of pillow backing, right side down (the raw edge should be at the top, aligned with the top raw edge of the pillow top; the bound side should be at the bottom); and (3) bottom of pillow backing, right side down (the raw edge should be at the bottom, aligned with the bottom raw edge of the pillow top; the bound side should be at the top). The two parts of the pillow backing will partially overlap. Clip or pin in place.

(13) Sew all around the outside edge with a 1/4″ seam allowance.

(14) Turn the pillow top inside out, push out the corners, and insert the pillow form. Enjoy your pillow!

Here’s another example of a wall hanging I made using eight geese. Once you’ve made the additional geese, just adjust the size of your borders to reach your desired size. The possibilities are endless, so pop open those mini charm packs and get to work!

[Bio: Hi! I’m Jessica, a sewing, baking, editing, mommying Texan transplanted to the Midwest. I’m a proud Havel’s brand ambassador and the president of the St. Louis Modern Quilt Guild. I’m most active on Instagram, where you can find me as @blueskycrafter.]

Posted in Uncategorized | Comments Off on Charming Geese Comfy Pillow