
By Terry White 
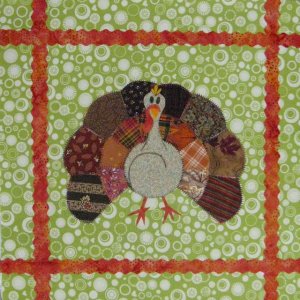
Here is a little Thanksgiving Day design that makes up very quickly. This design panel is 14 ½ inch square and meant to cover a small pillow. However, this design will work for stitchers, quilters, scrapbookers and crafters. I have included a small image of this little guy for use as place cards for the Thanksgiving table.
Supplies Needed:
Fabric scraps for the turkey parts and border. Look at photo for inspiration and pattern for size requirements.
14 ½ inch square is needed for the backing fabric.
14 ½ inch square of medium weight fusible interfacing should be fused to the back of your backing fabric to stabilize before fusing or stitching.
½ yard of Fusible web
Threads to match your fabrics
Use size 90/14 sewing machine needle
Archival quality black pen to draw details on turkey
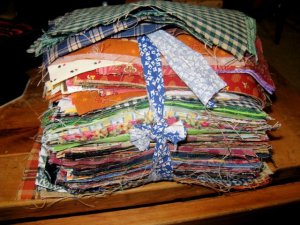
I received this little bundle of fabric scraps from my friend, Pam. I thought it would be a good idea to pull my turkey feathers from this group. This design could also be made with felt (like the Pumpkin Centerpiece pattern).
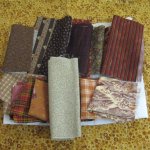
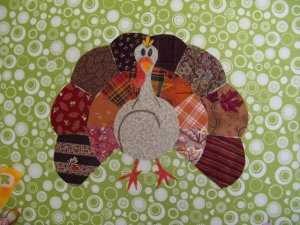
Here are my final choices for the body and feathers. The fabrics for the turkey are shown here are on a traditional fabric as a background choice.

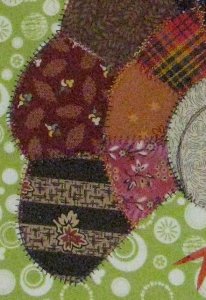
Here are four more choices for the background for the turkey. The top left photo shows a fabric that may be “too close for comfort” and the turkey won’t show up well. A solution for that would be to make a shadow appliqué piece (explained in the directions for “Blue Cat”). The top right photo shows a soft blue print…this actually looks like our fall sky. I think it is a pretty choice. The bottom left photo uses a vintage fabric and gives an antique look to the design. The bottom right photo is a crazy choice and it would add a lot of fun to the design. Each choice puts the turkey in a different kind of environment which changes the tone of the project.
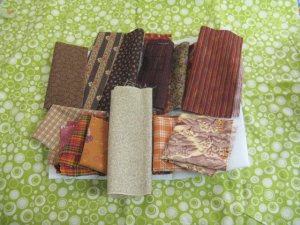
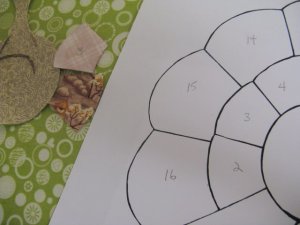
This is my final choice for the background fabric. The green is a strong color contrast to the feathers and there is a bit of whimsy in the print.
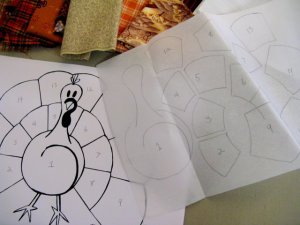
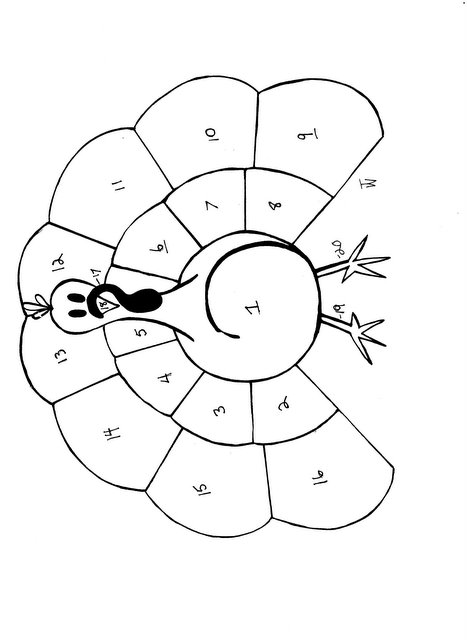
Trace each design piece onto the fusible web. (Follow the manufacturer’s directions.)
Number each piece.
Keep in mind that the design is reversed and that when you place each piece onto your background fabric, you will be reversing the design. You might want to copy the bird in reverse to help with placement of each appliqué piece. (This can keep confusion to a minimum.)
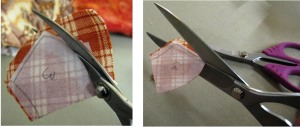
Fuse each shape to the fabric. When I cut out shapes, I use two pair of scissors…. Havel’s 5 ½ inch curved and 8 inch straight… this helps to cut out perfect curves and straight edges.
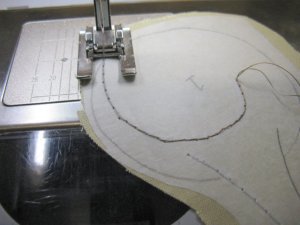
When tracing the turkey body, trace the details on the fusible web. Fuse to the fabric and using brown thread in the bobbin, stitch with a long straight stitch to outline the details. I stitch over each line four times using Star 30 weight cotton thread. I use an open toe appliqué foot and center the center line of the foot on the drawn line. Here, I stitch slowly. Then, cut out the shape and pull off the paper back and position in the middle of your fabric.
Start with the turkey body and, as you cut out each feather, place it around the body. Use the pattern as your guide. Fuse the shapes down when you have placed all the feathers. Next, cut and fuse the small details of the beak, wattle, head feathers and feet.
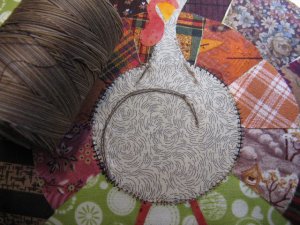
Here is a close up of the turkey body showing details stitched and body stitched to background.
Here is the turkey fused and ready for stitching.
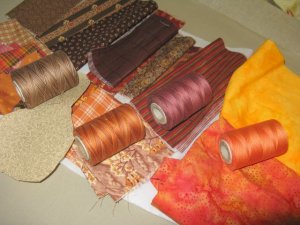
Here are threads to match my fabrics. I often use variegated threads to appliqué. The changing colors give a softer outline to the printed fabrics.
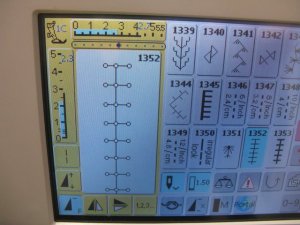
This is the cool stitch I use to stitch along the edge of the appliqués. I use the open toe appliqué foot and stitch along the space between the appliqué shapes. It looks like each side is stitched with a buttonhole stitch (saves a lot of time).
Here is a detail of the finished stitching. I like the way the stitch shoots out from the feather into the background fabric.
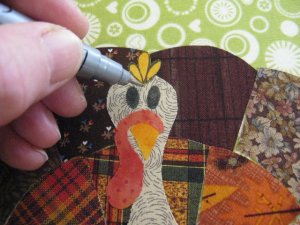
I used a permanent black pen to draw the eyes and detail the head feathers on the bird. I pressed it with a hot iron afterward.
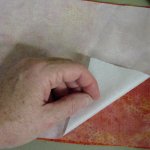
The decorative border fabric matches the turkey’s wattle and feet. Iron a piece of fusible web to the back of your border fabric. Tear away the paper.
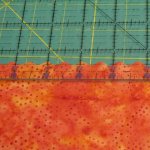
I used the wave cutter cutting blade and cut the edge of the fused fabric. (You can see how to use the wave cutter on my demo video for Havel’s on this site) For my second cut, I lined up my ruler with the inner dip of the scallop and measured ½ inch. This will make a border strip that is ½ inch wide in the center, with the scallop edge on both sides. I think the scallop border design echoes the feather shapes and the circle print in the background fabric.
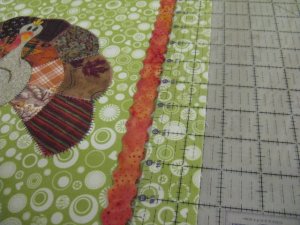
I used my ruler to measure 1 ½ inches in from each side. I placed the scallop edge of the border piece next to the ruler. Take the ruler away and fuse the border piece. Do this for each of the four sides of the panel.
Now, you can make this panel into a pillow!
 Turkey Love Pattern
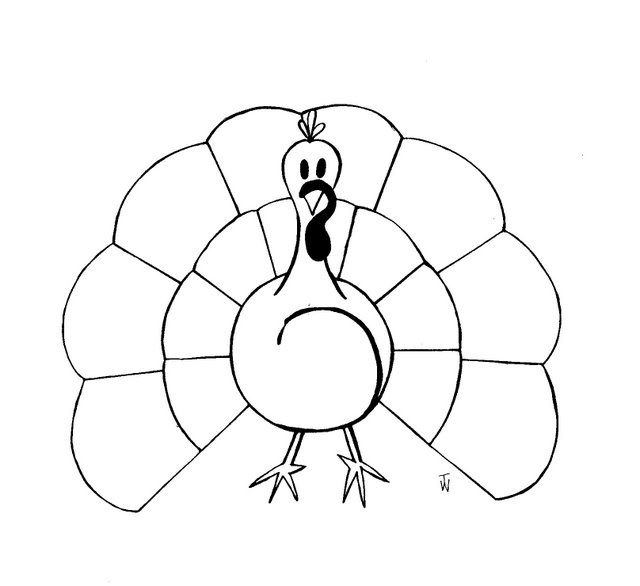
Little Turkey Love Pattern
This little turkey makes a great place holder card for the Thanksgiving Table. A person’s name can be written on his tummy.
Happy Thanksgiving!
Terry
CLICK HERE FOR TERRY’S FAVORITE APPLIQUE SCISSORS
Click Here To Learn More About Terry White