This project is in 12 parts. We will post 2 per week and by the end you will have created a beautiful quilt project which is perfect for the holidays!
On The First Step Of Havel’s Holiday Project,
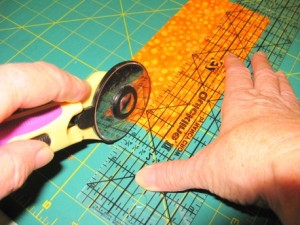
My True Love Is The Jumbo Rotary Cutter
Prepare Background:
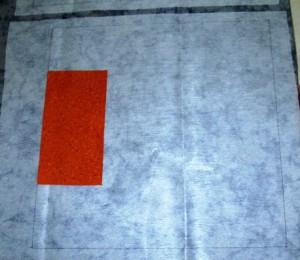
1. Trace a 13″ square onto the two pieces of medium weight fusible interfacing.
Set one aside.
2. Place one right side up (fusible side) onto your ironing surface.
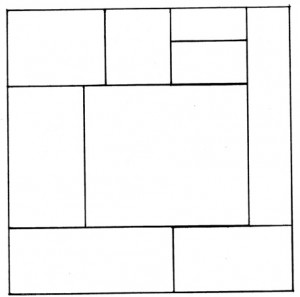
3. Enlarge the grid to a 13″ square and use it as a guide to measure and
cut your pieces. Use it also as a placement guide for your pieces.
4. Use Havel’s Jumbo Rotary Cutter to cut out rectangles and squares for the
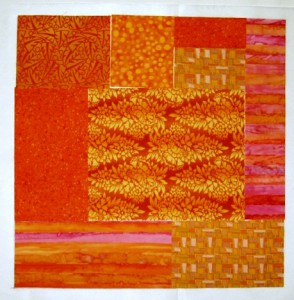
background of our design. I used warm orange fabric scraps.
5. Lay each piece onto the fusible interfacing. The pieces should be placed
side by side with no overlap.
6. Cover the 13” square with your patches. Press with a hot iron.
Next : On The Second Step Of Havel’s Holiday Project. . .
For a printable PDF, please click here.


