
by Jamie Fingal
Materials Needed:
- 2 pieces of wool blended felt in black and a coordinating color
- Cutting mat, ruler and rotary cutter
- Pre-fused scrap fabrics, and fabrics from your stash
- Mistyfuse
- Parchment paper or Goddess sheets
- Bamboo felt – in a few bright colors
- Pinking Shears
- Iron
- Sewing machine
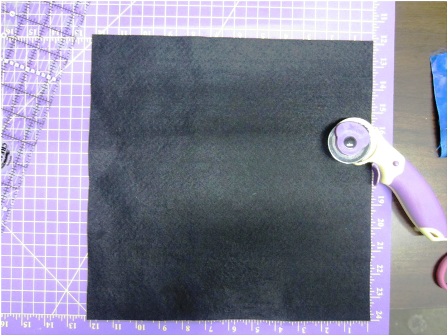
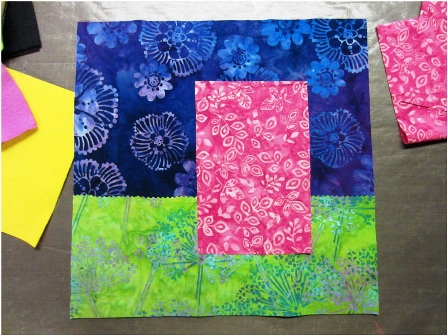
Start by cutting a piece of wool blended felt (black) for your foundation 12×12 inches.
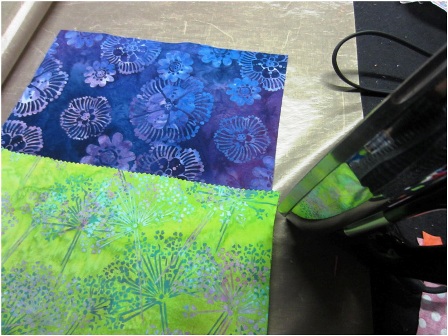
Select fabrics for the background – blue for the sky and green for the landscaping. The sky fabric should cover about 2/3rds from the top. I used pinking shears to cut the top of the green landscape fabric, to add some fun. Iron into place.
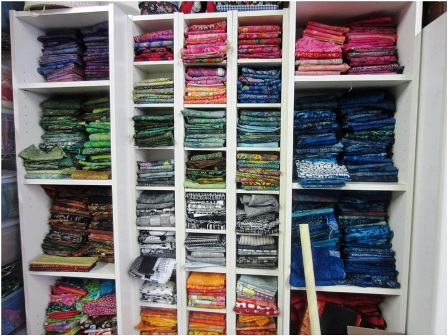
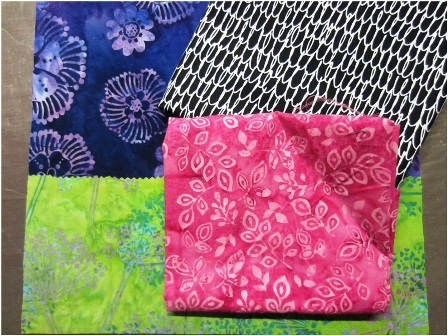
 Auditioning fabrics. This is the main part of my stash of fabrics, and Batiks are center stage, because that is what I use most in my work. Select fabrics that are the same value. The majority of my fabrics all go together, because ‘brights’ are my color palette. There is not one pastel in the bunch.
I kept thinking of my theme for this house quilt, so it was easy to select the fabric for the house, something bright and cheerful.
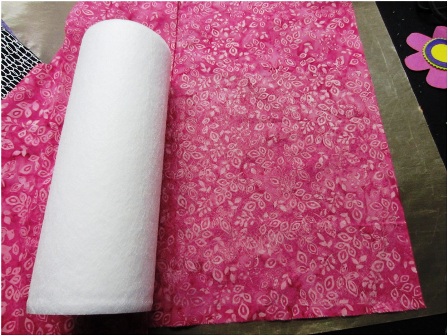
This is a 12” roll of Mistyfuse, that is oh so easy to use.
Roll it out onto your fabric, and cut.
Place parchment paper or a Goddess Sheet over the top and press with an iron on the ‘cotton’ setting, no steam. Press in a circular motion, making sure that all of the edges are secure. As you fold back the sheet, you can clearly see which side is fused, because of the shiny appearance that is visible. Cut the around the entire piece, trimming off the parts that are not fused.
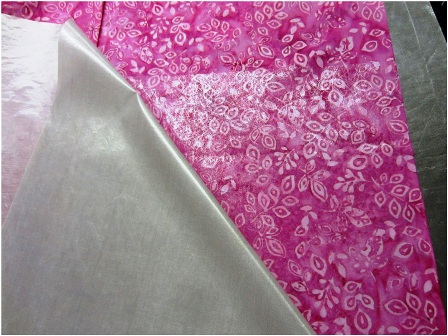
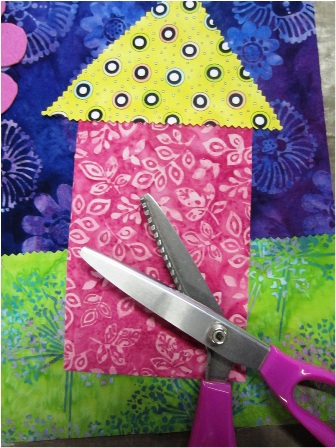
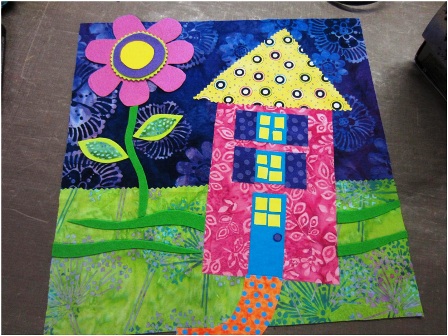
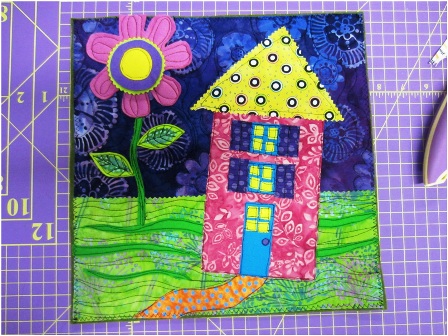
Figure out the placement of your house.
After looking at black and white fabrics that I would usually use for the roof, I decided on a yellow roof because it was more Spring like. I cut the fabric edges with pinking shears, and ironed into place.
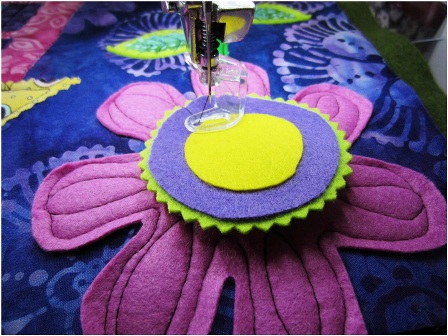
The Bamboo felt flower is about 3” in diameter. Then I cut three other colors for the center. I would recommend 2 for the center, because when you sew them onto the quilt, your needle will be going through 6 layers of felt, and this is where I broke a needle. So please be careful.
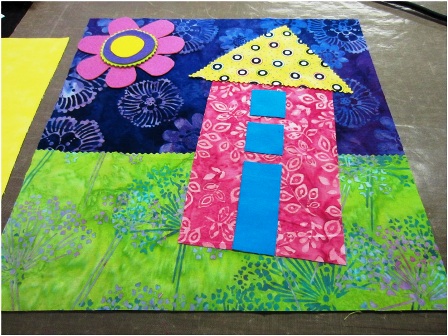
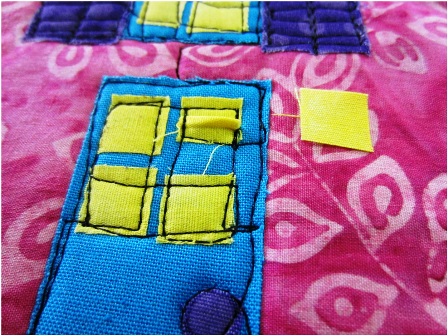
The windows and door are made with solid robin egg blue fabric (leftover from another project). I don’t use solids in my work, so this is a stretch, even for me. You could add more windows, but I decided that I wanted to add shutters to the windows, so there wouldn’t be room for more windows. Keep it simple, I keep telling myself.
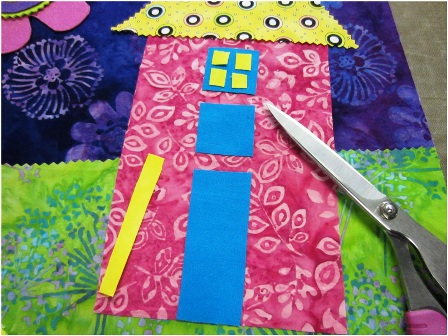
Cut small squares for each of the windows. This is when Havel’s 8″ Serrated Scissors, really come into play.

After you have placed all of the window panes where you want them, iron carefully into place. They don’t have to be perfect.
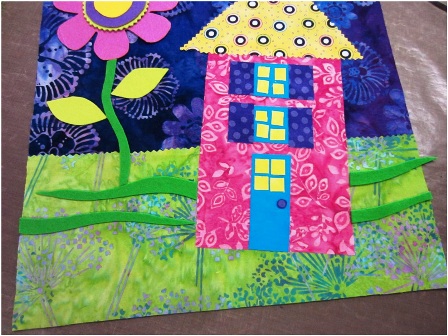
The Bamboo felt can be fused with Mistyfuse, and it adheres pretty well to the art quilt. When it gets heavy, like the flower, it won’t stick. Just know that going in. Cut the stem and leaves, and the extra curvy pieces in the landscaping. These add depth, color and texture to your piece. Add a tiny circle to the front door.

It’s looking good! Now you can add the walkway. An inviting part to the landscape!
Now we are ready for the backing. I am using a piece of wool blended felt from National Nonwovens TOY002, sage green. Cut it a bit larger than your top piece. You can pin it if you feel more comfortable in securing the top to the backing.
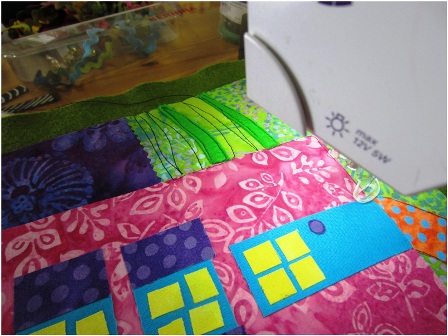
Take it to the machine. I started with the landscaping on the right side and then moved onto the house. My thread choice, black Isacord 40 weight poly thread.
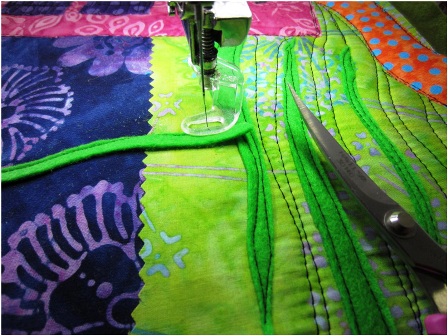
Free motion quilt the landscape, and make sure the felt does not flip up when sewing it into place. You can secure it with one hand when you put the needle down, and then proceed to sew it down.
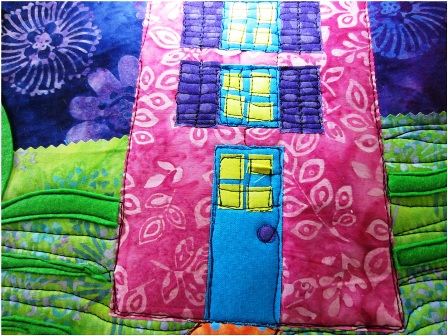
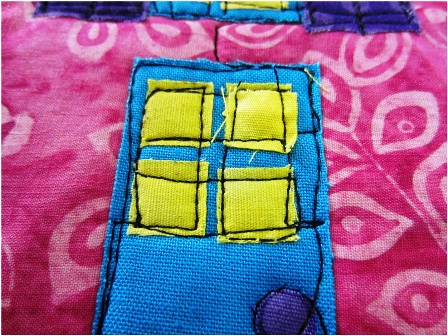
I am not about perfection, but more about having fun with what I am doing – hence free motion quilting. However, I seemed to have had a little mishap on one of the windows and I am going to have to fix that window, because it doesn’t look good.
To fix the window, I cut out another window piece that has Mistyfuse on the back. I am simply going to iron it into place over the messed up window.
The window has been repaired, and sewn into place, and know one would ever know. Whoohoo!
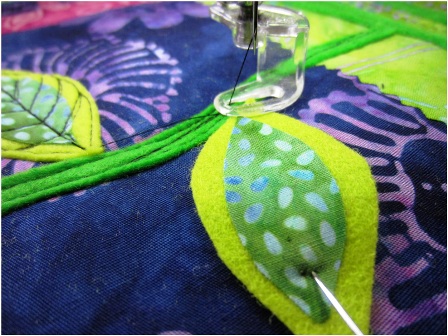
For the two leaves of the flower, I added fused fabrics inside for added interest. I used one pin, just so the leaf would be anchored in the right position, before free motion machine quilting it’s leaf design on the inside.
The flower.
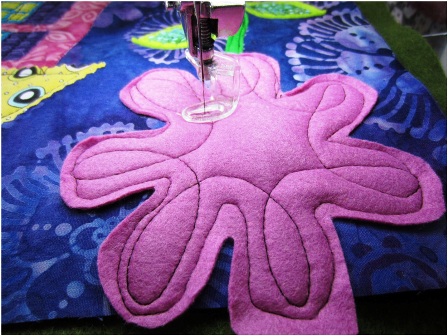
The center of the flower is where you want to use less Bamboo felt. I was sewing through 6 layers of felt and broke my needle, because it was simply too thick. You could have 1-2 contrasting colors, and call it a day.
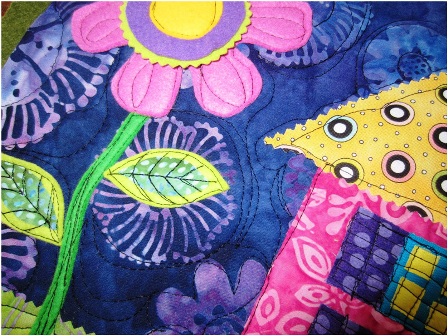
In free motion machine quilting the blue background, I just echoed the flower motifs on the blue fabric, in and around the flower, and the leaves. Easy-peasy. An alternate method would be to free motion machine quilt the background, before you add the flower, stem and leaves.
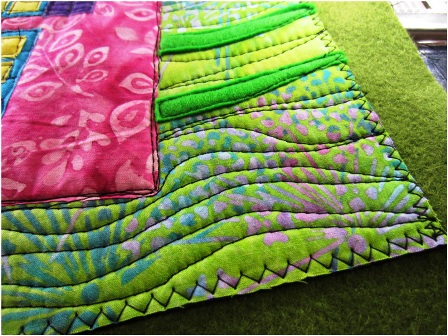
Finish the edges by sewing a zigzag around the entire art quilt, making sure to anchor your stitches at the beginning and end.
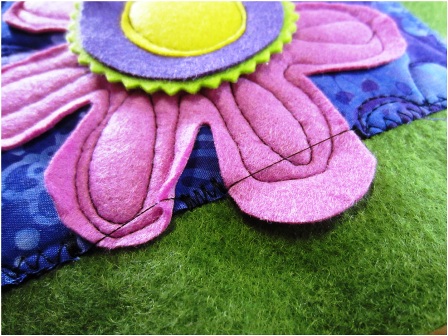
When you get to the flower, anchor your stitches before you skip over a petal, then anchor again, when you start stitching. Repeat when you go over the next one. Cut the threads on the front and back that cross the petals.
When cutting the edges, use a rotary cutter and ruler to trim the green felt, just so you can see it from the front.
Here’s what the back of the quilt looks like. I think it looks so cool to see the
stitching lines!
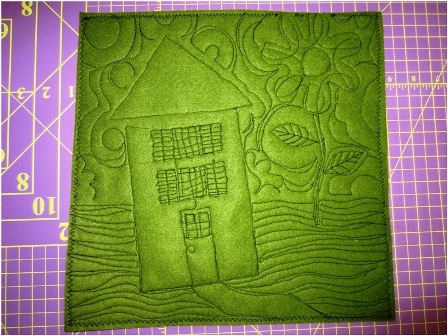
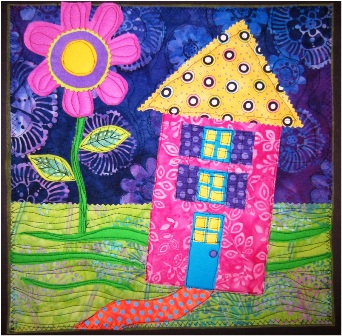
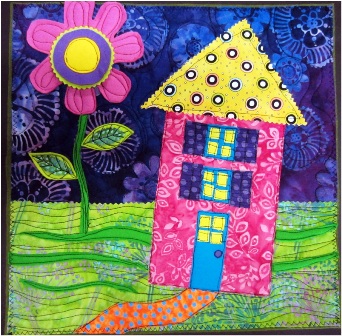
The finished Spring House!
I invite you to email me at Jamie.Fingal@gmail.com to share your own house creation!
 Jamie Fingal is an artist, author, teacher, fabric designer, and curator who hails from Orange, California. An award winning artist and the author of the book Embellished Mini Quilts. Her whimsical and abstract work has been juried into International quilt exhibitions, featured in many books and various magazines and has two instructional DVD’s – The Whimsical House Quilt and Rebel Quilting. She has been a guest on Quilting Arts TV numerous times. As well as being the other half of the curating team of Dinner at Eight Artists, with Leslie Tucker Jenison. You’ll find her work in private, public, churches, and corporate collections, www.jamiefingaldesigns.com.

2 Responses to Free Craft: Spring Bloomin’ House