
Birds on a Stick
By Liz Kettle
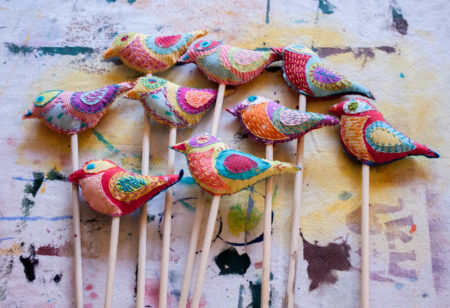
Create a flock of fabulous feathered friends with this fun summer stitch project! I like to have a bunch of birds ready to go for a travel stitch project. What I especially love about small projects is that I feel free to experiment with stitches and colors…go wild and play!
Supplies:
Craft felt
Assorted fabrics-scraps are fine
Misty fuse or similar fusible web
Assorted threads: WonderFil perle cotton 8 wt and Spagetti 12wt are two favorites
Chenille or embroidery hand sewing needles
Havel’s 5 ½” curved embroidery, 8” sewing and Teflon coated scissors
Marking pen/pencil or Sharpie marker
Polyester stuffing
Dowel and craft glue
Steps:
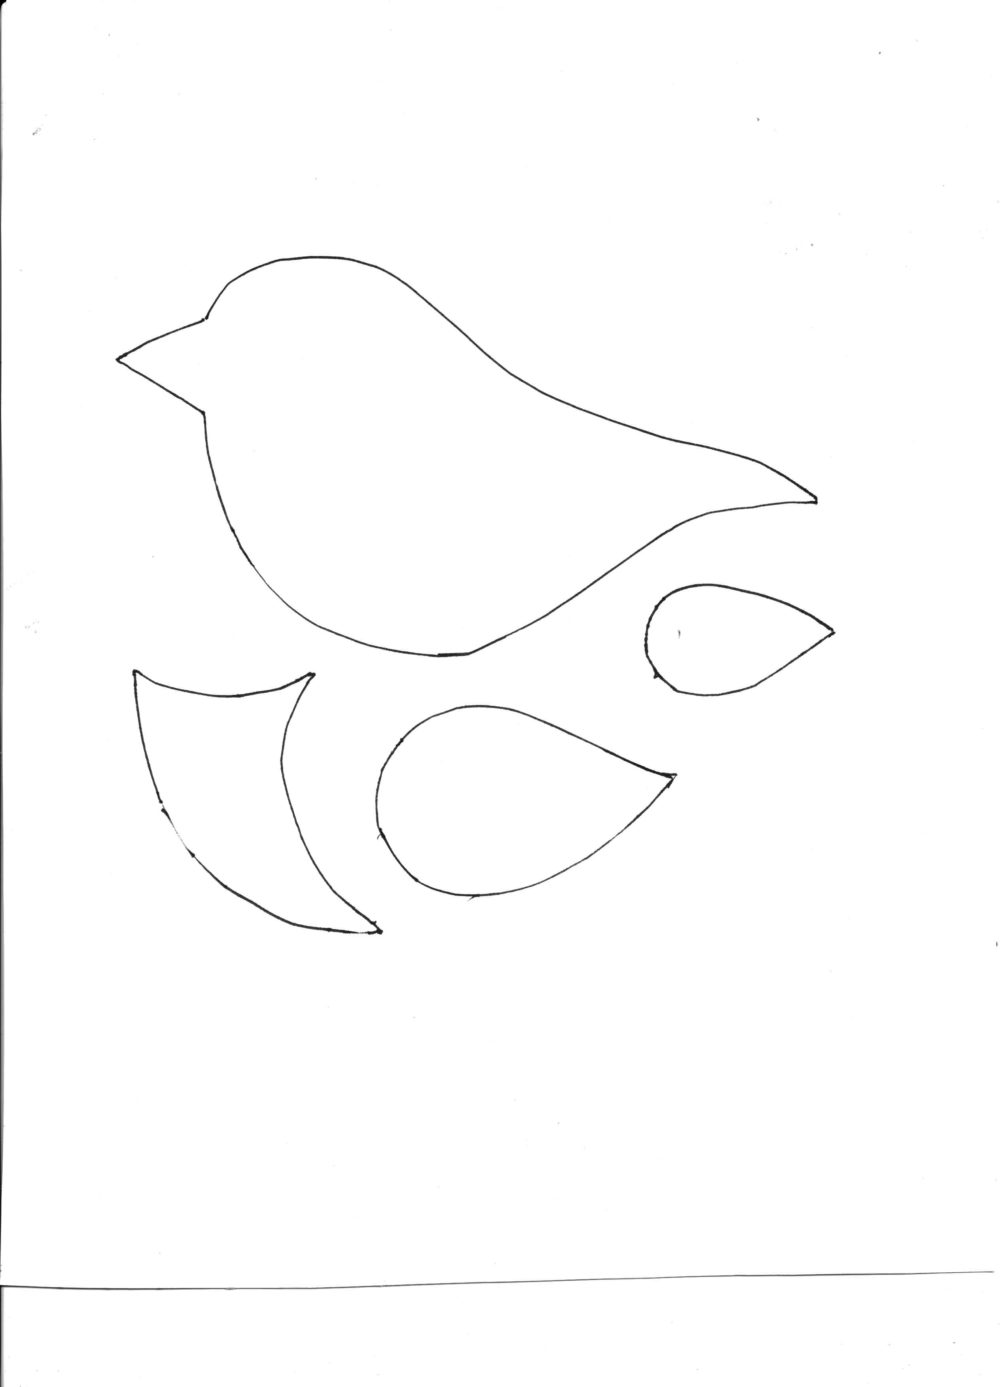
- 1. Print out the bird pattern and create a template using template plastic or thin cardboard. Cut out the template shapes. Use Havel’s Teflon coated scissors to cut out the templates. The micro serration helps you cut on the line even on slippery plastic.

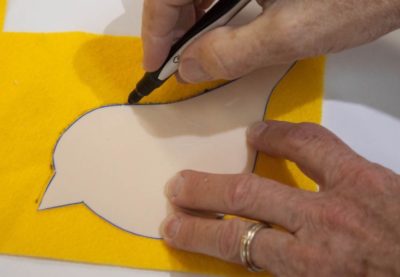
- 2. Trace the bird body on the felt with the marking pen
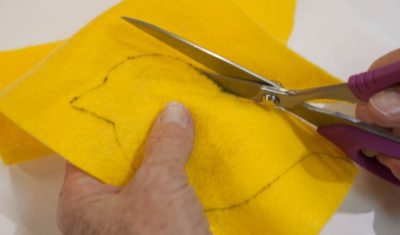
- 3. Cut out the felt using Havel’s 8” sewing scissors. You need two pieces of felt for each bird. The colors don’t have to match. Set aside one for the back of the bird.
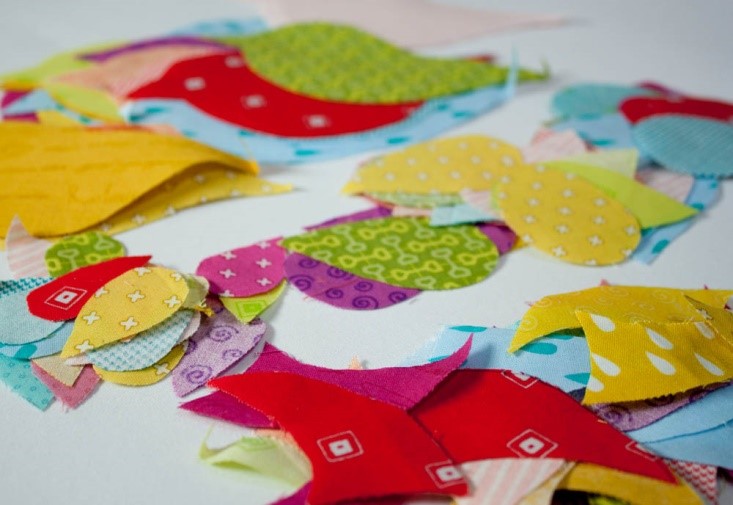
- 4. Following manufacturer’s directions apply fusible web to the back of your fabrics. Trace the bird body, breast, and wing pieces on the chosen fabrics and cut out using the curved embroidery scissors. Cut out a lot of bits so you can mix and match.
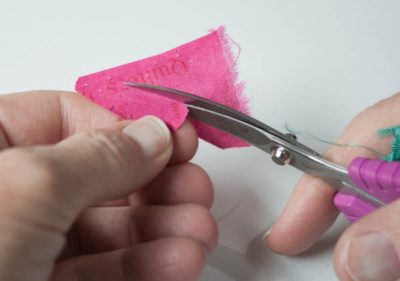
- 5. Free cut a small circle for the inner eye. These curved embroidery scissors are my go to tool for cutting smooth curves. I know they are made specifically for cutting threads close but once you try them for curves you will want a few pairs….trust me. Opps, almost forgot. Cut out a triangle for the beak too.
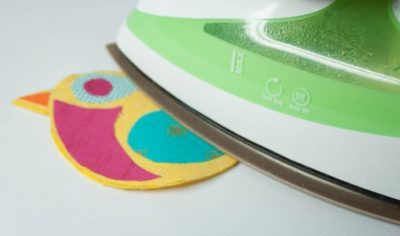
- 6. Fuse the bird body to the felt. Arrange the breast, wings, eye and nose on top of the bird body and fuse in place.
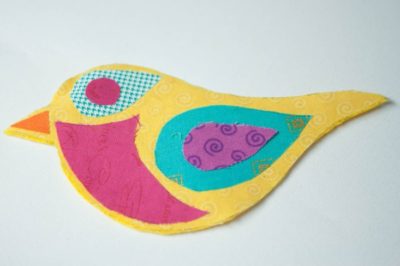
- 7. Now the fun begins, embellish your bird with stitches! The stitches I used the most are straight, cross, fly, and knots but feel free to use any stitch you love. I use both WonderFil Spagetti 12 wt. cotton thread and WonderFil Eleganza 8wt perle cotton. They come in such luscious colors, don’t be afraid to play with all the colors. They don’t need to match!
- 8. When you are finished stitching details on your birds, grab the remining felt bird for the back. Place them wrong sides together and beginning in the middle of the belly, stitch around the outside using a running or whip stitch. Leave 1 – 1 ½” unstitched at the belly.
- 9. Stuff the bird with polyfil making sure to get it into the beak and tail. Then stitch the opening almost closed. Leave just enough room to insert the dowel rod. Put a small amount of craft glue on the top of the dowel and insert it into the opening on the bird. Stitch the remaining opening closed.
- 10. Ta-Da! You have a Bird on a Stick. I know you want to go make a bunch more now….have fun,
- Liz
- Stitch directions
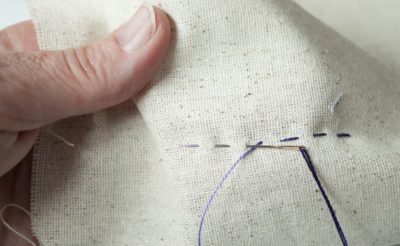
Straight or Running stitch- The straight stitch can be stitched as a single line or in patterns. Be sure to keep the needle on top of the fabric when you are stitching to prevent hand fatigue.
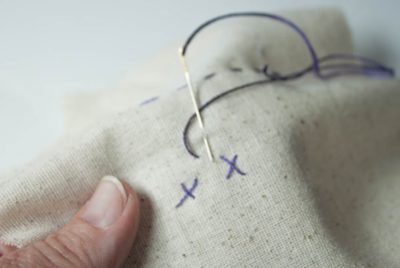
Cross Stitch- A variation of the straight stitch, traditionally the cross stitch is created in rows but I love to make single cross stitches and scatter them all over the place or use them in unusual ways. Vary the size and angle of the cross over stitch.
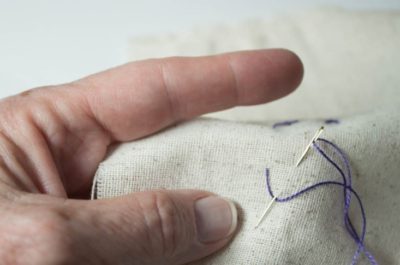
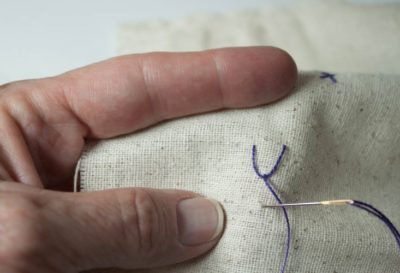
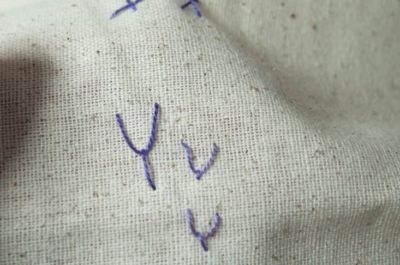
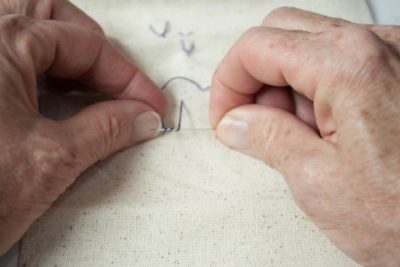
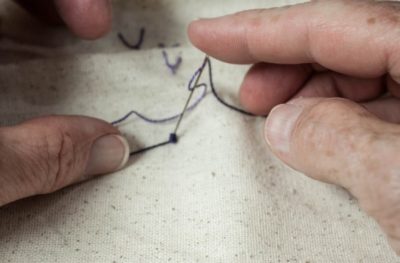
Fly stitch- When making the fly stitch think of a V shape. Knot the thread and come up from the back of the fabric. Put the needle back into the fabric a small distance from where it came out (the other top point of the V) and bring it out a similar small distance away (the bottom of the V). Put the needle back into the fabric either a tiny distance or larger distance away.
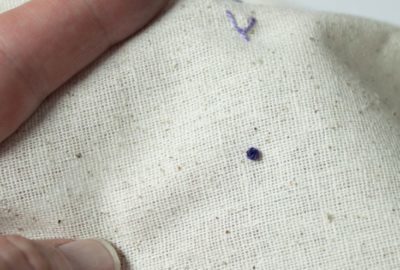
Knots- Knot the thread and come up from the back of the fabric. Hold the thread in your non-dominant hand and wrap the thread around the needle 3-4 times. Put the needle back into the fabric very close to where the needle came out. Hold it taut as you take your needle back into the fabric to create a knot.
7 Responses to Birds On A Stick