
Tips for Travel Sewing
by Jessica Schunke
@blueskycrafter
I took up hand sewing several years ago after taking a needle-turn appliqué class with Carolyn Friedlander. After a few short hours, I was hooked. I loved the slow, thoughtful method and how portable it is. You mean I don’t have to stop sewing just because I’m not behind my machine? I’m in.
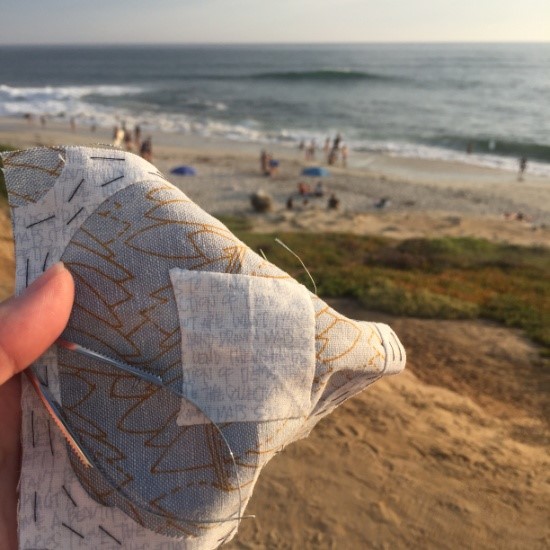
And this latter reason is, of course, why so many of us love hand sewing (in any of its many forms – appliqué, EPP, and so on) – its portability. We lead busy lives, and it’s wonderful to be able to continue our creative outlet while traveling or sitting by the pool or watching our children’s soccer games. It’s also handy for get-togethers with fellow hand sewers. My guild hosts a hand-sew happy hour one evening each month at a local coffee shop, and it’s one of my favorite events on the calendar.
After several years of hand sewing on the go and trying a ton of different notions, I’ve definitely found some favorites. I hope this post gives you some ideas for your own travel bag and maybe your next project.
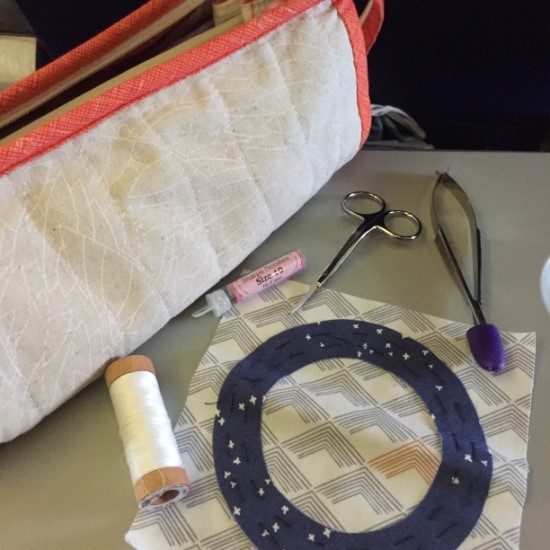
One of the most important notions in your travel bag are, of course, your scissors. The last thing you want when you’re out and about is to need to cut some thread or trim a bit of fabric and find your scissors aren’t up to the job. I have two favorite pairs of scissors, my Havel’s 3.5″ Double Curved Embroidery Scissors and my Havel’s 4.75″ Snip-Eze Embroidery Scissors.

They are both super sharp and have a very fine point that lets you cut accurately, right up close to the fabric. The curved scissors are especially helpful for making sure you don’t cut into the fabric. They’re also small enough to fit easily into any travel carrying case and pass right through airport security, following all travel regulations for scissor size. The Snip-Eze scissors also come with a small rubber tip to cover the point, which helps to keep them from poking through your bag (or poking you unexpectedly!) when not in use.
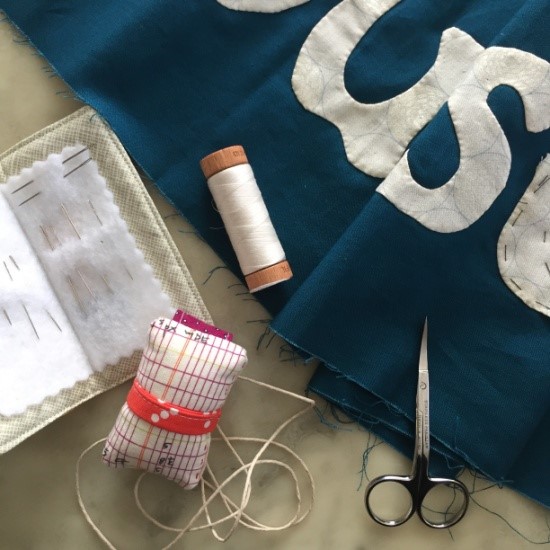
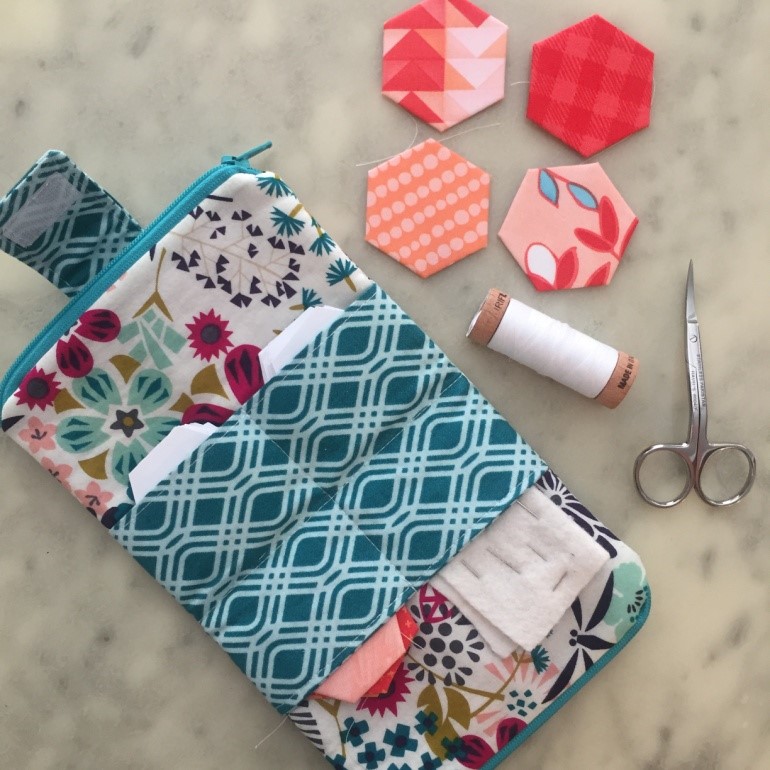
Another must-have for my travel sewing is a small needle book. I love this one I received as a gift several years ago, and they’re so simple to make.
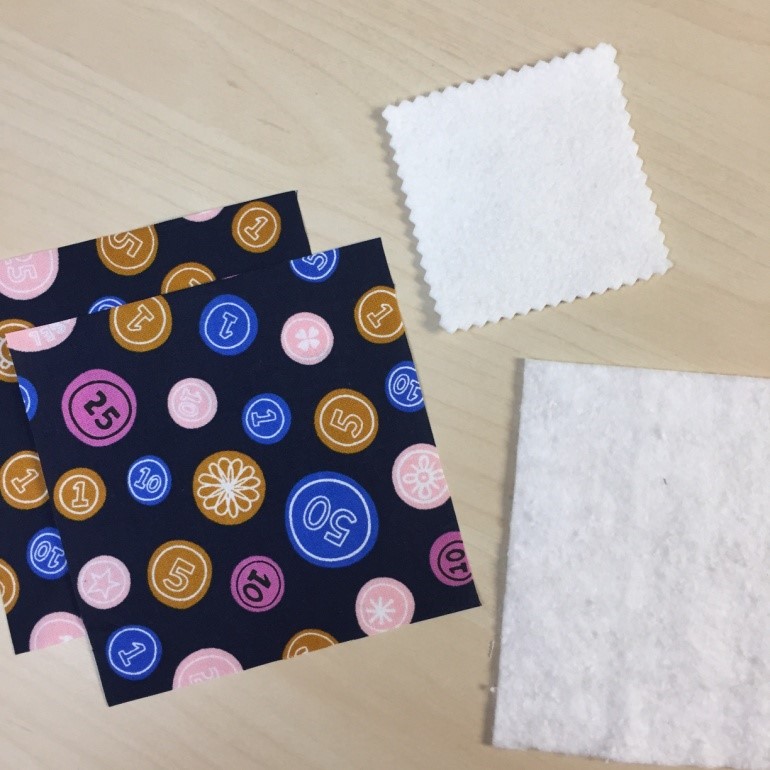
Supplies:
(2) 4.75” squares printed fabric
(1) 4.75” square batting scrap
(1) 3” square piece of felt, edges pinked (optional)
Coordinating thread
(1) Layer the two pieces of fabric right sides together, then place on top of the piece of batting. Using a ¼” seam allowance, sew all the way around, leaving a 2” opening on one side to turn it out. Clip your corners.
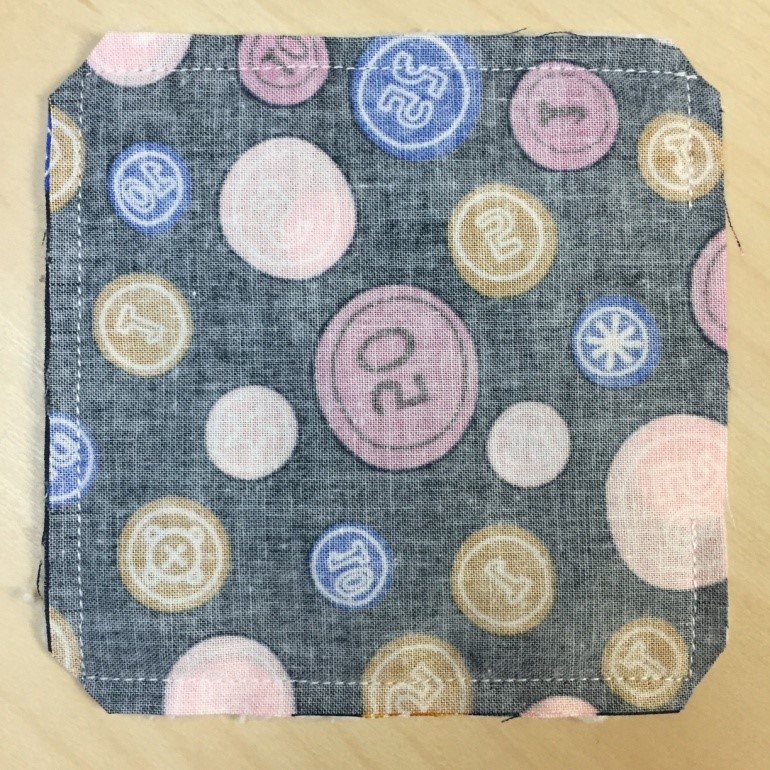
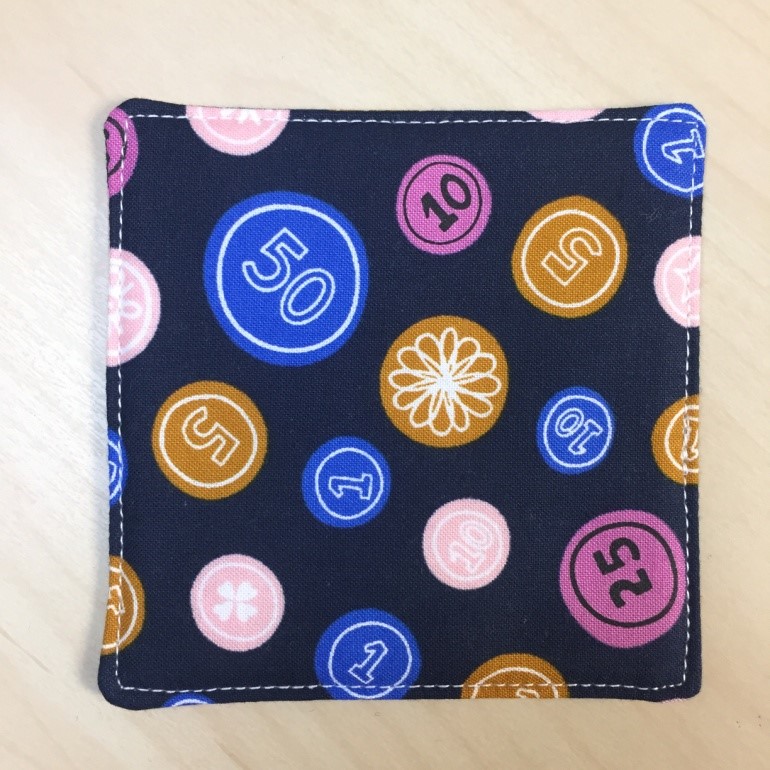
(2) Turn the needle book inside out. Use a bodkin to push the corners out so they’re nice and square. Topstitch 1/8” from the edge all the way around, closing the opening as you go. Press.
(3) Fold the book and piece of felt in half to create a crease.
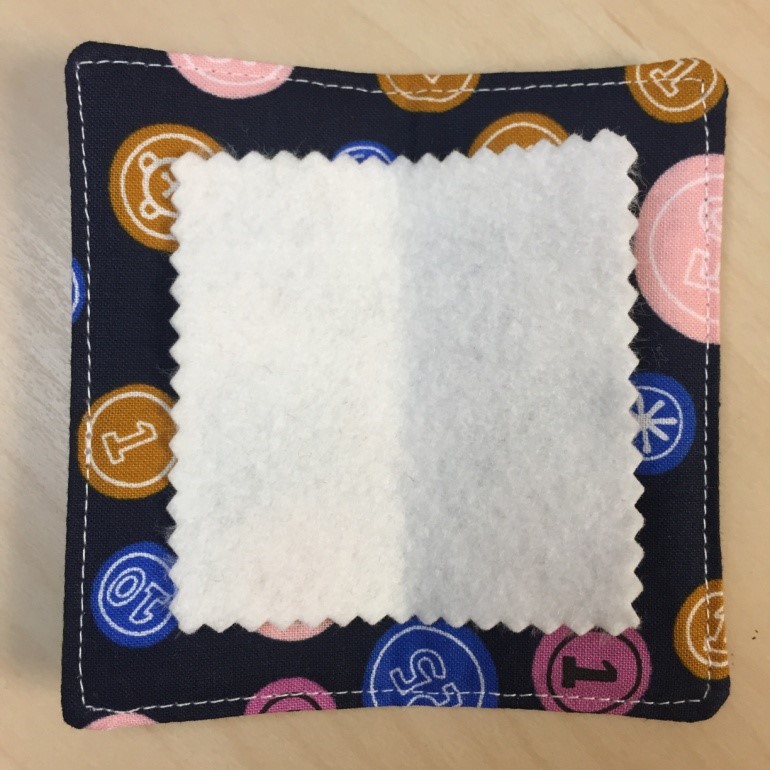
(4) Center the piece of felt on the inside of the needle book and topstitch a vertical line down the middle of the book. You’re all done!
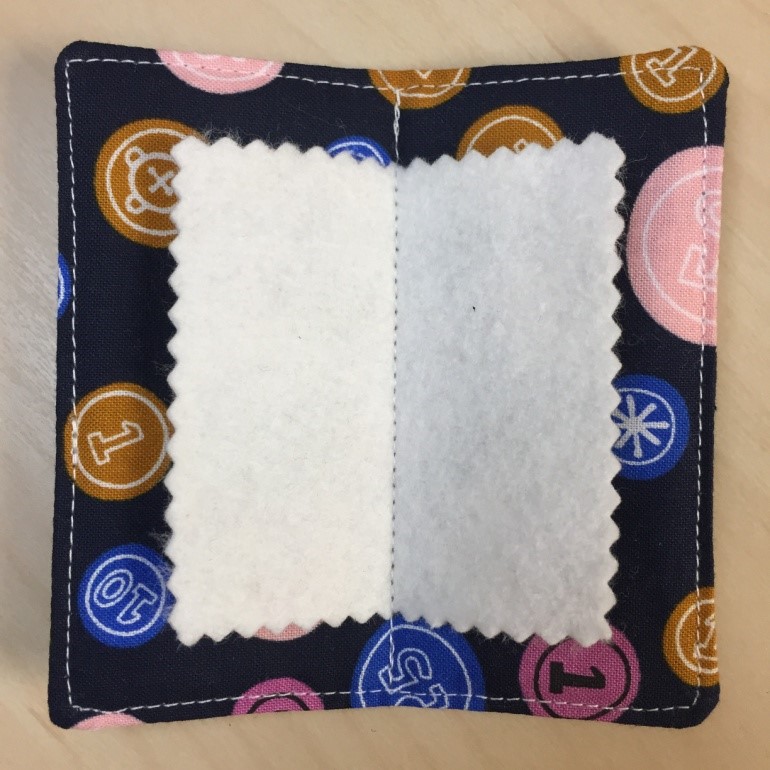
This needle book is just the right size to fit in my travel sewing kit, but it’s also large enough to fit several needles in a variety of sizes and types. These also make great gifts for sewing friends, and you can knock out several in no time.
Finally, it’s important to have a good carrying case for all of your travel items. I have two that I love and use all the time, but there are a million tutorials out there for a variety of cases, so feel free to look around and experiment until you find one that fits your needs. Some have needle holders sewn in, others have vinyl pockets so you can see what’s in them, and some have holders for multiple spools of thread.
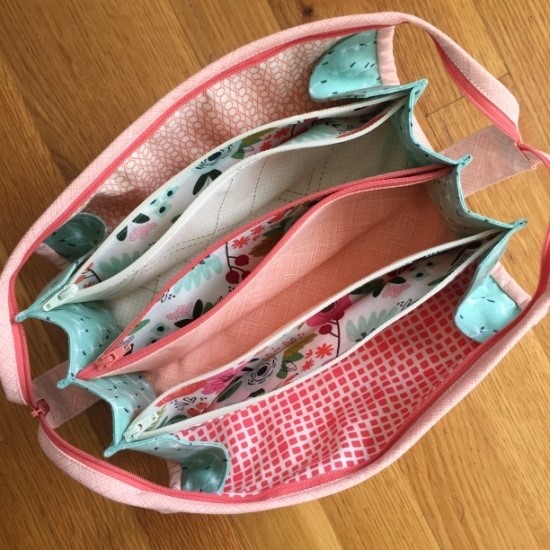
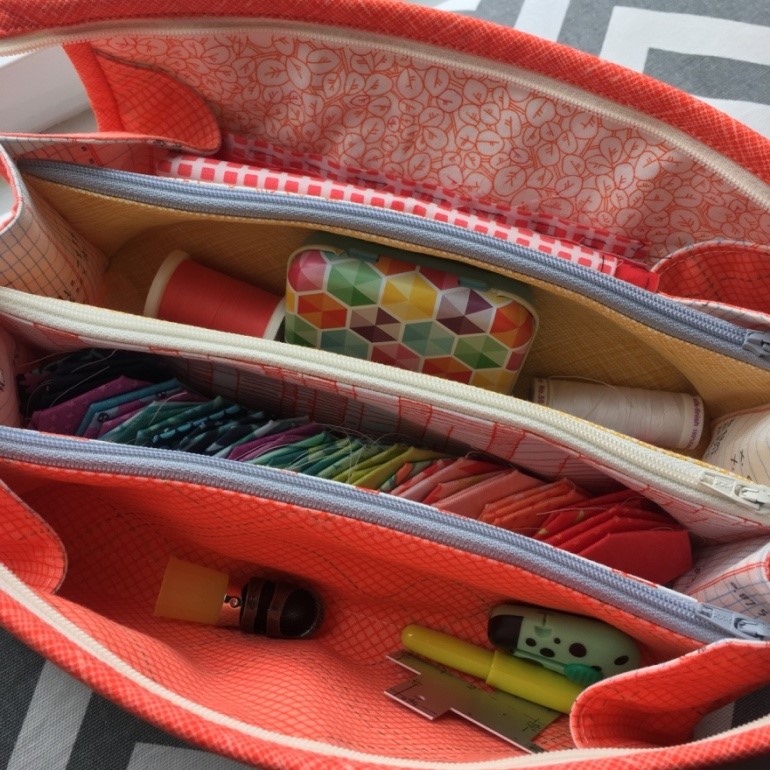
The travel sewing case I use most often is my Sew Together Bag (pattern by Sew Demented). These bags are insanely popular and for good reason. They are big enough to hold a ton of supplies but small enough to easily slide into a tote bag or airport carry-on. I use mine for all of my appliqué projects. I’ve also made a few others as gifts. The three roomy zipper pockets and four pocket slots are an organized girl’s dream and give me enough room so I don’t have to be too picky about which supplies I choose to bring with me.
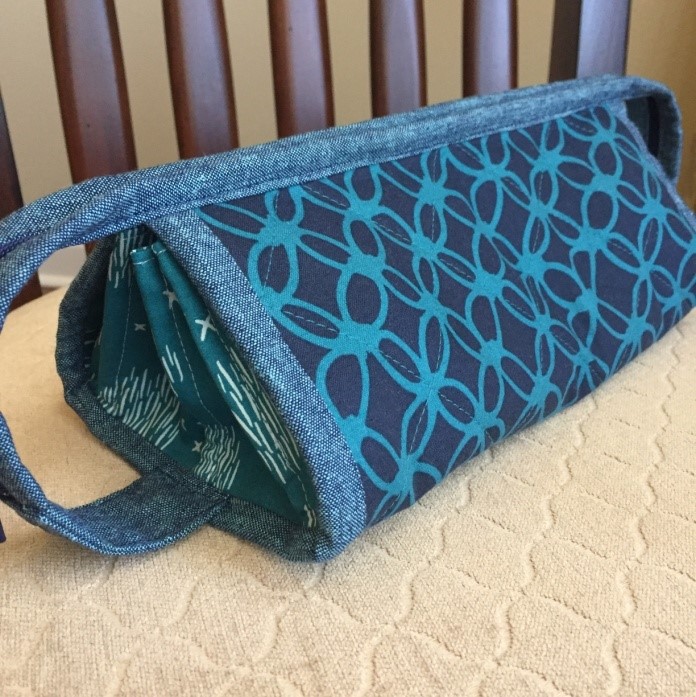
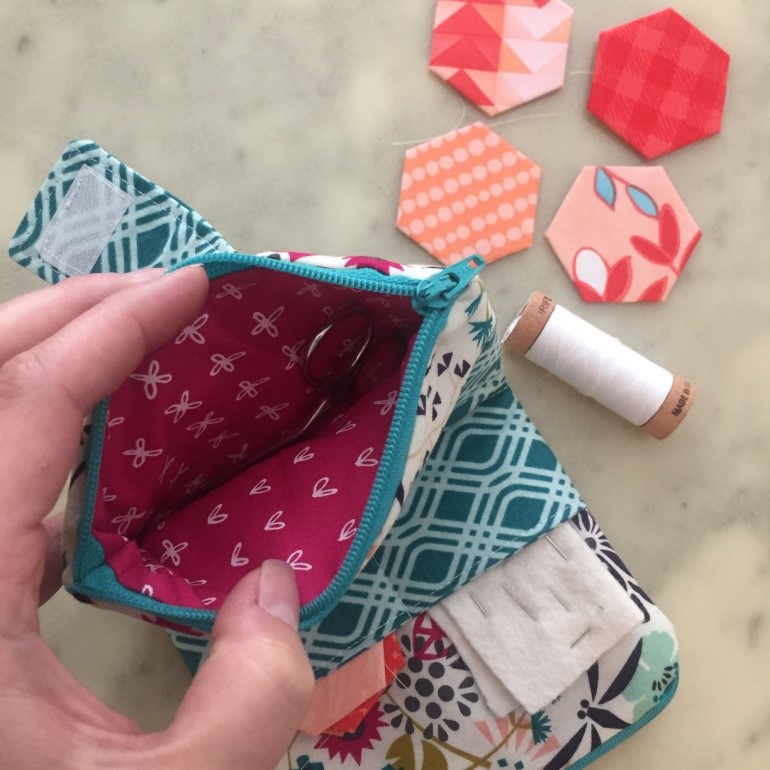
My other travel sewing case is perfect for hexies and EPP. The double-zip clutch is from Heidi Staples’s fabulous book, Sew Organized for the Busy Girl. The full-size version is actually great as is, but the mini version is perfect for holding just the essentials.
To make the mini (an idea borrowed from Heidi’s blog), I cut the original measurements in half and left out the interfacing on the pocket linings. Easy peasy! And boy is this little guy handy. The open pockets fit 1” hexies perfectly, and the zipper pockets fit needles, small spools of thread, a thimble, and a small pair of scissors, including my favorite Havel’s 3.5″ Double Curved Embroidery Scissors. If you’re an EPPer on the go, it’s hard to beat this set up.
I hope this post has given you some ideas for how to improve your sewing on the go! Happy sewing!

Jessica Schunke
Sewing, baking, editing Texan living in the Midwest. STLMQG President. Havel’s Sewing Ambassador (use code “blueskycrafter7” for $7 off orders $25+).