
Havel’s School Pencil Pouch
By Emily Lang
emedoodle@yahoo.com
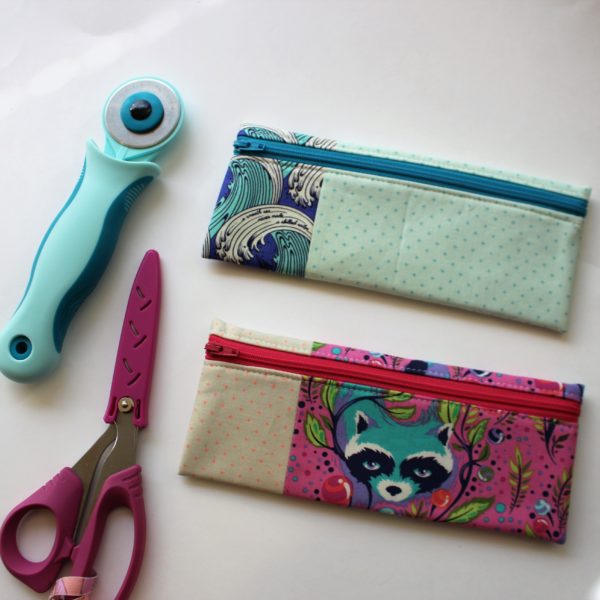
Finished size: 3.5” x 8”
Use 1/4” seam throughout unless specified.
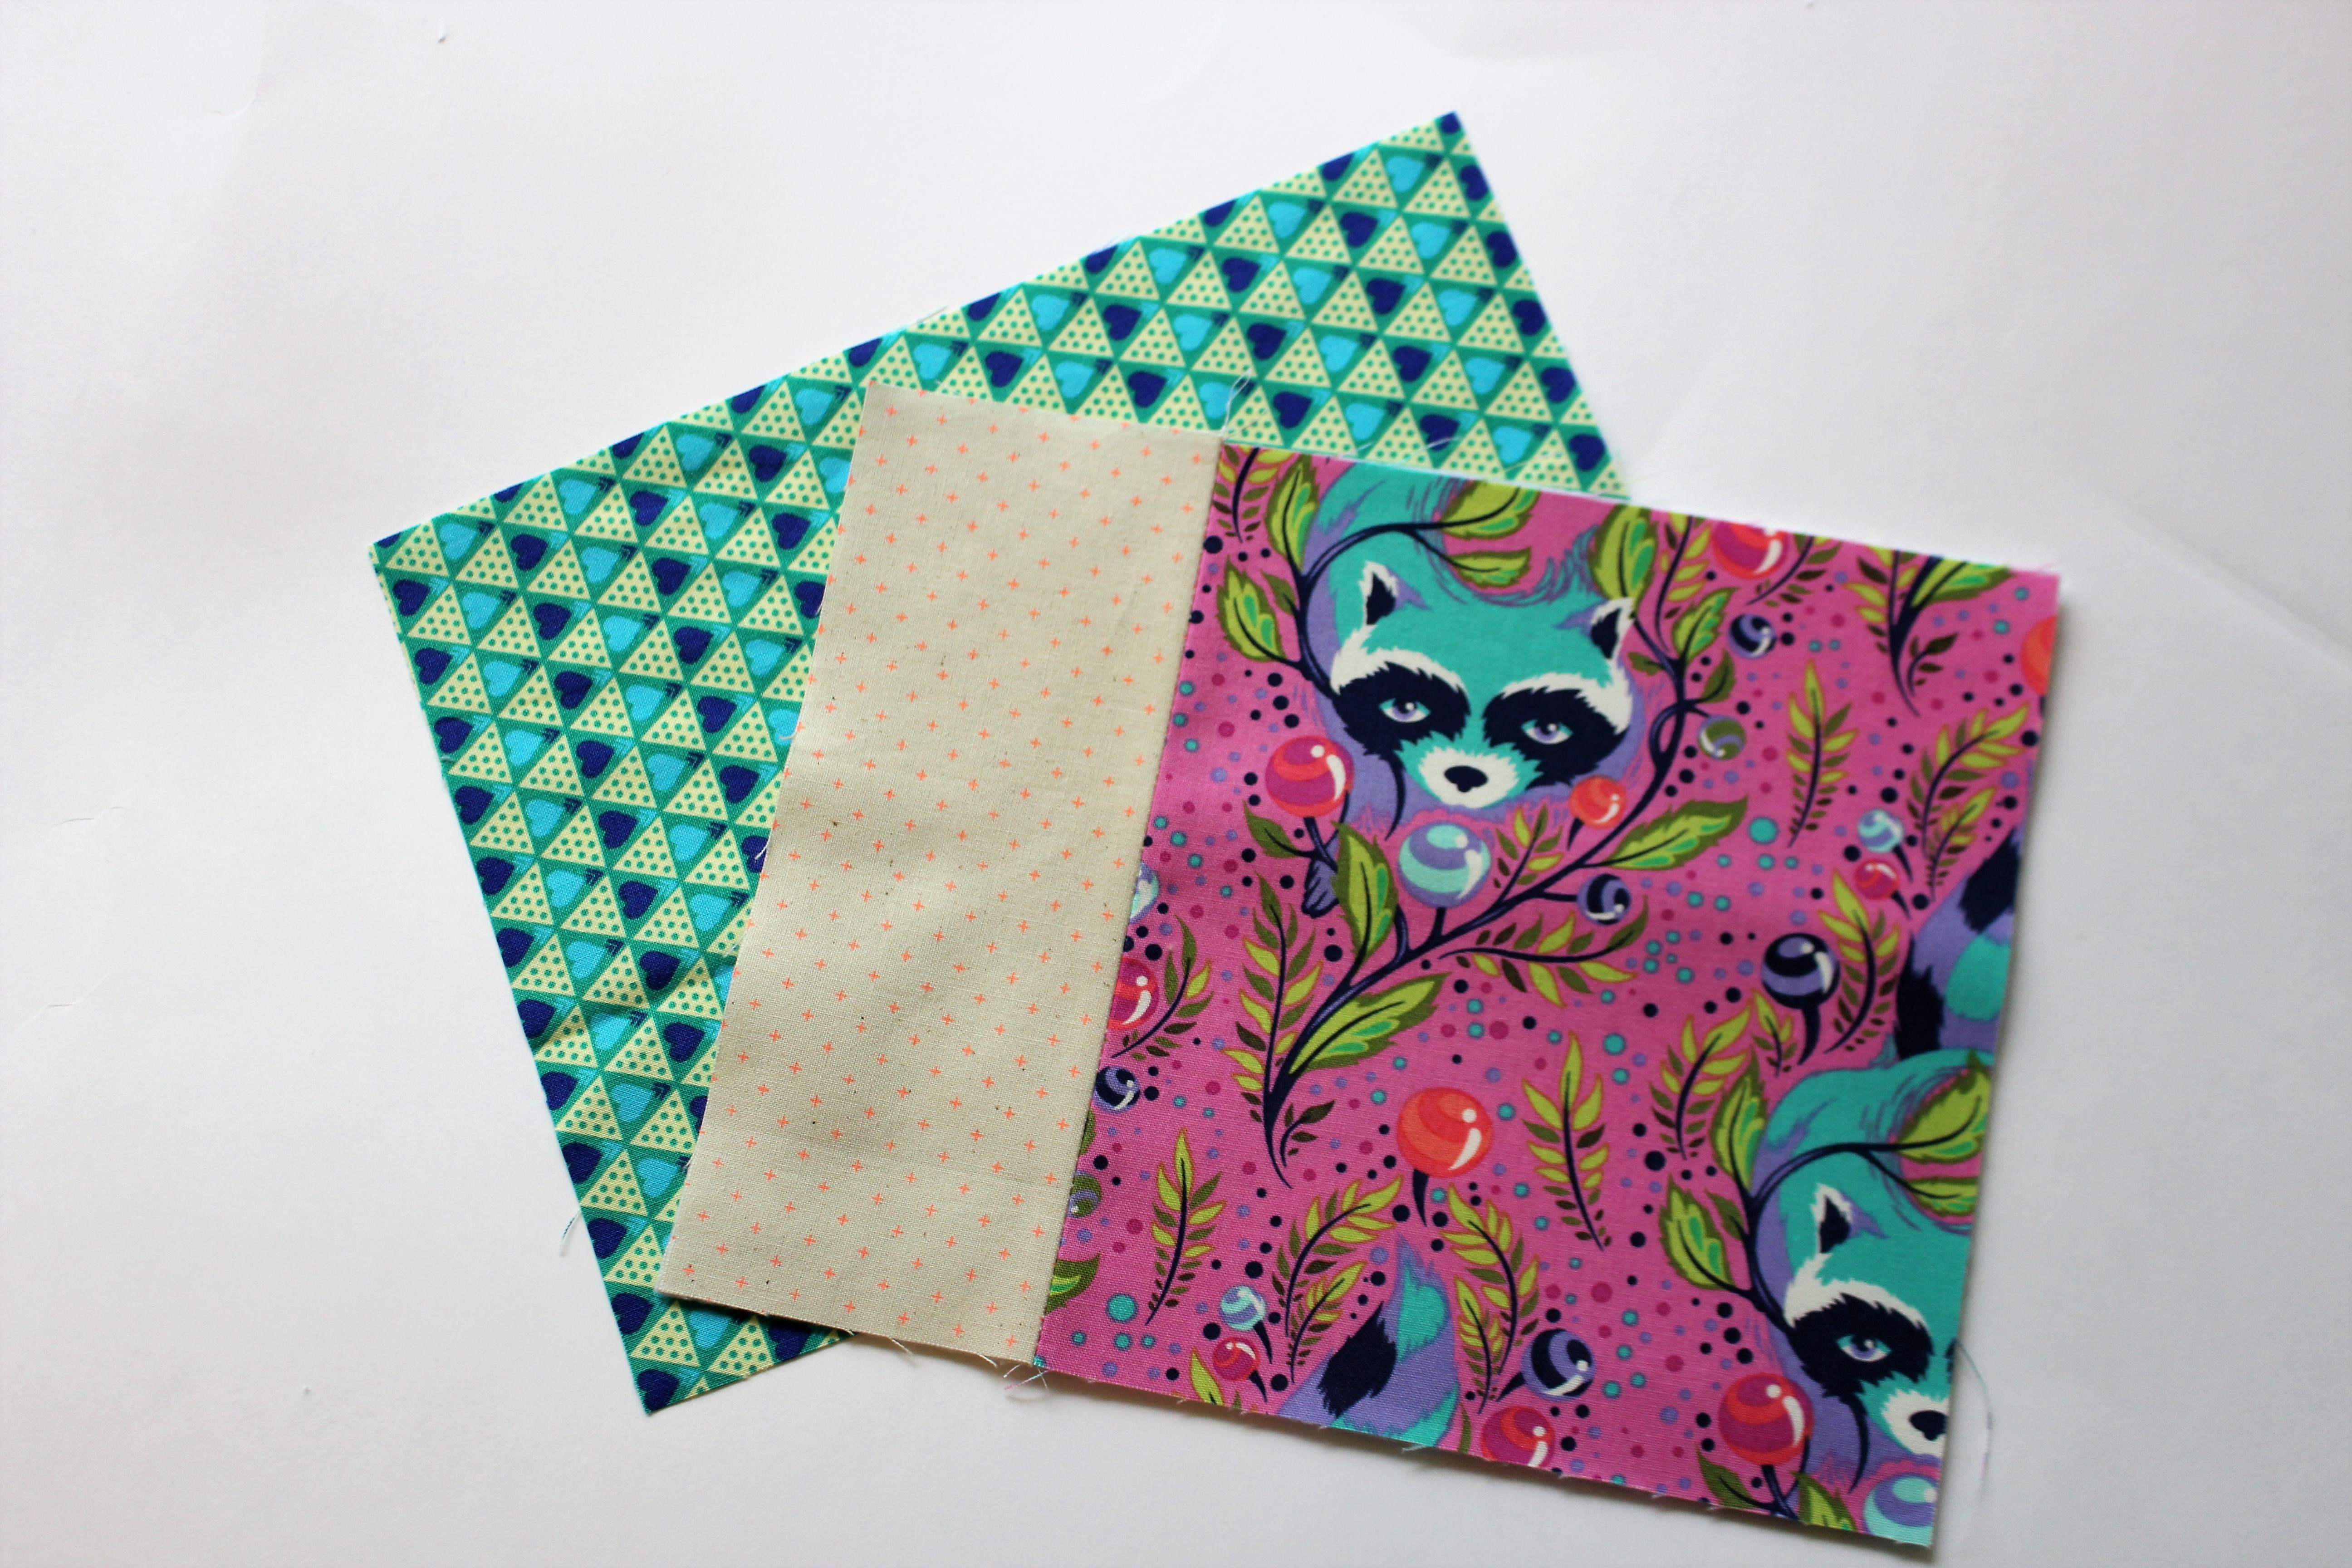
Fabric:
Scraps of three fabric
Materials:
*10” (or larger) plastic coil zipper
*9” x 7” piece of Pellon 987 Fusible Fleece (or scraps of low loft batting may be used)
Tools Needed:
*Basic sewing and quilting supplies
*Zipper foot
Cutting Instructions:
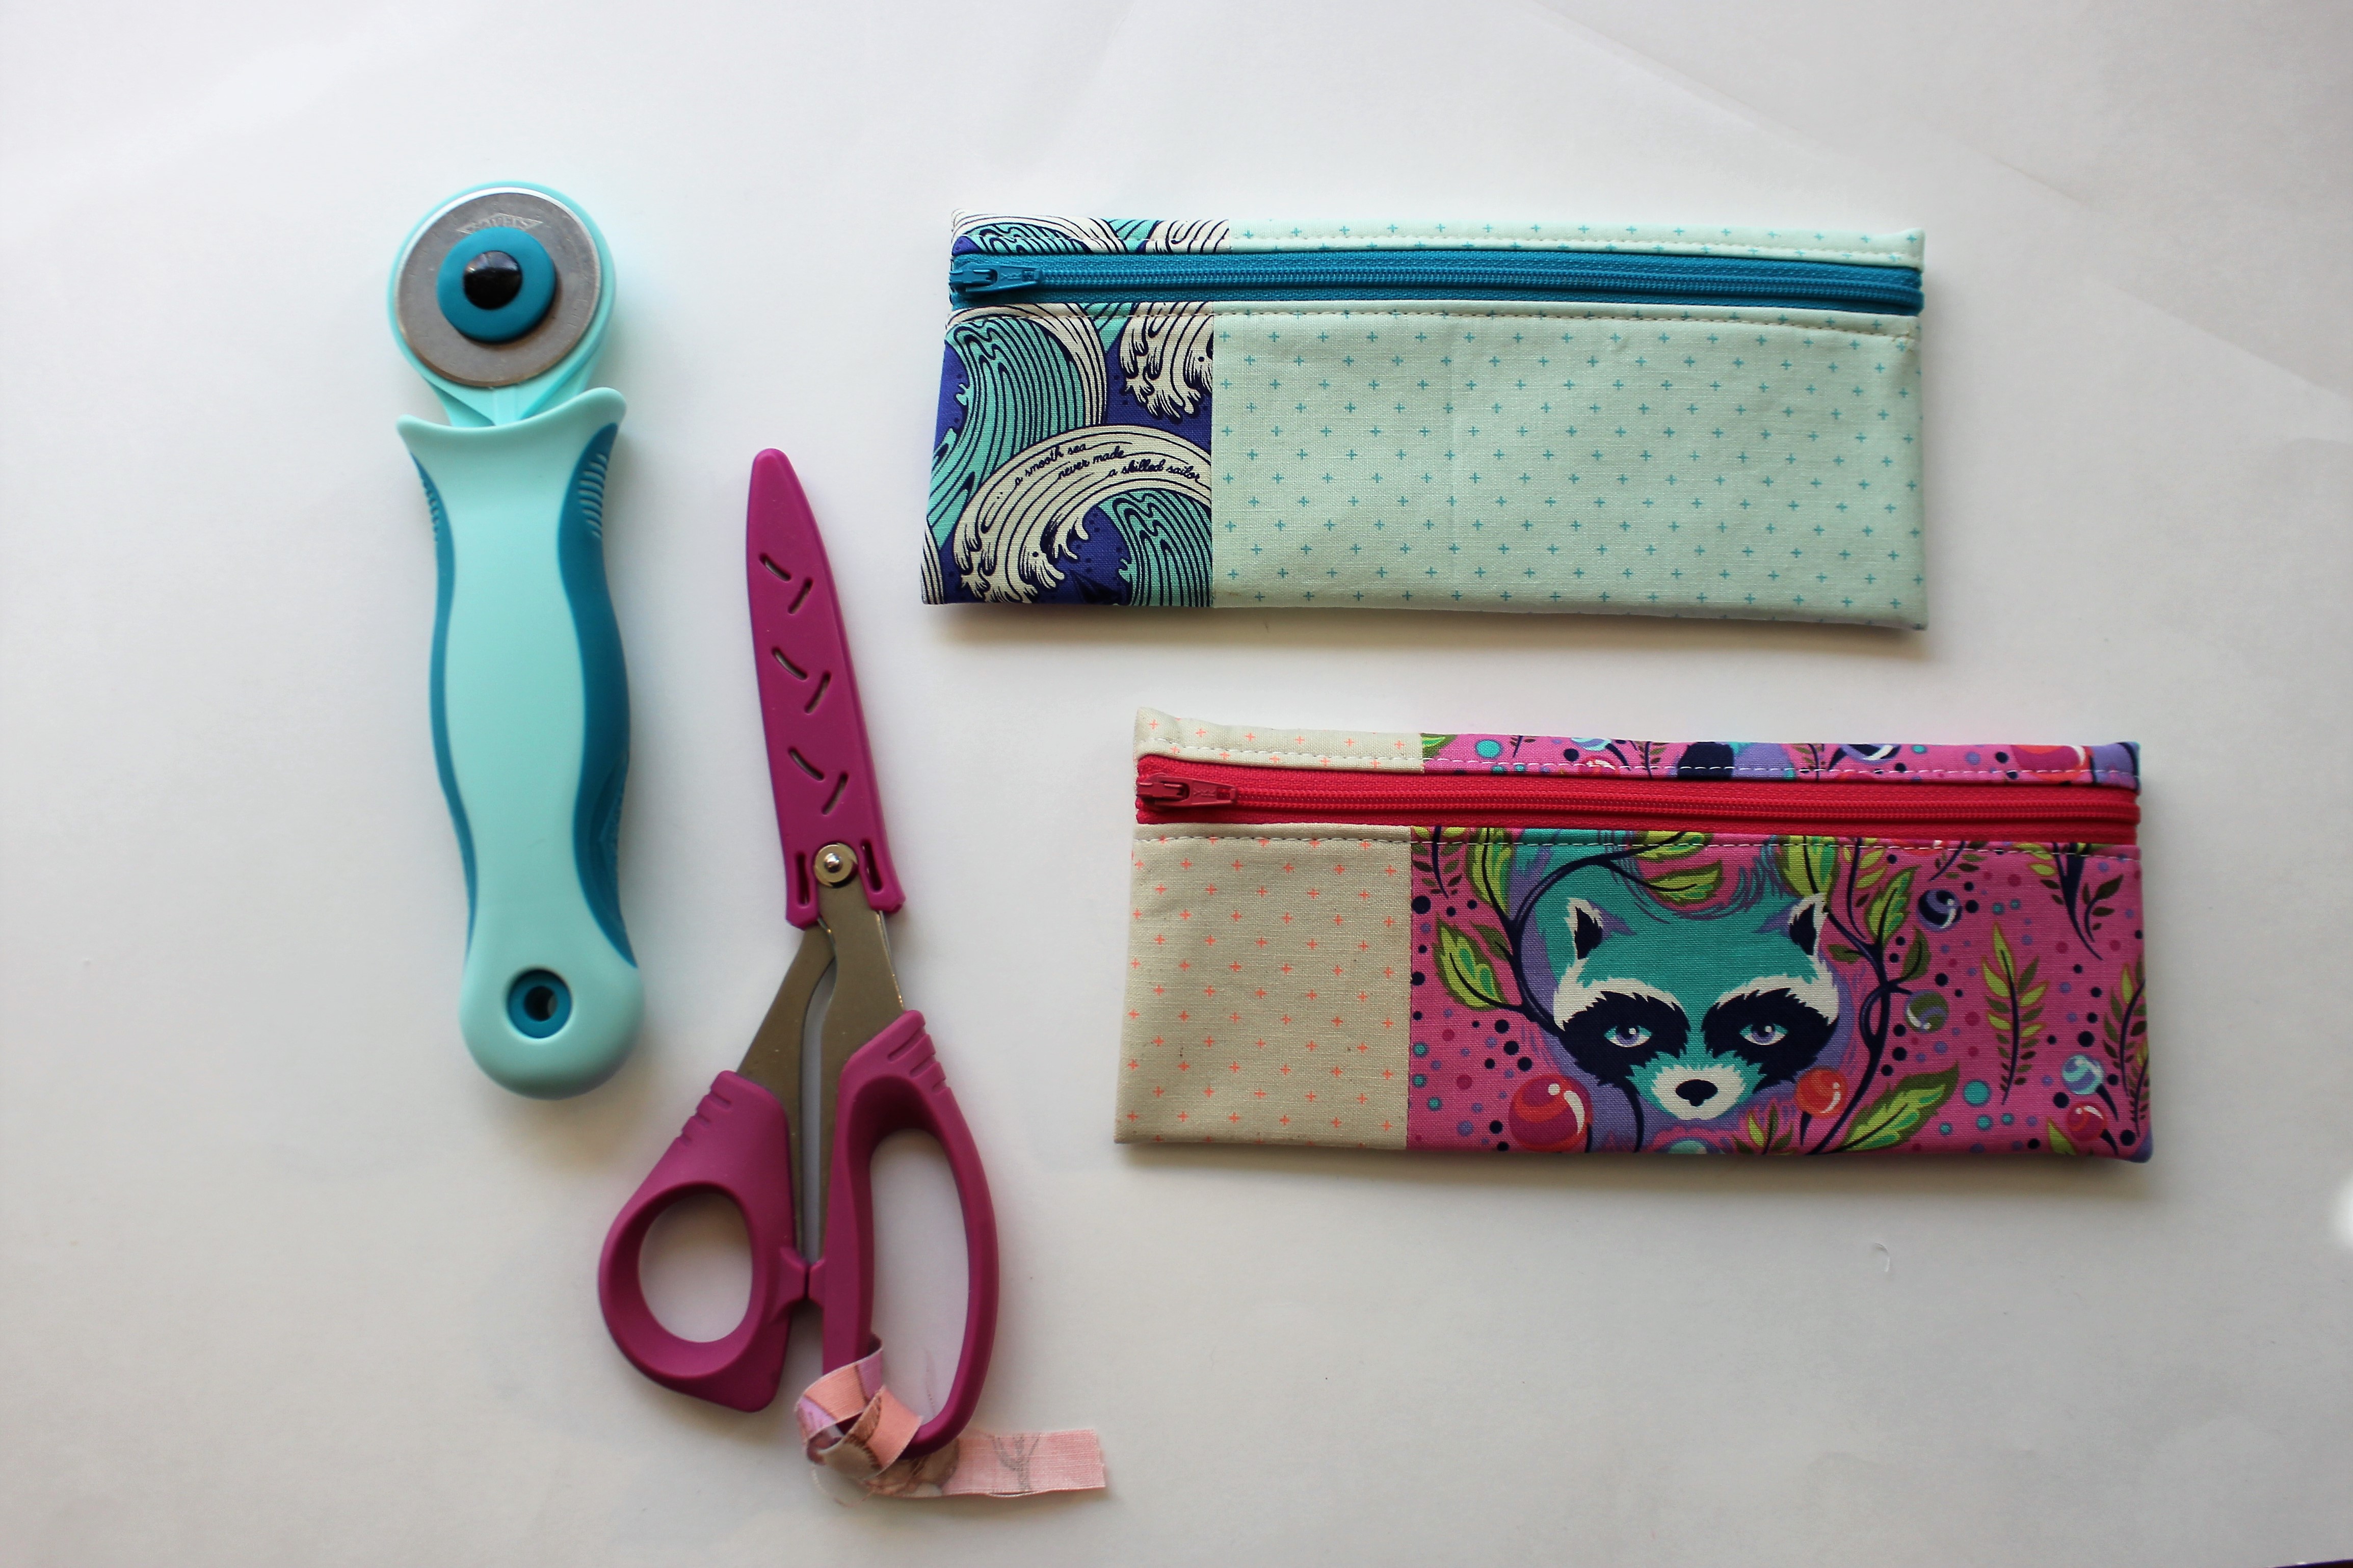
*3” x 7” outer fabric 1
*6 1/2” x 7” outer fabric 2
*9” x 7” lining fabric
Assemble Pouch:
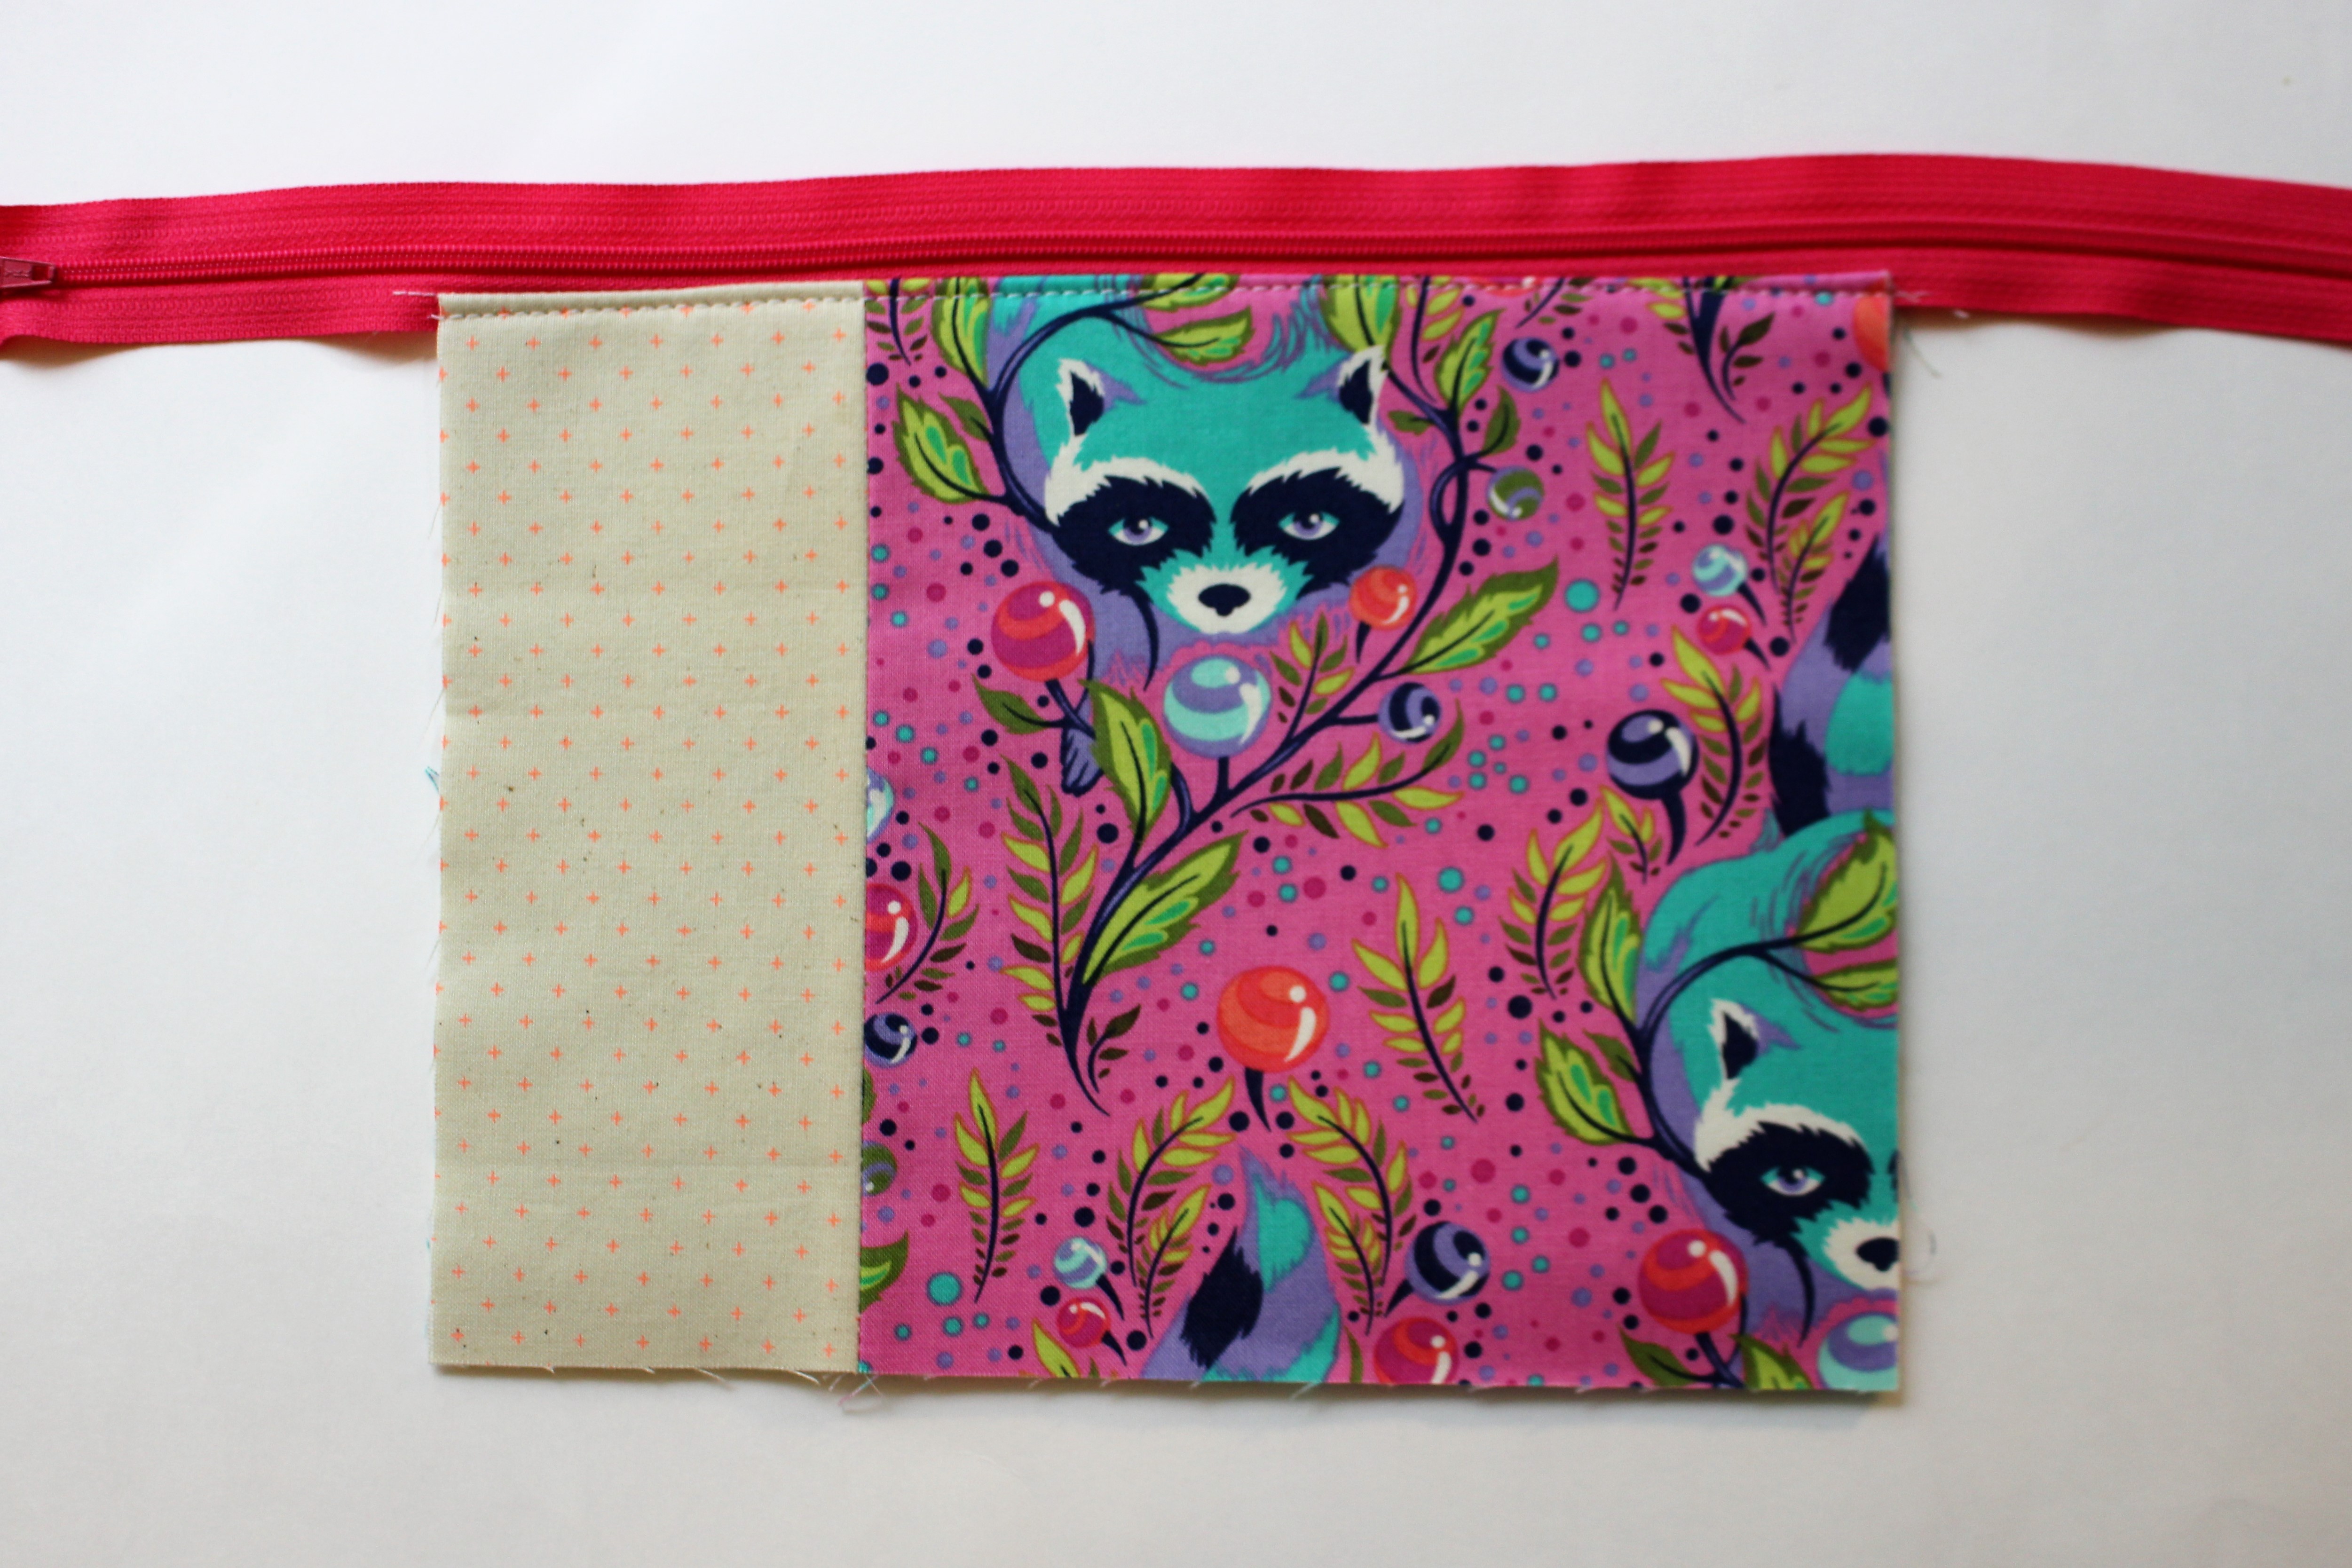
1.Sew the 3” x 7” and 6 1/2” x 7” rectangles along one 7” side, right sides together. This is the outer fabric.
2.Fuse the 9” x 7” piece of Fusible Fleece to the wrong side of the outer fabric.
3.Switch machine foot to a zipper foot.
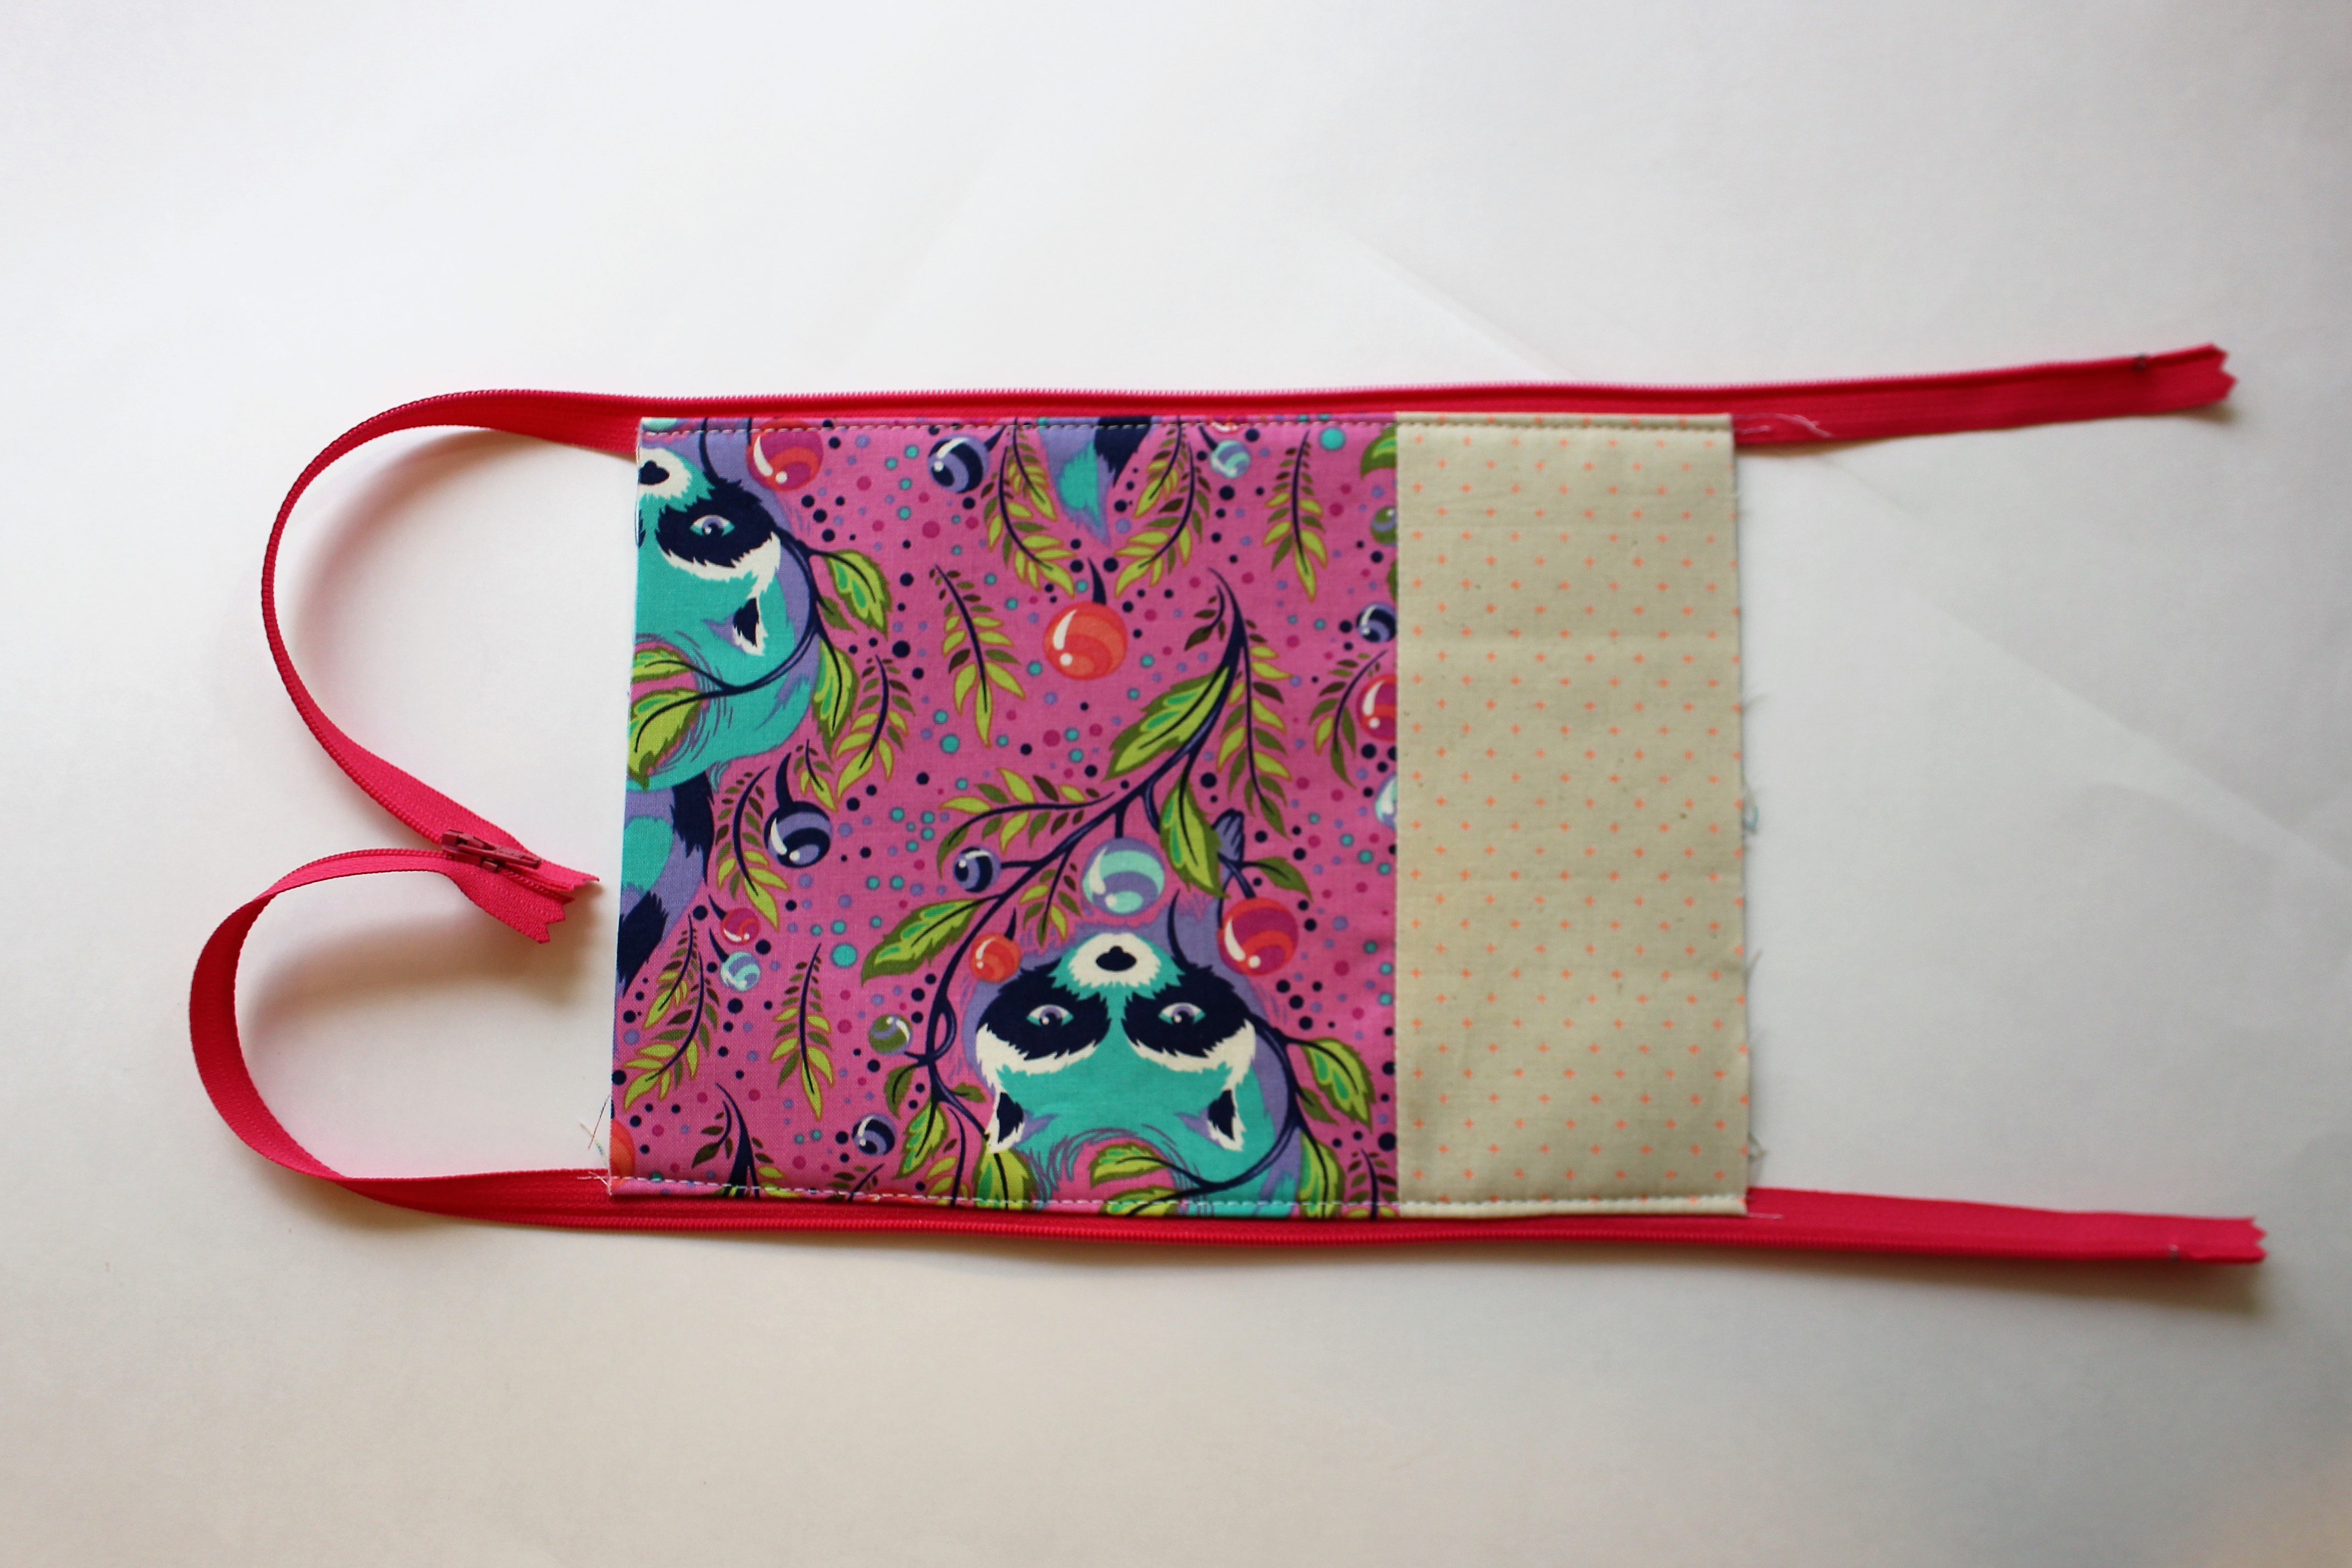
4.Attach outer fabric and lining to zipper (along one 9” side) by stacking fabrics in this order: outer fabric right side up, zipper right side down, lining right side down.
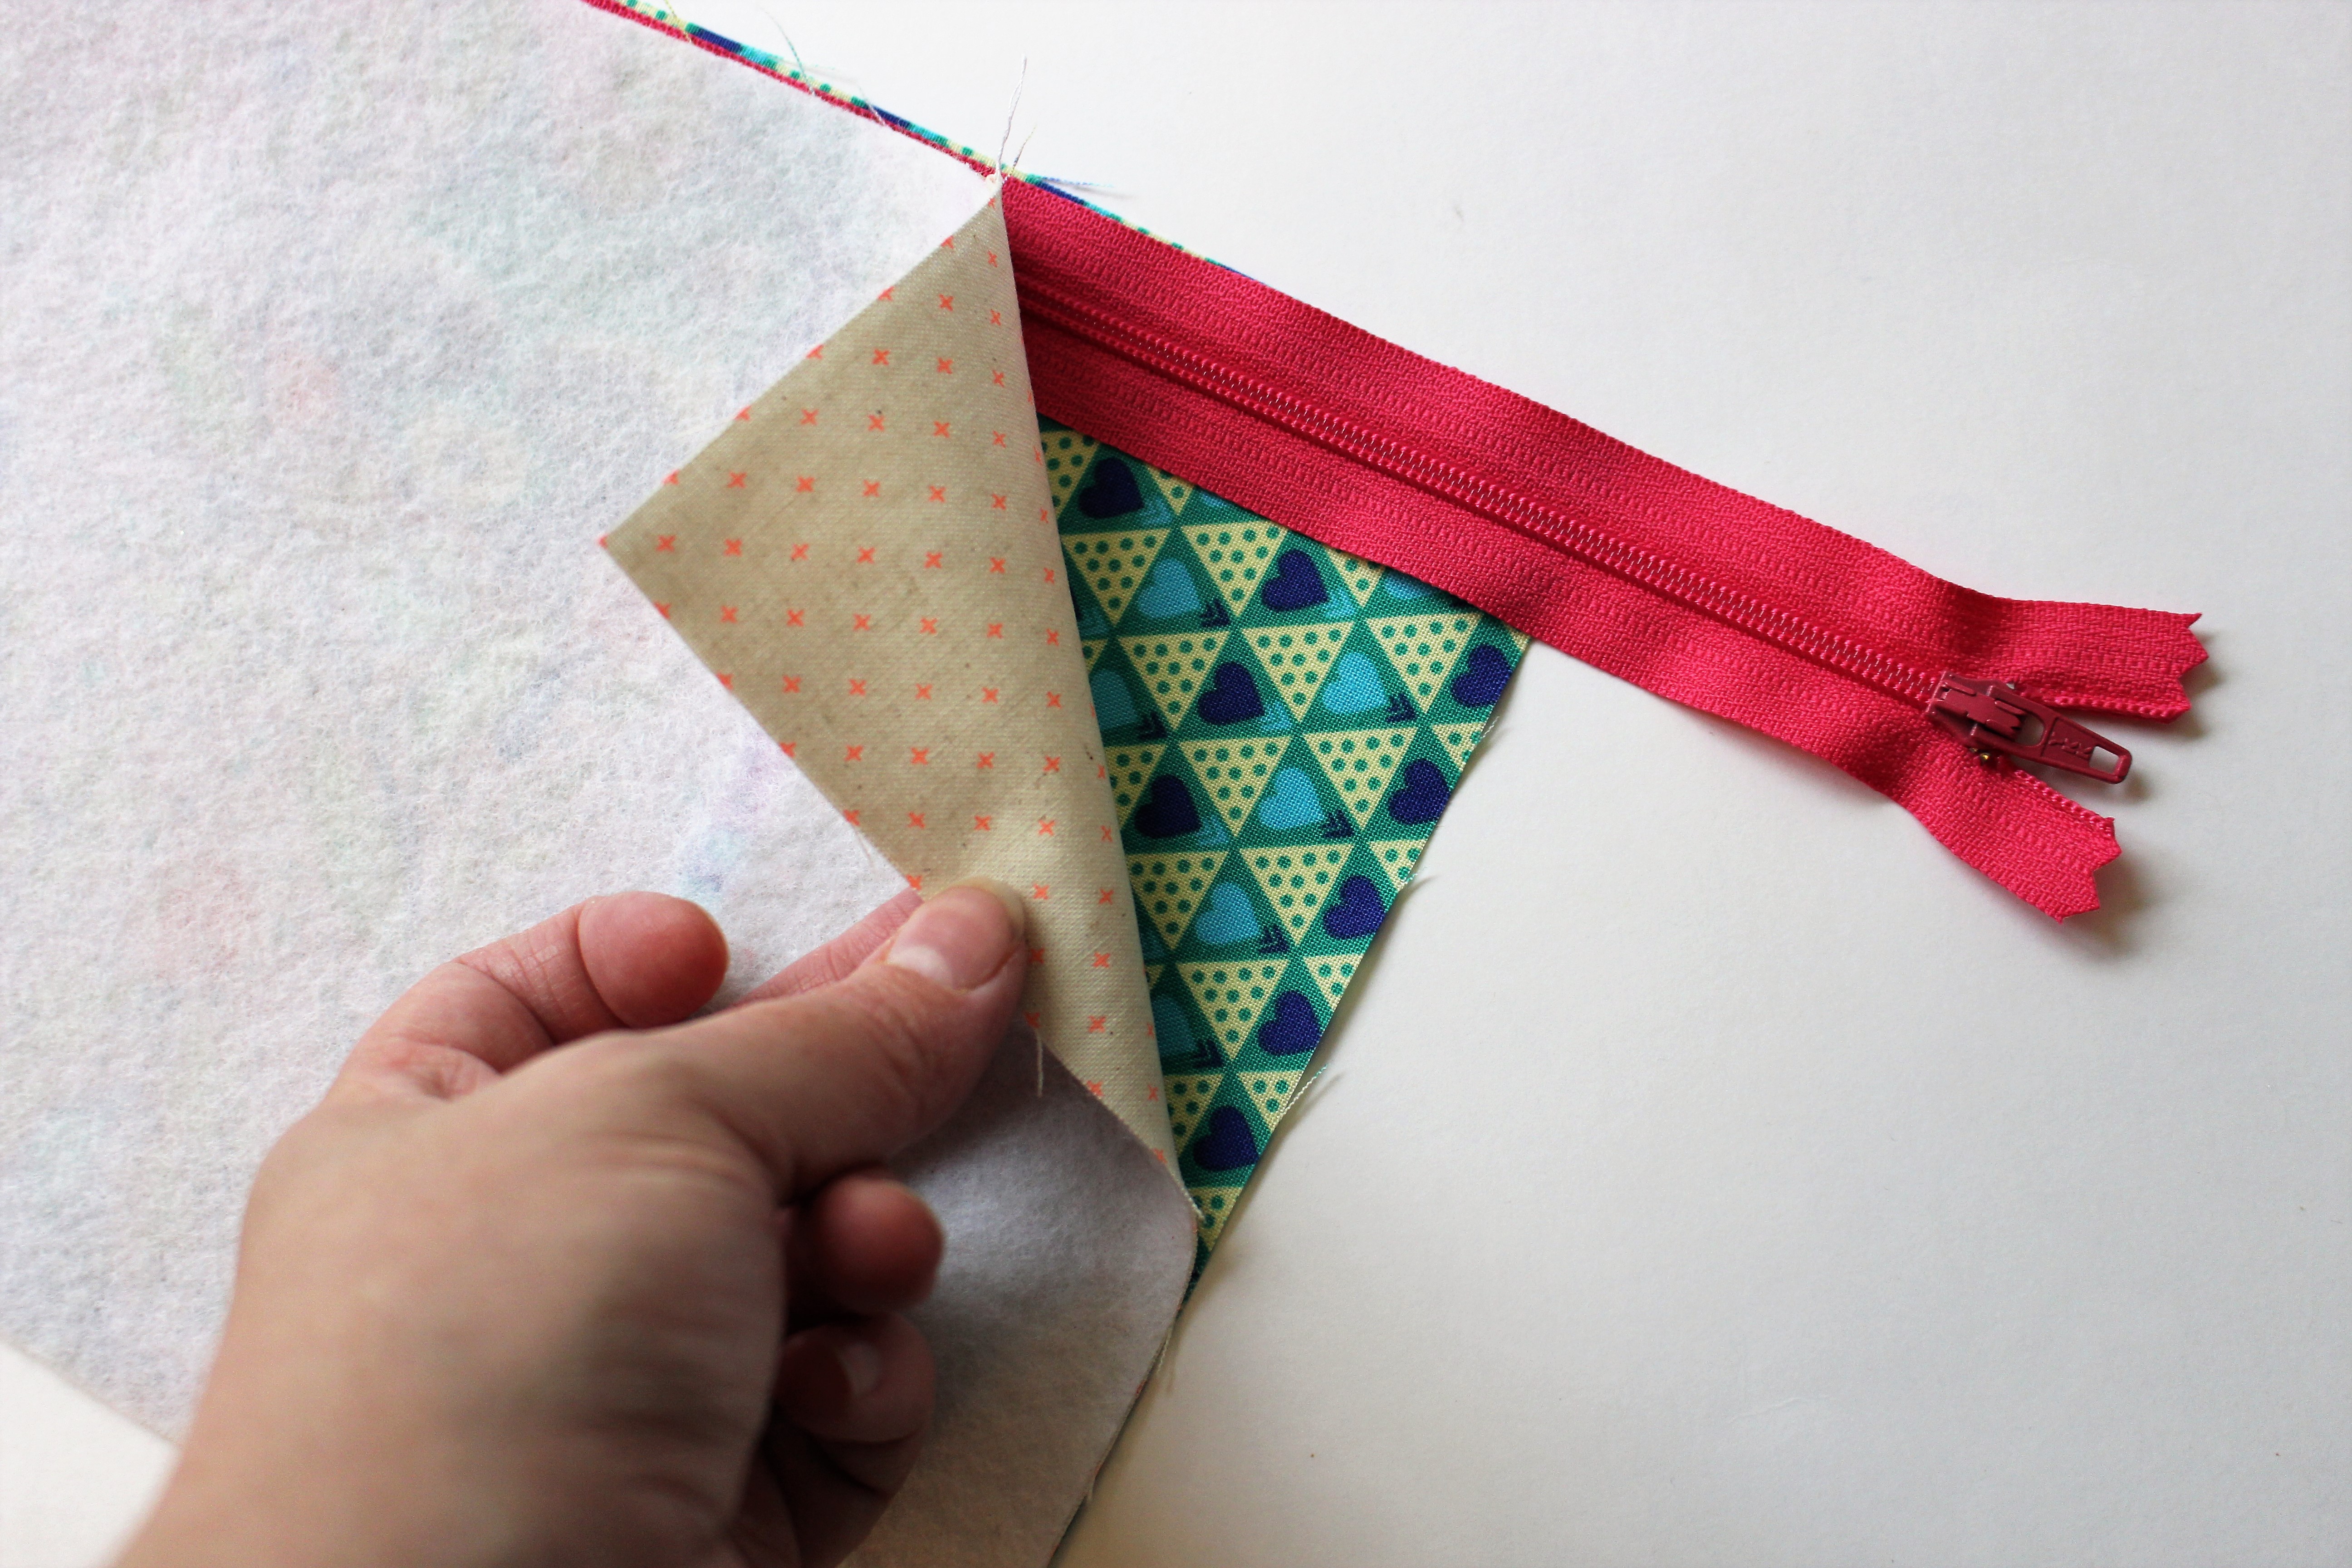
5.Turn fabrics right sides out, press, and topstitch 1/8” from the fold.
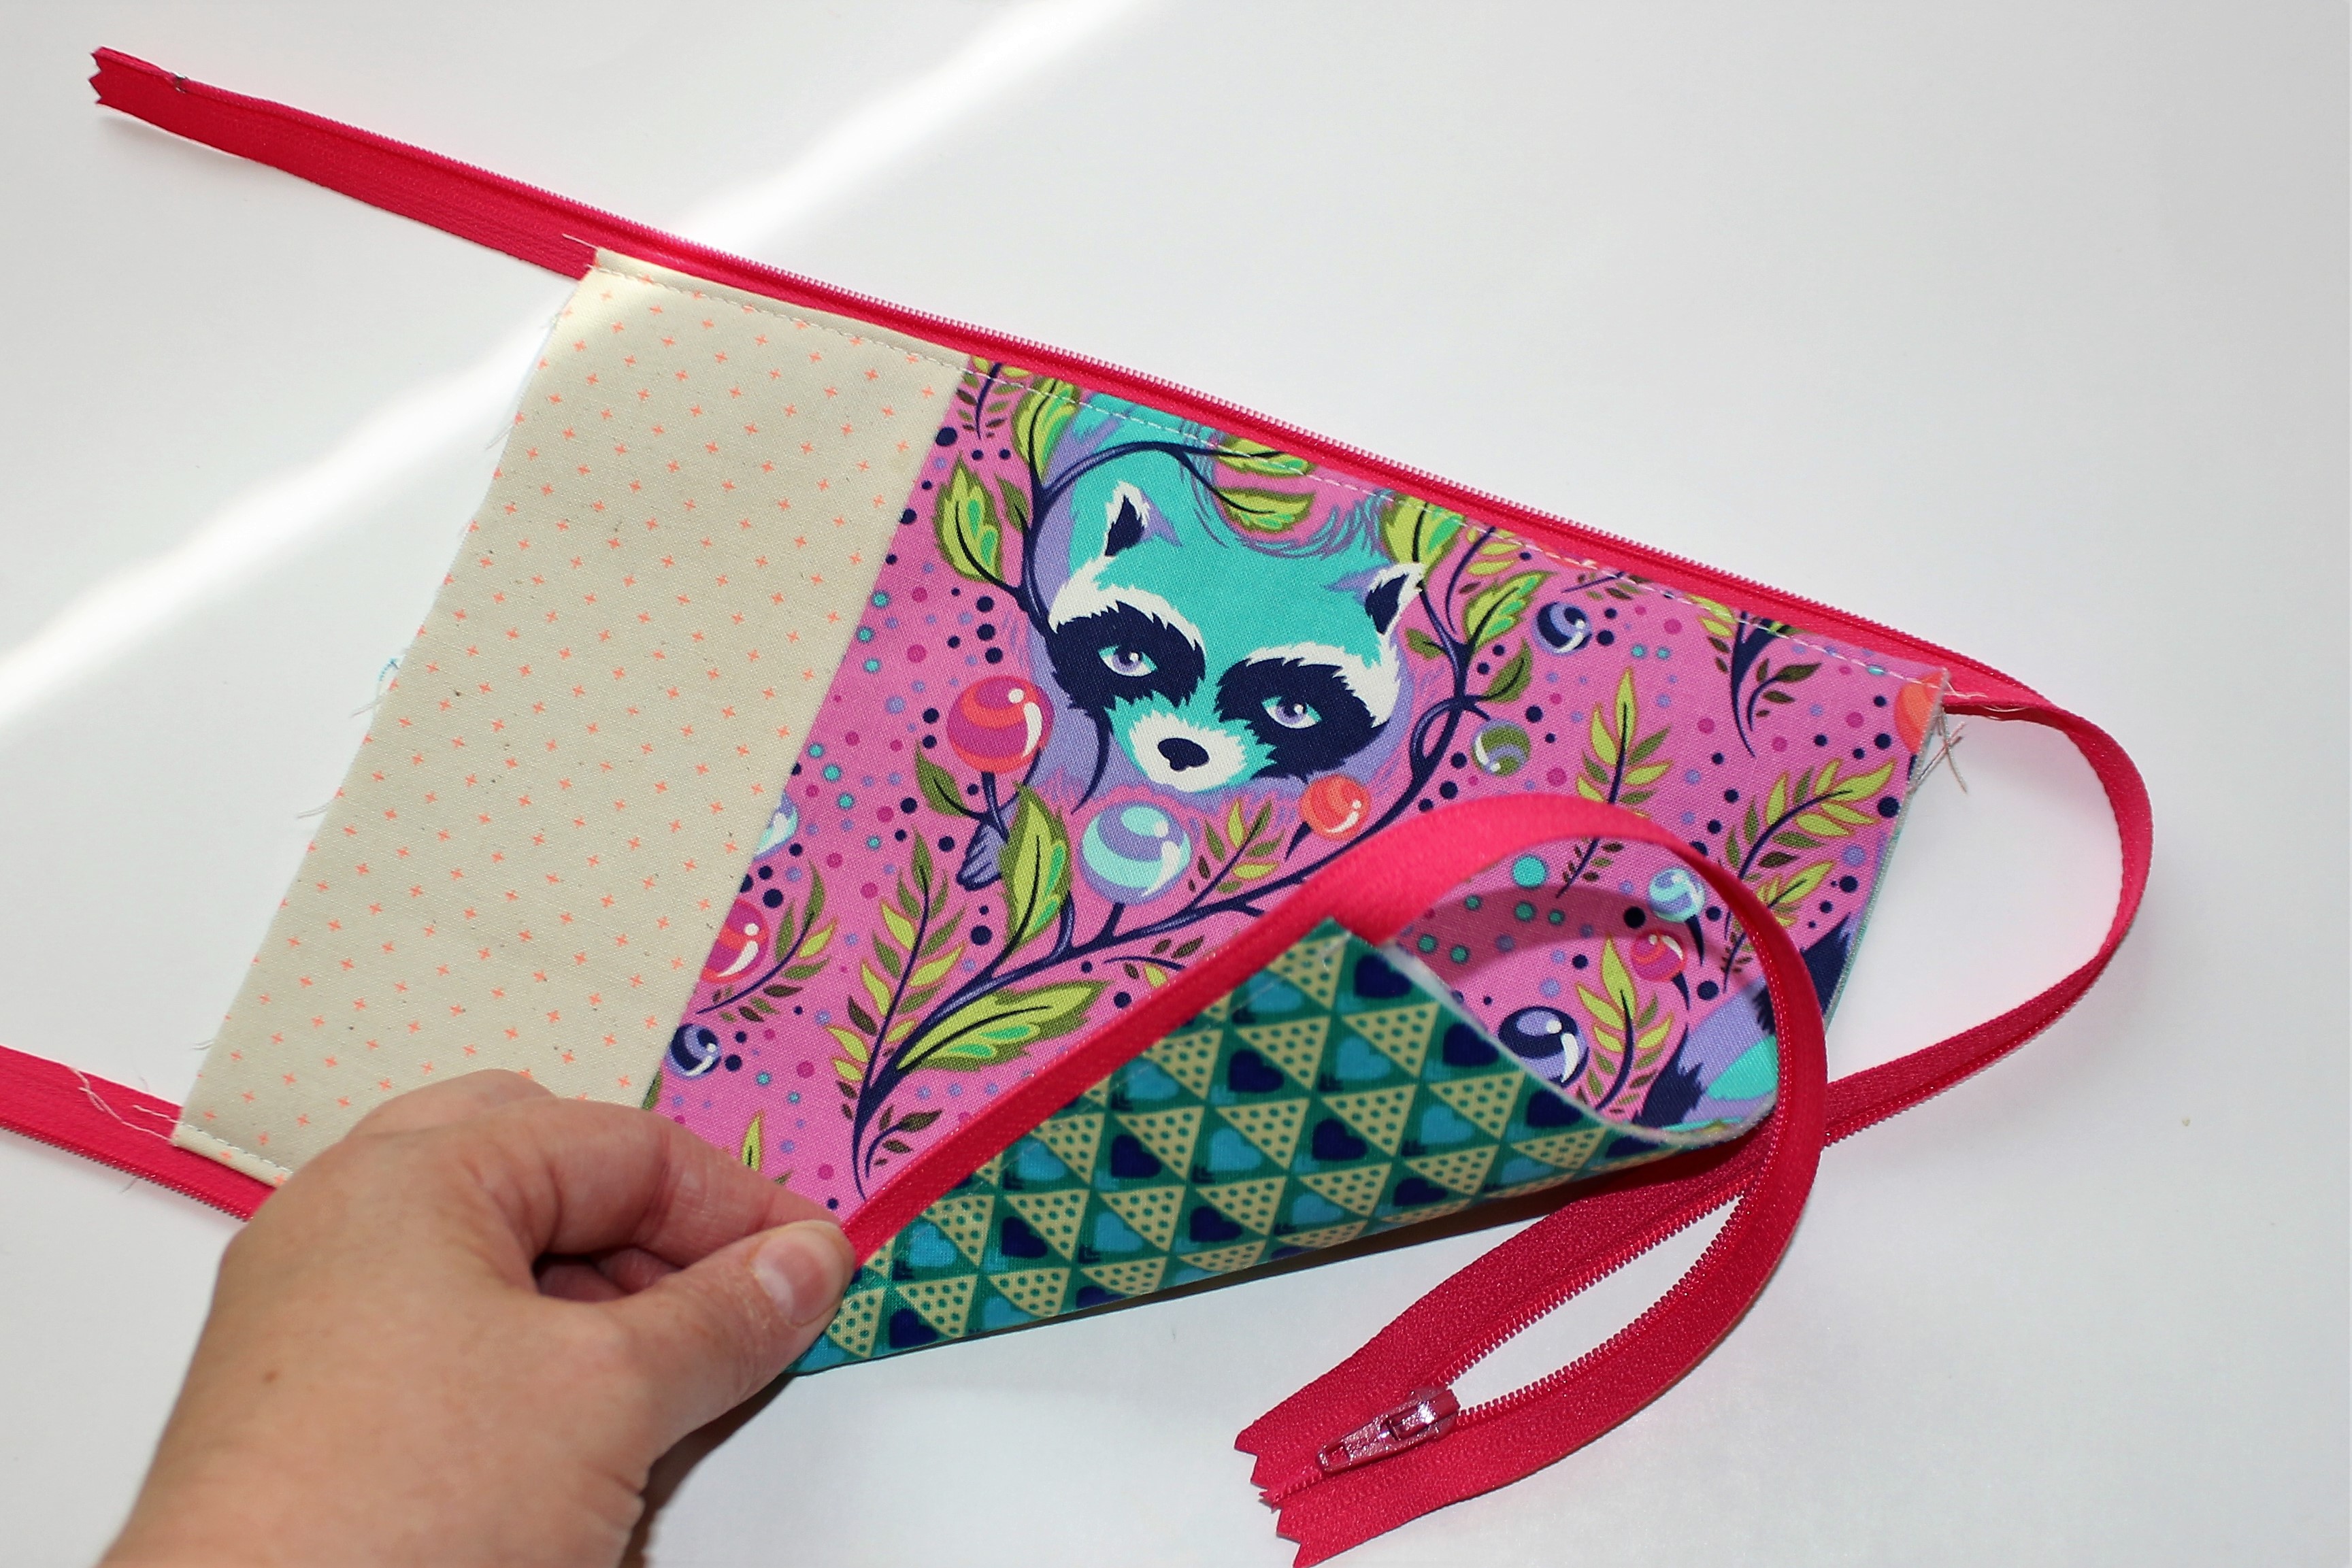
6.Carefully separate the lining and outer fabrics, fold them around to the other side of the zipper, and follow step 4 to attach them to the second side of the zipper.
7.Unzip zipper, turn right side out, and topstitch along the second side of the zipper.
8.Switch to regular presser foot.
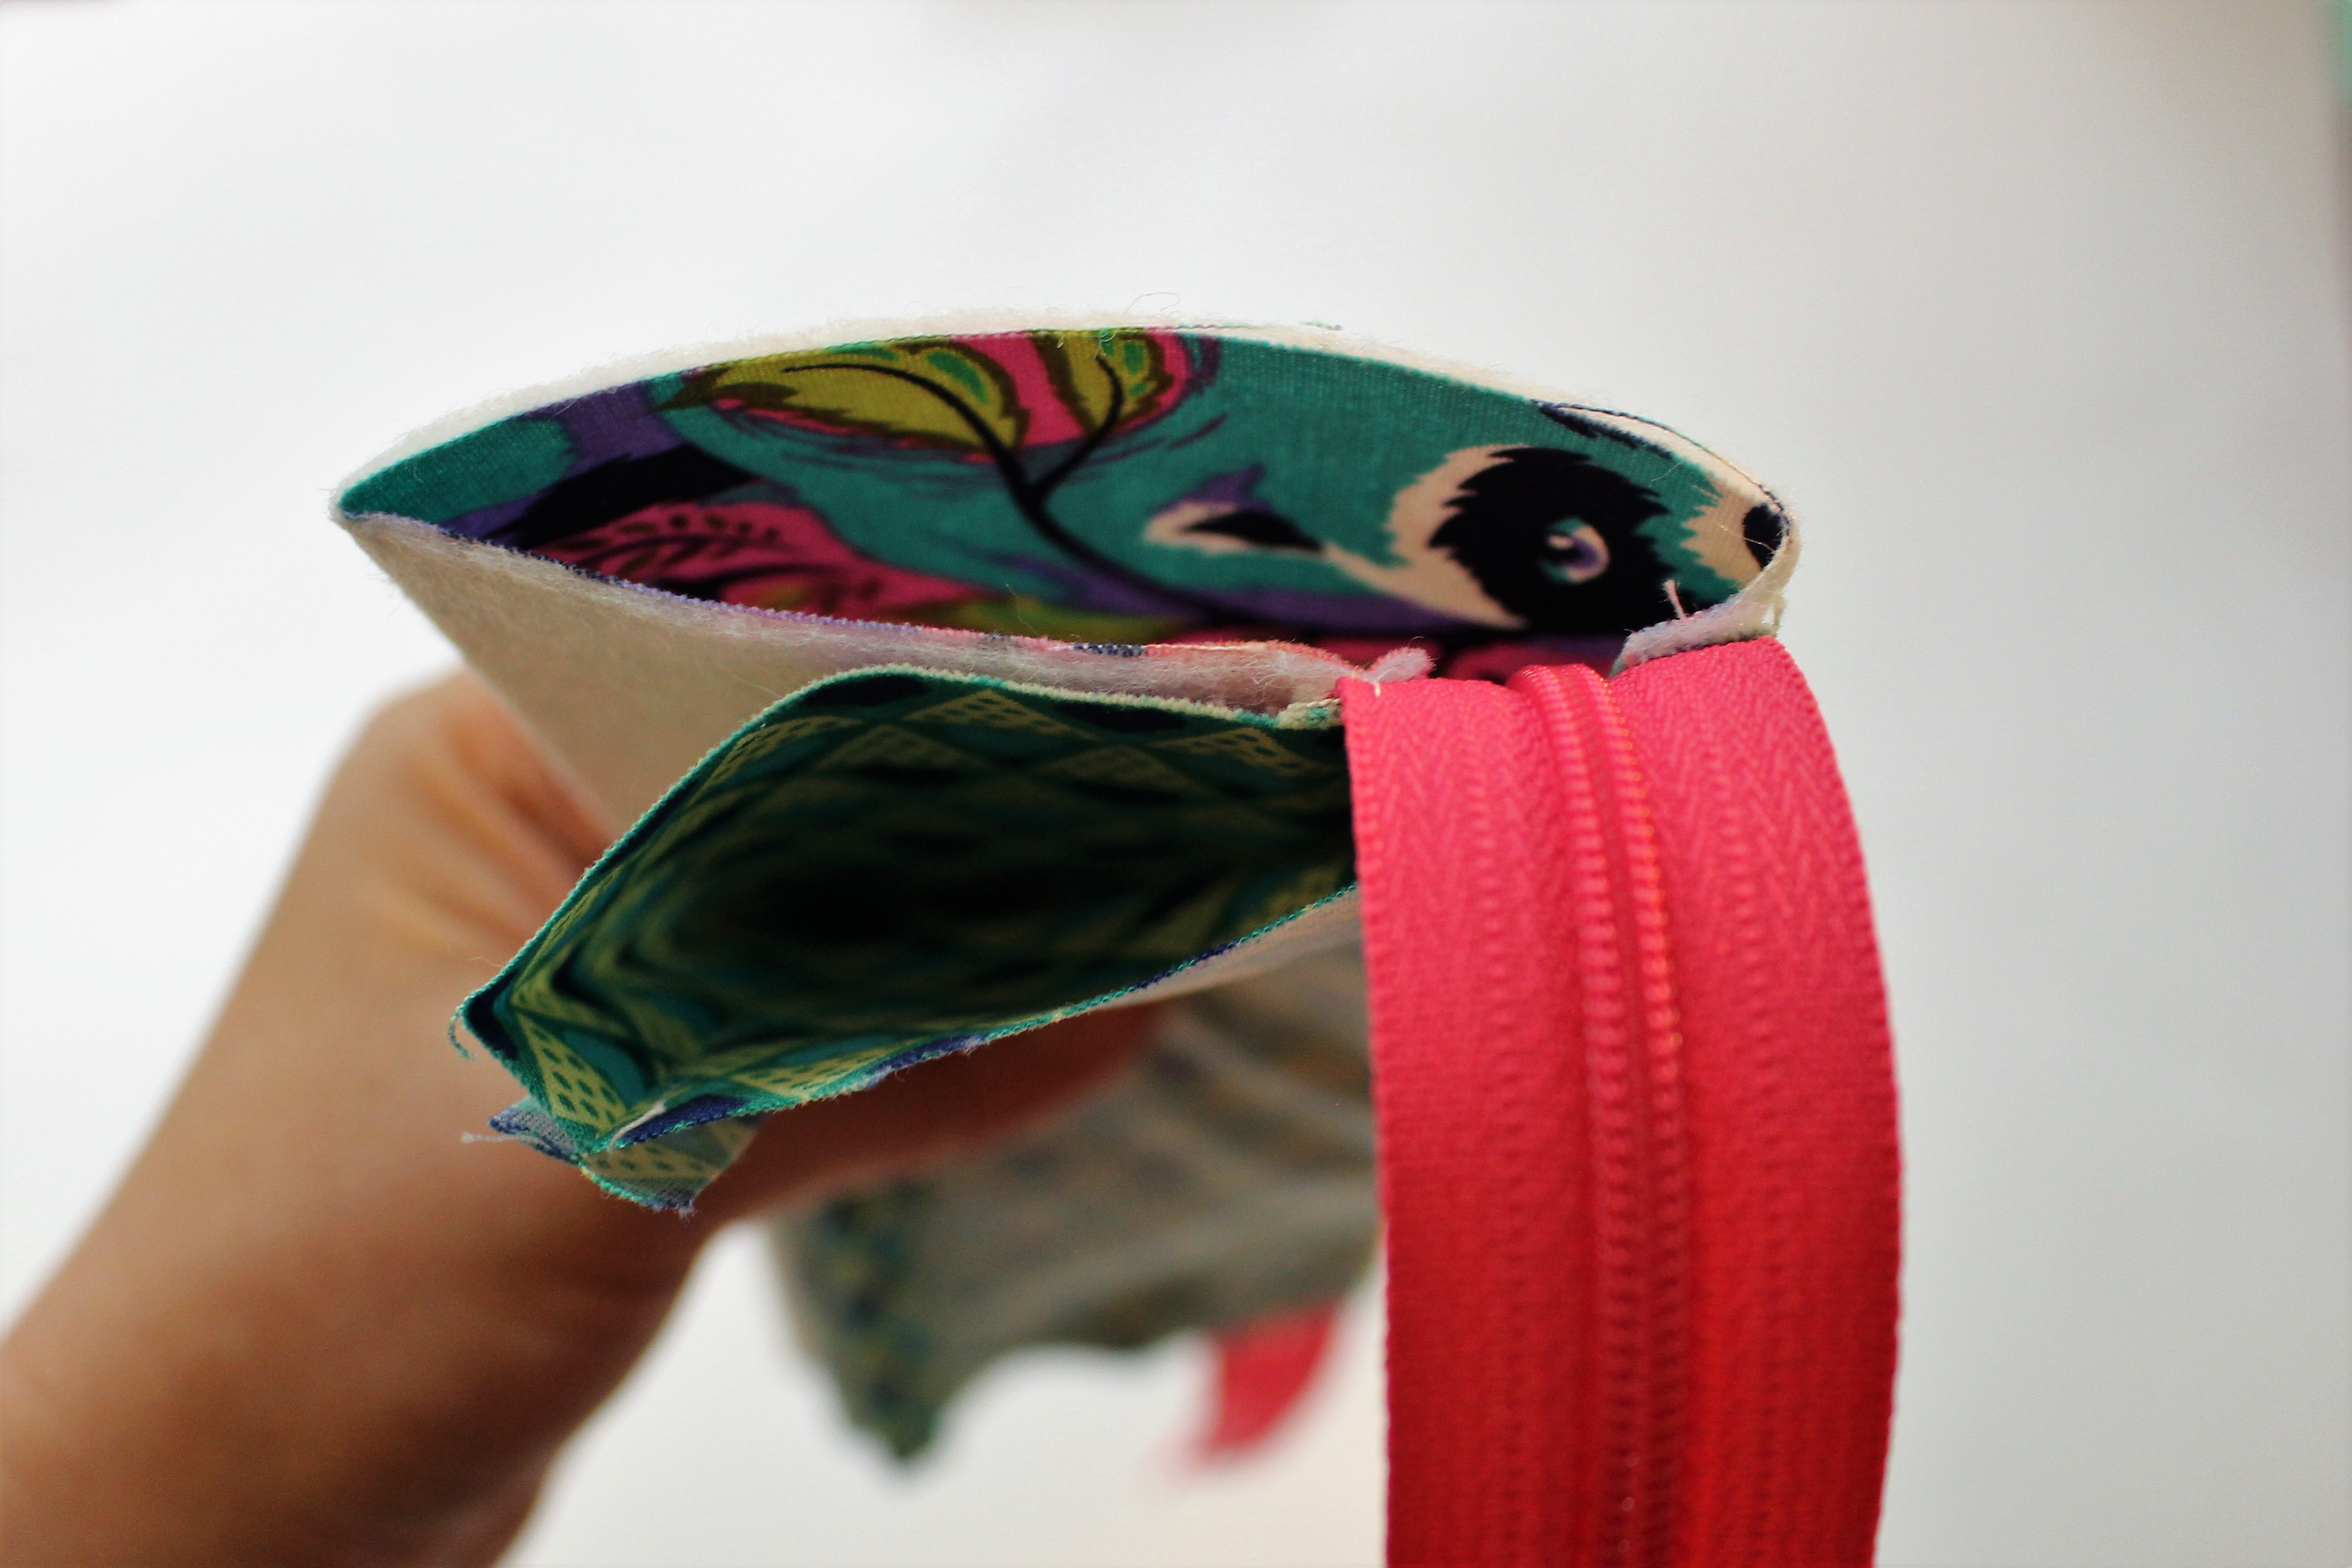
9.Carefully cut across the lining piece opening it into two separate pieces.
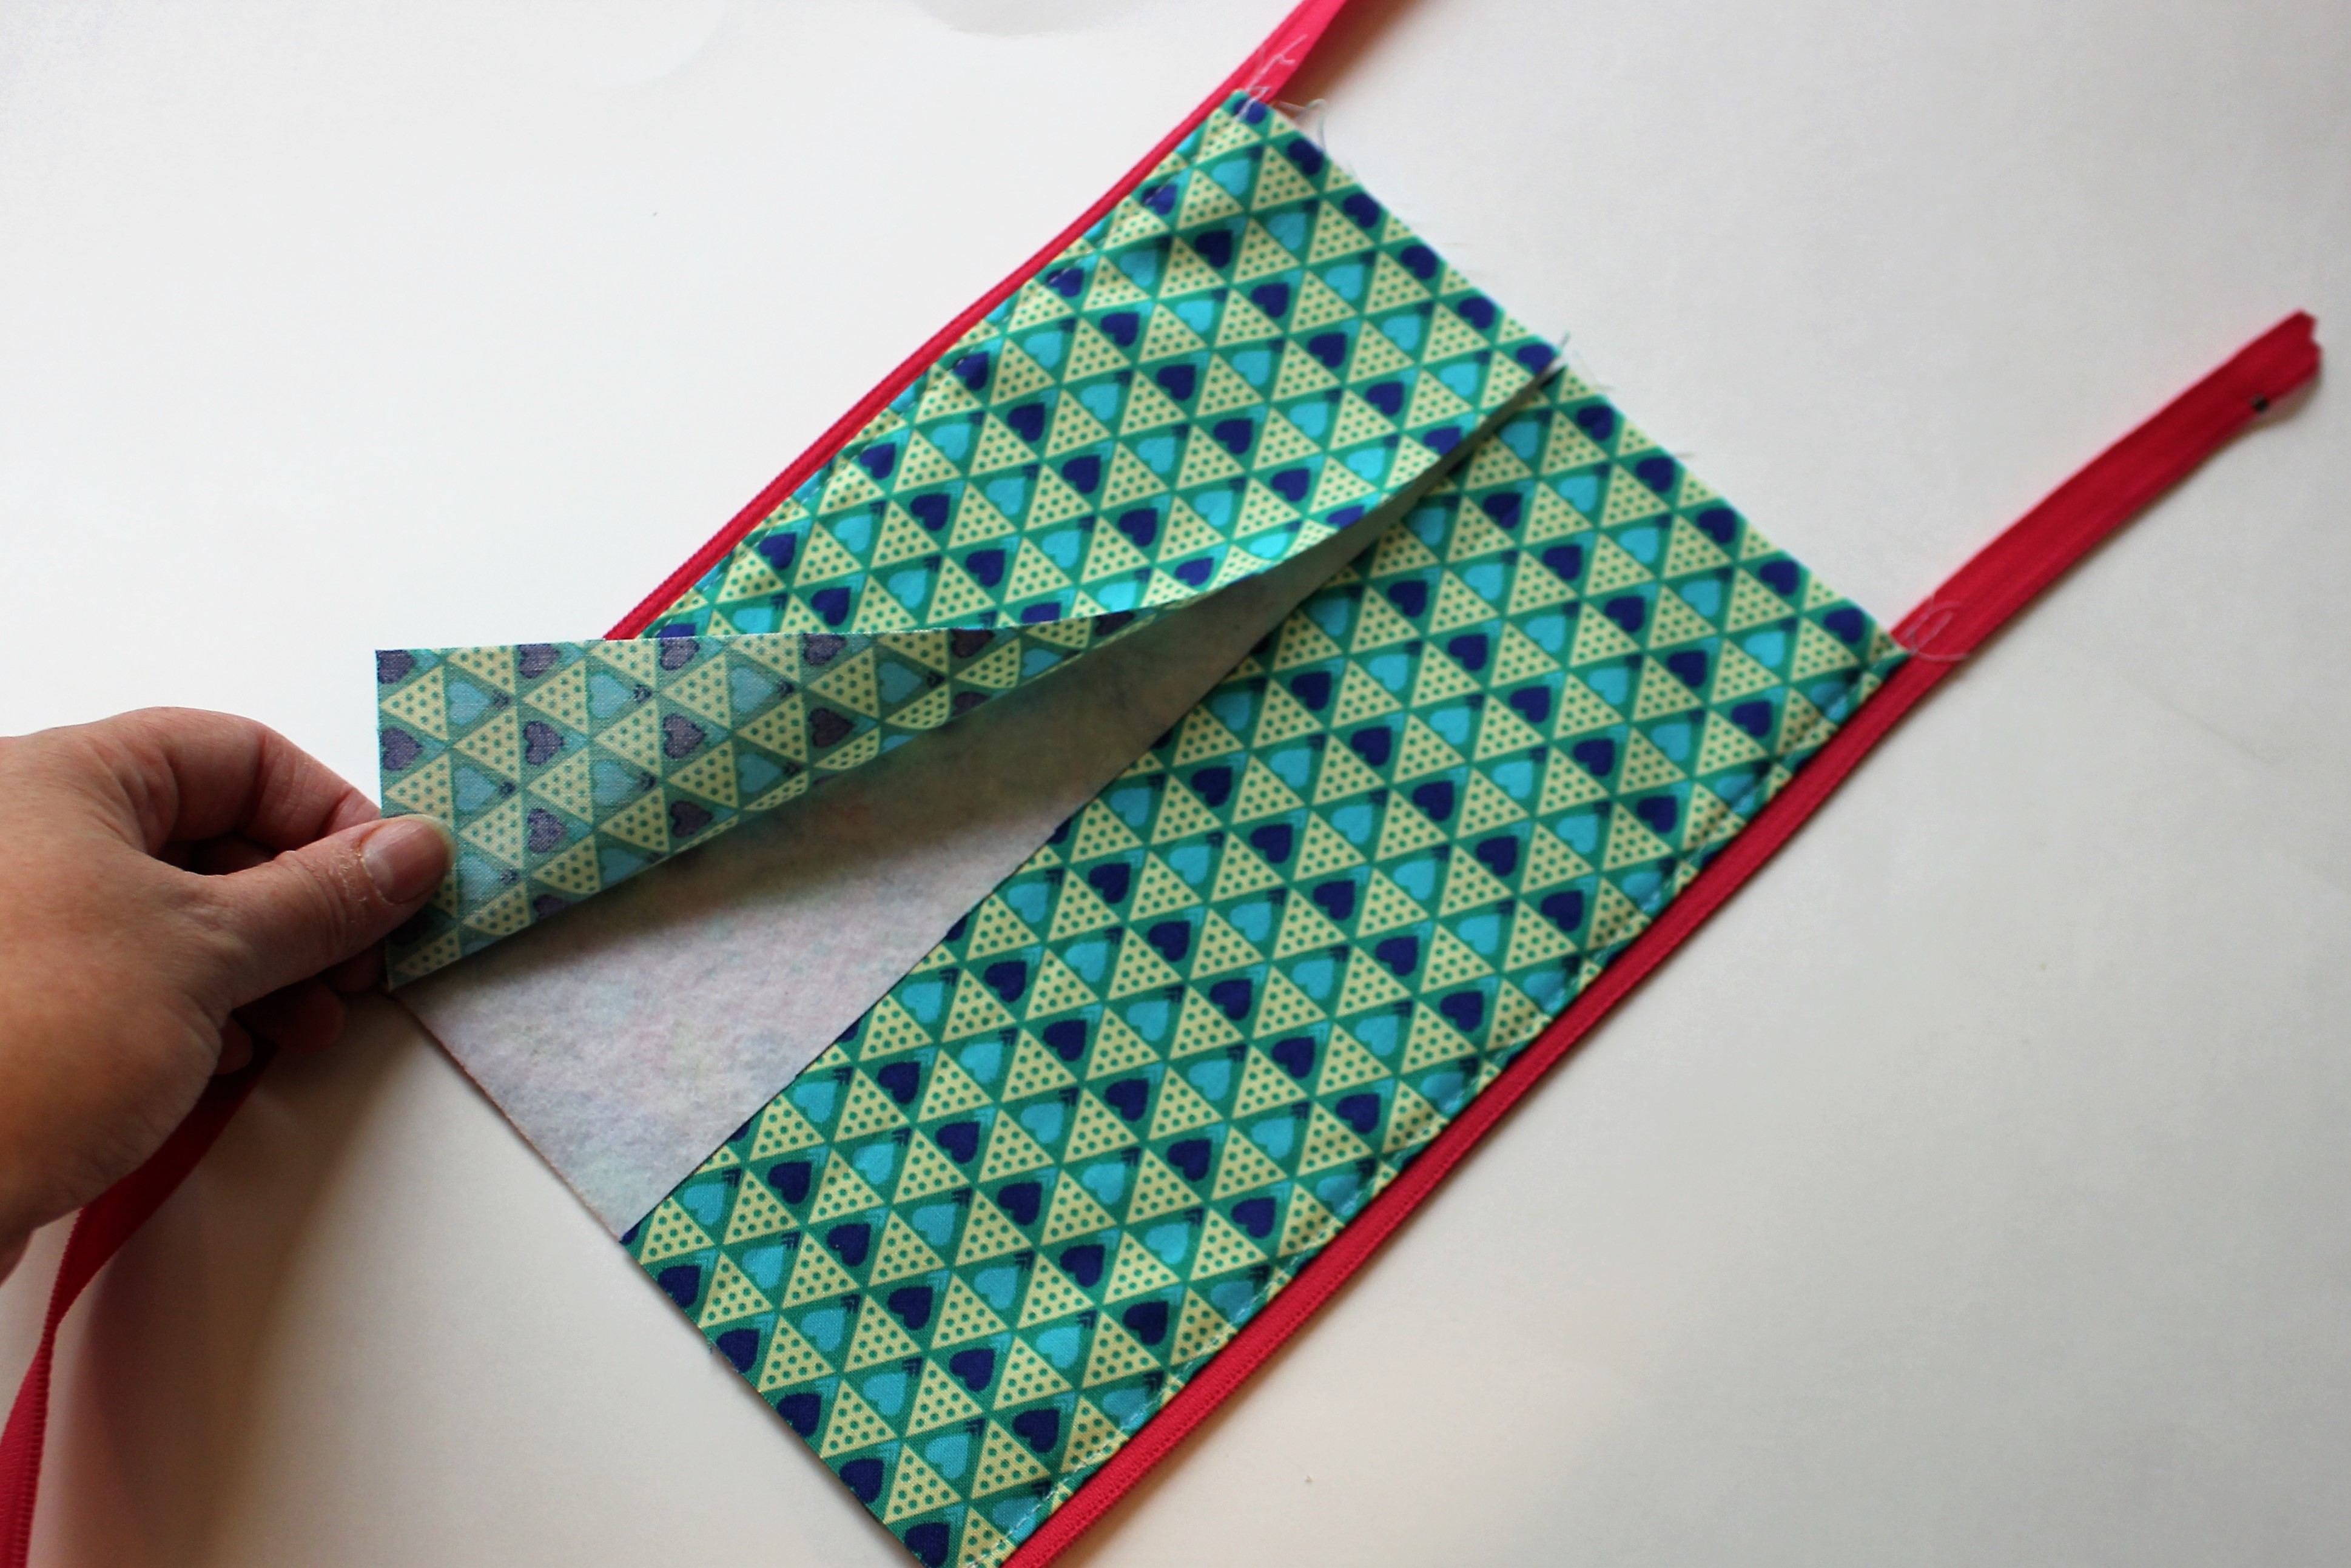
10.With right sides together, using a ¼” seam allowance stitch 3” down, leave a 3” gap for turning, then stitch down the remaining 3”.
11.Press seams open.
12.Unzip zipper half way.
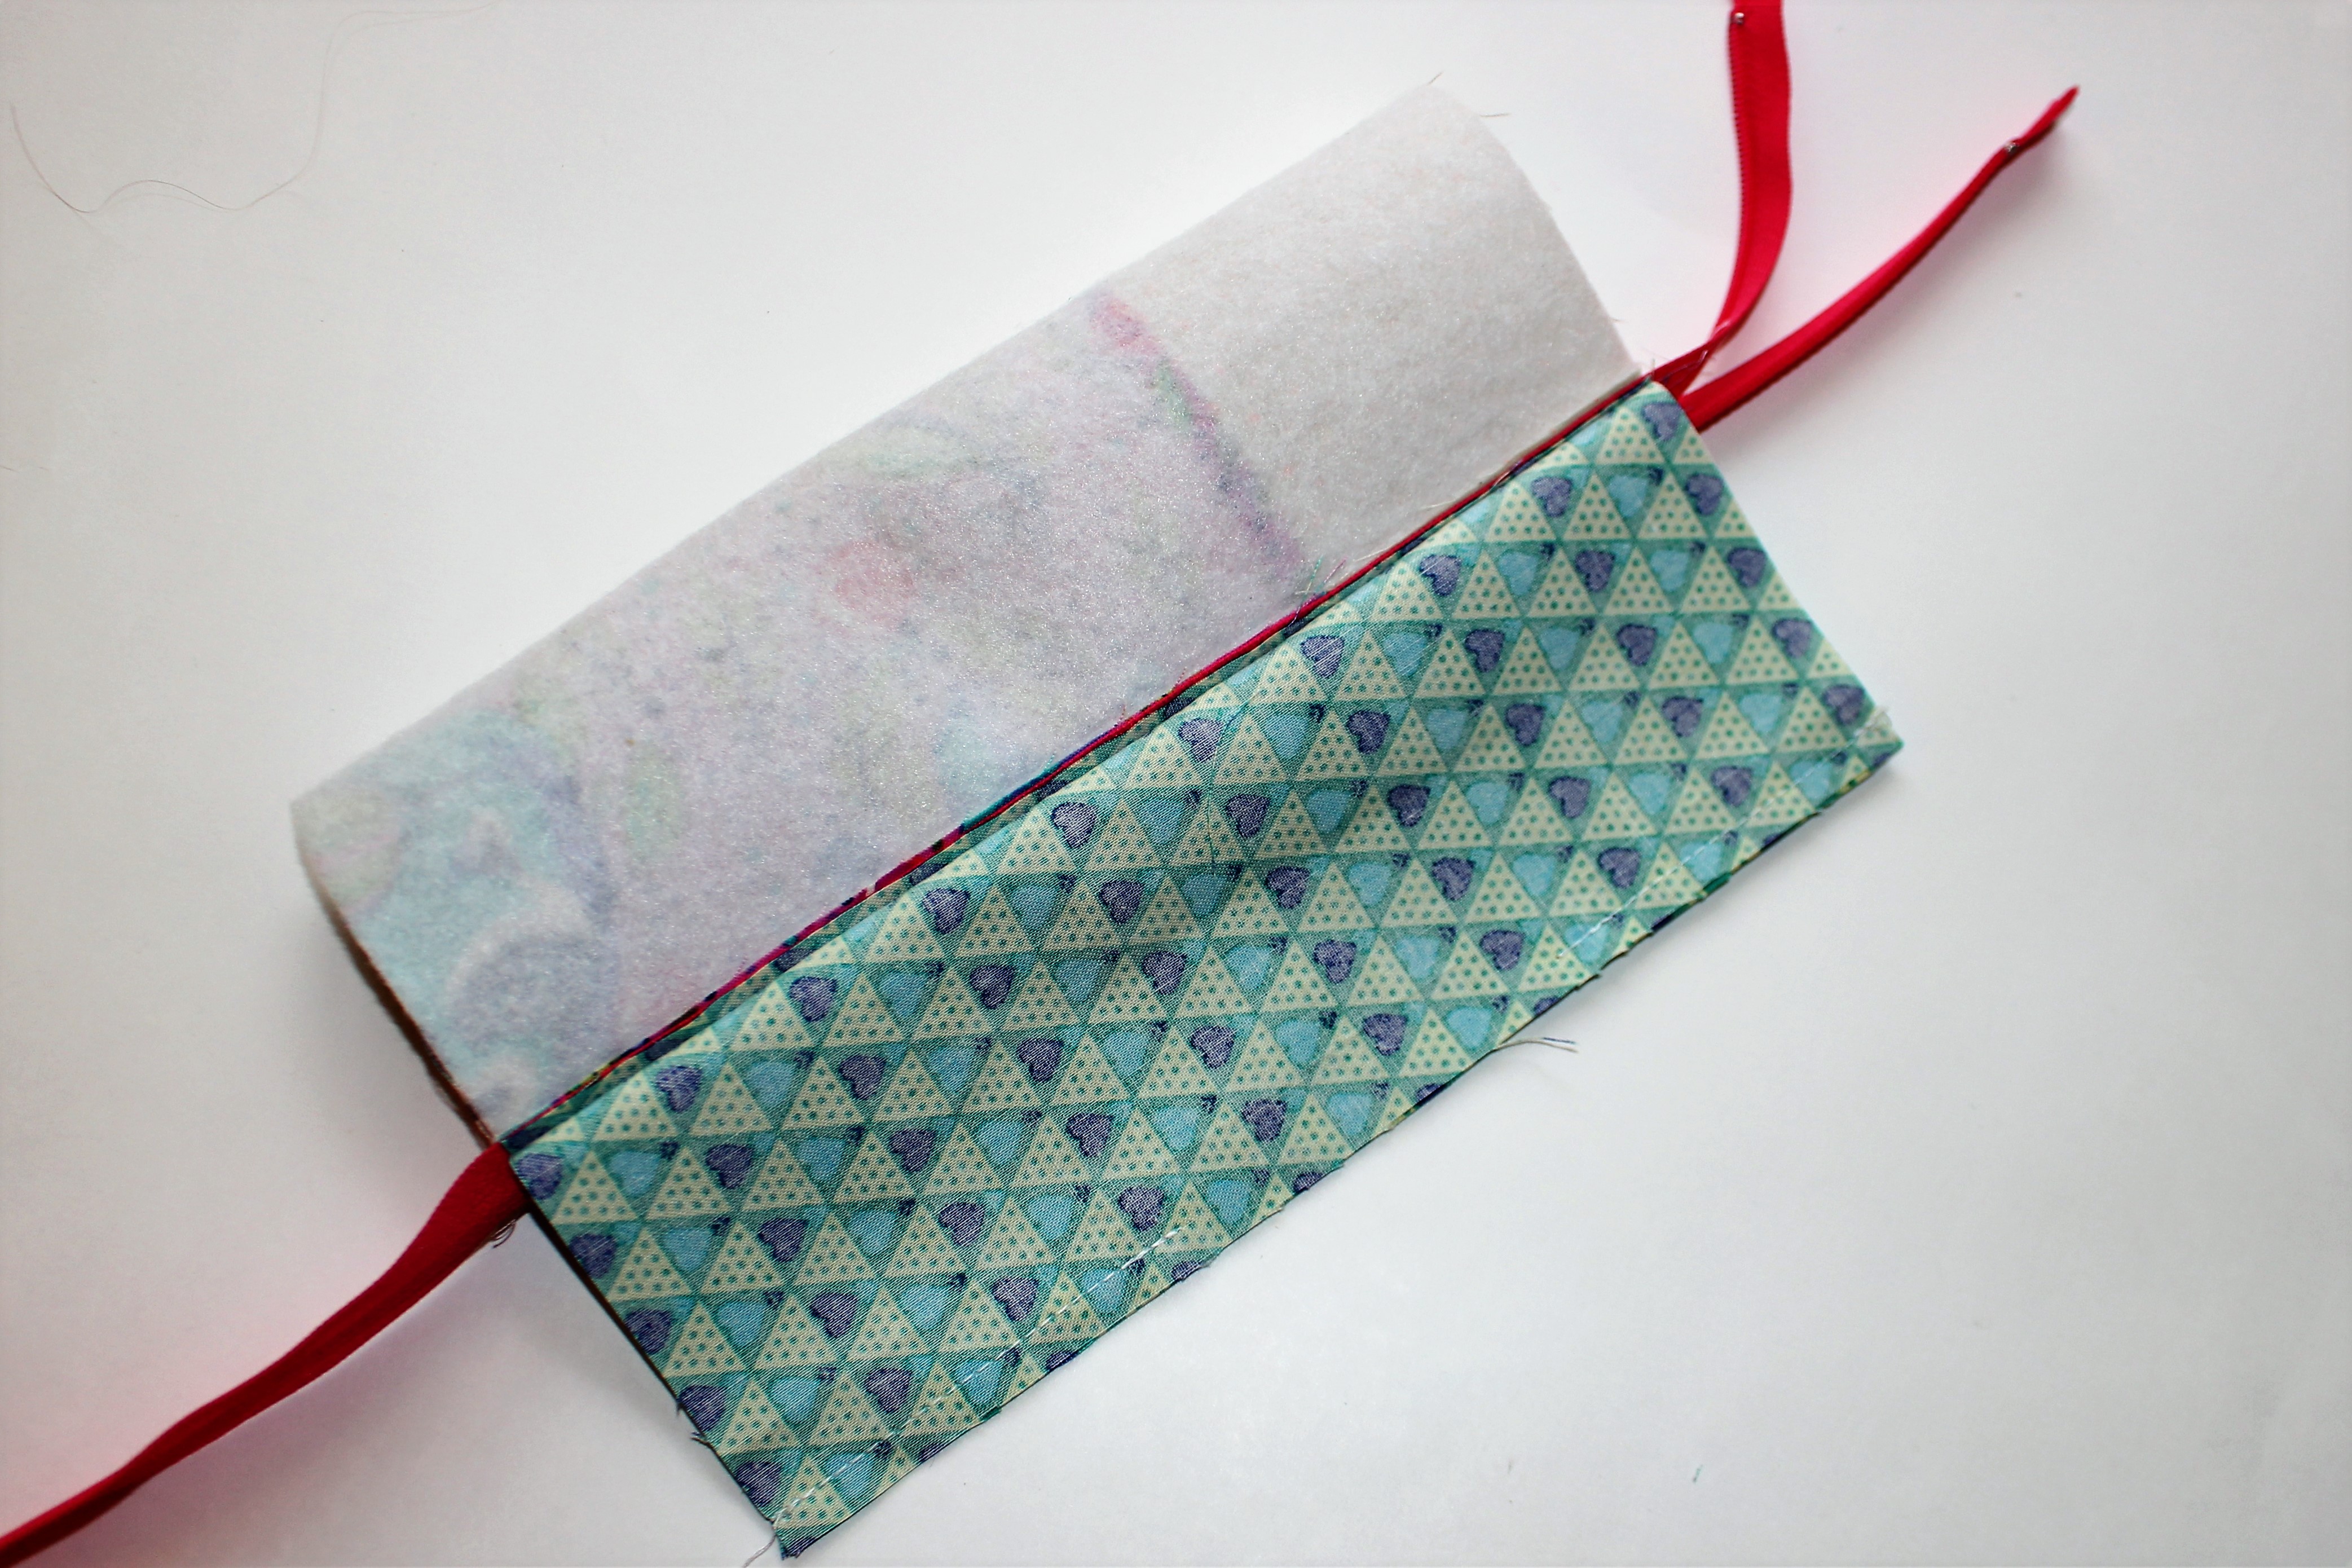
13.Starting with the outer fabric, fold the pouch unit so that ½” of fabric is visible above the zipper (be aware that any fussy cut images are aligned the way you intend). Pin along the side edges to hold the outer fabric in place.
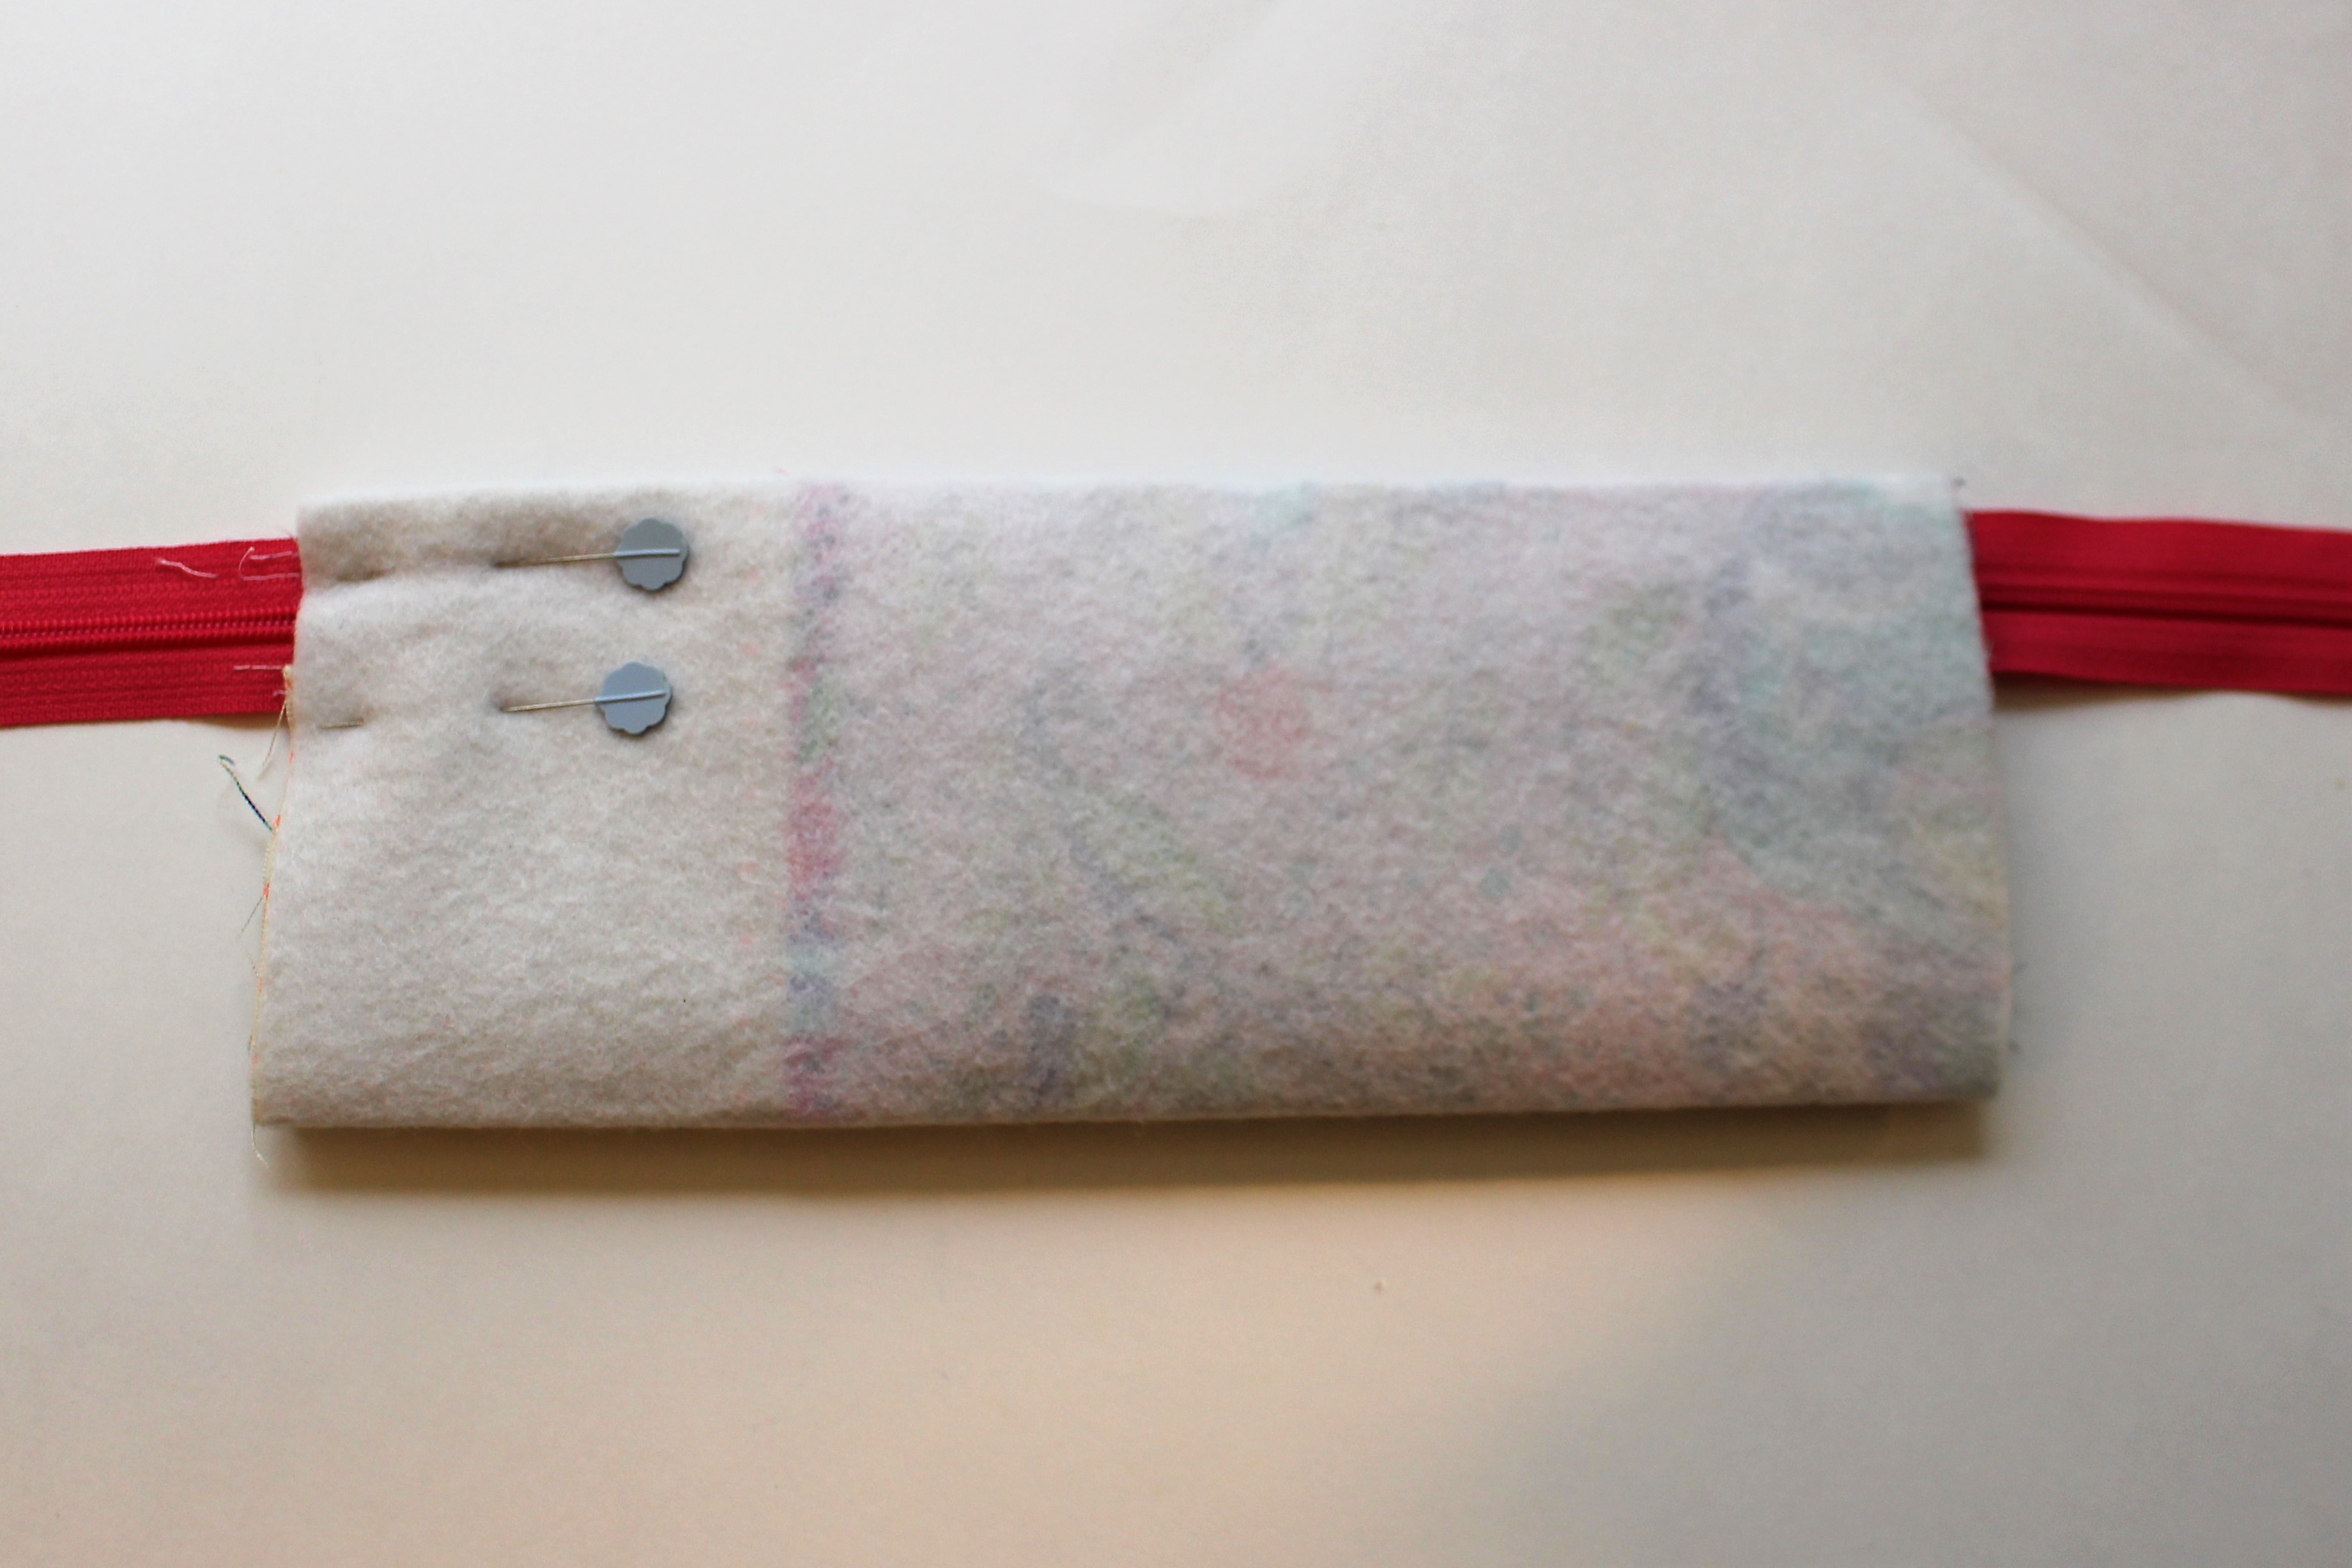
14.Repeat step 13 for the lining fabric, the lining will be slightly narrower than the outer fabric.
15.Sew down each side, with the lining and outer fabrics stacked, using a ½” seam allowance. Backstitch at the beginning and end of each seam and backstitch across the zipper to reinforce it.
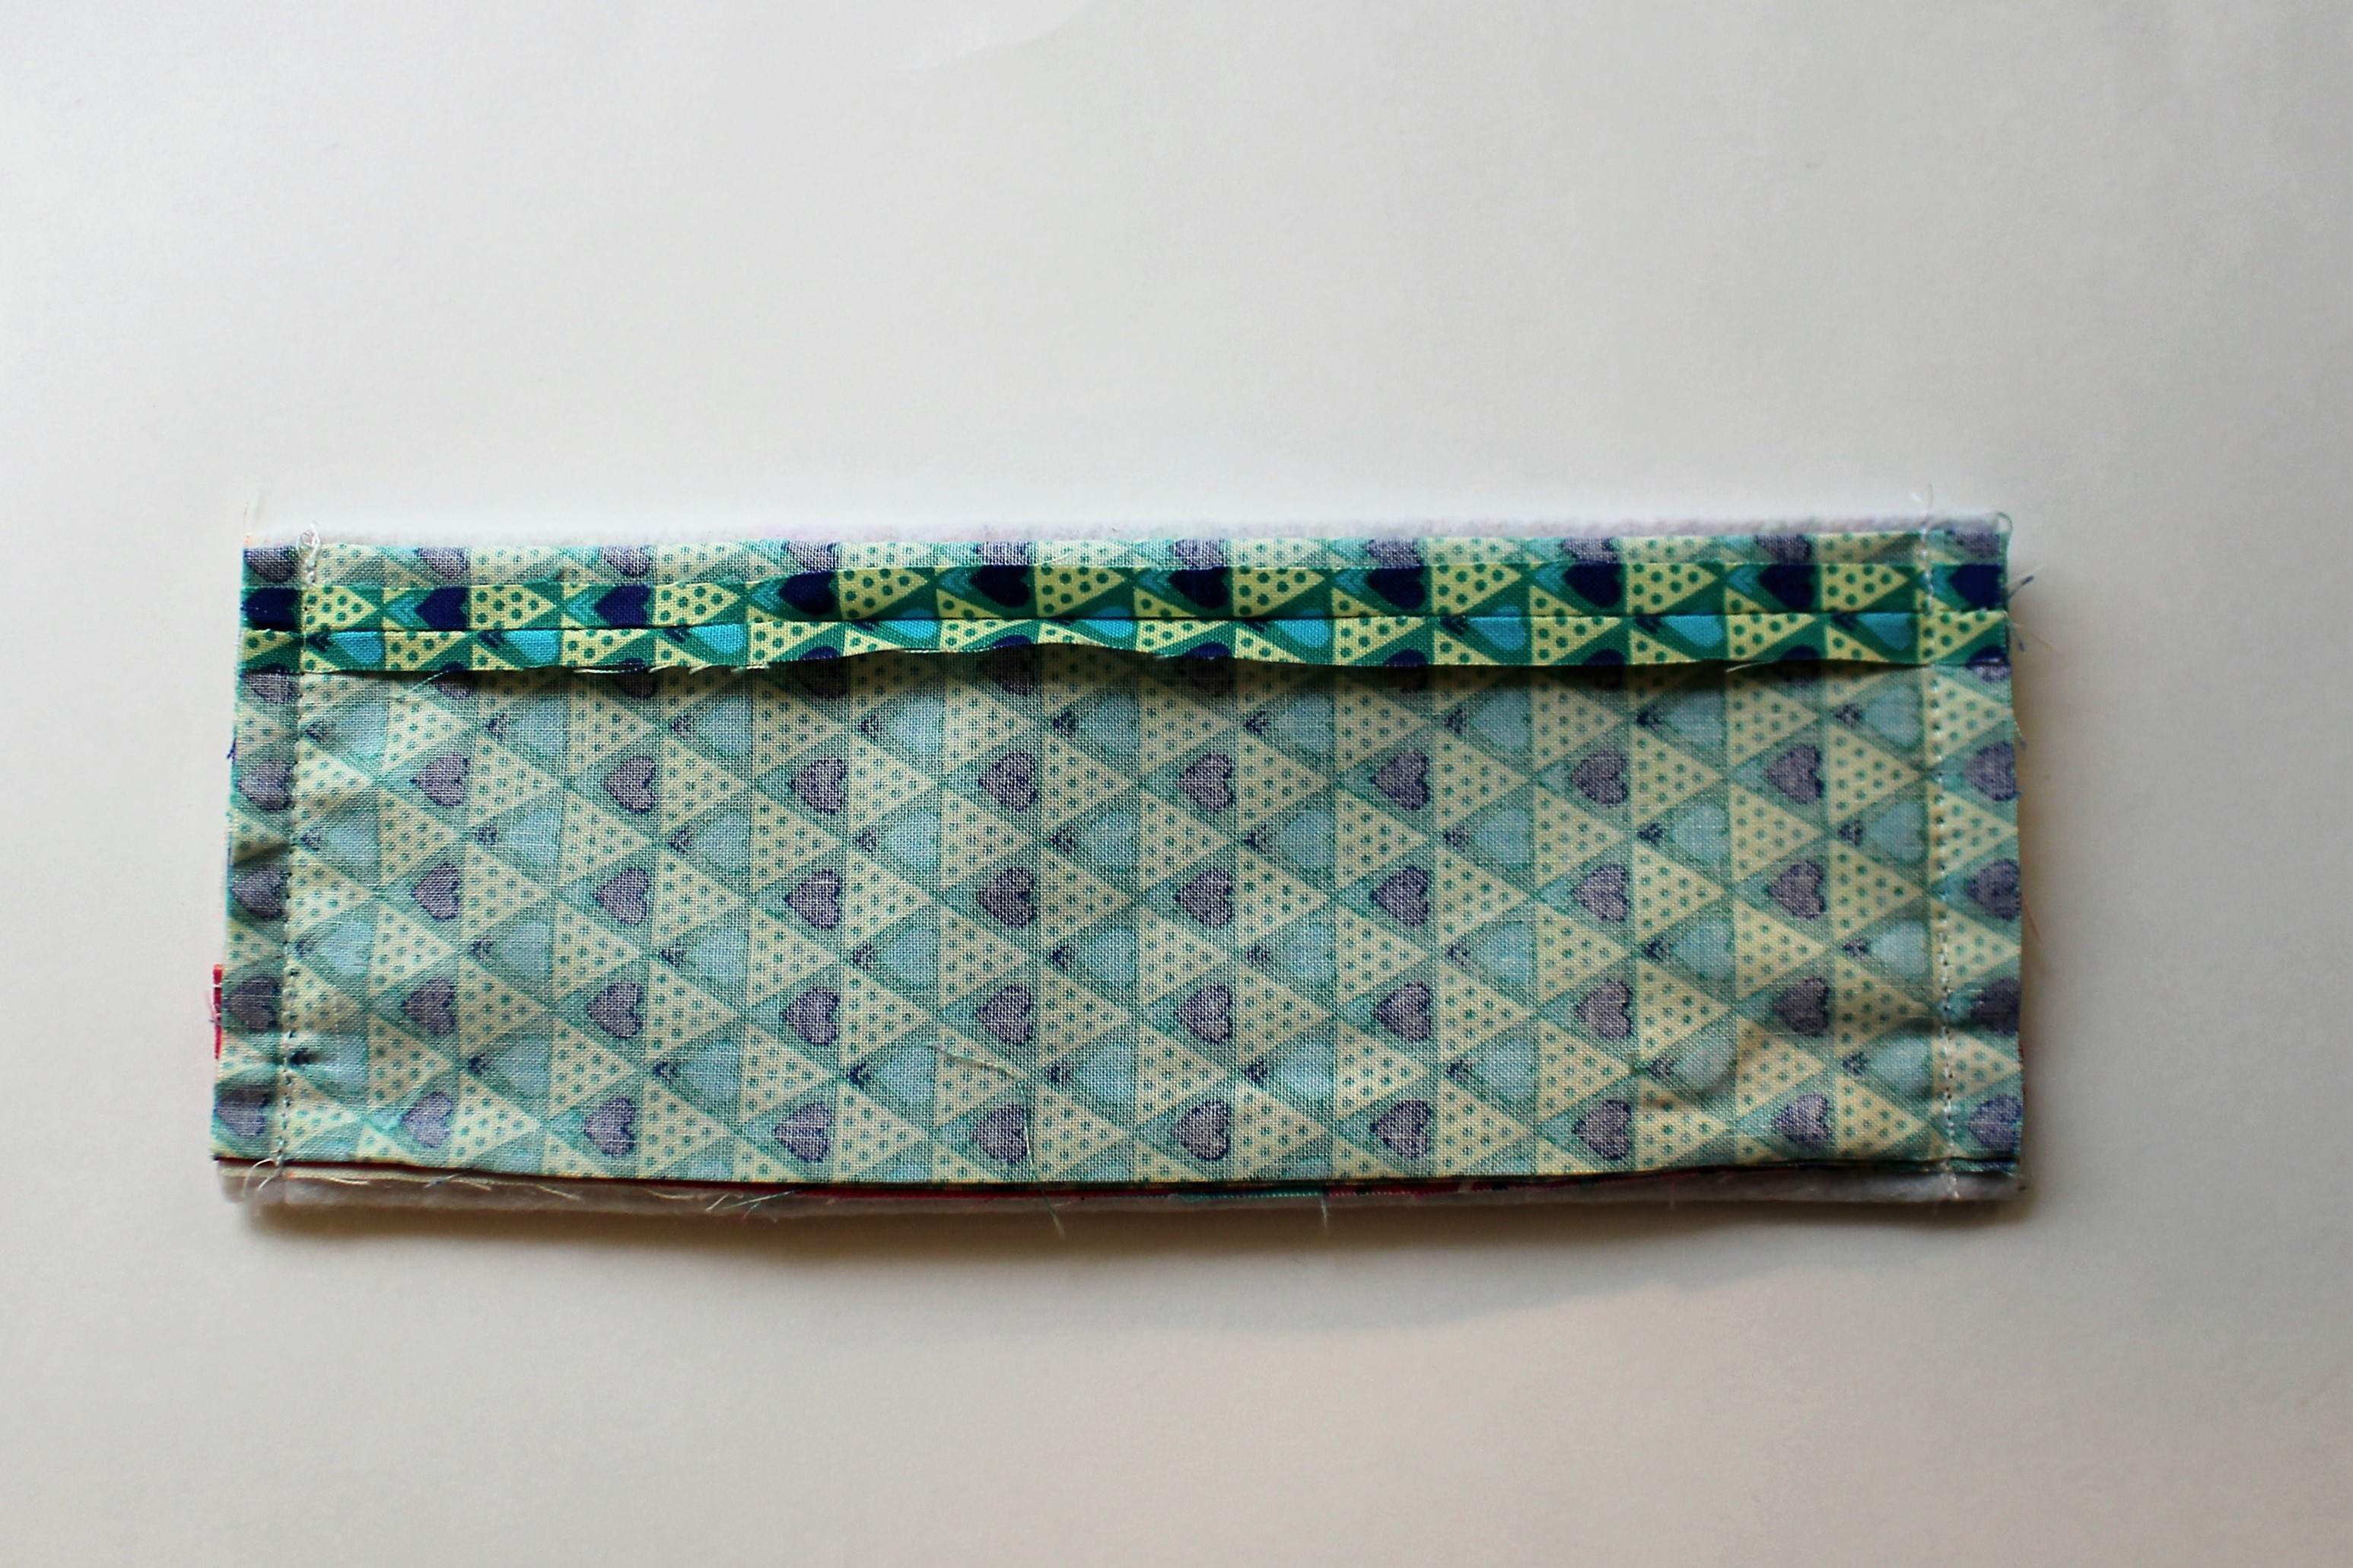
16.Trim the zipper ends to match the seam allowance. Clip the seam allowances on the corners being careful not to cut through the stitched line.
17.Turn right side out through the gap in the lining. Poke the corners out using a blunt chopstick or turning tool.
18.Stitch lining shut by hand or machine.
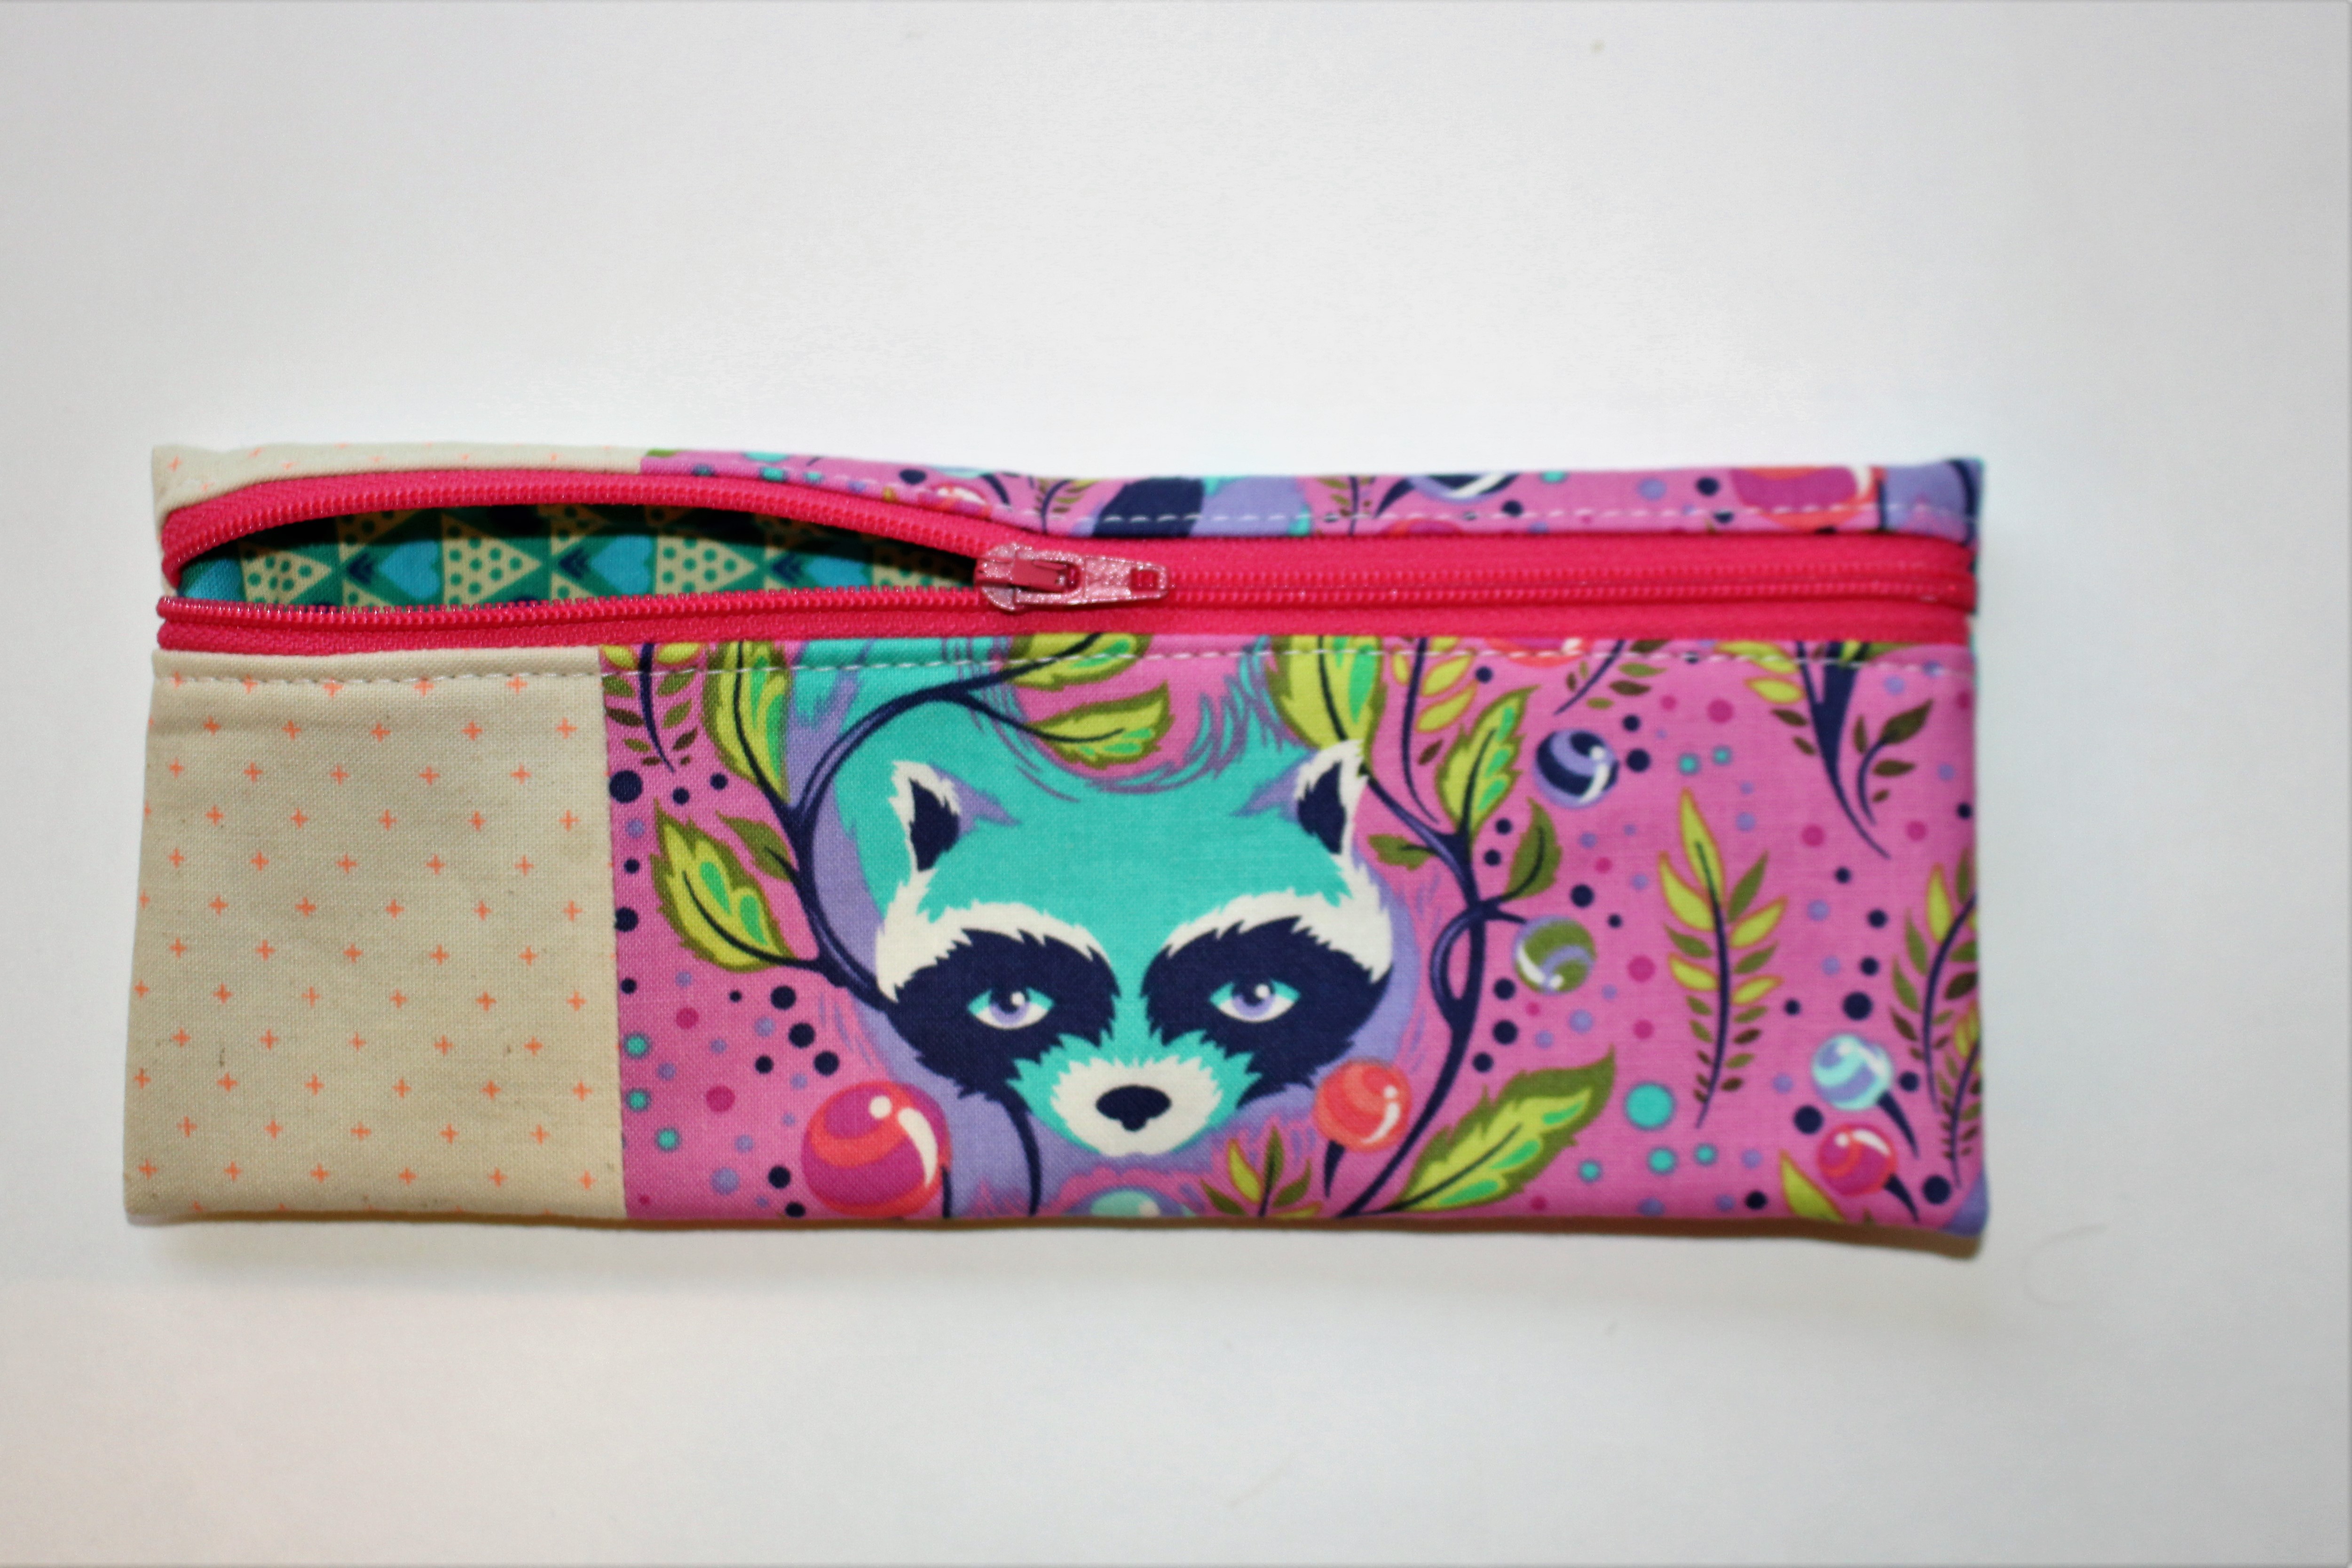
19.Press the pouch flat and fill it with your favorite pens!
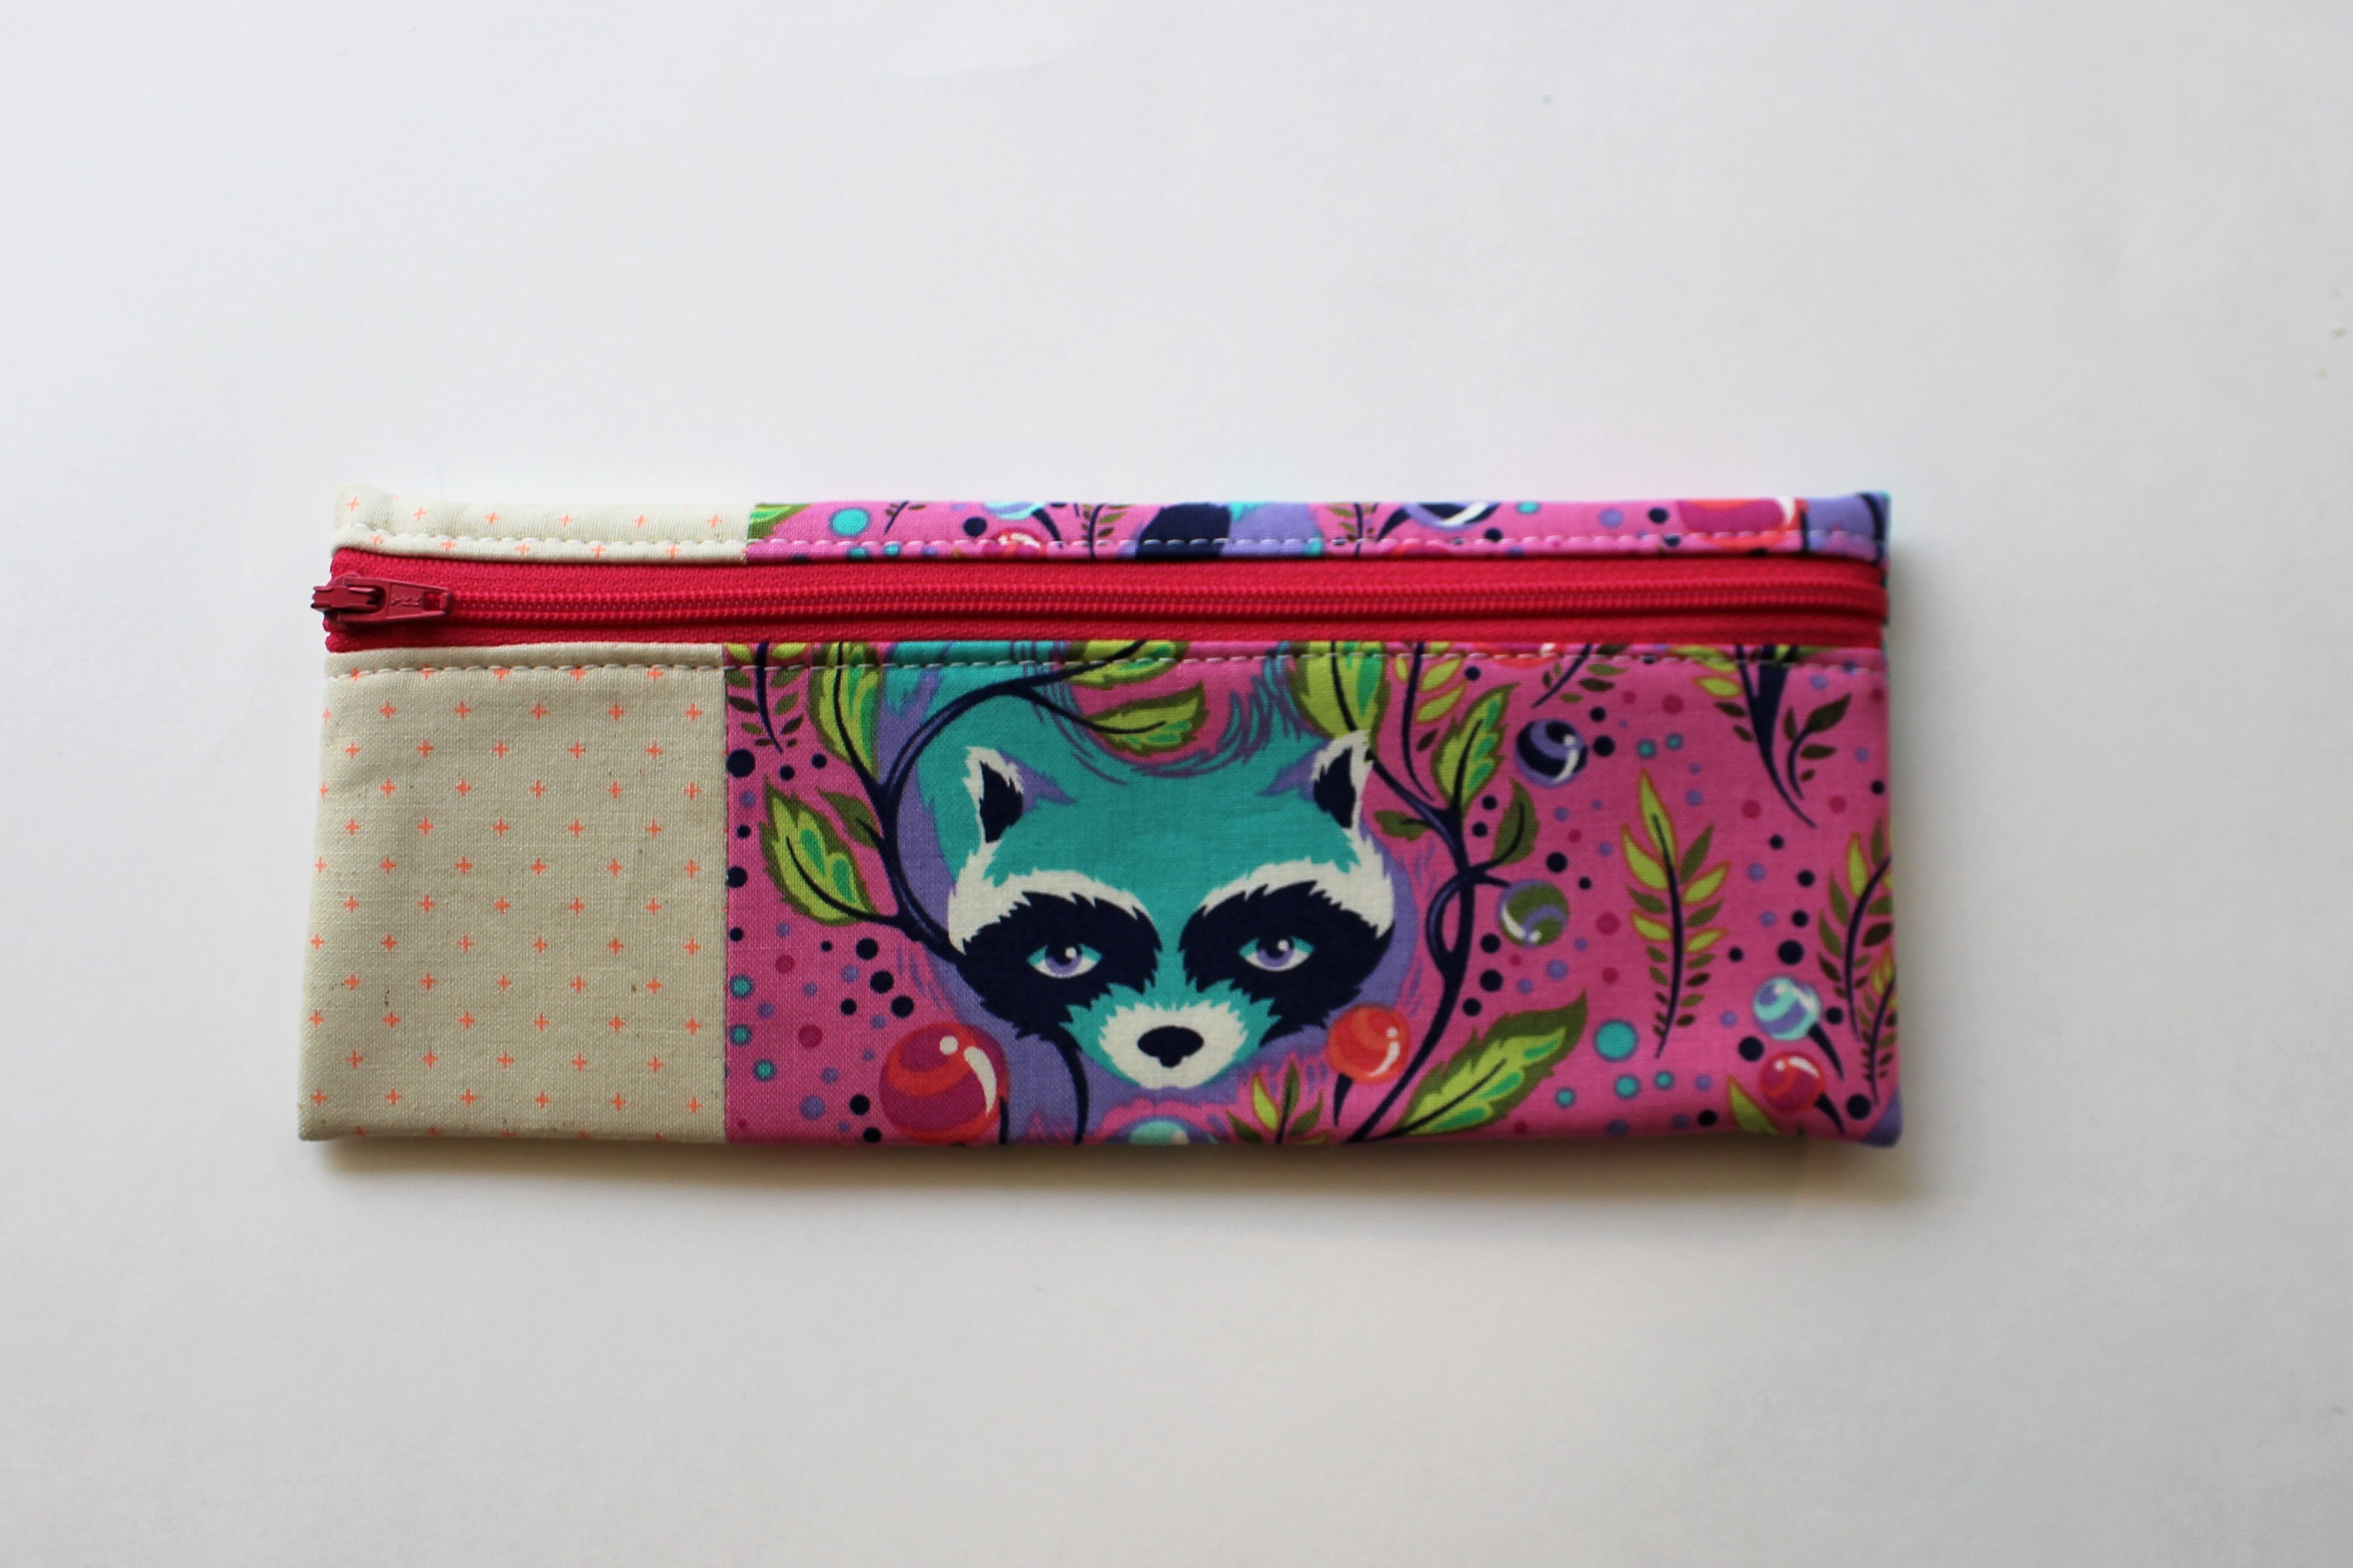
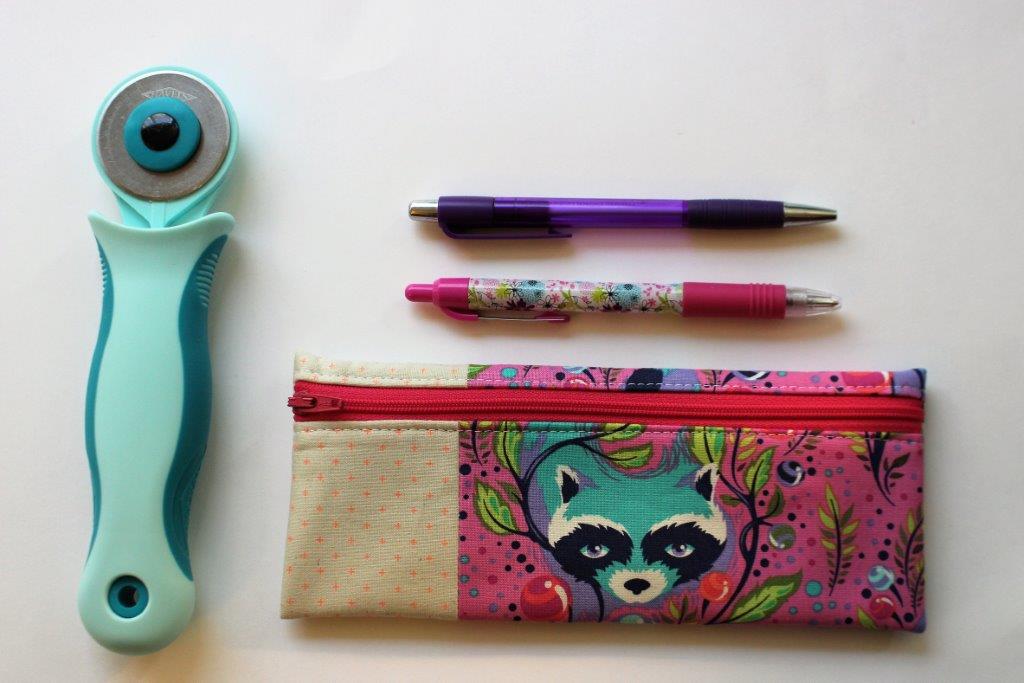
Enjoy your new pouch!