By Liz Kettle
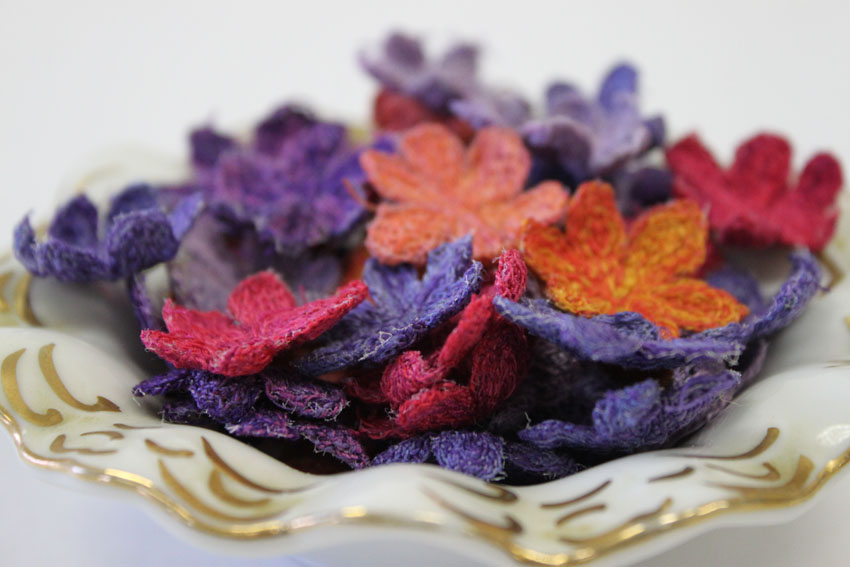 Do you ever have those days where nothing seems to go right? Your grocery bag rips and apples go rolling everywhere, you burn a hole in our favorite fleece vest, the plumber calls with bad news (do they ever call with good news?)…maybe he can get the water back on next week, and then someone hacks your email account and sends everyone you know a less than wholesome web link…sigh…you want to escape to the studio and stitch your troubles away, but how can you focus on creation when you are stressed to the max? Thread painting to the rescue!!
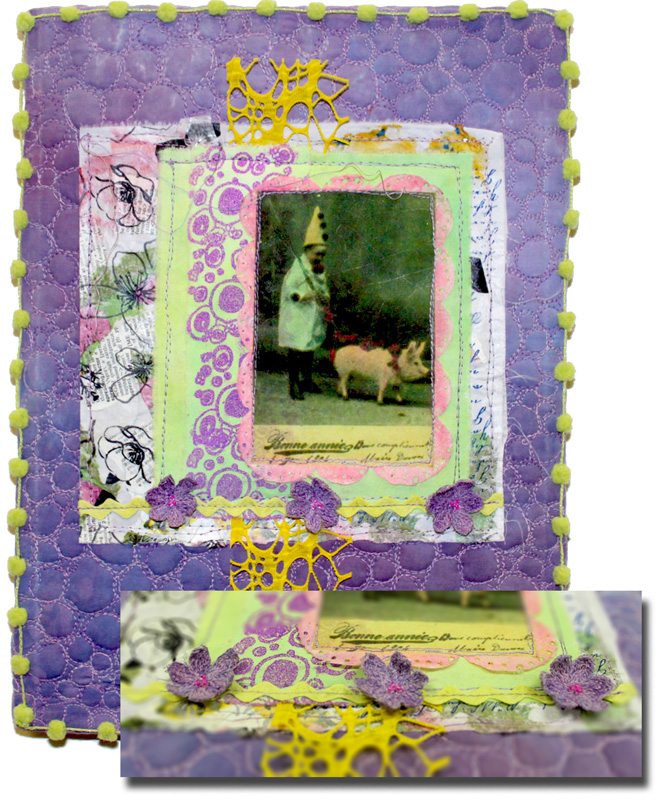 NO, I am not kidding…chocolate is a close second choice but one of the most relaxing stitching tasks you can find is making thread painted embroideries and you don’t have those pesky calories to worry about later. The key is to pick a simple pattern and let the thread colors do the work…you hardly have to think at all. The stitching becomes rhythmic and you slip in to that Zen like creative flow that melts those blues away. Best of all you will have created a pile of great one-of-a-kind embellishments. Try some of these posies, or some leaves or hearts or whatever…just get stitching and everyone will be wondering just how you stay so calm, cool and collected!
SUPPLIES
-
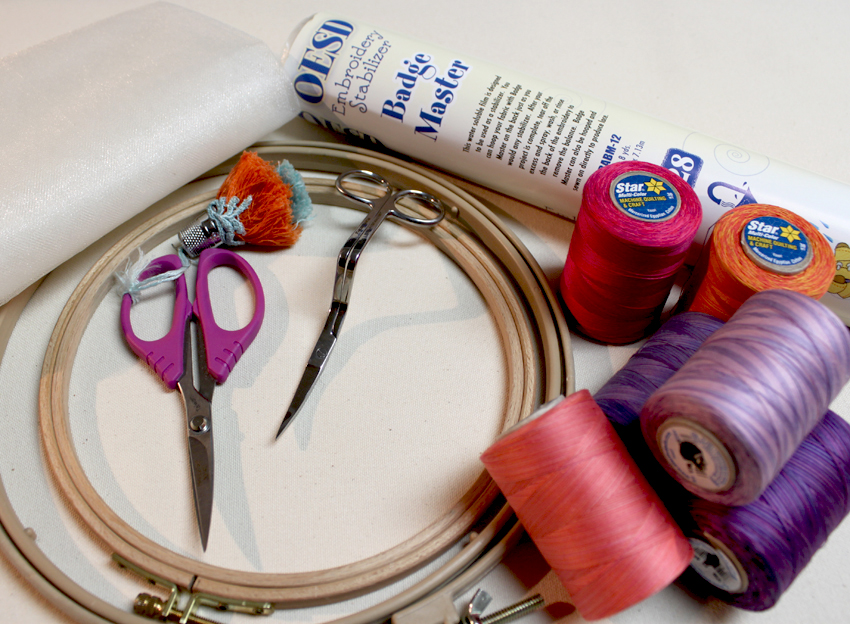
Thread- any decorative thread. I love these delectable threads from Star Cotton…the variegated ones are perfect for thread painting but even solid colors are beautiful. You can also use rayon or polyester.
- Fine tulle or net fabric
- Heavy weight water soluble stabilizer such as Ultra Solvy or Badge Master
- Embroidery hoop designed for machine embroidery (optional but makes the job so much easier)
- Size 90 machine embroidery needle
- Havel’s 5 1/4″ Ultimate embroidery scissors and 5 1/2″ curved tip embroidery scissors
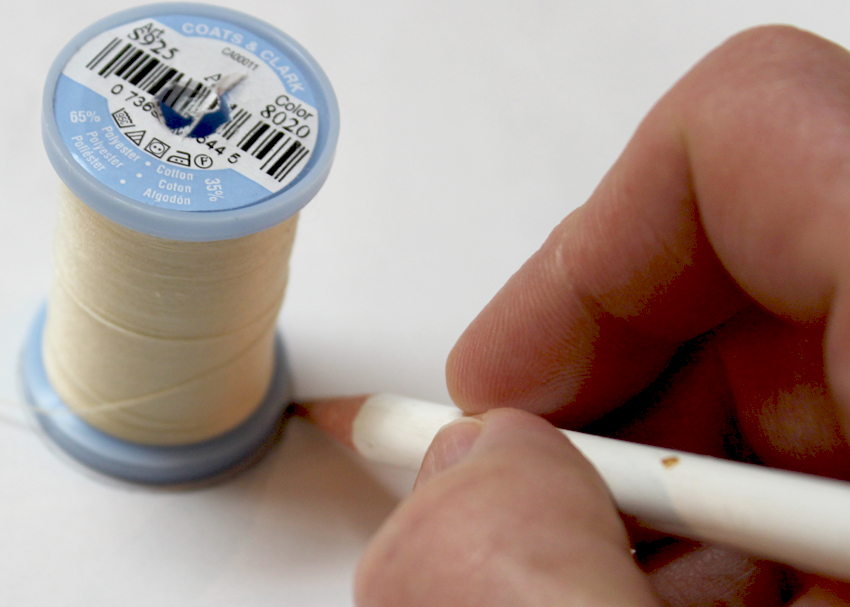
1. To draw your flower design, trace a small circle on a piece of paper. The spool I traced is about 1 ¼” in diameter. In the center of the circle draw a small circle for your flower center. Draw 6 petals from the flower center to the perimeter of the circle.
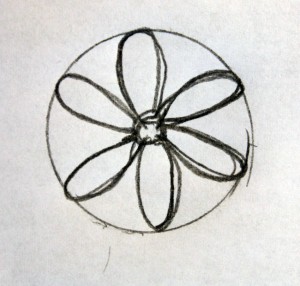
Don’t worry about drawing a ‘perfect’ flower…there isn’t
any such thing.
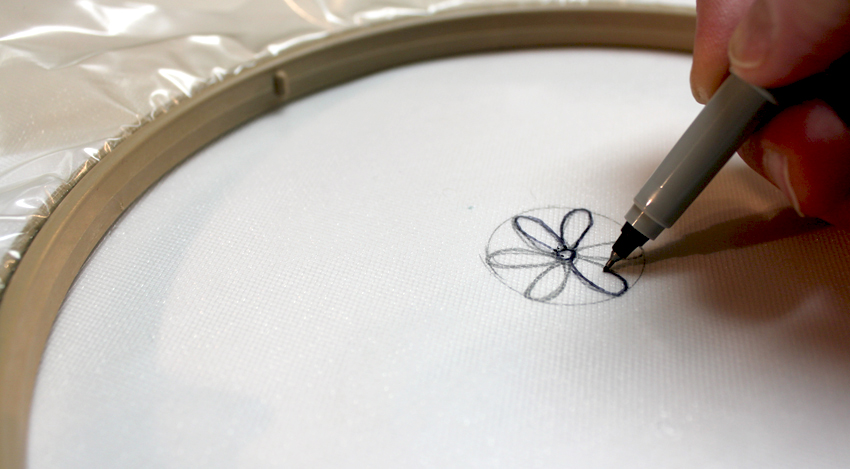
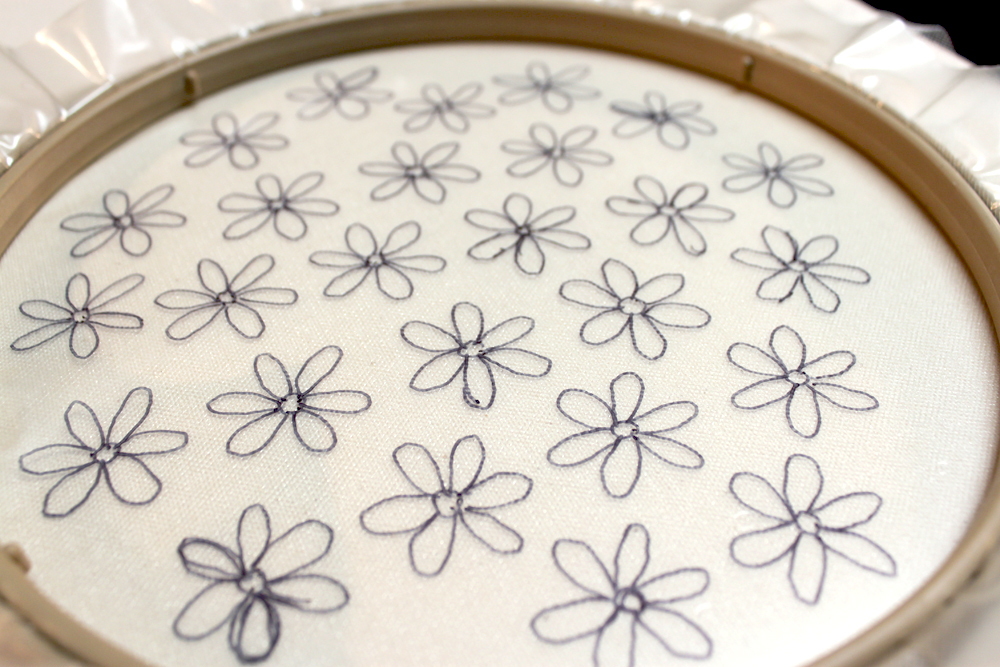
2. Cut a piece of tulle and heavy weight water soluble stabilizer slightly bigger than your hoop. Place the stabilizer on top of the tulle and secure in the machine embroidery hoop. You can do this without a hoop but the hoop does help keep the stabilizer taut and is easier on your hands. Place the hooped stabilizer and tulle on top of the flower pattern. Use a sharpie marker to trace the pattern on the stabilizer. Fill the hoop with the flower pattern. I use tulle as a base to give some underlying structure to the thread embroidery. This project can be worked without the tulle but you must be a bit more careful that all your stitches interlock or your work could unravel when the stabilizer is rinsed away. My book, Threads: The Basics and Beyond has more detail on this technique.
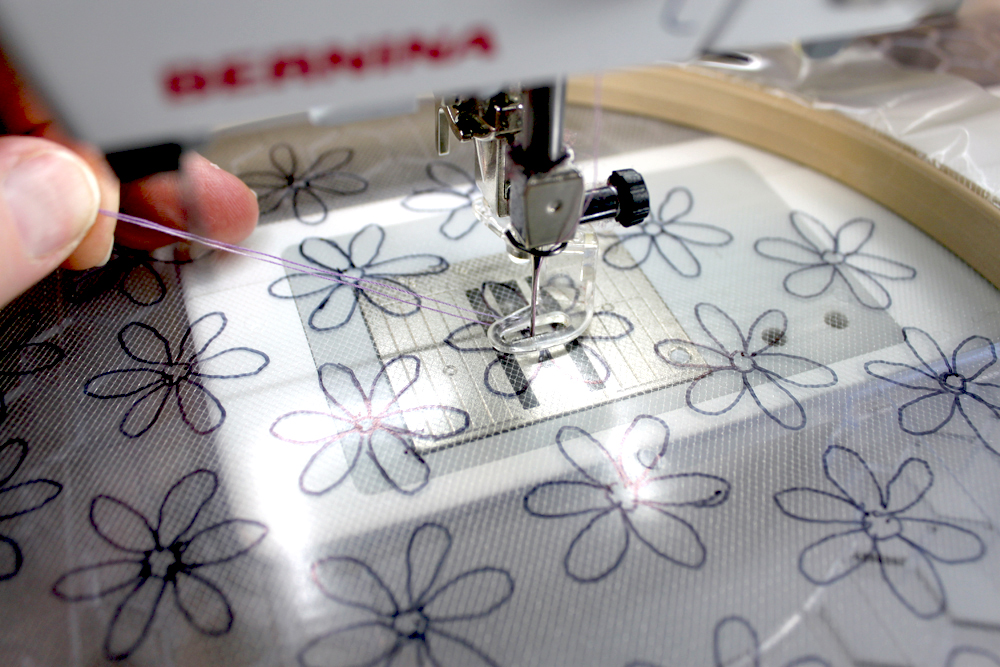
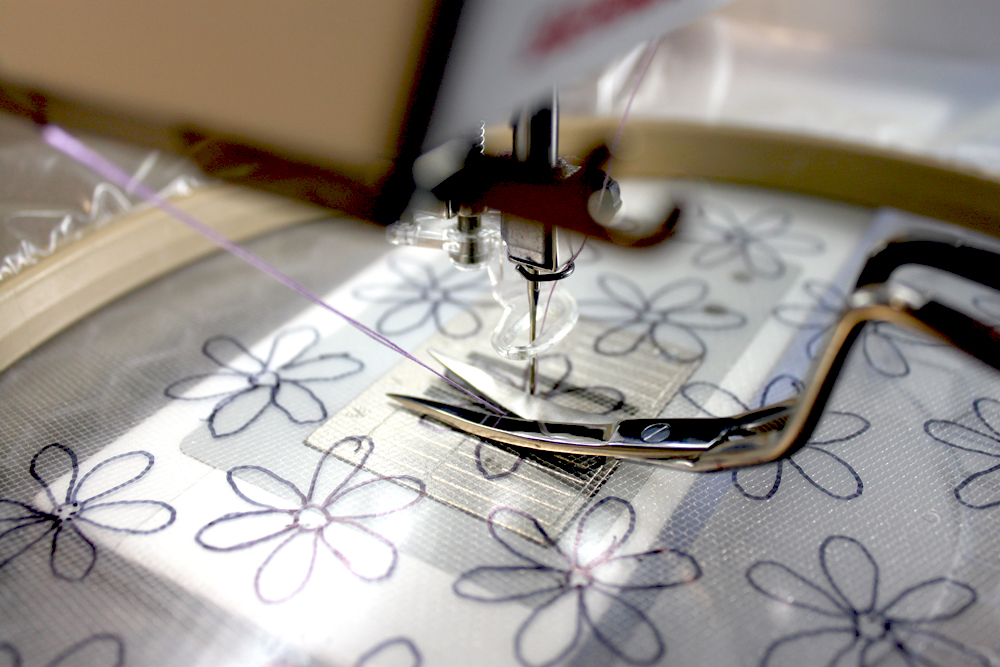
3. Take the hooped tulle and stabilizer to the machine. Set up for free motion stitching by dropping or covering your feed dogs and use a darning or free motion foot. To begin stitching pull the bobbin thread up and hold it to the side with the top thread. Make a few stitches and then clip off the tails as close to the stabilizer as possible.
Havel’s 5 ¼” Ultimate Machine Embroidery Scissors are the perfect tool for the job. I had my doubts that I really needed another pair of specialized scissors but I have to tell you…WOW!…the double curve of these scissors get really close to the fabric and eliminate any chance of accidently cutting into your fabric or stitching. When you are using a hoop and regular embroidery scissors it is difficult to get a close cut resulting in little stray bits of thread poking out where you don’t want them. I always opt for fewer tools to keep track of in my studio but these are on the must have list if you like to do any type of machine embroidery.
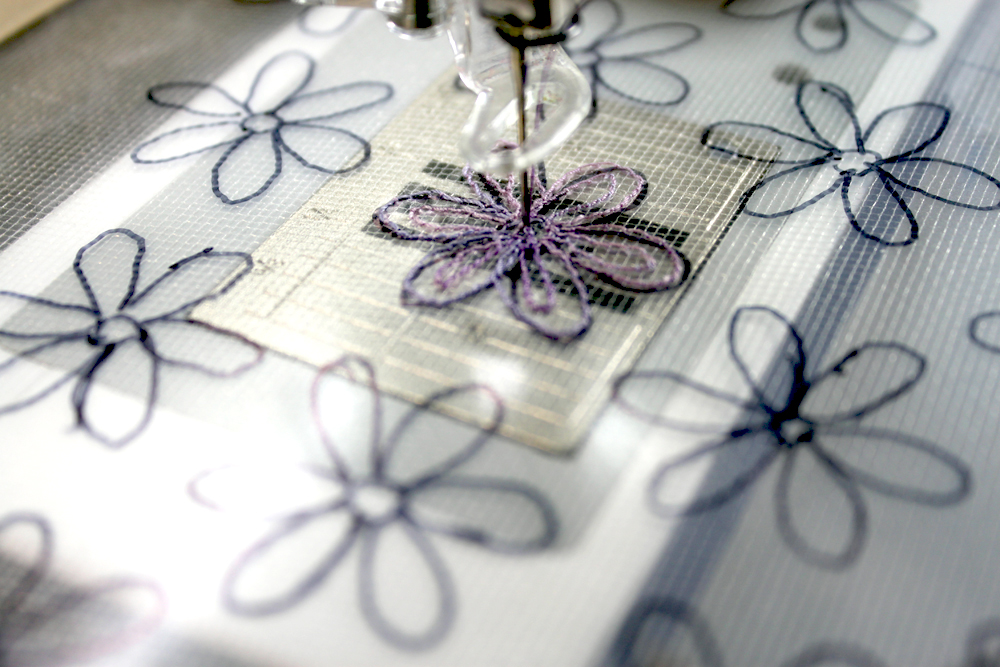
4. Stitch around your drawn flower shape on the outside lines and then inside the petal.
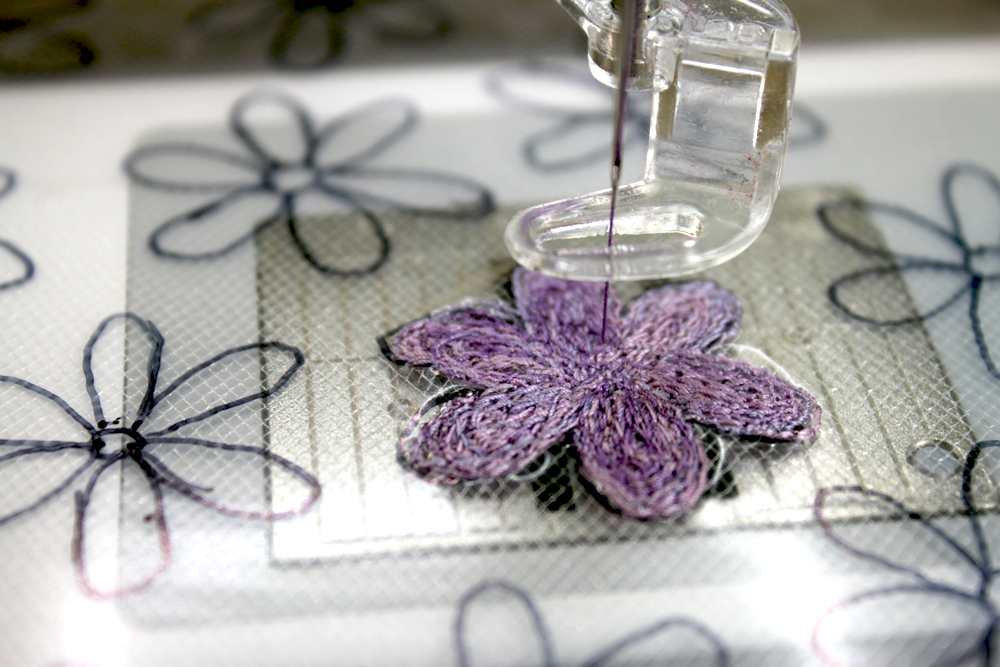
5. Continue stitching around the flower petals. I find it is better to stitch completely around the design as you go rather than filling in one petal at a time. Not only do you get less distortion but this method lays the variegated colors on top of each other so they mix and blend. If you fill in one petal at a time you could end up with each petal a different color. Don’t worry if you stitch outside the lines. Any stray stitches can be trimmed off later and no one will be the wiser…just one of the many reasons I love this technique.
Continue stitching around until you can’t see through the flower and your needle may start to make a thunk sound when an area is full of stitches. Without cutting your thread, move to the center of the next flower and repeat.
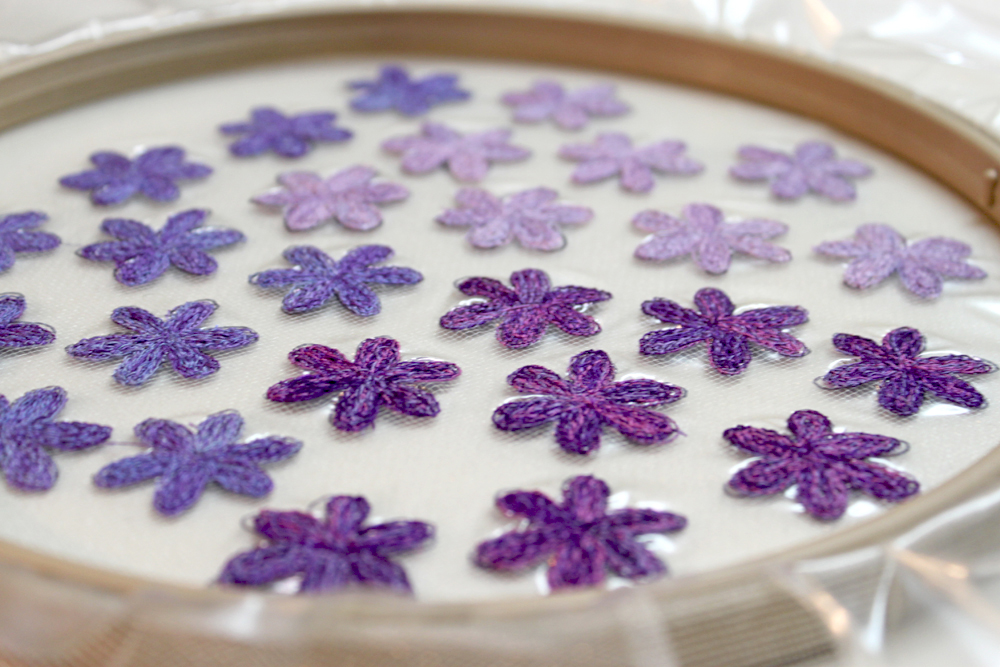
Here is my hoop full of posies…
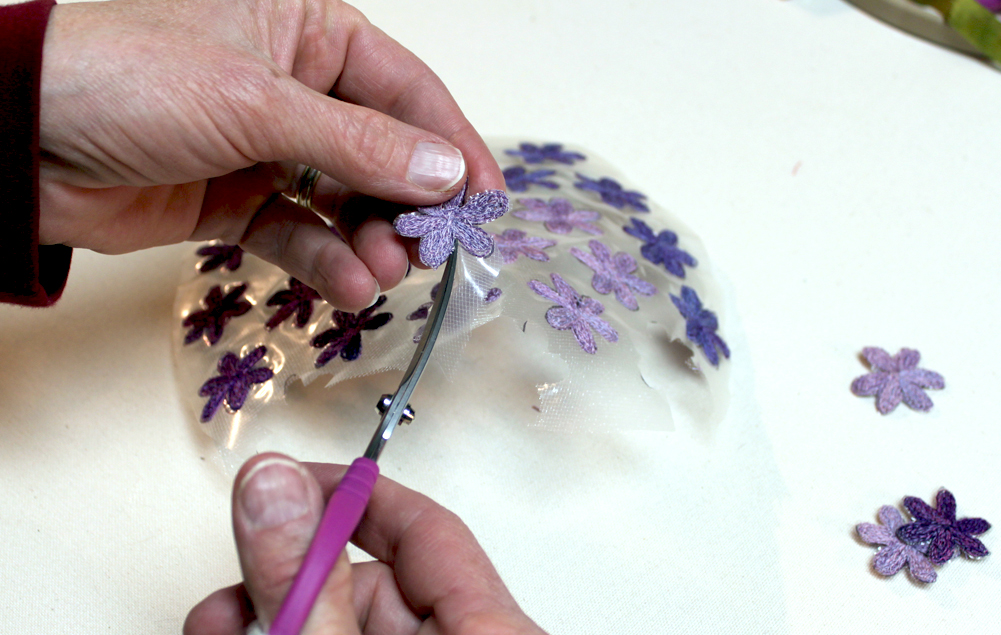
6. The next step is to cut out the flowers. I find the little curved appliqué scissors are great for cutting around the small curves and getting into the points between the petals.
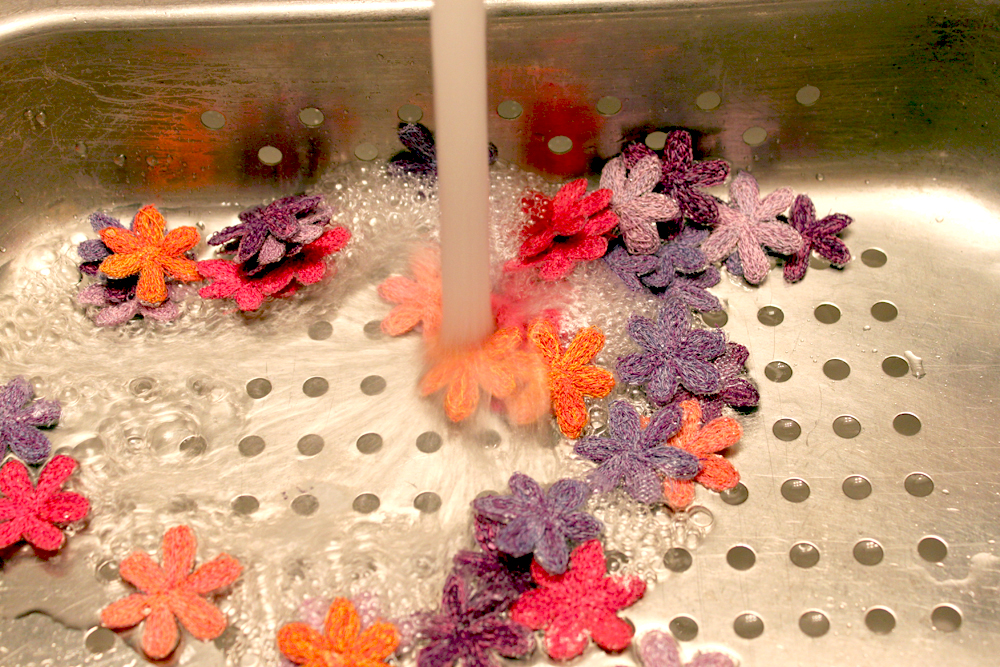
7. Now the flowers get a bath to rinse the water soluble stabilizer out. When working with small embroideries I usually put them in a colander so I don’t accidently lose one down the drain. I will often soak them for a bit so most of the stabilizer will rinse out. I made a hoop full of pink and orange flowers to go with my purple ones…it was a trying week! 🙂
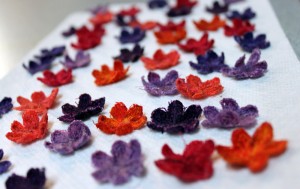
After they are finished soaking I give them one last rinse and squeeze out as much water as possible. Then lay them on a paper towel to dry. I like to shape my flowers so that the petals are curving up. You can iron them flat later if you decide that is best for your project.
These little posies or any little embellishments you create can be used in so many ways and I find they work wonderfully in a wide variety of projects. I usually attach them with a few stitches or with beads.
Creating a ‘stash’ of embellishments makes it easy to personalize your work. If I didn’t have these on hand I certainly wouldn’t stop to make them when I am working on a collage or other artwork. No matter how perfect they would be in a piece…I simply wouldn’t stop to do it. I spent quite a bit of studio time creating my own special ‘stash’ of bits and pieces. Not only is it relaxing when I can’t concentrate on creating a piece of art but it is also much more efficient to make a bunch at one time…as a bonus they brighten up my studio when I wonder if Spring will ever arrive.
Liz Kettle is a mixed media and textile artist living in Colorado. She is co-author of 2 books, Fabric Embellishing: The Basics and Beyond and Threads: The Basics and Beyond. Liz loves teaching and sharing the joy of making stuff, in her articles, classes and at her fabulous retreat, Textile Evolution. Visit her blog and website: www.TextileEvolution.com
Use the scissors recommended by Liz….
[hs_action id=”8244″]


9 Responses to Free Craft: A Pocket Full of Posies