On The Sixth Day Of Havel’s Holiday Project,
My True Love Is The Snip-Eze Blunt Tips
Part 6 Will Explain How To Make the Garland:
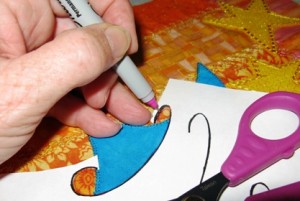
1. Trace the design of the garland onto the tree.
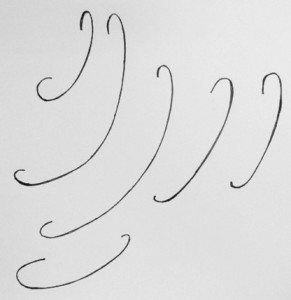
When I want to trace a line from a pattern, I trace the lines onto a piece of paper. I cut away along the line I want. Trace the line, and then cut the next outline and so on.
2. Use Havel’s Snip-Eze to cut purple metallic ribbon pieces.
Each ribbon section should be cut 4 inches longer than the design.
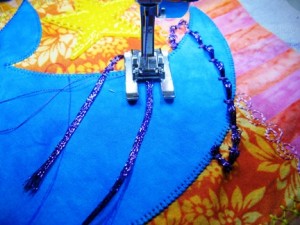
3. Use the bar-tack on your sewing machine to stitch the garland down.
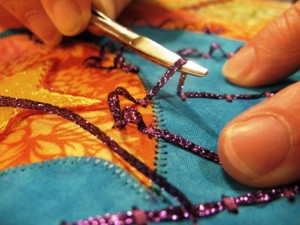
4. Use the closed Snip-Eze to pull up a little ribbon between
each bar-tack to make it look loopy.
5. Lastly, use a tapestry needle to secure the ribbons to the back of the work.
Next: On The Seventh Day Of Havel’s Holiday Project,
My True Love Is The 4 3/4″ Dura-Snips On A Neck Strap
For a printable PDF, please click here.


