Coffee in the Garden by Jamie Fingal
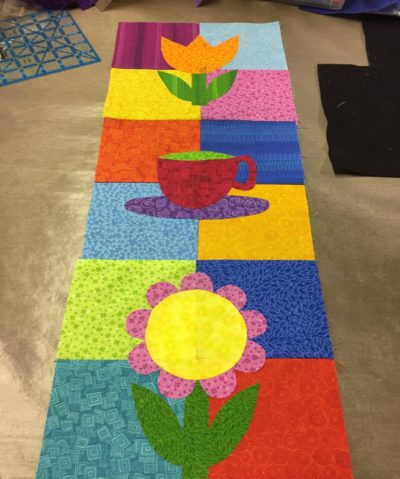
A fun Spring to Summer narrow wall hanging that will fit most anywhere in your house 9×25, that is both pieced and raw edge applique. A charm pack friendly project.

20 each 5” squares
Mistyfuse
½ yard Wool blended Felt by National Non Wovens WCF-001
Rotary Cutter, Ruler, Mat, Scissors
You could make this with batting too, and do binding if you prefer. I am just giving you another option by using the wool blended felt. If you can only find TOY-002 at your local quilting store, you only need one layer.
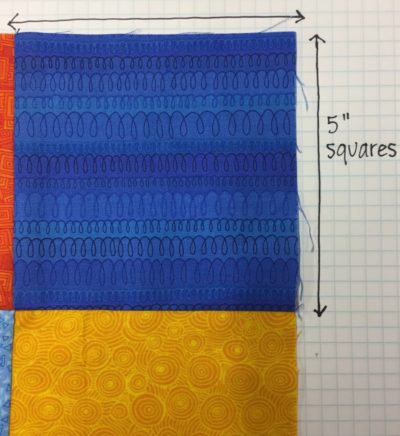
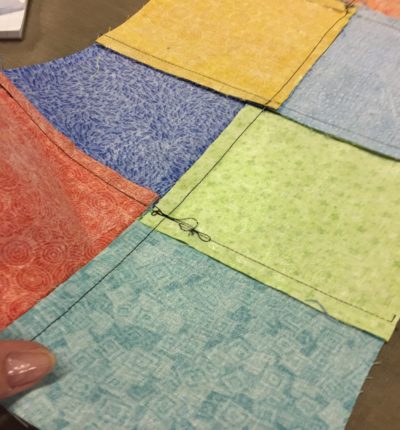
Select what squares you want for the background. You will need 12. Sew them together using a ¼” seam allowance in a four patch, then sew the four patches together to create the narrow background. Press seams to the dark side.
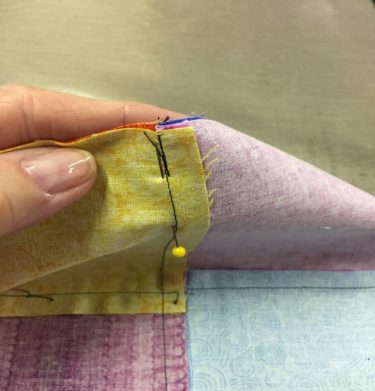
Line up the seams with a straight pen. I admit this has always been a challenge for me, because I am not a piecer. But, I did it, and it was like riding a bike, you just don’t forget. May the force be with you. It doesn’t have to be perfect, just perfect for you.
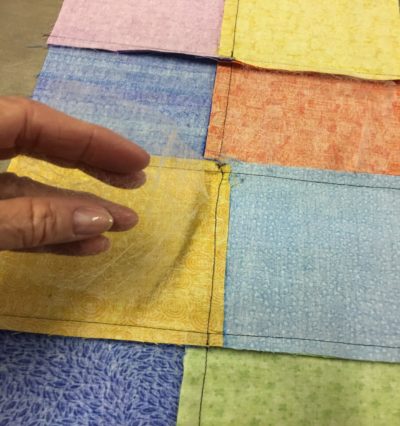
Apply the Mistyfuse to the back of the background and all of the other squares that you have set aside for the raw edge applique. You can do this in two sections, one for the background and one for the remaining squares. Cut off any MF that is over the edges. You want a nice clean cut. If you get fusible web on your iron plate, use a few dryer sheets folded together, and a potholder to protect your fingers. Wipe the entire iron plate with dryer sheets until clean. Then swipe your iron on a scrap piece of fabric to wipe off any residue.
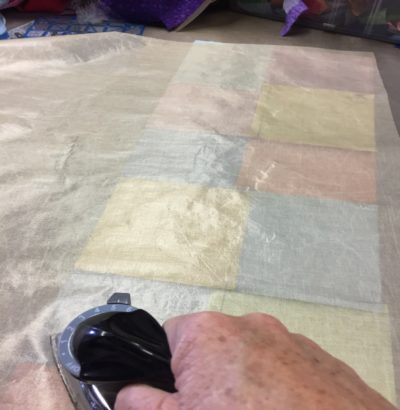
Lay a sheet of parchment paper over the top. I used a Goddess Sheet that is made by Mistyfuse. Run a dry iron on the cotton setting over the top in a circular motion being careful to get all of the edges. Let it cool.
Pull up one corner to see if it is cooked. It should have a shine to it. If you pull it up and it has strings attached, it’s not done, so run your iron over it again and let it cool. For the 5” squares that are for the raw edge applique, carefully separate the squares by using your fingers to open them up and then cut them apart with your scissors.
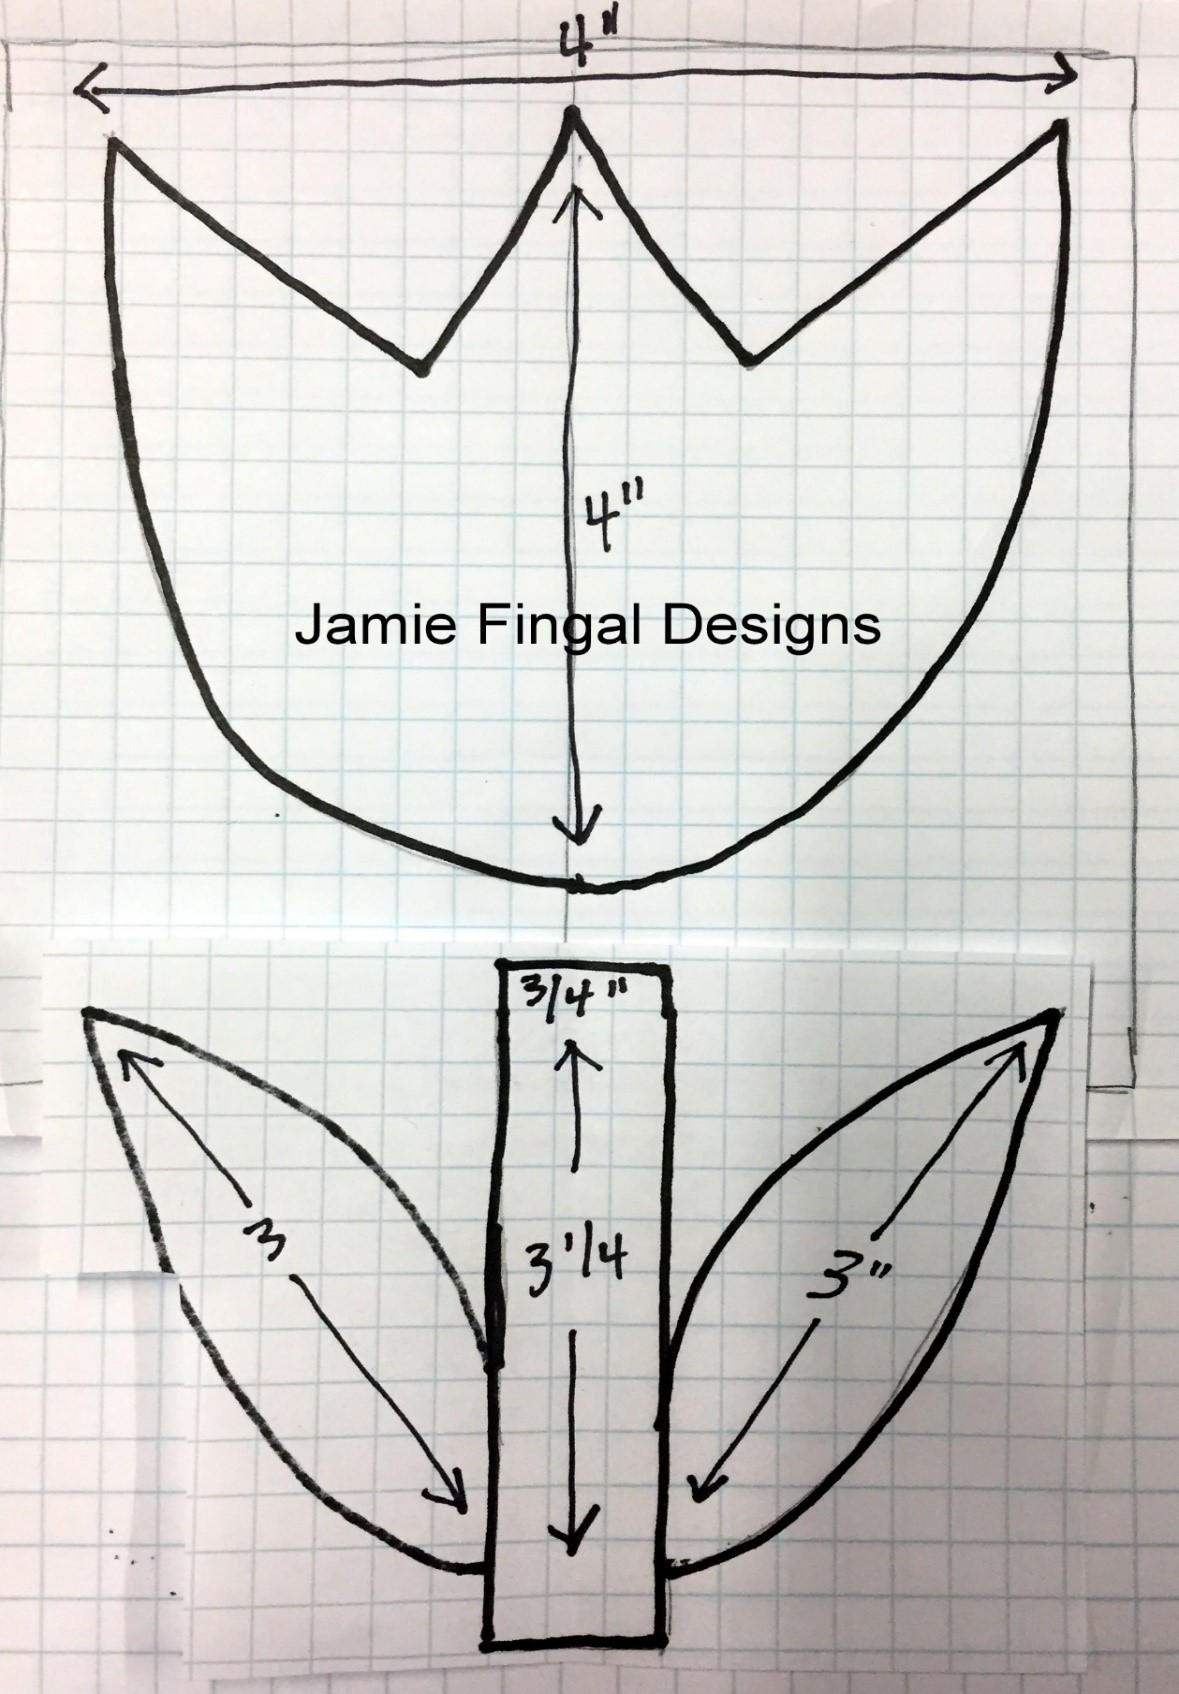
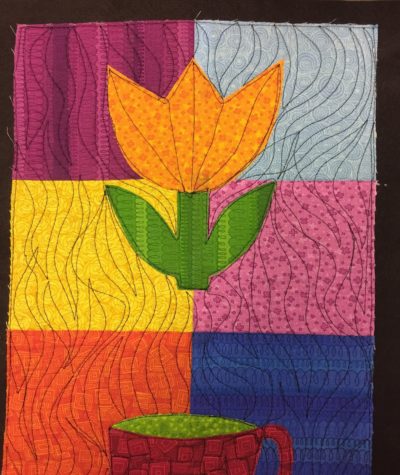
Pattern for the tulip.
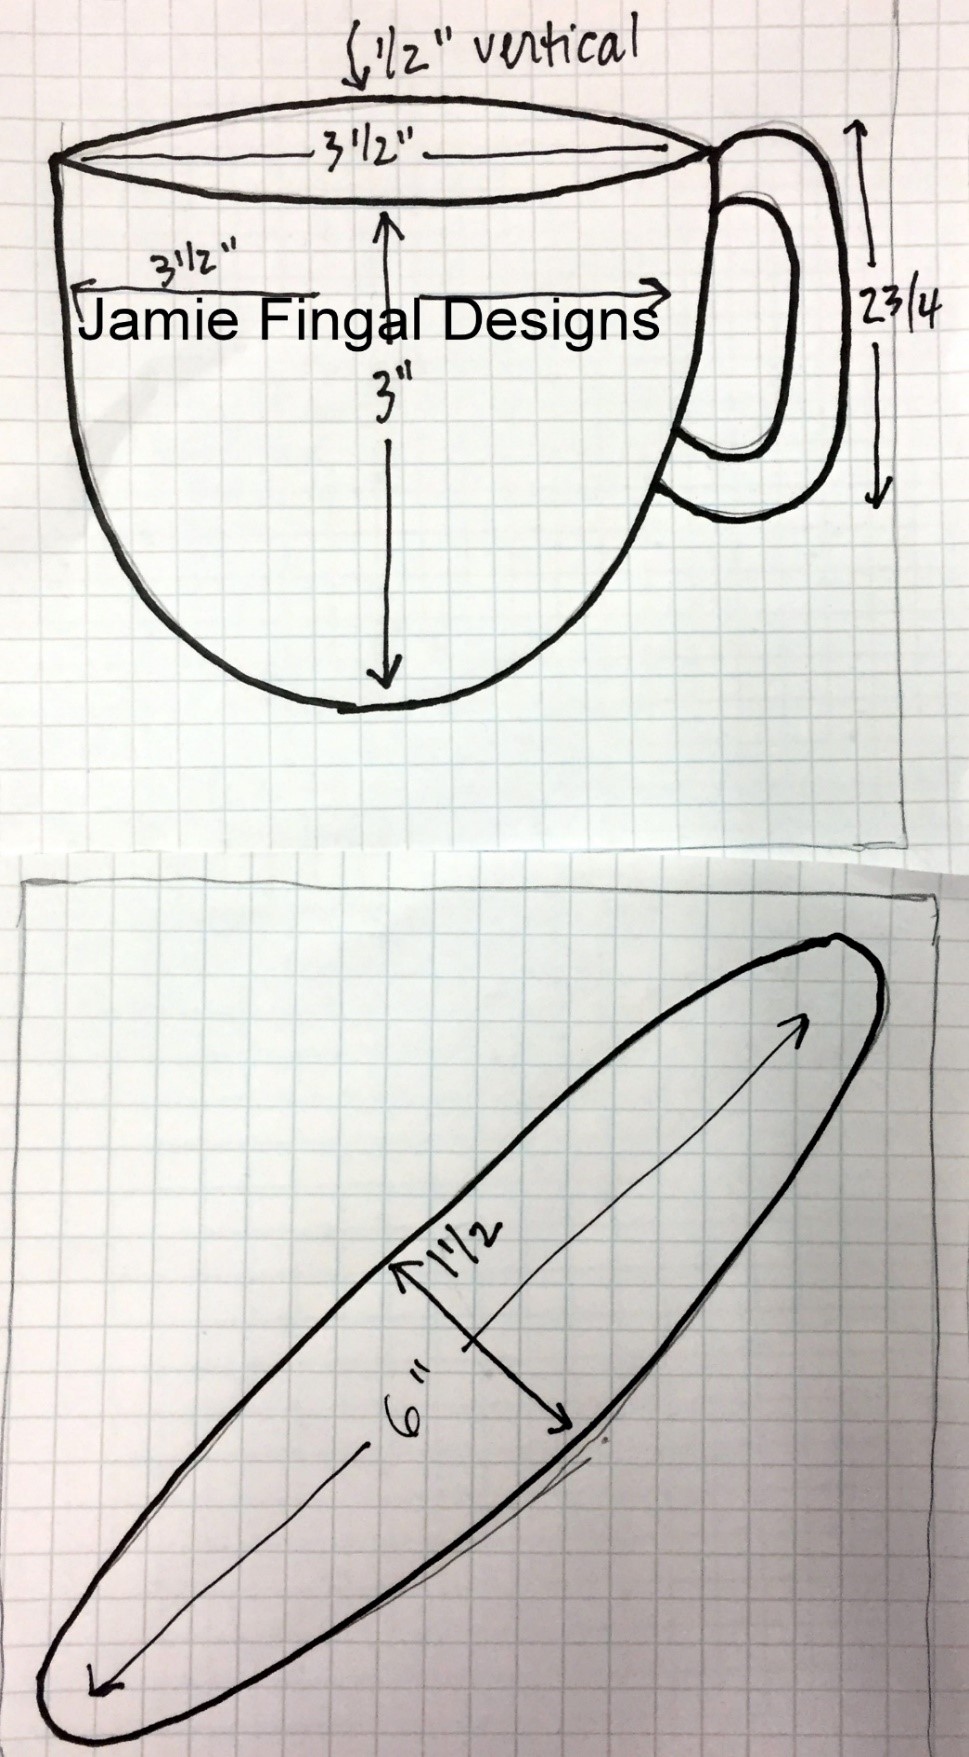
Pattern for the cup and saucer.
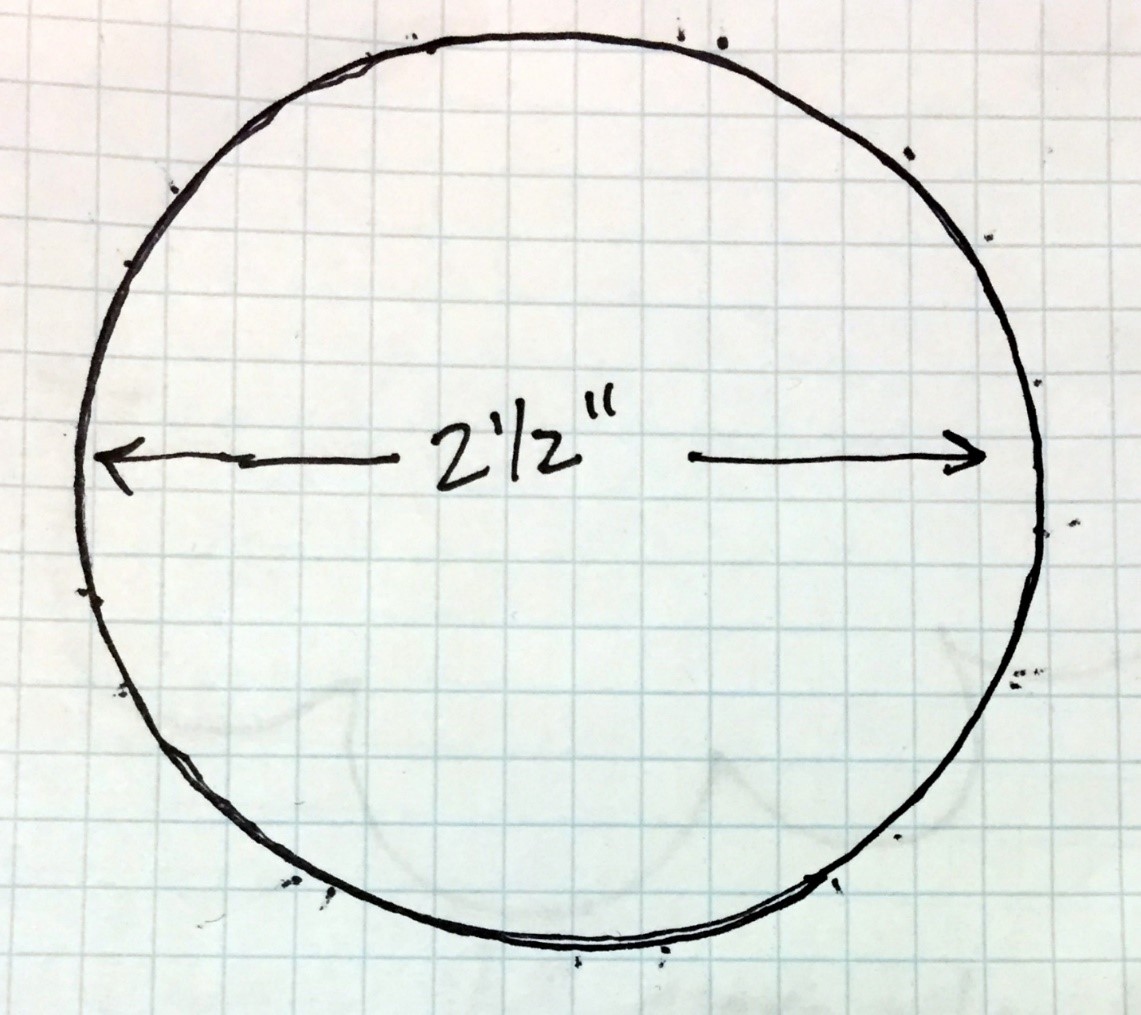
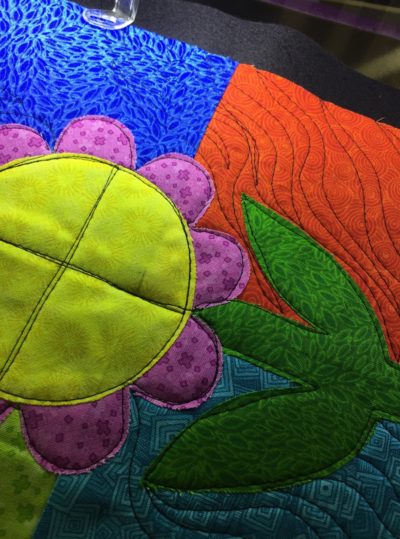
Pattern for the sunflower center. You can use the stem and leaves from the tulip pattern for this flower too.
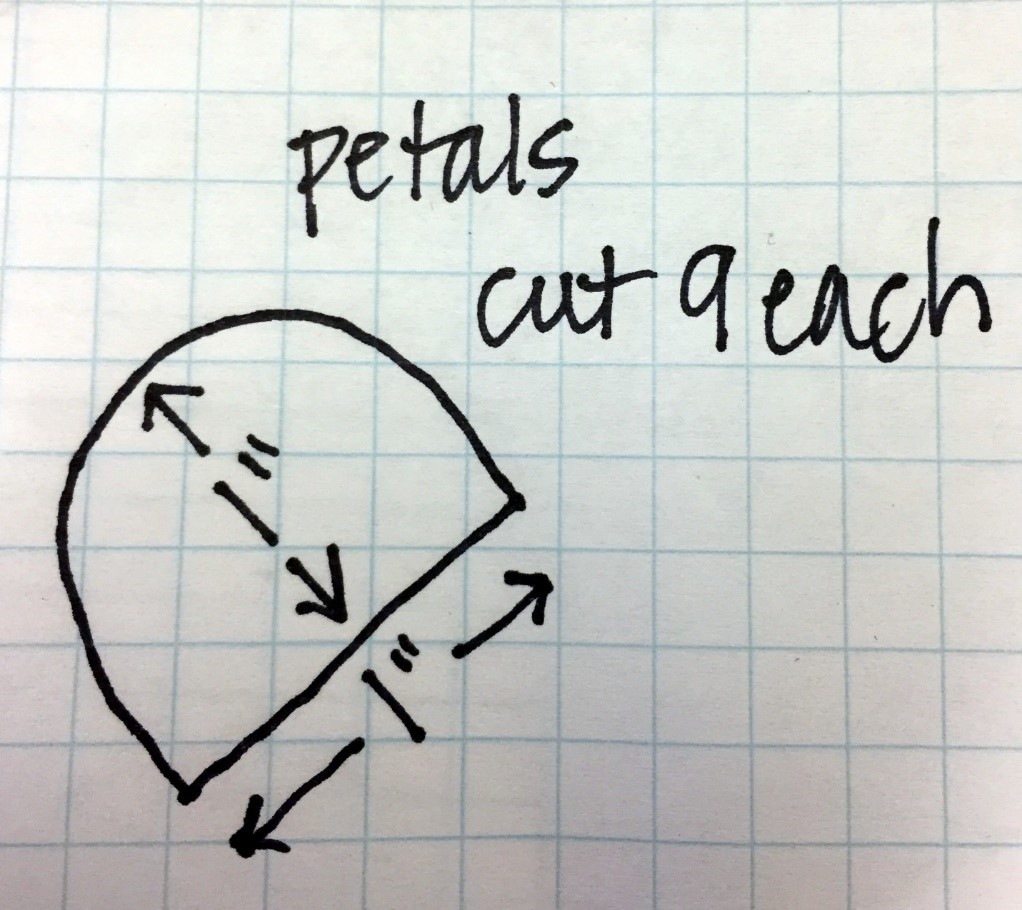
For the petals.
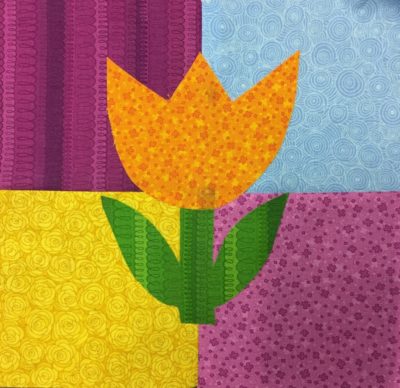
Cut out the tulip, stem and leaves. Tuck the stem a touch under the tulip. Place it on the background. If you are happy with the placement, press it into place.

Cut and saucer. The green insert in the cup goes behind the cup, as well as the saucer. Press into place.
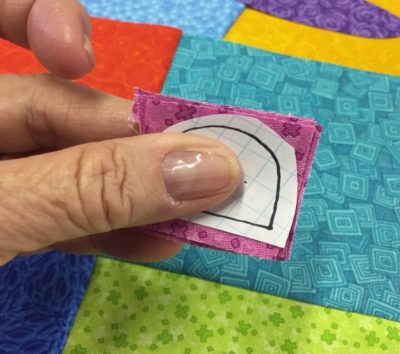
Making the flower. You can cut 4-5 piece out at a time for the petals. I didn’t use a straight pen, because my thumb worked pretty well.
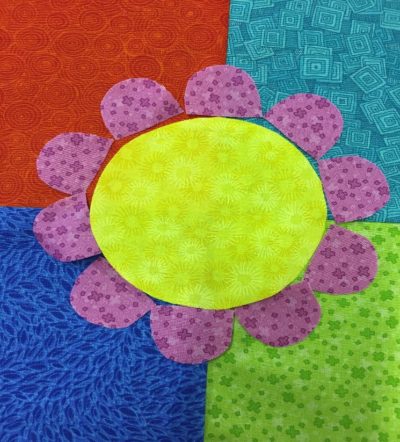
After you have all of the petals cut out and they don’t have to be perfect, line them up around the yellow circle. You will place them just a tad under the circle, but don’t press with the iron, until you have the stem in place.
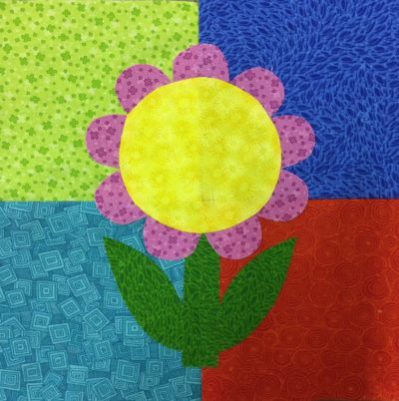
Tuck the stem under the petals and flower and press into place.
Now you have a completely fused piece. Now is time for the wool blended felt.
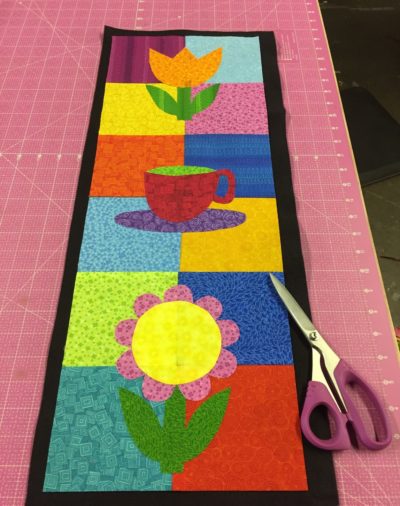
Press the piece onto a piece of wool blended felt, and trim the edges with a pair of sharp scissors or a rotary cutter. Then add another layer of felt to the back and secure with a straight pen on the top and the bottom. Now we’re ready to free motion machine quilt.
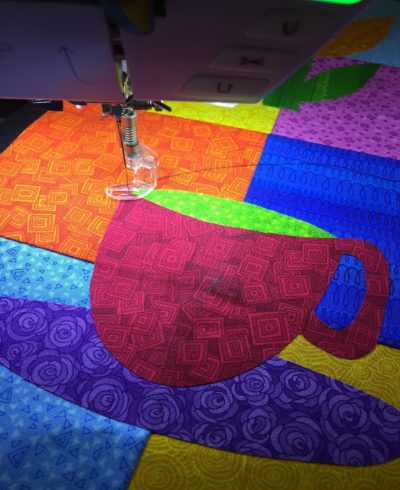
Simply outline the cup and saucer with your needle and thread.
I have outlined the objects and sort of free styling with the needle and thread in an all over organic look.
You can clearly see my quilting lines, and yes, I cross over quite a bit. Just have fun with it. Press your piece after the machine quilting is done.
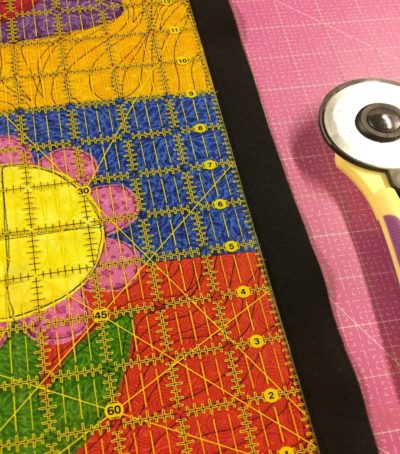
Two ways to finish. 1) straight stitch all around the edges, then cut or 2) cut all of the way around, so that the felt doesn’t show, then straight stitch the edges, so you have a nice clean line.
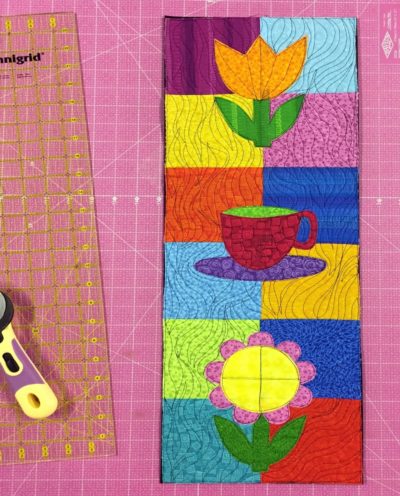
The end result. Hope you enjoyed making this project! Hand sew aluminum pop tops in the upper back corners and it makes for easy hanging with two nails. Have fun!