By Terry White
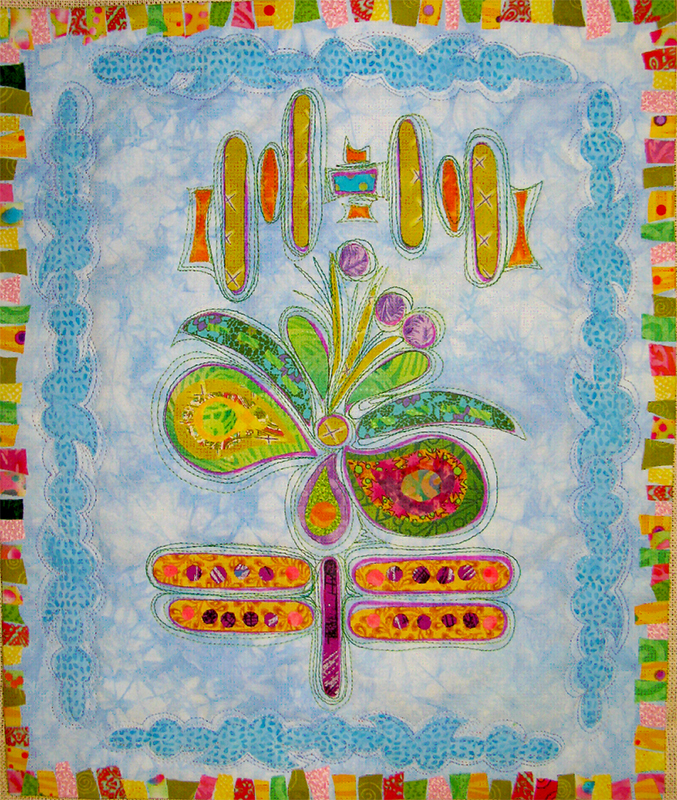
This little art quilt says hello to spring. The techniques here are simple, but not quick. When making fused appliqué elements, the important thing is to take your time to cut the shapes nicely. Enjoy the process!
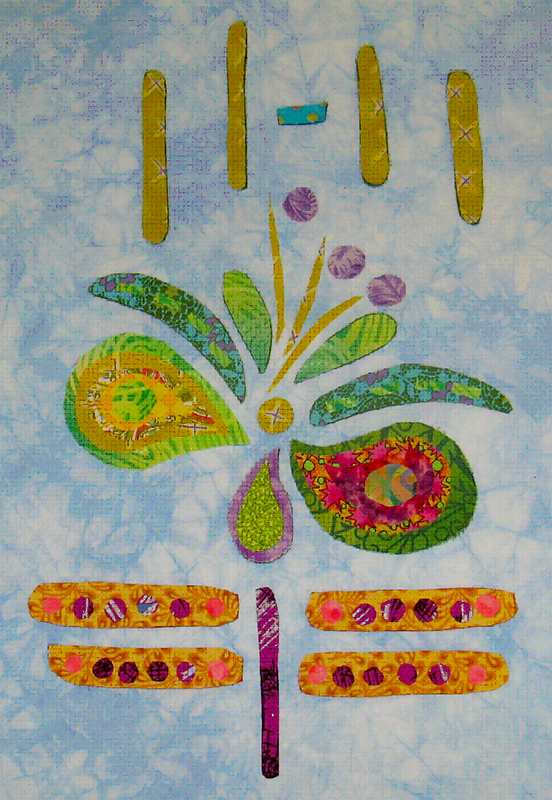
My design began with the paisley shapes. The stem and leaves changed into a dragonfly because of my color choices…this is when serendipity show up to play! The other design elements found their places as a result of repositioning shapes until I liked the layout. I suggest you make the finished design elements and then arrange them. The process of play is enjoyable, artistic and freeing. You will end up with a very unique arrangement and it is wonderful to have the finished shapes to play with, because when they are in the perfect arrangement, you can proceed with the next step.
The instructions and photos here go along with the video and each show different techniques used in the project.
The video demonstrates how to create the fused felt shapes, tips for fused appliqué, and the novelty binding technique.
Start by choosing your design or use my design. I think using simple shapes to form the overall design is most effective with this technique.
Materials:
- Background fabric cut 14″ wide x 16″ high (or whatever size you wish)
- Cotton fabric scraps
- Felt
- Fusible web
- Curved Scissors
- Rotary Cutter
- Cutting mat
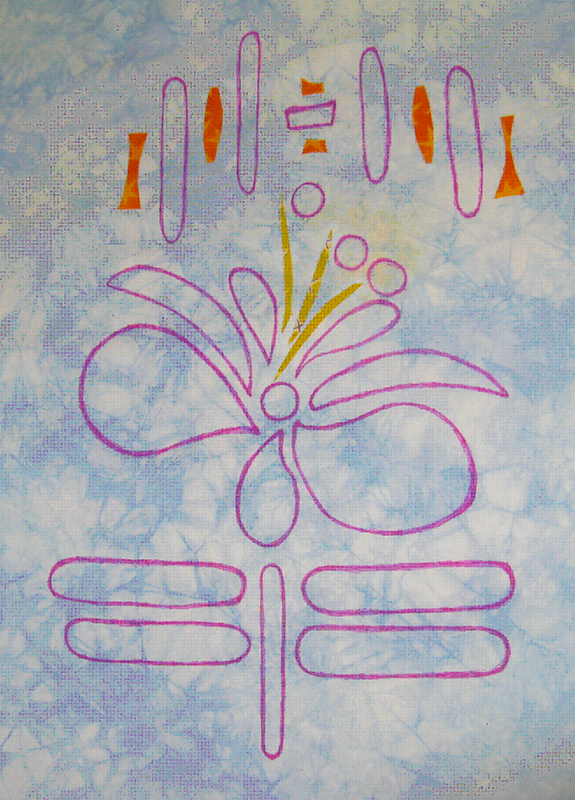
Trace around each shape with a permanent marker. Then, set the shapes aside.
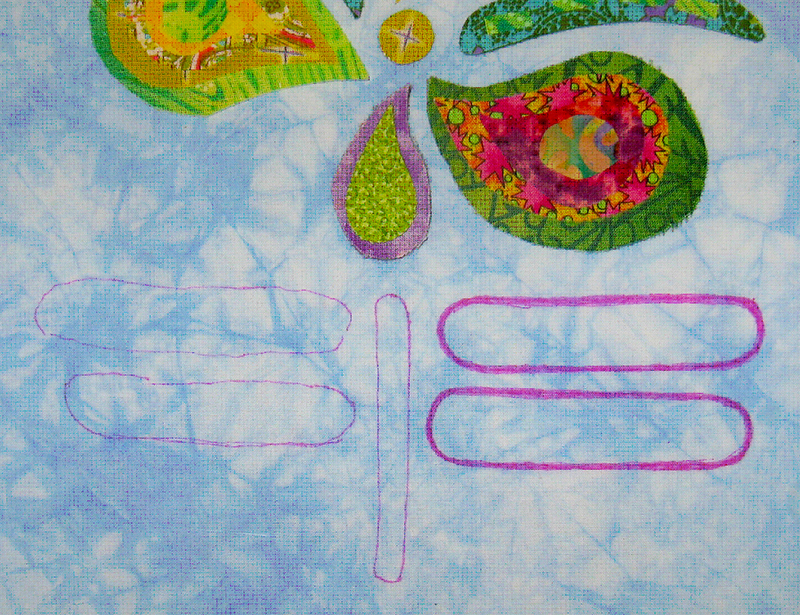 I use a flannel board to hold the shapes and keep them from getting lost or flying around the studio!
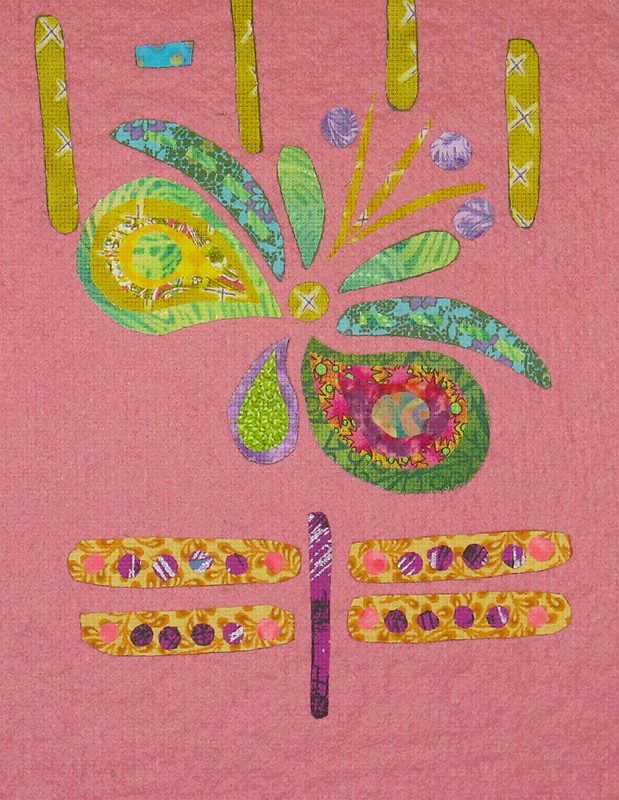 Some of my shapes are backed with felt – they are fused onto the quilt top before quilting.
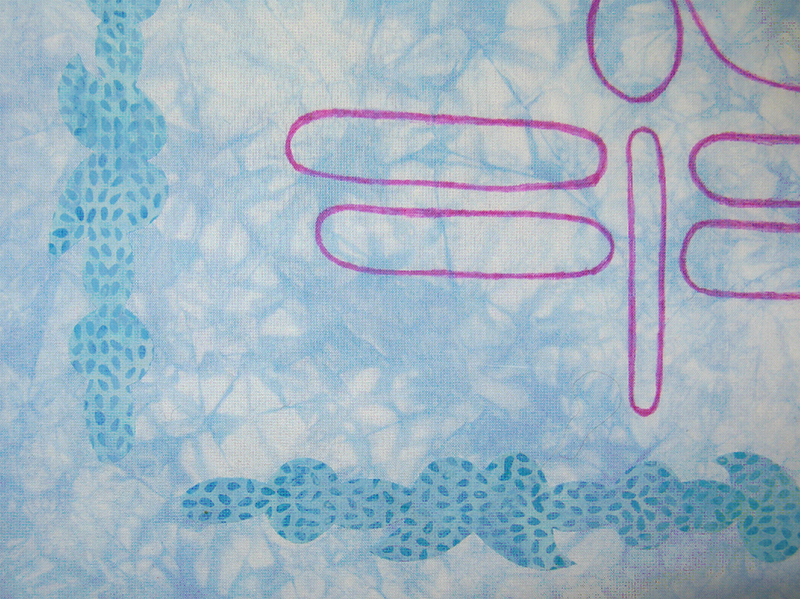
The border designs are also fused before quilting. A word about the border; the design was created by combining shapes from the flower i.e. paisleys, circles and lozenge shapes. I used a blue just a little darker and in a different hue than the background. When the appliqué pieces were laid onto the quilt, I realized the borders looked like clouds. The video shows the careful cutting with Havel’s 5 1/2″ Curved Tip Embroidery Scissors.
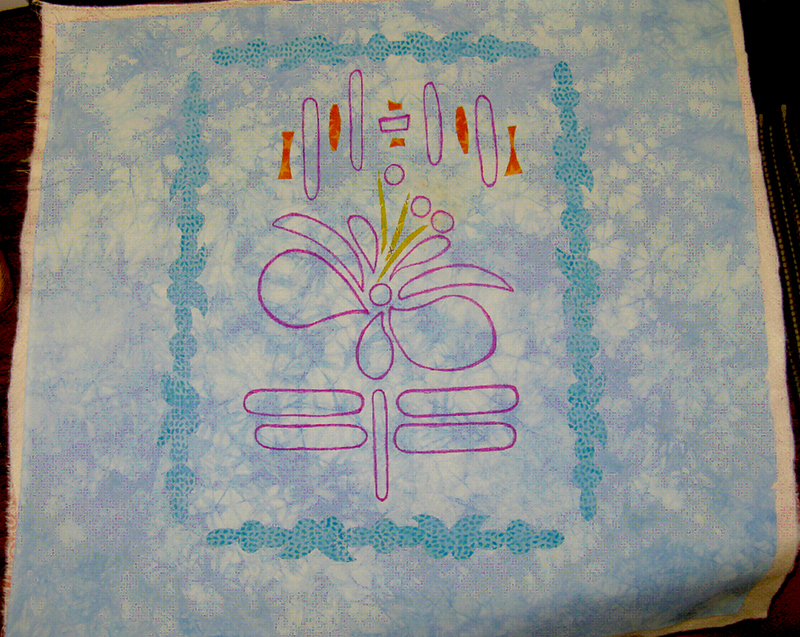
 The work is ready to quilt. I used a lovely Legacy 100% cotton low loft batting and a cotton fabric for the backing.
 I used two variegated threads for the quilting, one is a spring green,
the other is a soft blue and both are 100% cotton 30 weight.
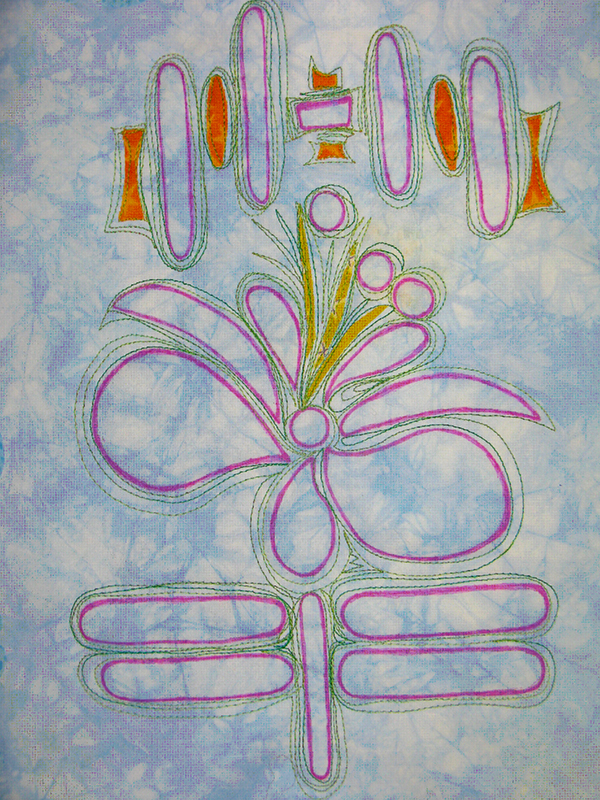 I also used the green thread to quilt around the drawn shapes.
The blue border is quilted with the blue thread. The quilting traces around each shape about three times. This is total fun, free machine quilting.
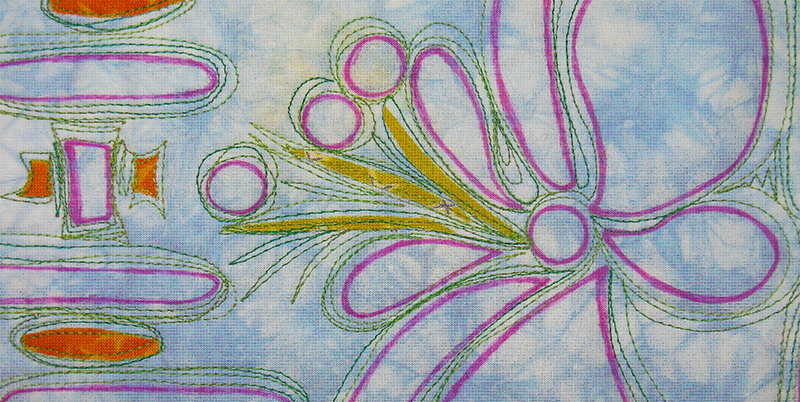
Here is a close-up of the quilting.
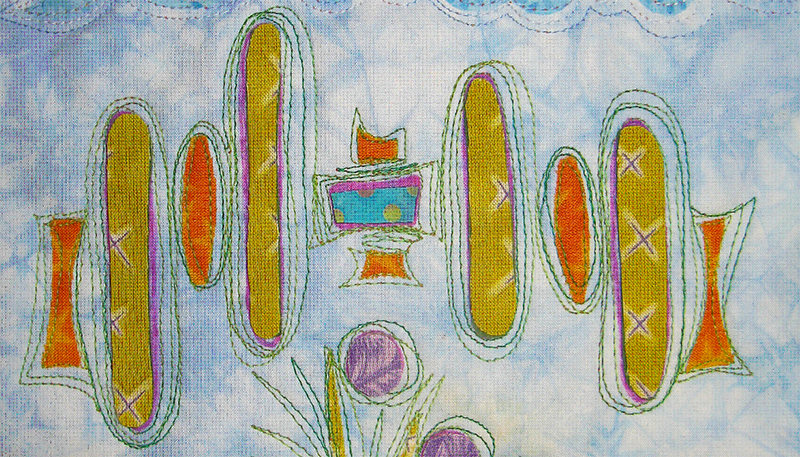 The final steps are to glue the fused felt shapes in their places and to make the fun “confetti” binding.
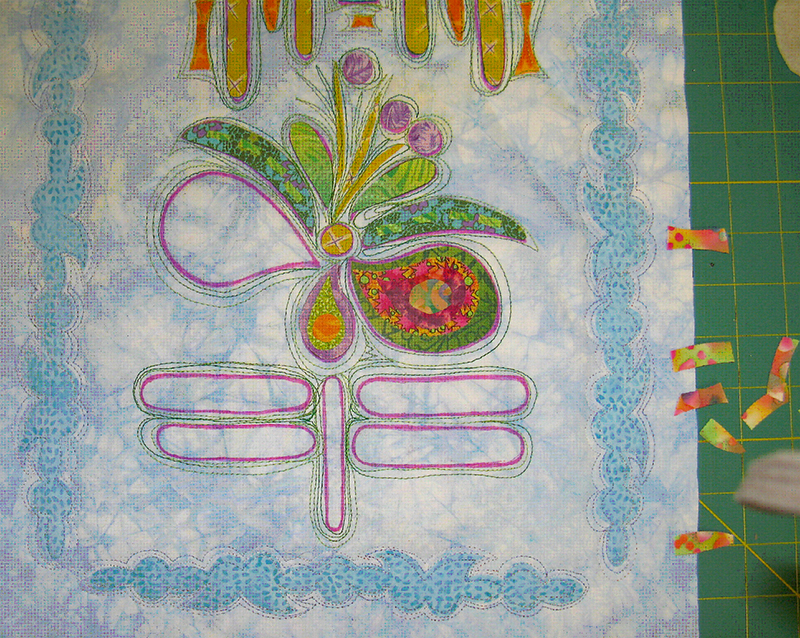 Detail of “Blue Cloud” border and “Confetti” binding.
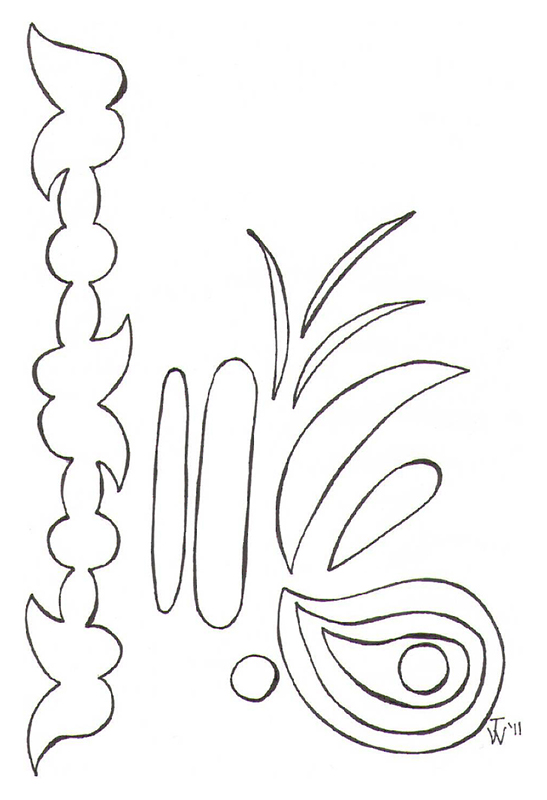
 Below are my design shapes to use – or create your own!
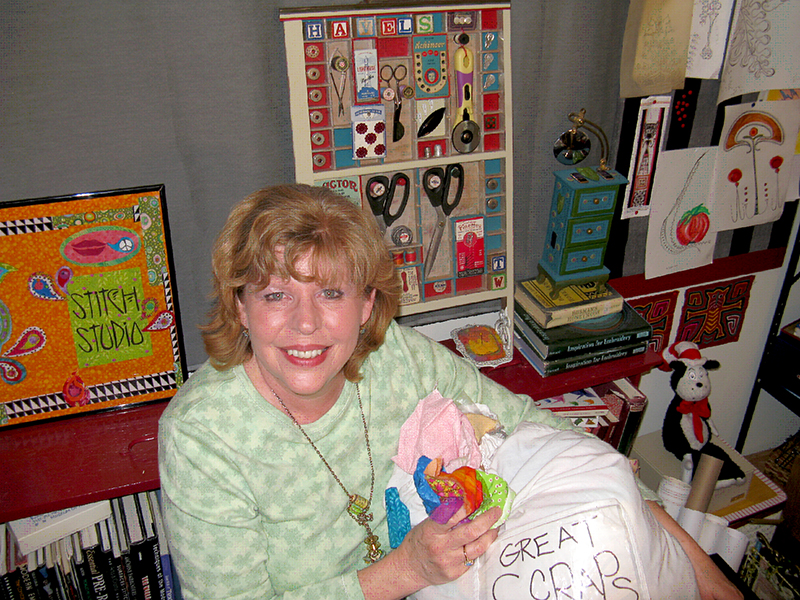
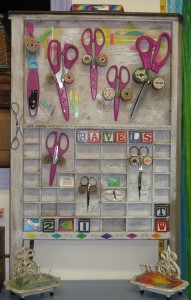
Hi! I am in my studio with my Great Scraps. The Havel’s Scissor Art Box (behind me) is one of two in a series that I made, using old printer type trays. Click here to read how to make your own.
Have you tried making your applique’ art quilt? What were your results?
Let us know, we’d love to hear from you!
Terry White is a studio fiber artist. She has been doing this work since 1996, and she discovered the techniques she uses: threadpaint, machine appliqué, piece, quilt, embellish with beads, fibers and minutiae with sewing machine techniques, through experimentation and self-study. Terry teaches these techniques through classes and videos. Over the years Terry has been published in over 50 articles in magazines and books, including: McCall’s Needlework; Quilter’s Newsletter; Machine Embroidery and Textile Arts; CMA trade magazine; Stitch n Sew Quilts; Quick n Easy Quilts; Quilt World magazine and Calendar; Quilting Arts Calendar 2003; America from the Heart; America’s Best; America Sews. She is a wife, stitcher, artist, sister, mother, friend, nana, gardener, baker, writer, student, teacher and American. See more of Terry’s work at www.threadpaint.com.

