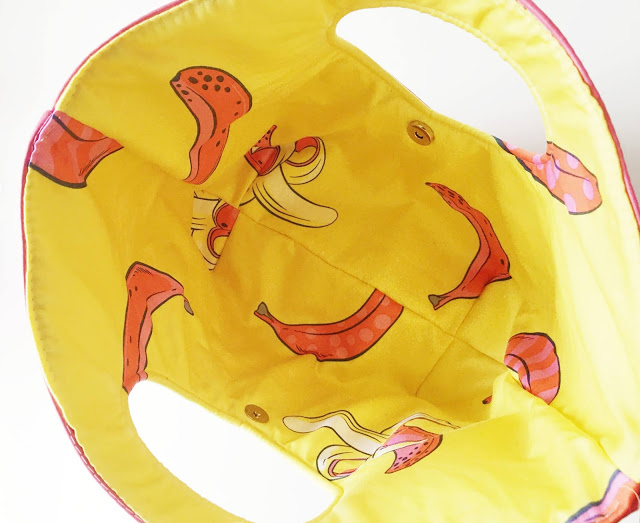
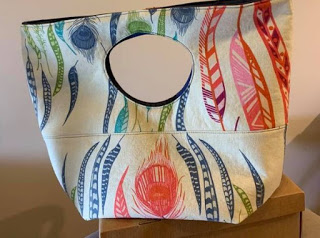
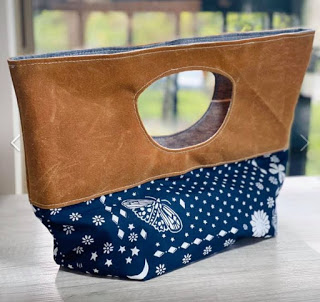
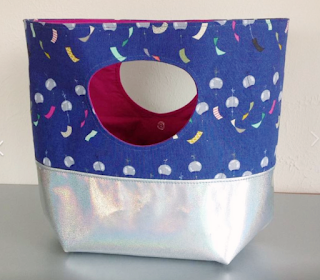
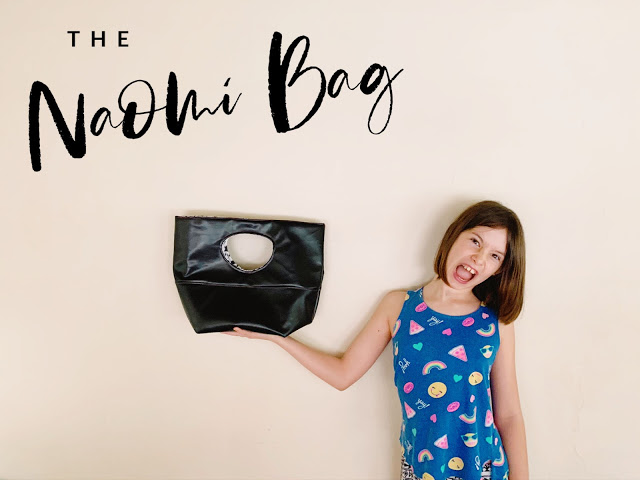
The Naomi Bag

NAOMI BAG NEW SEWING PATTERN

– Natalie Santini @sewhungryhippie


The Naomi Bag sewing pattern is here in PDF format!

Printed patterns will be coming in the Fall.
Thank you for your patience.

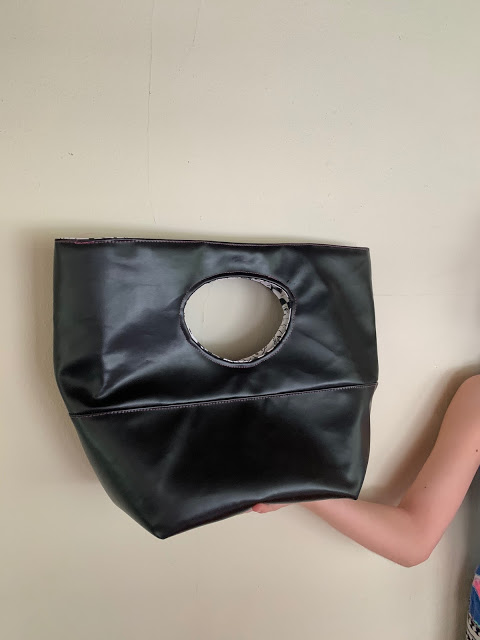
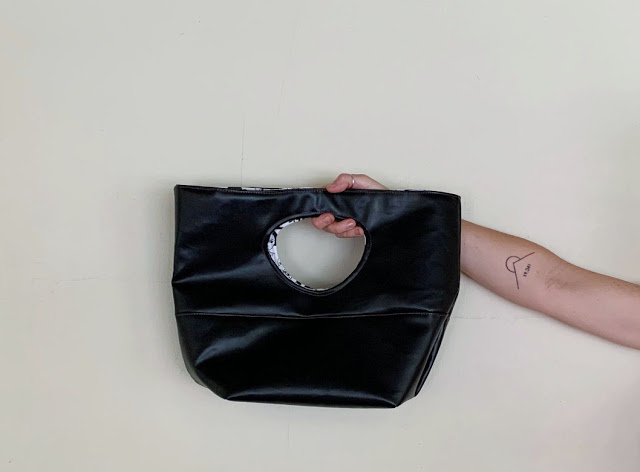
I’m SO excited about this pattern, it’s one of my favorites ever because it’s unconventional and not like anything I’ve created before. When I made the (gajillion) prototypes, I kept changing aspects to improve function and asthetics. Once I arrived at this version, I KNEW it was right.
I hope you love it as much as I do and put your unique spin on it!

I’m usually asked why a pattern is named the way it is, so let me just say my kids named this one all on their own.

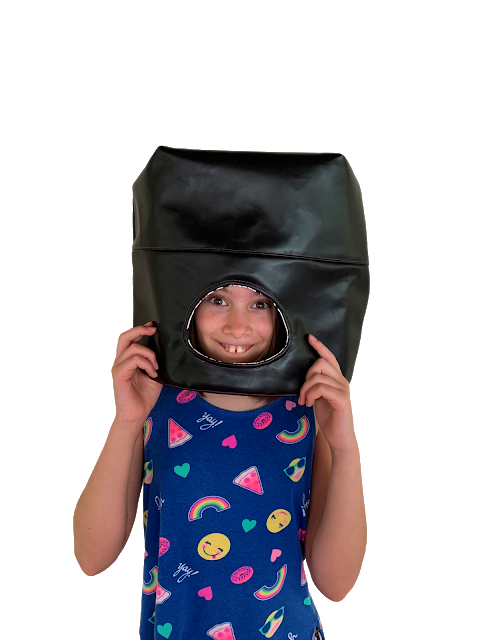
They had ideas like “pickle bag”, “bucket head bag”, and “weird donut-hole bag” which I quietly told them were “GREAT IDEAS” but let’s keep brainstorming. LOL!

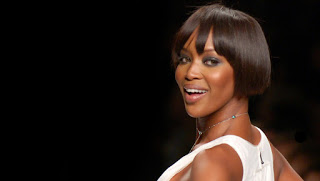
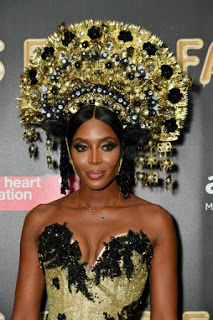
Then we started watching Making the Cut (you know, Heidi Klum’s new show like Project Runway), and they were completely enamored with Naomi Campbell.

AS THEY SHOULD BE. She is QUEEN!

I may have went off on a tangent about how Naomi ruled the runways in the 90s and every issue of Vogue I ever read had her photographed in there a gajillion times. Ruby proclaimed she is her favorite model and I added “business woman” –feel free to read her CV here. Just sayin! SNAPSSSSSSS

So long story short — this cute little bag is henceforth
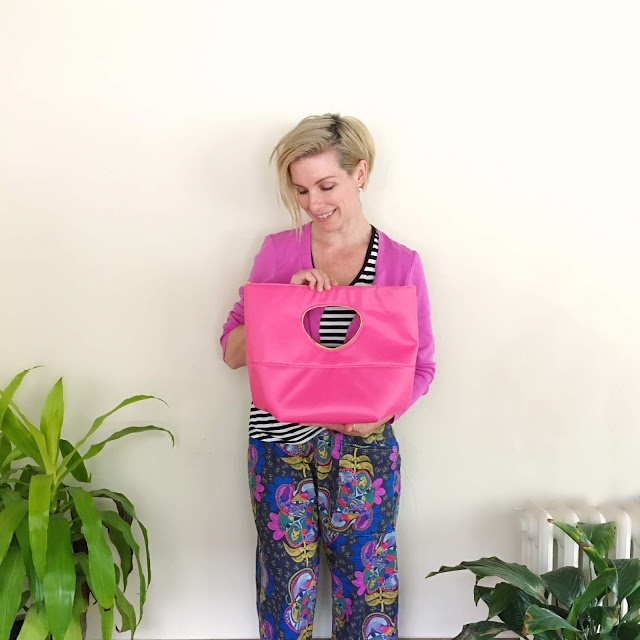
The Naomi Bag.

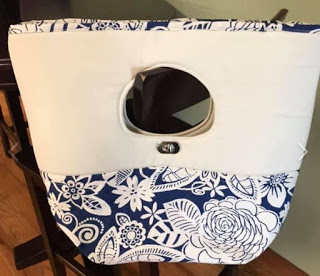
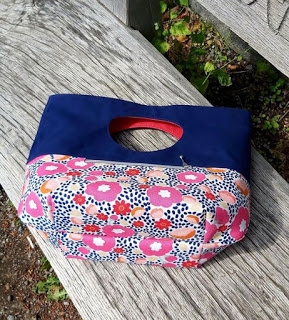
She’s sassy, she’s boss, she’s functional while still being cute and pretty, and you can take her anywhere. A relatively quick sew once you get the hang of it — as you can see — some Testers made 2, 3, and 4 test bags. I mean HELLO! IF that’s not proof, I don’t know what is.

OH—-and there’s a video walk through for you too. YAY!


Let’s talk Tester Bags:

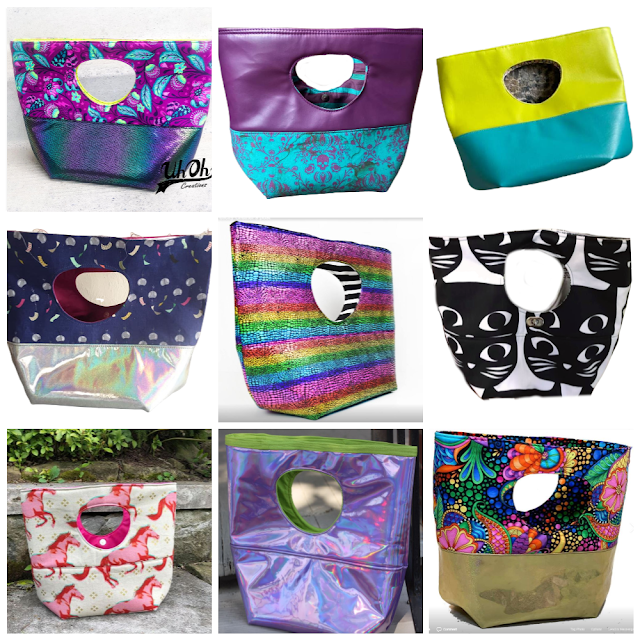
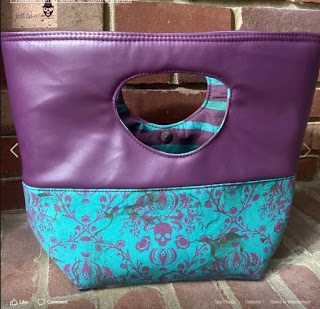
From top left corner: Tara of @uhohcreations (she used my soft vinyl on the bottom of her bag); Abbe of @abbe_coury (she used plum vegan leather here for the top of her bag); Amie of @tansy_designs.

Second row from left: Elizabeth of @cool.lizzie.bags (she used Silver Stardust vinyl now back in stock here); Felicity of @felcitygrenier, Alyssa of @laadw.

Third row from left: Britta of @little.lively.things, Laci of @lacihessartandtattoos, Stefani of @quarteracrearts (gold stardust vinyl here).

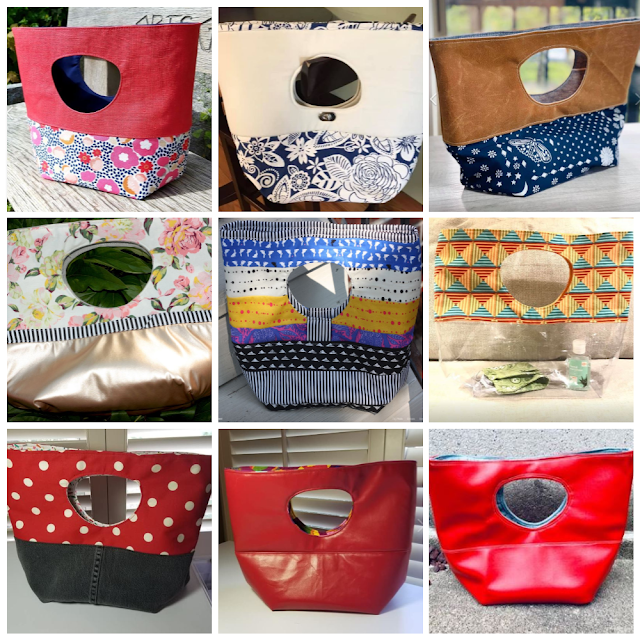
&From top left corner: Barbara of @bee_dee_swiss_made, Alyssa of @laadw, Crystal of @clothalbatross.

Second row from left: first and second pic by Laci of @lacihessartandtattoos, Madeleine of @madeleinesews (she used CLEAR vinyl for the bottom).

Third row: first and second pic by Sheila of @sheshegray711, Leilani of @studiogypsy (red vegan leather here).

>>>>>>>>>>>>>>>>>>>>>>>>>>>>>>>>>>>>>>>>>>>>>>>>>>>>>>>>>>>>>>

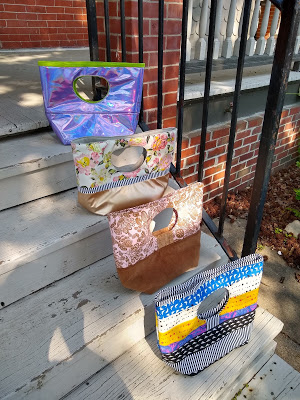
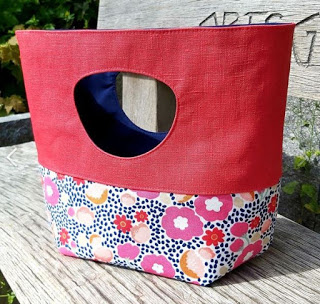
As you can see, there are so many options when sewing this bag pattern. Laci shows below her vinyl bag in purple hologram and a binding top, a half-vinyl half fabric version, a cork and fabric variety with a little tab closure, and a pieced bag.

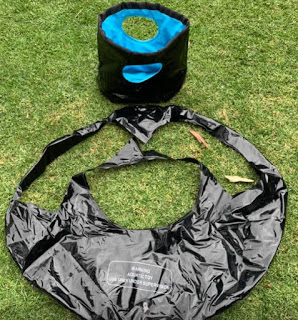
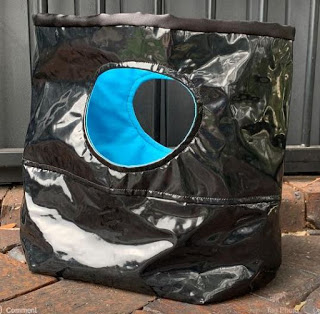
LeeLee upped the “UPCYCLE” on her first Naomi bag by making it out of a swim tube! I was so impressed!

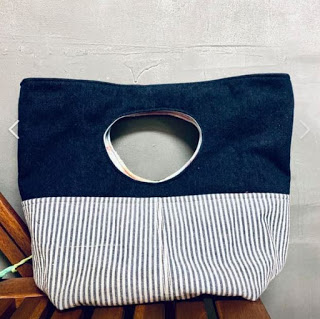
Leilani upcycled clothing on this Naomi bag. I believe that’s seer sucker on the bottom.


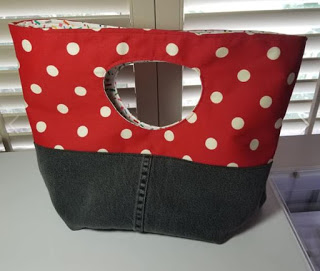
Sheila did a jeans upcycle!

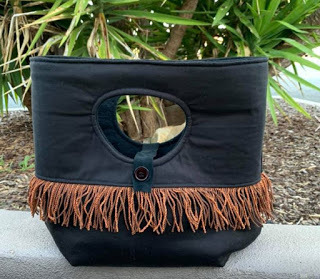
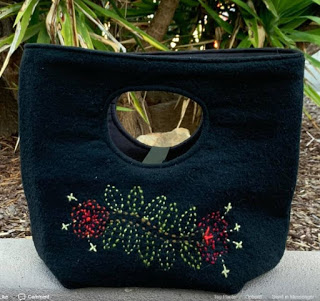
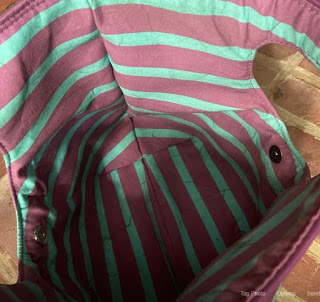
Here LeeLee did some amazing embroidery with tapestry wool leftovers, through fusible fleece and felted wool in reverse! The other side has thrifted fringe and a closure with two buttons stitched into the mouth of the handle so it can hold a lot or a little.

This Naomi bag with faux leather shows how easily you can customize the bag with favorite fabrics. I just love it Abbe! And check out your stripe matching!!!!!


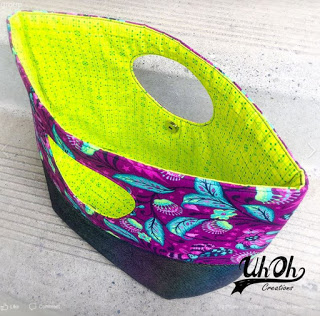
When I saw tara’s NEON LINING I fell over with happiness. Fell. Over. This is an outstanding showcase of color combinations.

@raeamyk made this beautiful feather Naomi. Rae used a beloved fabric for her Naomi bag. Gorgeous!

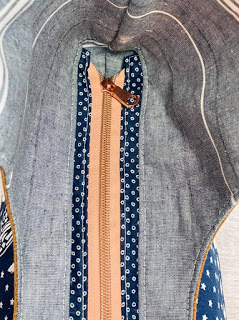
Crystal added a zipper panel for her bag. So awesome!
I might add a tutorial for doing this later on. Right now I need a break bahahaha.

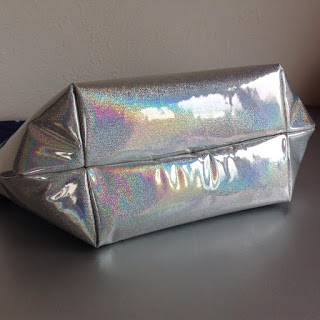
Here’s a close up of the bottom in stardust vinyl by Elizabeth. So crisp and well done!

Twist locks work fine too! Alyssa used one for her bag.


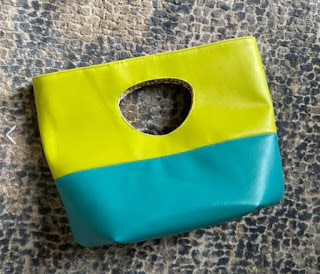
Amie color blocked her vinyl like a boss!

Barbara made hers totally reversible and added a zipper pocket on the side. Fabulous!

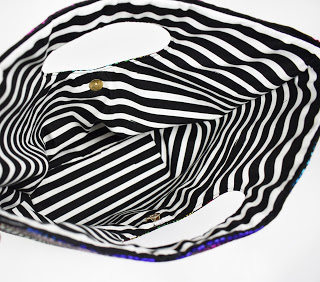
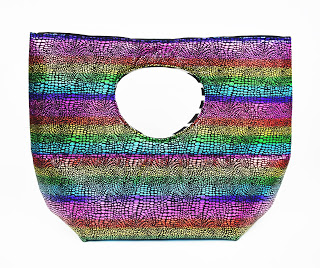
Felicity’s interior is mesmerizing. That rainbow exterior is beautisimous!


Black vegan leather here.

THANKS for your support! I hope you have a blast making the #naomibag ! Don’t forget to tag me on social media (@sewhungryhippie) so I can cartwheel and clap for you!

While you’re at it, join the Makers Group here. We love to talk sewing, making, creating, and more. Show your work!


Find me on Instagram here. Say hi! I love meeting new friends.

Posted in art ideas, craft, Craft to make, Crafting, Fun Stuff, Natalie Santini, Tutorials, Uncategorized | Comments Off on The Naomi Bag

New Pattern Release – Moon Goddess Quilt


It’s release day for the Moon Goddess quilt.  It currently on sale and will be all weekend long.

There have already been several posts on Moon Goddess if you missed them:

There are also a few tutorials to go along with Moon Goddess (almost all of them are public, but there’s a few that you have to purchase the pattern to view):


Get the Moon Goddess quilt pattern!


Get the pattern here.

This quilt has BIG blocks and plays with the half rectangle triangle shape.

Moon Goddess is written to use fat quarters. They are my favorite cut of fabric, and I’m in the habit of purchasing them more often than other cuts. Perhaps you have quite the collection of them too? There are cutting graphs included in this pattern to make cutting easier and prevent fabric waste.

  • Blogged about the quilts I made with this pattern here.
  • Pattern available in PDF and paper booklet format
  • Skill Level:  Intermediate (but only because of how involved the piecing is)
  • Speed:  Fairly time consuming
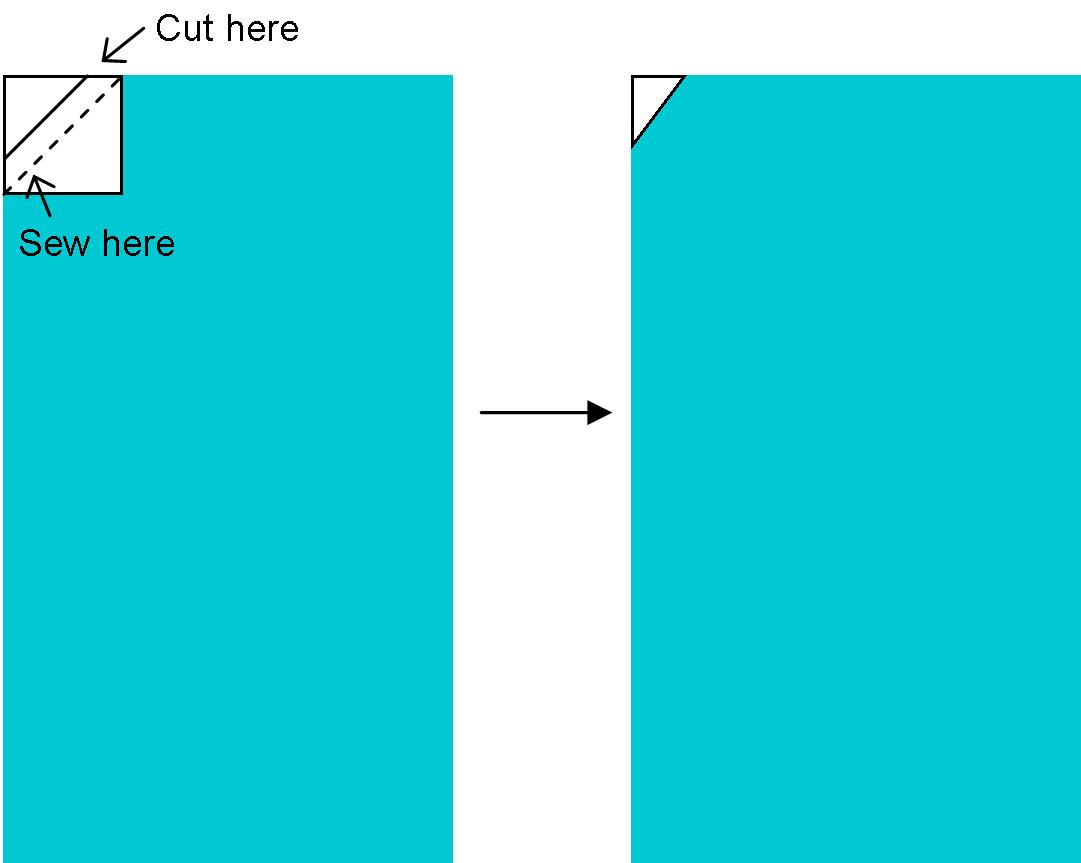
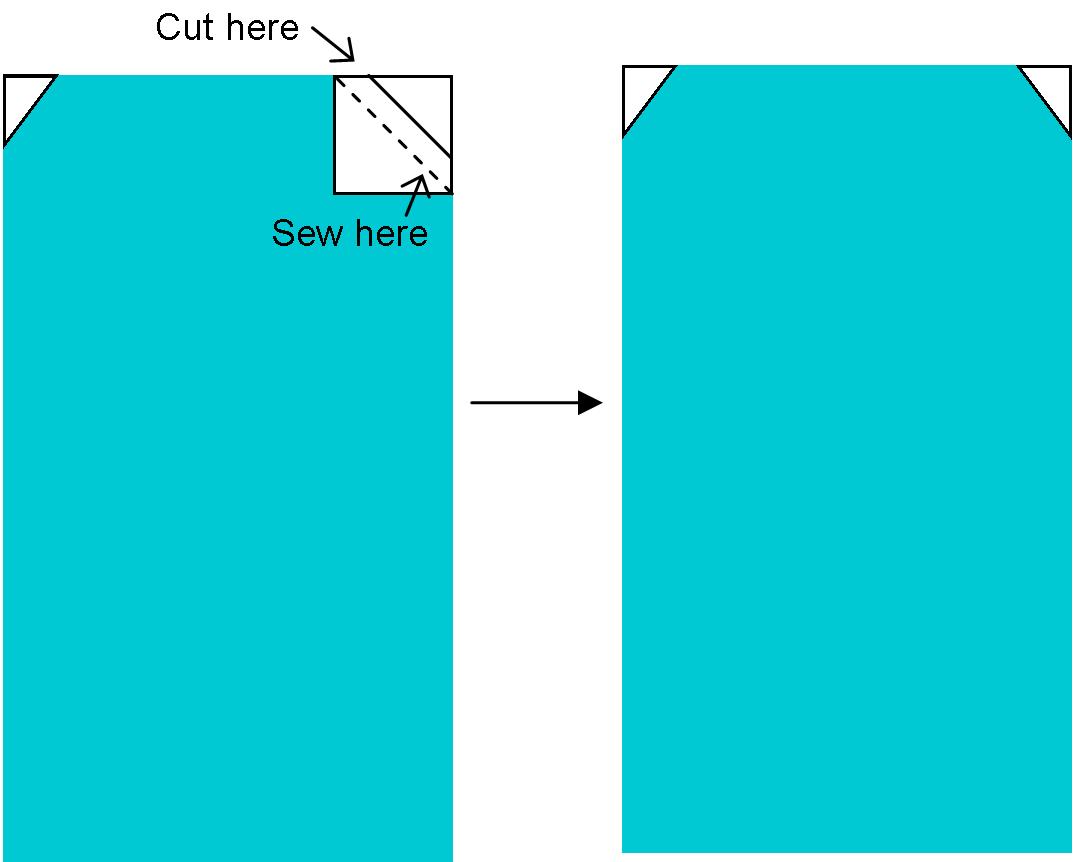
  • Skills you will learn:  Half rectangle triangles, snowball corners and square in a square units
  • Instructions for FOUR sizes of quilts:  small throw – 64″ square, twin – 64×80″, queen – 80×96″, and bigger queen – 96″ square
  • Video tutorials included for almost every step
  • 9 illustrated pages
  • Pattern has lots of helpful links included (including methods for basting, quilting and binding)
  • Get the HALF RECTANGLE RULER for easier construction
  • Use #MoonGoddessQuilt for sharing on Instagram


Here’s a look at a few of my testers’ Moon Goddess quilts.

Be sure to have at a look at the #moongoddessquilt on Instagram.  There are many more tester versions there.


Makes two at a time HRTs in both directions


Here’s a peek at my quilting progress on my second version of Moon Goddess.  I’m currently still finishing it up and hope to show it to you next week.

Remember that the pattern will be on sale through this coming Sunday.  I can’t wait to see what you do with it.  Don’t hesitate to tag me on Instagram or send me an email with pictures.  I love looking at it.

Also, we have bundles ready, the HRT ruler, and personalized quilt labels all made for this quilt.  You can find those here if you are interested.


Let’s Connect

Blog / Email / Instagram / Newsletter 

Posted in Melanie Traylor | Tagged , , | Comments Off on New Pattern Release – Moon Goddess Quilt

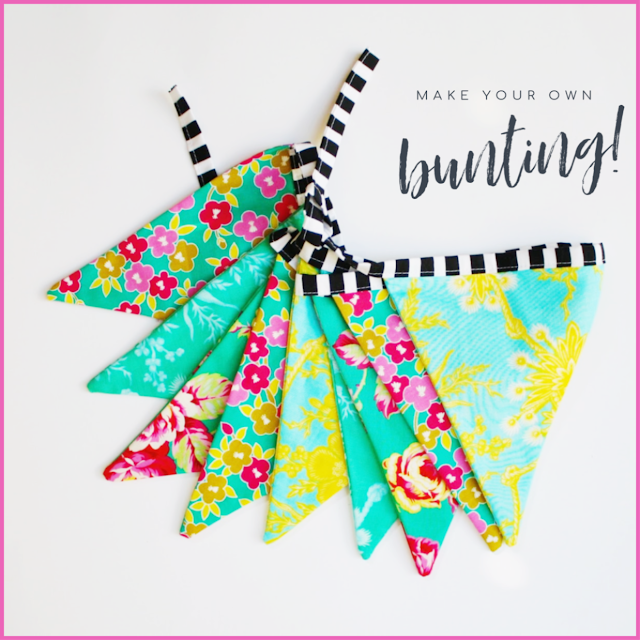
How To Make Bunting Flags

HOW TO MAKE BUNTING FLAGS

 Natalie Santini of sewhungryhippie

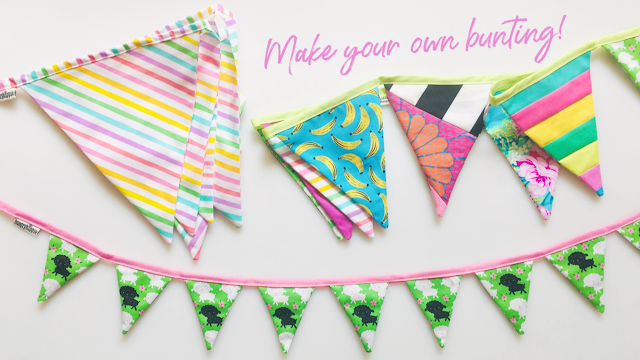
There is something SO HAPPY and FUN with colorful buntings.

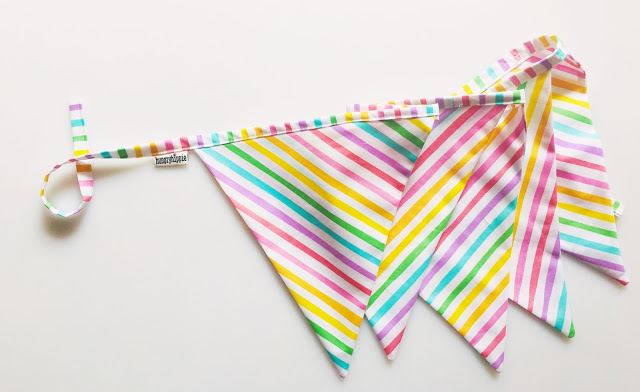
Buntings are EASY to sew, reusable year after year, and can be a way to show your personality without committing to paint colors or furniture changes.

Here is my video tutorial, walking you through the process for baby, regular, and large sizes. I also show you how I piece buntings both regular piecing and improv style.

The PDF download for the templates and step-by-step instructions is here for you.

Since I get a lot of questions I’m going to share these links in my tutorials from now on:

Havel’s Sewing for cutting tools and mat.

Janome for Skyline S7 sewing machine.

Oliso Home for the pink irons.

These brands are trusted, I use them daily. THANK YOU – quality tools make a difference!

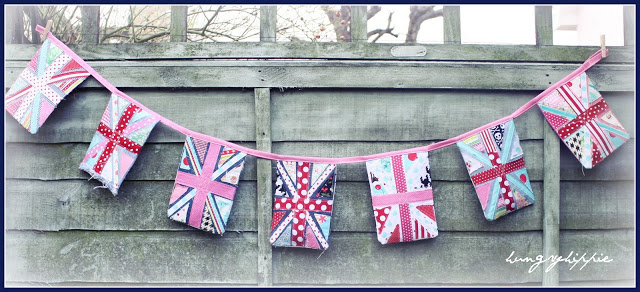
Here are more kinds of buntings I’ve made for more inspiration!

https://www.hungryhippiesews.com/2012/01/union-jack-bunting.html

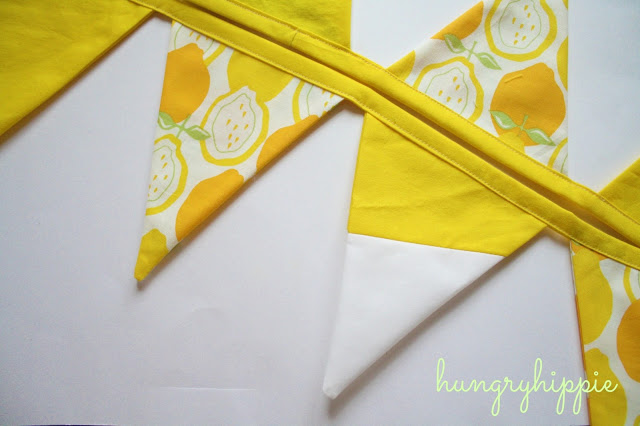
https://www.hungryhippiesews.com/2013/04/the-lemons-did-it.html

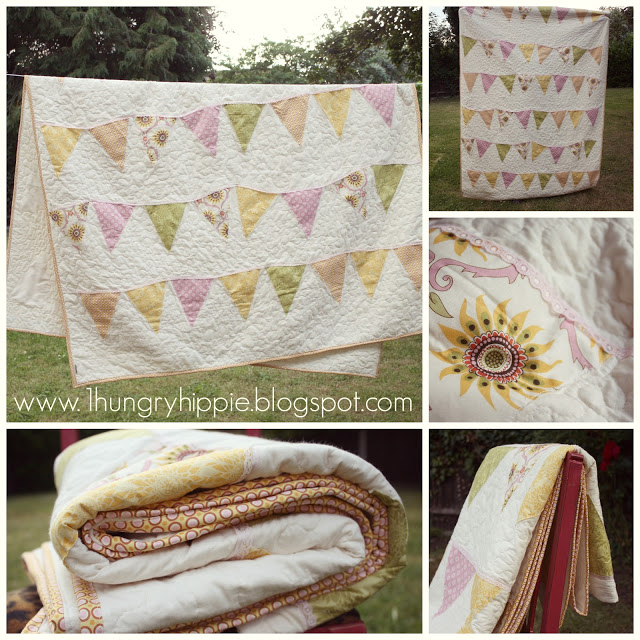
https://www.hungryhippiesews.com/2014/07/the-bunting-flag-quilt-project.html

My original design in 2014, one of my favorite quilts ever.

Find me on Instagram here. Say hi! I love meeting new friends.

Posted in art ideas, craft, Craft to make, Crafting, Free Craft Projects, Free Sewing Project, Fun Stuff, Natalie Santini, Tutorials, Uncategorized, Wall Hangings | Comments Off on How To Make Bunting Flags

The half rectangle triangle ruler + video tutorial


I have been waiting for this day for almost a year.  I designed a ruler for making half rectangle triangles last year while in the midst of the Bad Girl quilt along.  We were making all the HRTs with a paper template, do you remember?  So one day I sat down in Illustrator with a notebook and made ever line, every number, exactly what you see in the picture above.  It’s hard to believe that a file in my computer conjured up this tangible piece of acrylic.  Can you tell I’m excited?

I asked Havel’s Sewing to manufacturer it for me and they agreed.

Here we are a year later and I’m going to tell you all about how it works and a video tutorial so you can see it in action.

You can purchase this ruler right here.


There’s not that many HRT rulers on the market.  There’s some and I’ve tried them, but they weren’t giving me what I needed.

I want to make half rectangle triangles the same way I make half square triangles.  I want them easy breezy and two at a time, but HRTs and HSTs are two different beasts.  The most important aspect to me is that I DO NOT want to cut them in half and sew with a bias triangle.  I want all my points to line up after all and sewing on a bias (while sometimes needed) can make you crazy.

Enter the Half Rectangle Triangle Ruler.

With this ruler, you’ll start with two rectangles and make them similar to a half square triangle.  This ruler will let you trim your HRT in both directions.

You may remember this tutorial I posted last year.  The instructions on this ruler are the exact same as in my original tutorial.  The only difference is that instead of the paper template, we use the ruler.  I’ve created a video tutorial below to show you.

In the video tutorial below, I talk about the two different directions of HRTs and where to draw the line to get them in a certain directions.  I also show you how the ruler works and how to trim the two different directions.  Trimming is different depending on which direction you are trimming.


Directions

  1.  No matter what size you need, you’ll add 1″ to the unfinished size you want your HRTs to be.  For example if I want to make 3.5×4.5″ half rectangle triangles, my starting rectangles will be 4.5×5.5″.  This ruler will make sizes 2×4″, all the way up to 4.5×8.5″.
  2.  It’s important that you draw your line in the right direction.  Follow your pattern.  My patterns will tell you which direction to draw the line and you usually need some in each direction.
  3.  Two rectangles sewn together will give you 2 HRTs with the seam in the SAME direction.  So unlike half square triangles, you can’t make the mirror image from one set (see #2).
  4.  Sew a 1/4″ on both sides of the drawn line.
  5.  Cut directly on drawn line creating 2 HRTs.
  6. Press seams open and don’t forget to starch.
  7. Trim each HRT using the ruler.


Makes two at a time HRTs in both directions


[the_ad id=”23206″]


I’ve got several new quilts designed that feature the half rectangle triangle shape that should come out this year.  Moon Goddess is first on my list and is just about to go into testing.  You’ll see the quilt reveal post up on the blog this coming Wednesday.

For now, the quilt patterns I have that feature a half rectangle triangle is the Bad Girl quilt and the I am Enough quilt.  I know, I know, I better get busy with some more!  I’m really wanting to make another Bad Girl though.  🙂


Posted in Melanie Traylor | Tagged | Comments Off on The half rectangle triangle ruler + video tutorial

SEW A CLEAR BAG!

Sew a Clear Bag

by Natalie Santini of Sew Hungry Hippie

Here are some videos to get you making clear bags with success.

These are MEGA EASY to sew. Seriously.

Get the right tools for the job and YOU can do ANYTHING!

I always advise using a teflon (non-stick) foot when sewing vinyl.

I use a regular size 80 needle.

NEVER press a hot iron onto vinyl, it will melt.

Some people like to put wax paper underneath the vinyl, to slide along the machine bed – but I’ve never needed to do that. I don’t find it’s *that* sticky.

I use a hair dryer when turning my vinyl projects right sides out.


The leather straps I carry in the shop are easily sewn. I don’t change my needle, foot, or anything when sewing them onto bags. If you choose, you can use rivets or hardware, but it’s not necessary.

Glitter vinyl is available in clear, black. purple, pink, and teal green HERE in my shop.

Kits are ready to ship in the shop here for version one, two, and three.  Version one pictured above, version two has D rings and lobster swivel hooks (first pic in this post), and Version 3 has binding all around the top edge and is smaller.

Version 2

Version 3

If you can’t view these videos, try my You Tube channel here.

Teflon Foot

Version 3 is same as Version one except bind the top edge of vinyl.

Video for version 3 coming in the next couple of days. I had to take a break to make Halloween costumes for my kids. 😀


You can use 10 or 12 gauge for these bags, but I tend to favor 12 gauge. Both will work however.
🙂


I’m Natalie, aka the Hungry Hippie.
I wear flowers in my hair, obsess about recycling, and I am always eating cheese. I’m a former Army Nurse Corps Officer turned tree hugging, granola eating “hippie” as my 20 yr Vet Husband likes to call me. I create patterns for sewing and quilting projects that are modern and fresh, with the aim of helping everyone through – no matter your skill level.

Sew HungryHippie is all about sewing projects for the adventurous beginner or intermediate sewer. Nothing too intense. No focus on absolute perfection. (Gross.) JUST CREATE.

Posted in Free Craft Projects, Free Sewing Project, Fun Stuff, Natalie Santini, Tutorials, Uncategorized | Comments Off on SEW A CLEAR BAG!