The post in this series are all part of the 2021 Sugar Bear Quilt Along.
To view all posts in this series, click here.
If you need the pattern, you can find it here.

Time for the fun part! Blocks! Yes, yay, and finally! I could go on for days about how much I enjoy digging through my fabrics looking at all my fussy cutting options for these blocks.
If you haven’t signed up for the quilt along yet, you can do so here. This will just send bi-weekly prompts every other Wednesday to your inbox so that you don’t miss a post.
Let’s get to it!


This Round’s Task
There’s two blocks this round to complete: Anabel and Cristina. Both are the easiest blocks in the quilt.
You should already have everything besides the centers ready to go. You’ve made your claws, so you’ll get to audition which claws you’ll use this round. You’ve also already cut the background pieces, sashing and cornerstone.
Consider this pure playtime!
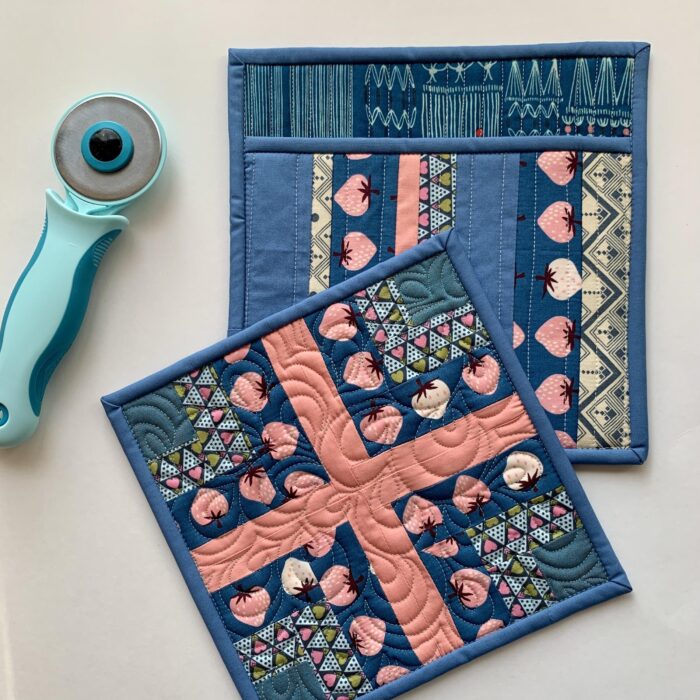
Product Spotlight

ROTARY CUTTER BLADE – 3 PACK

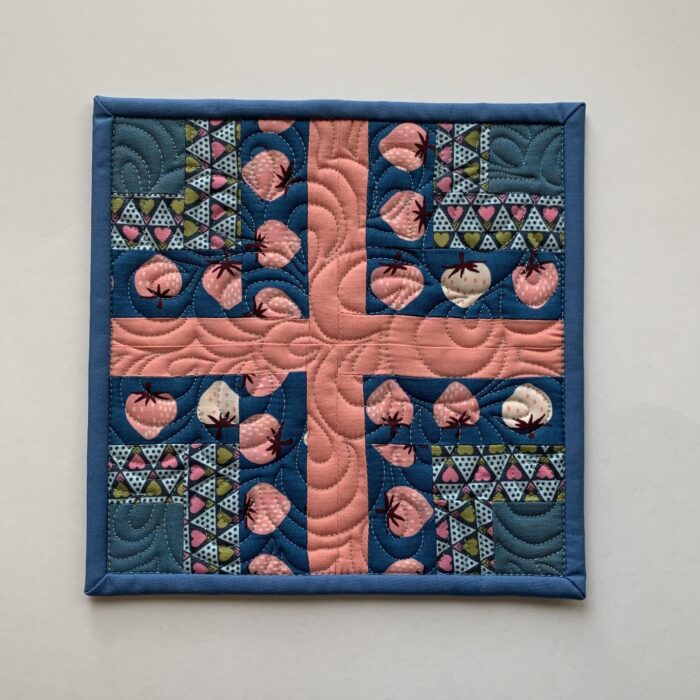
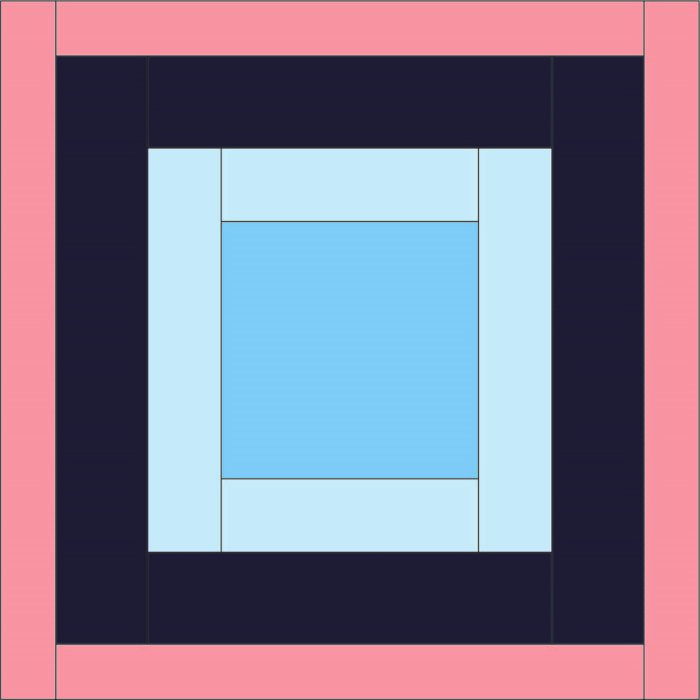
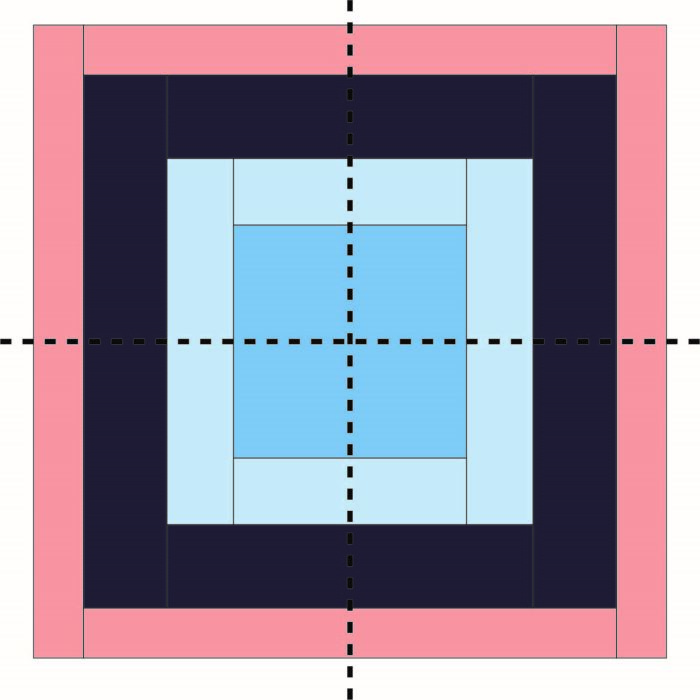
Anabel
Anabel requires no piecing at all. She’s just a square. This is your biggest opportunity for fussy cutting in the whole quilt, so keep that in mind when choosing a fabric for her.
I used a very old Heather Ross mermaid print for mine. And it took me forever decide if I was keeping the mermaid whole or not or how to go about using my really large fussy cut. In the end I cut the fussy into quadrants. I think it works!

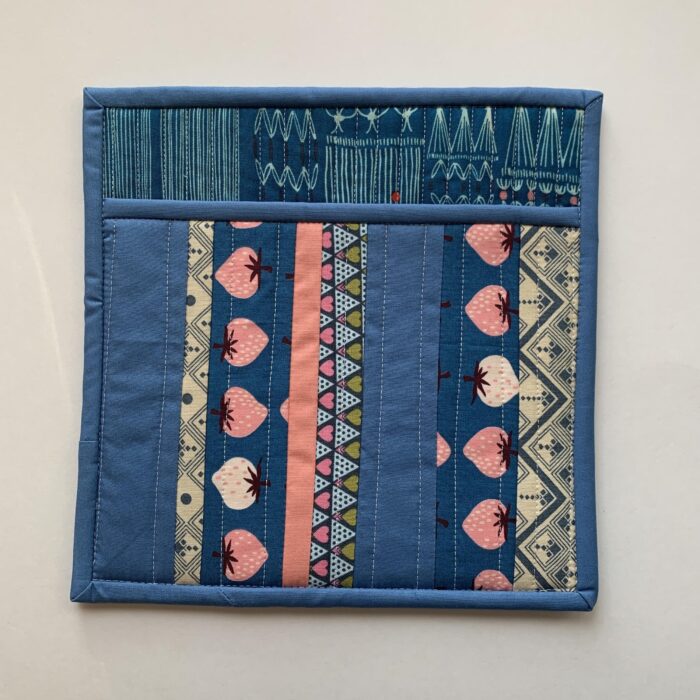
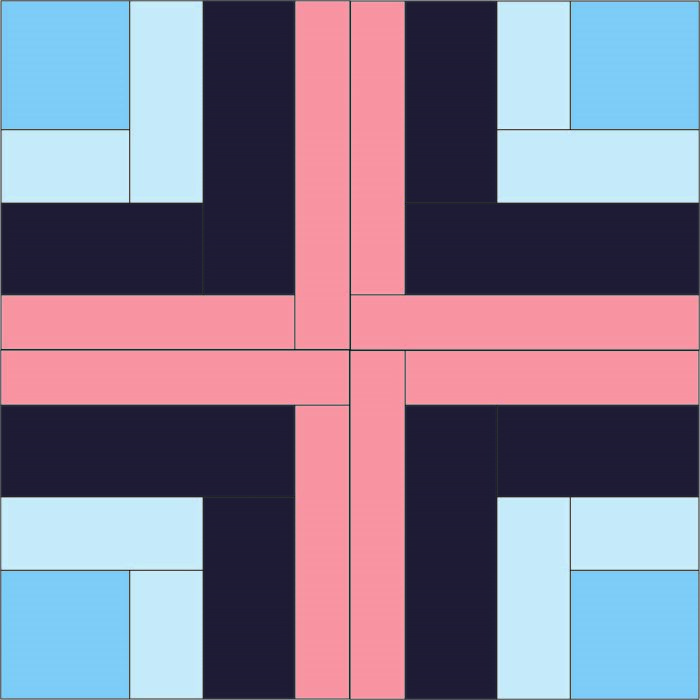
Cristina
Cristina is just four half square triangles. All you need to do on this one is think about your contrast. You might could fussy cut, but I can’t ever wrap my own head around fussy cutting HSTs. Instead I focused more on the contrast and colors.
Helpful Videos
- Working video for Anabel
- Working video for Cristina
- Half Square Triangle tutorial with the Quilt in a Day ruler
- Half Square Triangle tutorial with a basic ruler


Giveaway
Just a reminder, you can enter the giveaway by posting your progress on Instagram using the #SugarBearQA. Havel’s will be giving away random prizes to one winner each week. Winners will be chosen and announced on Instagram @Havels_Sewing the Tuesday before the “next” post goes live. You don’t have to be completed with each pattern release to win, you only have to post progress.
You do have to be following @Havels_Sewing and @SouthernCharmQuilts to be eligible. You must have a US address to ship to.

I so enjoyed making these blocks. There was a lot of squealing around here. And giggling. Lol. I always giggle when I think I’ve done something clever. Ha.
Be sure you are using the #SugarBearQA. so we all see what you are up to. It’s so much fun sewing the same quilt together with a group. I’m loving all the different looks and ideas.
 Melanie Traylor ~ Southern Charm Quilts