Creating with Havel’s Sewing Pinking Shears

In thinking about a few of my favorite things in the studio, there is one tool that some might considered old fashioned, and wonder what to do with it in making quilts. It is one of my favorite things, because it can add so much to an object, a quilt and even the binding as a design element.

jami-fingal_pinking-shears_image-1

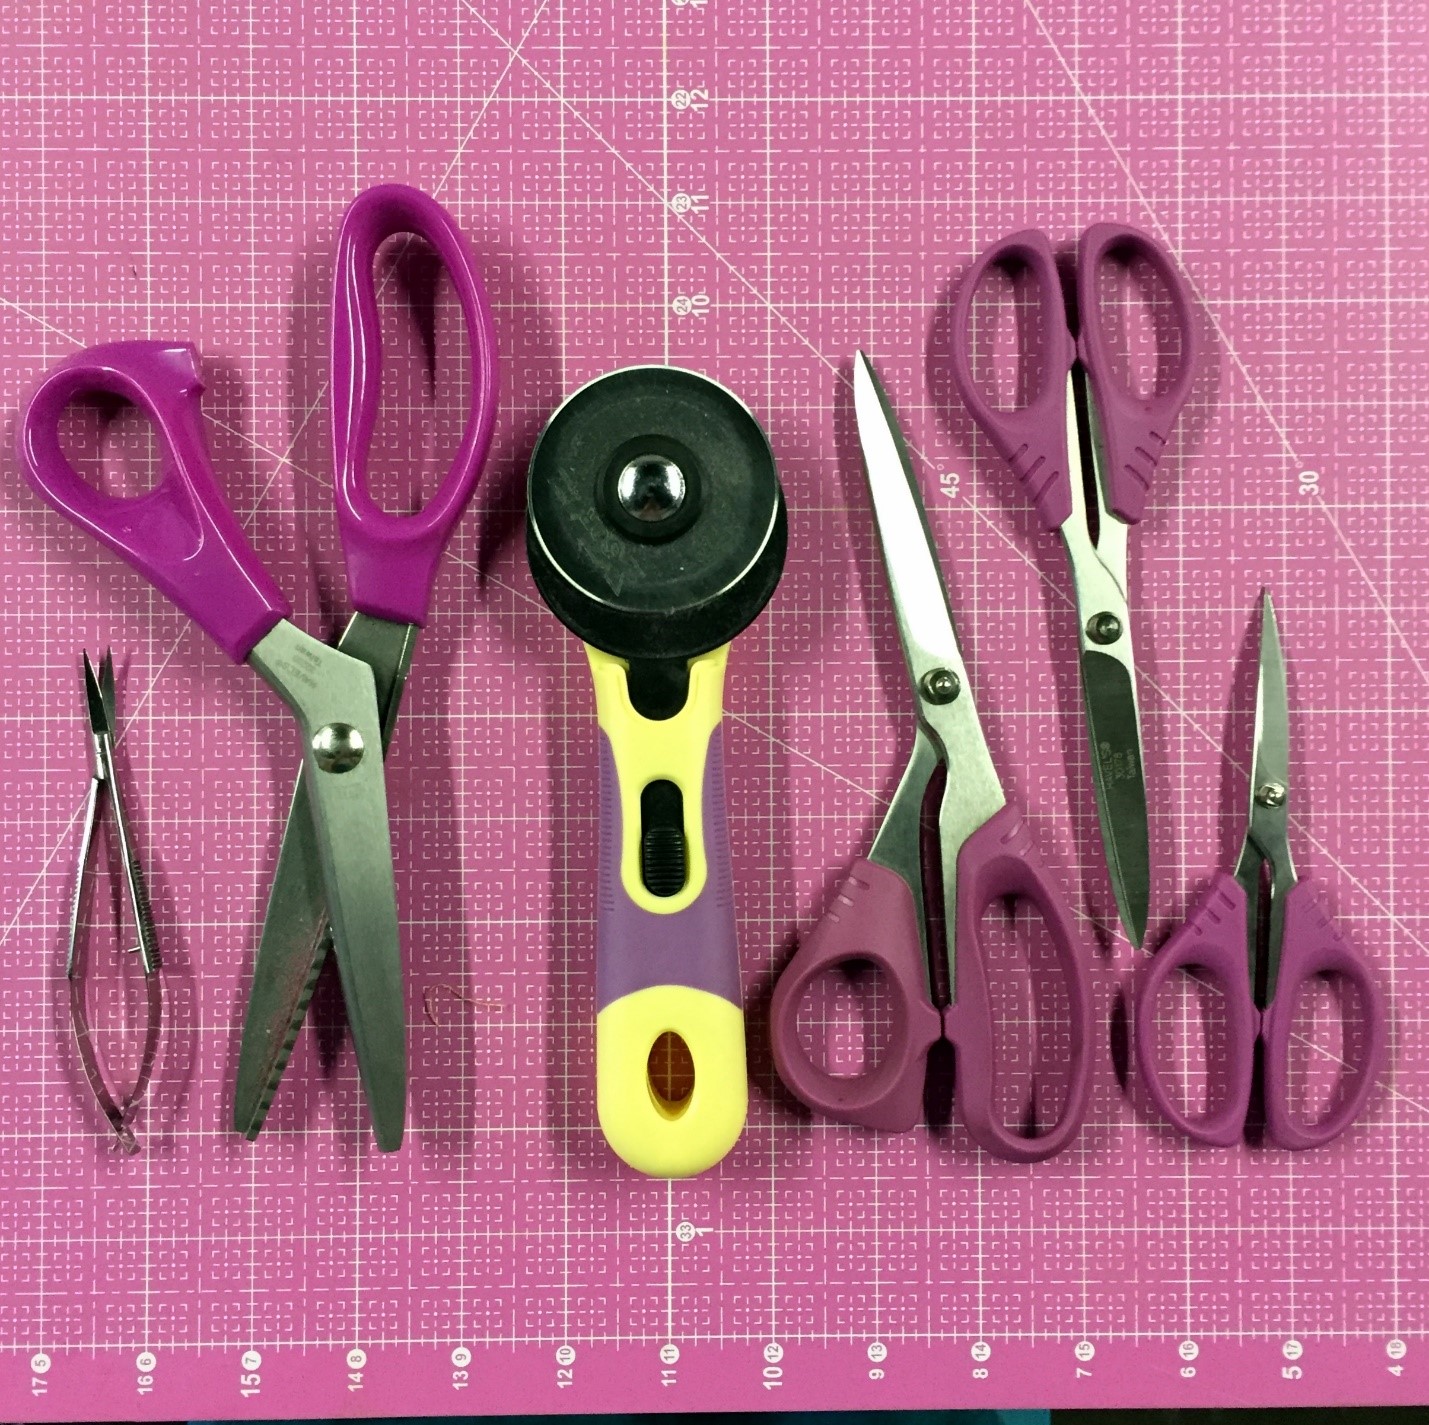
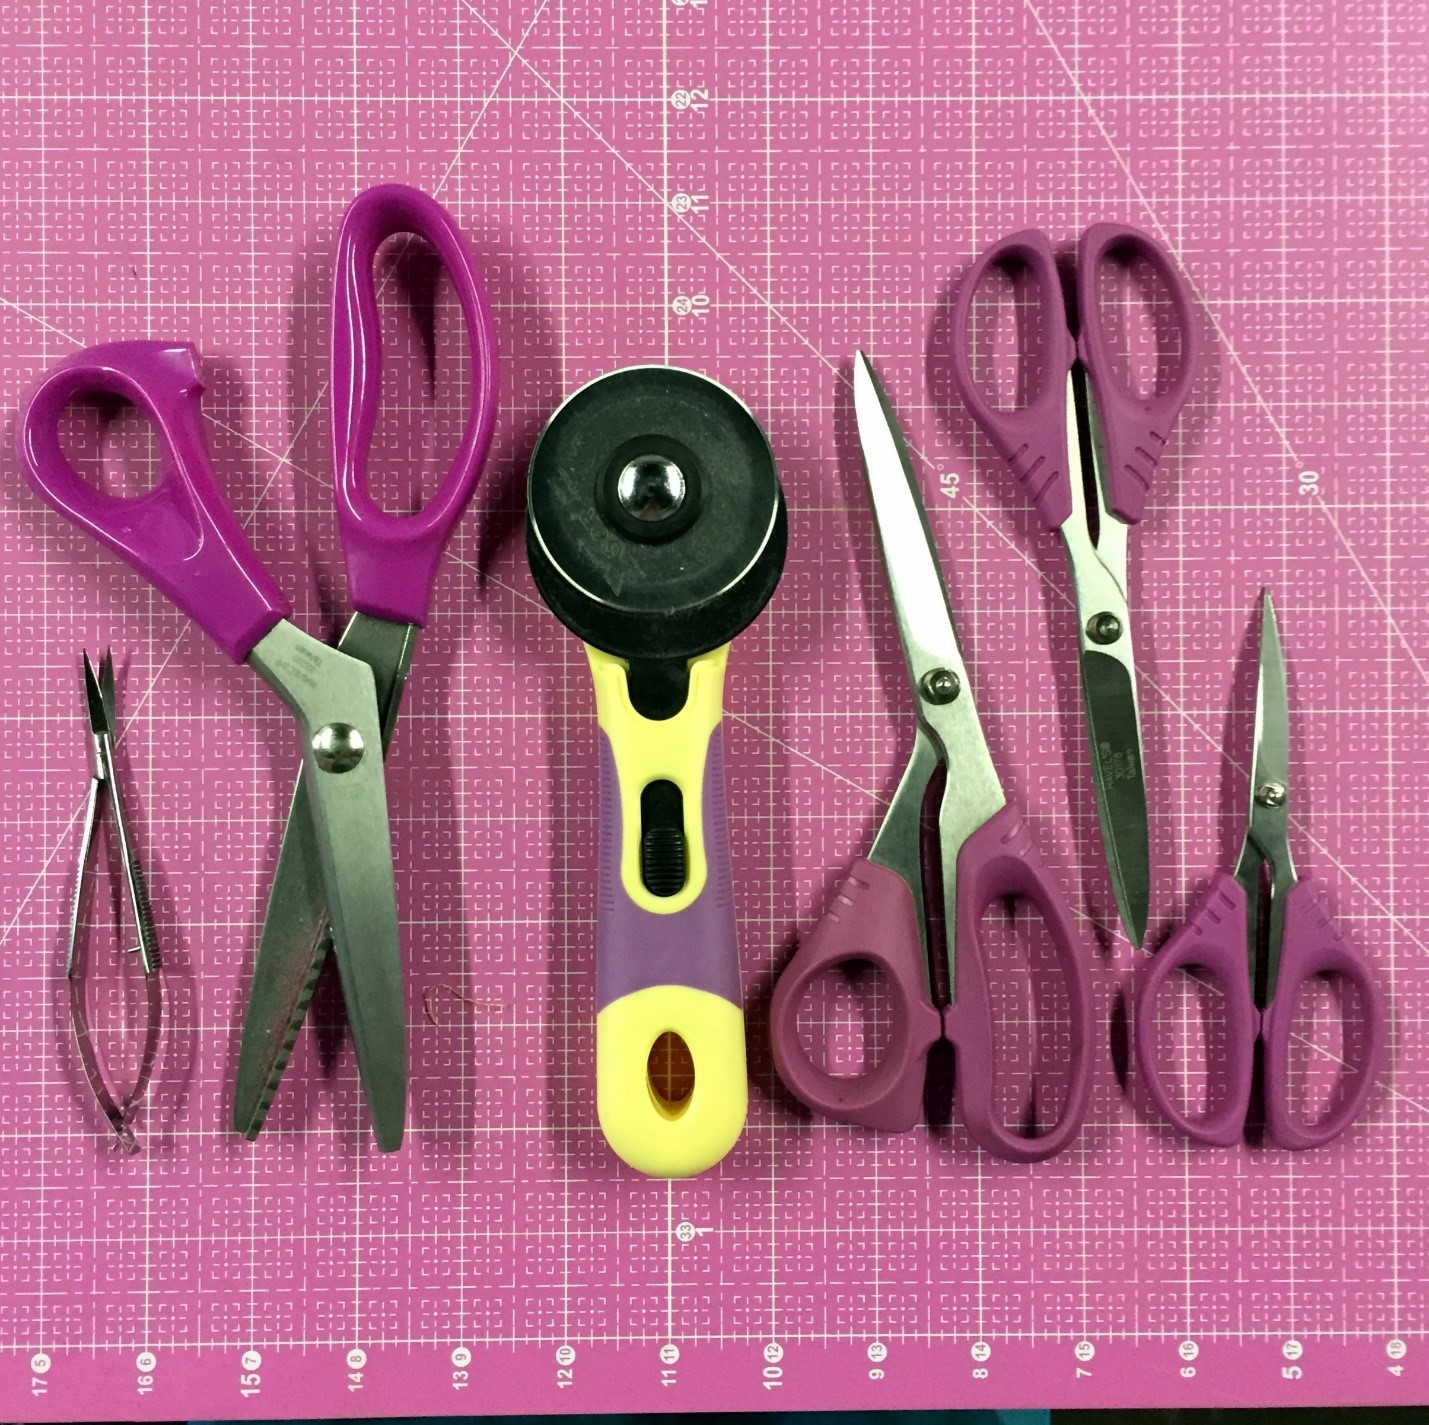
Here is my line up of favorite tools from Havel’s Sewing. Second from the left are the pinking shears. Great handles and easy to use.

jami-fingal_pinking-shears_image-2

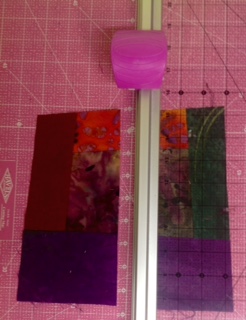
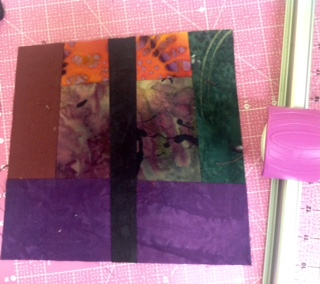
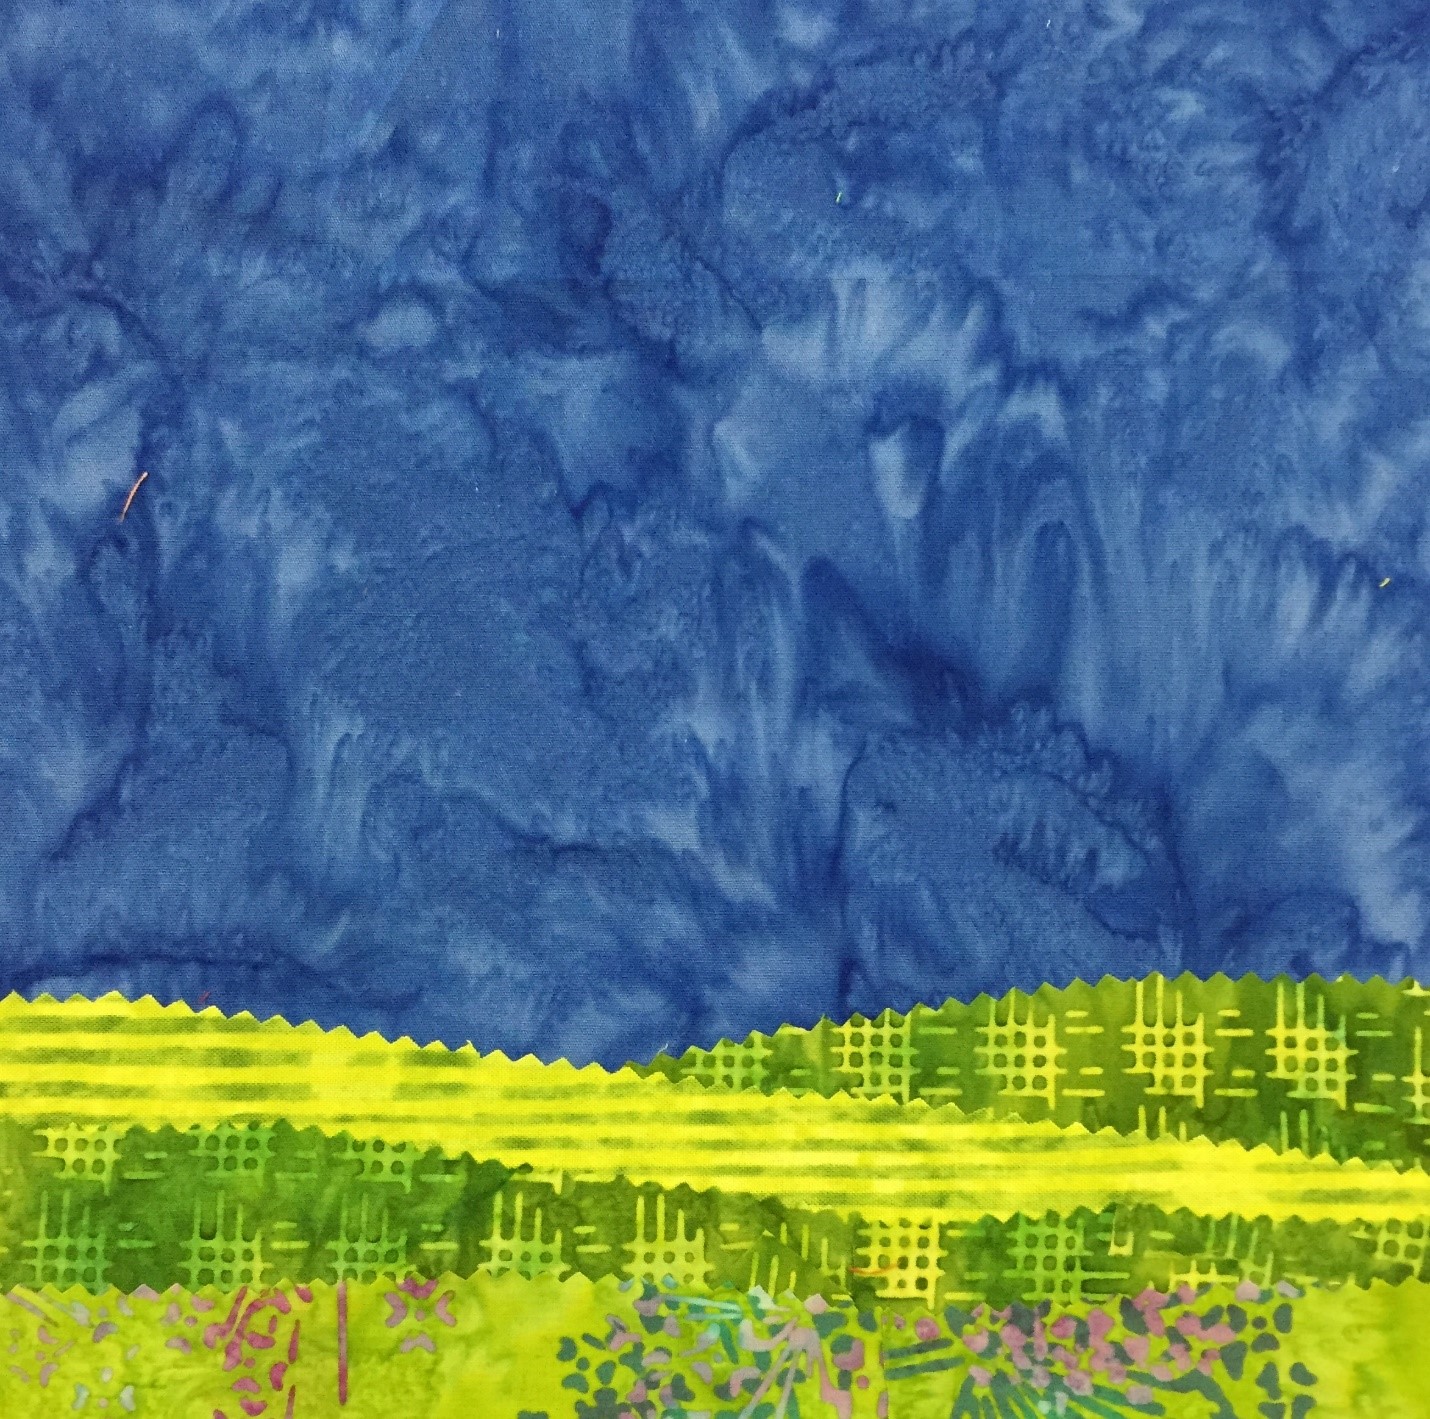
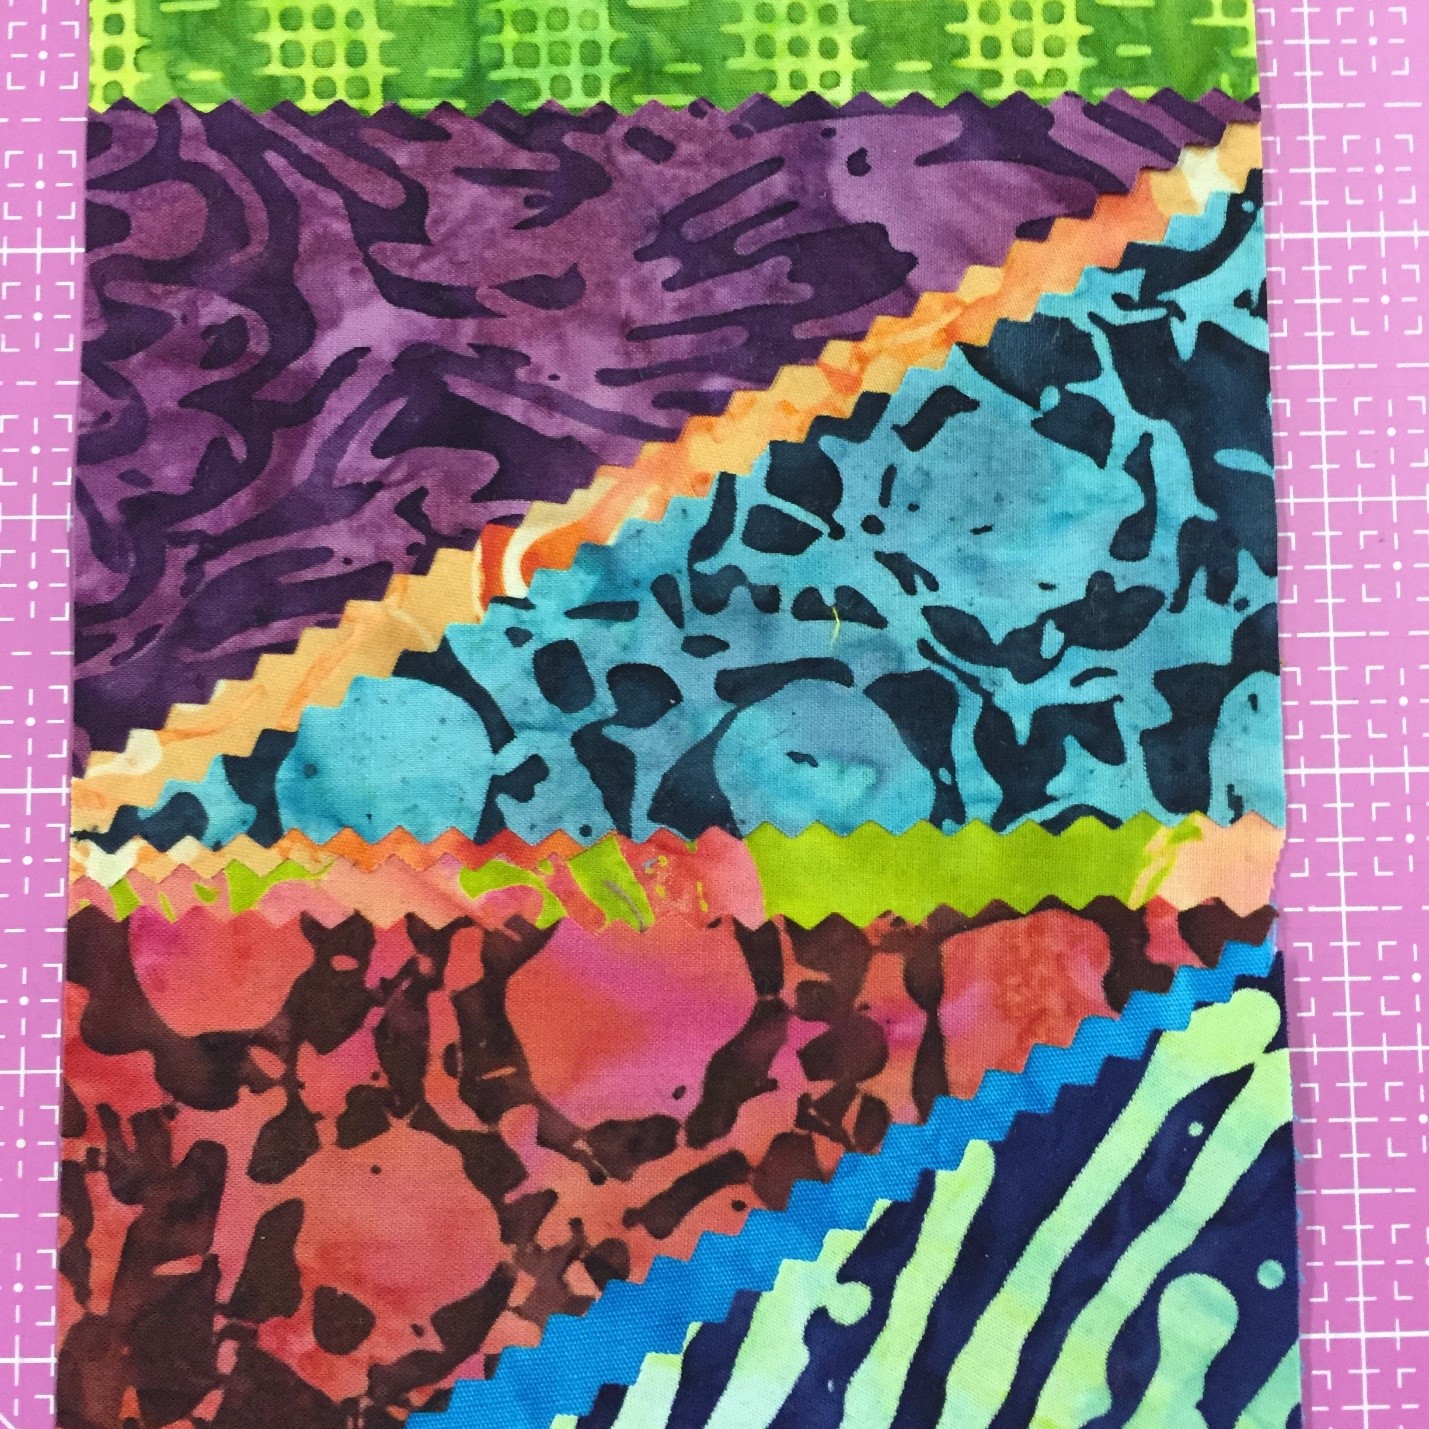
You might be wondering what this is. The green is the landscape for a pictorial quilt and perhaps a house might go on that mound of green. The tops of those hills have been cut with pinking shears. Isn’t it a cool look?

jami-fingal_pinking-shears_image-3

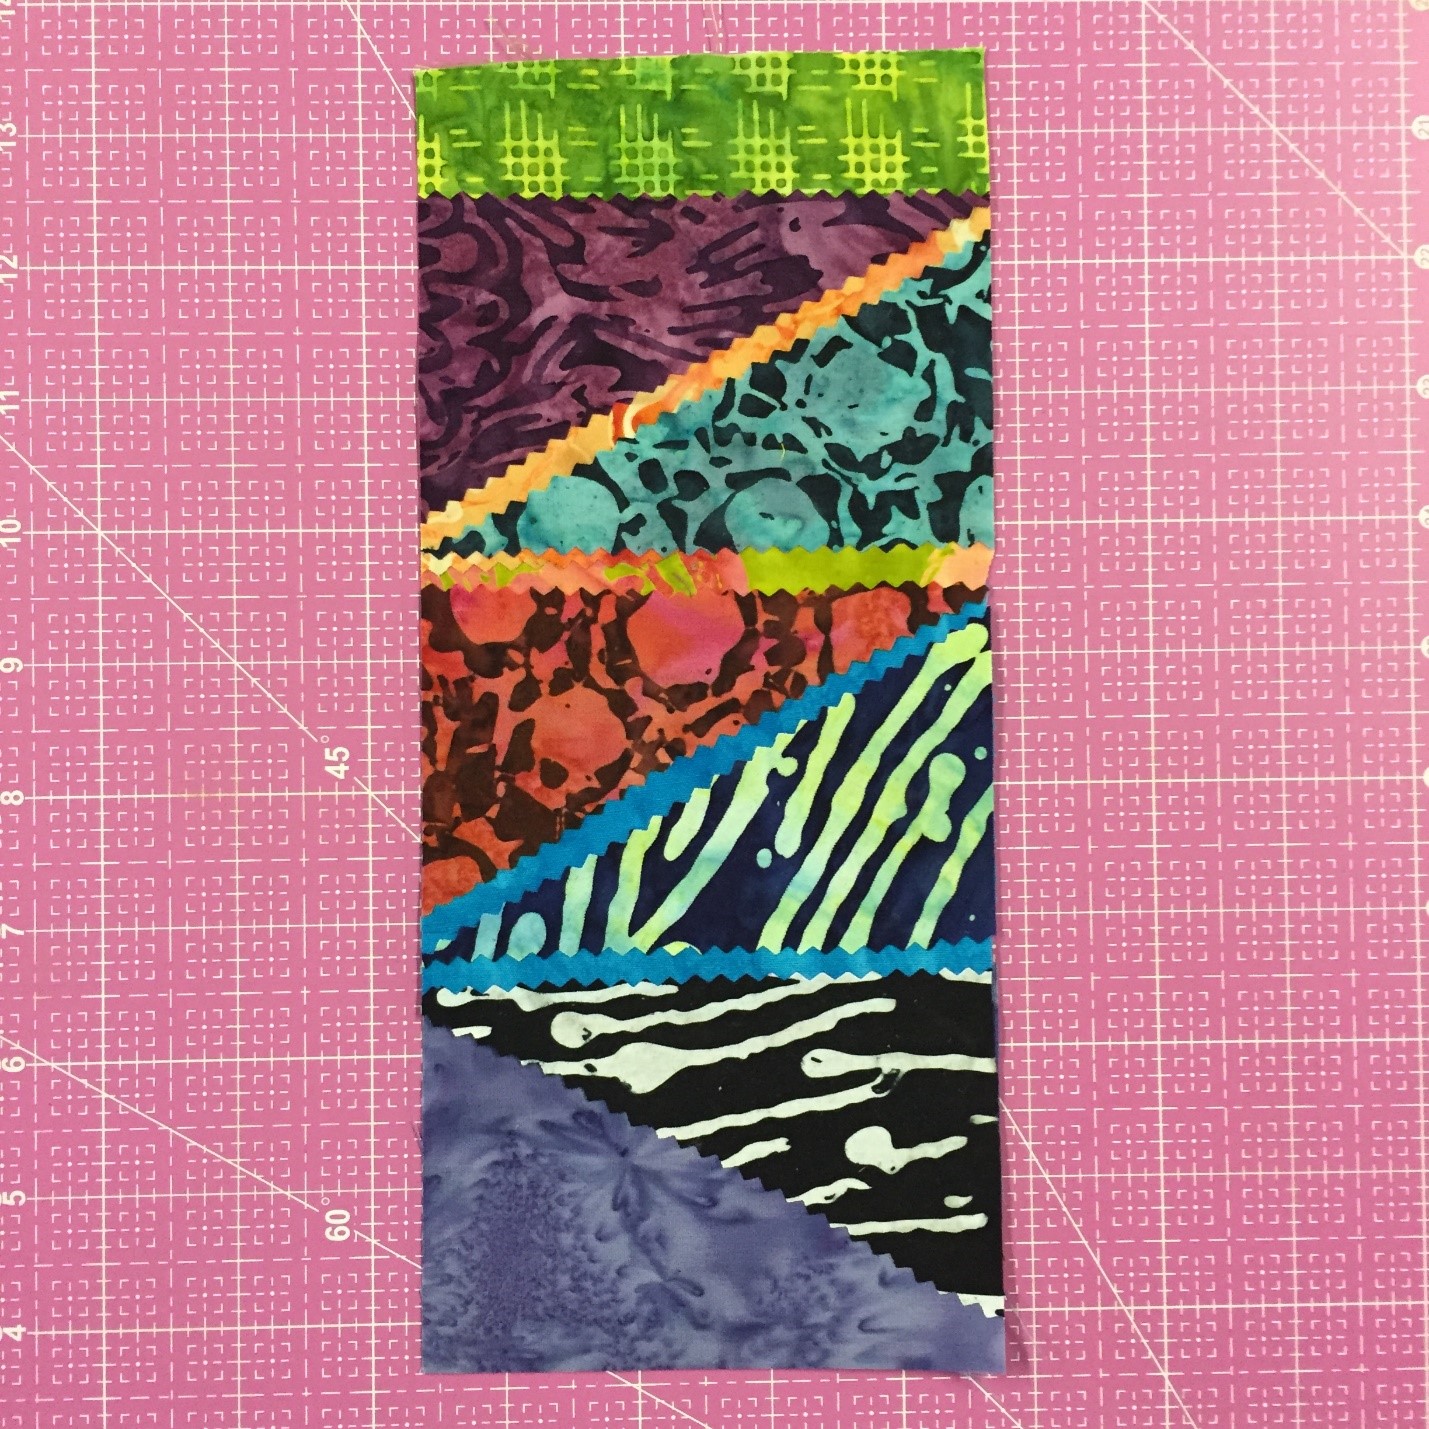
These are half square triangles – raw edge applique and the fabrics have Mistyfuse on the back. I love the triangles on all of the edges. It invites a viewer in to see more, and how that effect was made.

jami-fingal_pinking-shears_image-4

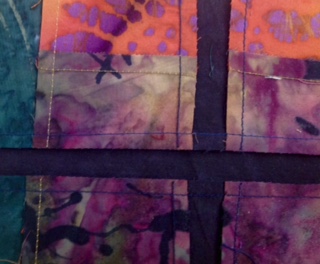
Close up of the half square triangles

jami-fingal_pinking-shears_image-5

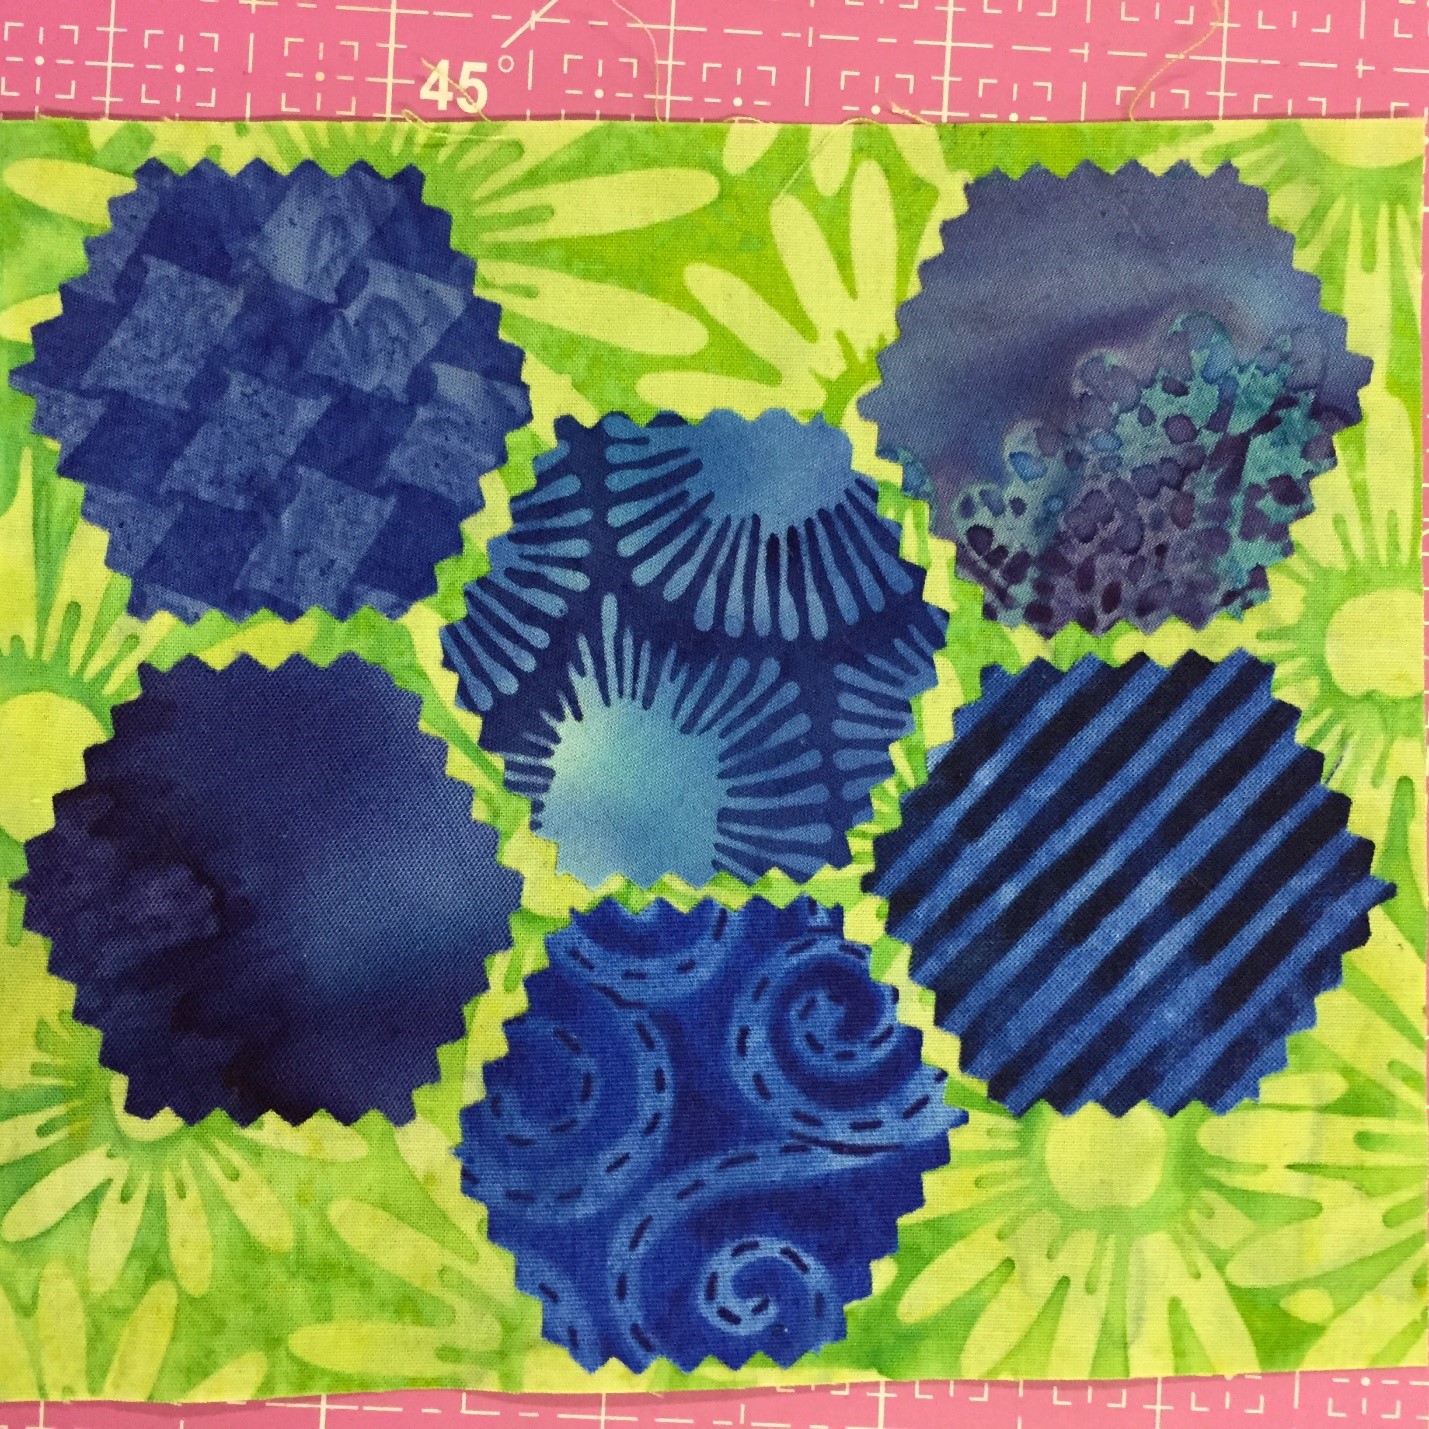
Hexagons are all the rage right now in quilting. Aren’t these fun? Raw edge applique, and each side was cut with pinking shears.

jami-fingal_pinking-shears_image-6

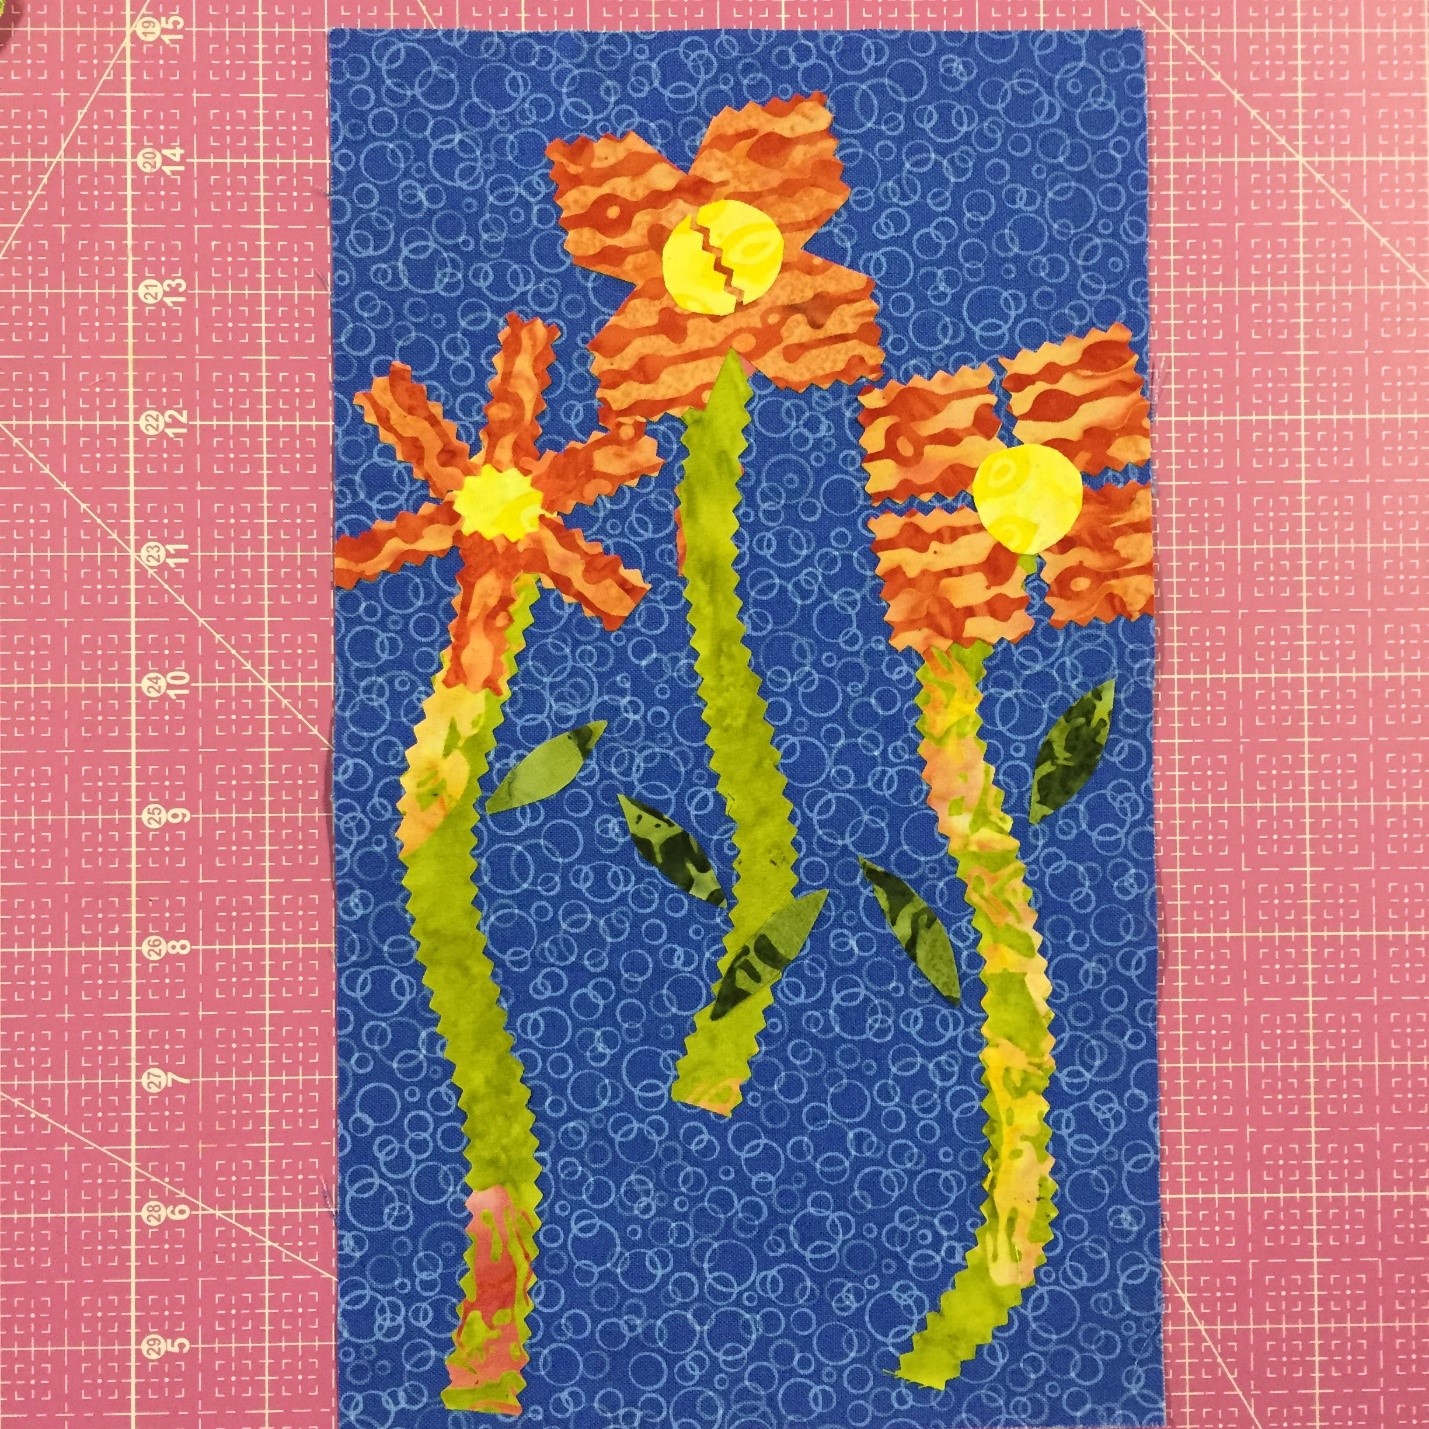
This is one of my most favorite ways to use the pinking shears. Stems and flowers. Love the wonkiness of the stems, but then the flowers are very whimsical with where they are cut. This adds a playful element to your quilts.

jami-fingal_pinking-shears_image-7

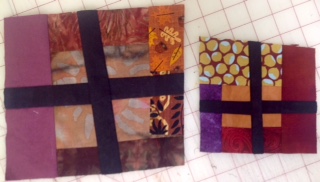
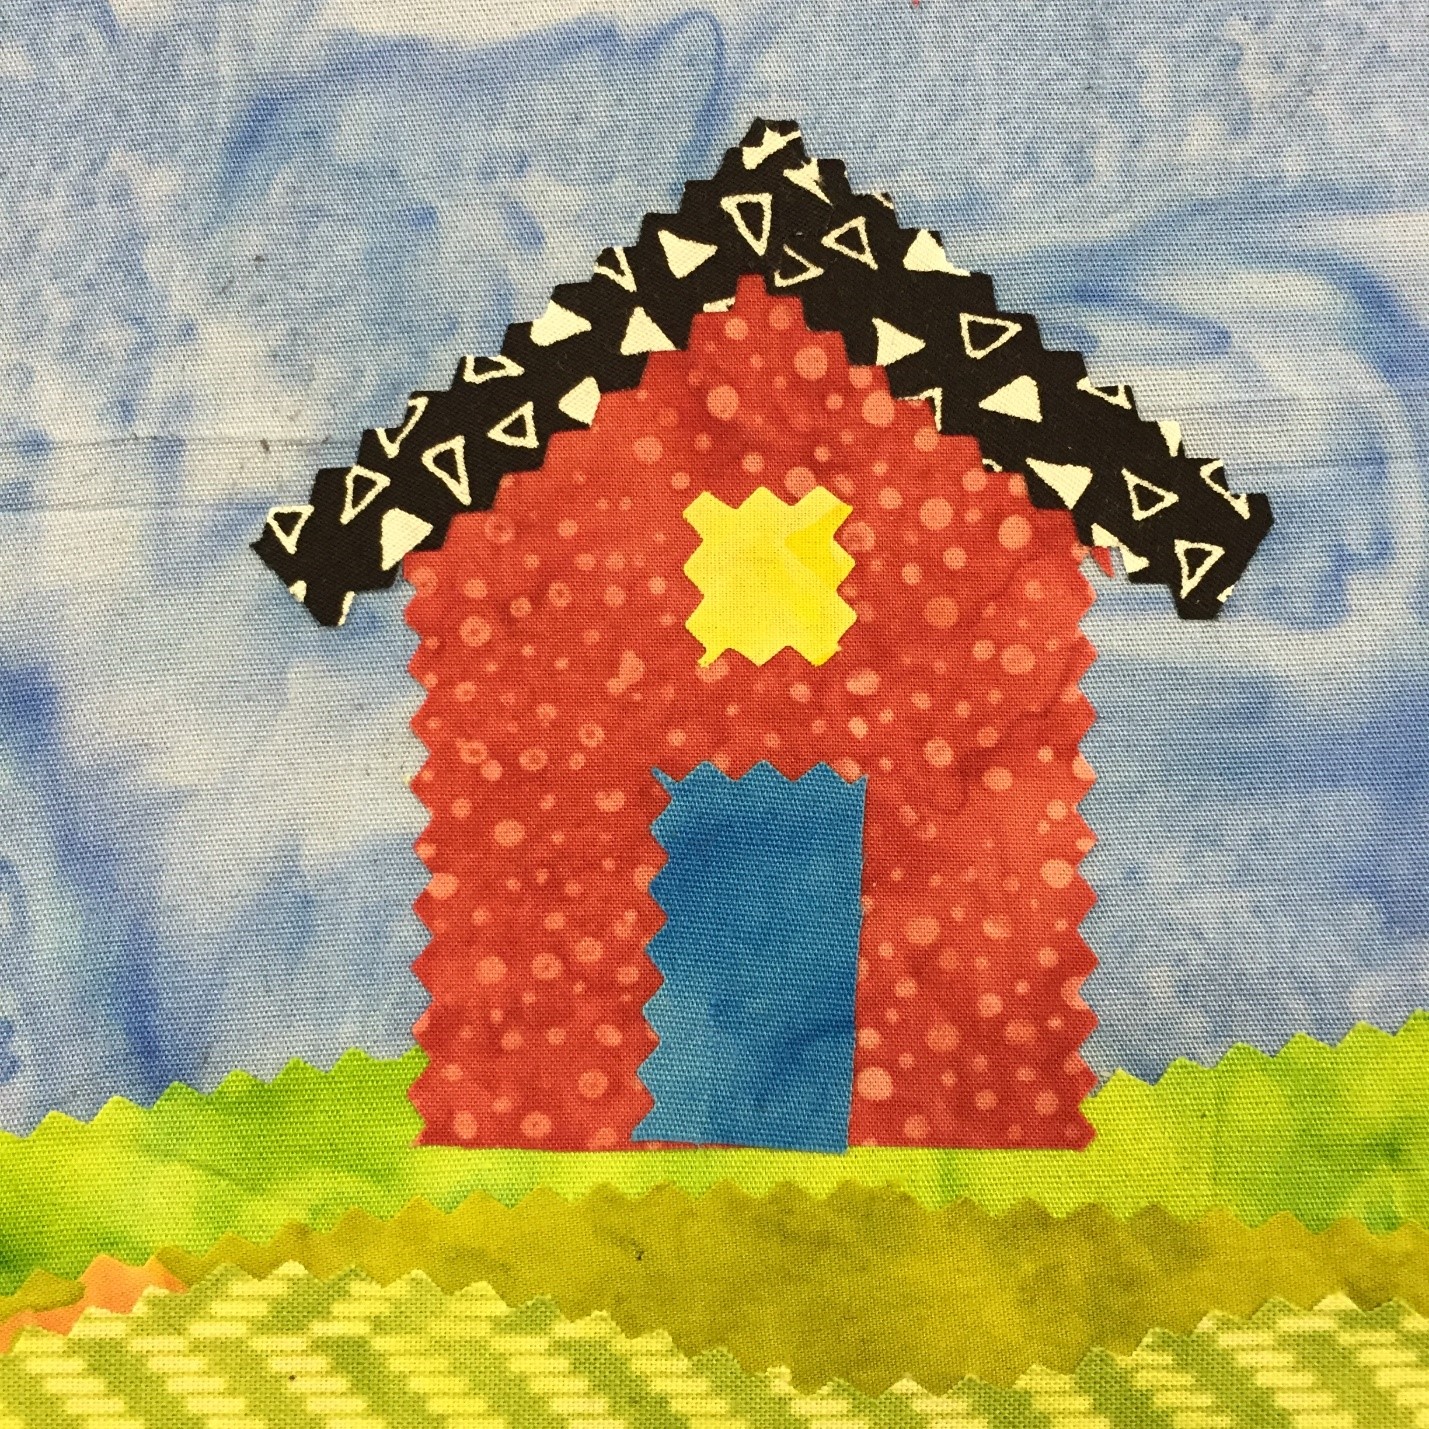
The start of a small house quilt. You can see the landscaping has been cut in triangles, adding some dimension to the small hills. The sides of the house, door, window and roof have also been cut. The sky is the limit to what you can do. The door is half and half. I like the unevenness of it all.

jami-fingal_pinking-shears_image-8

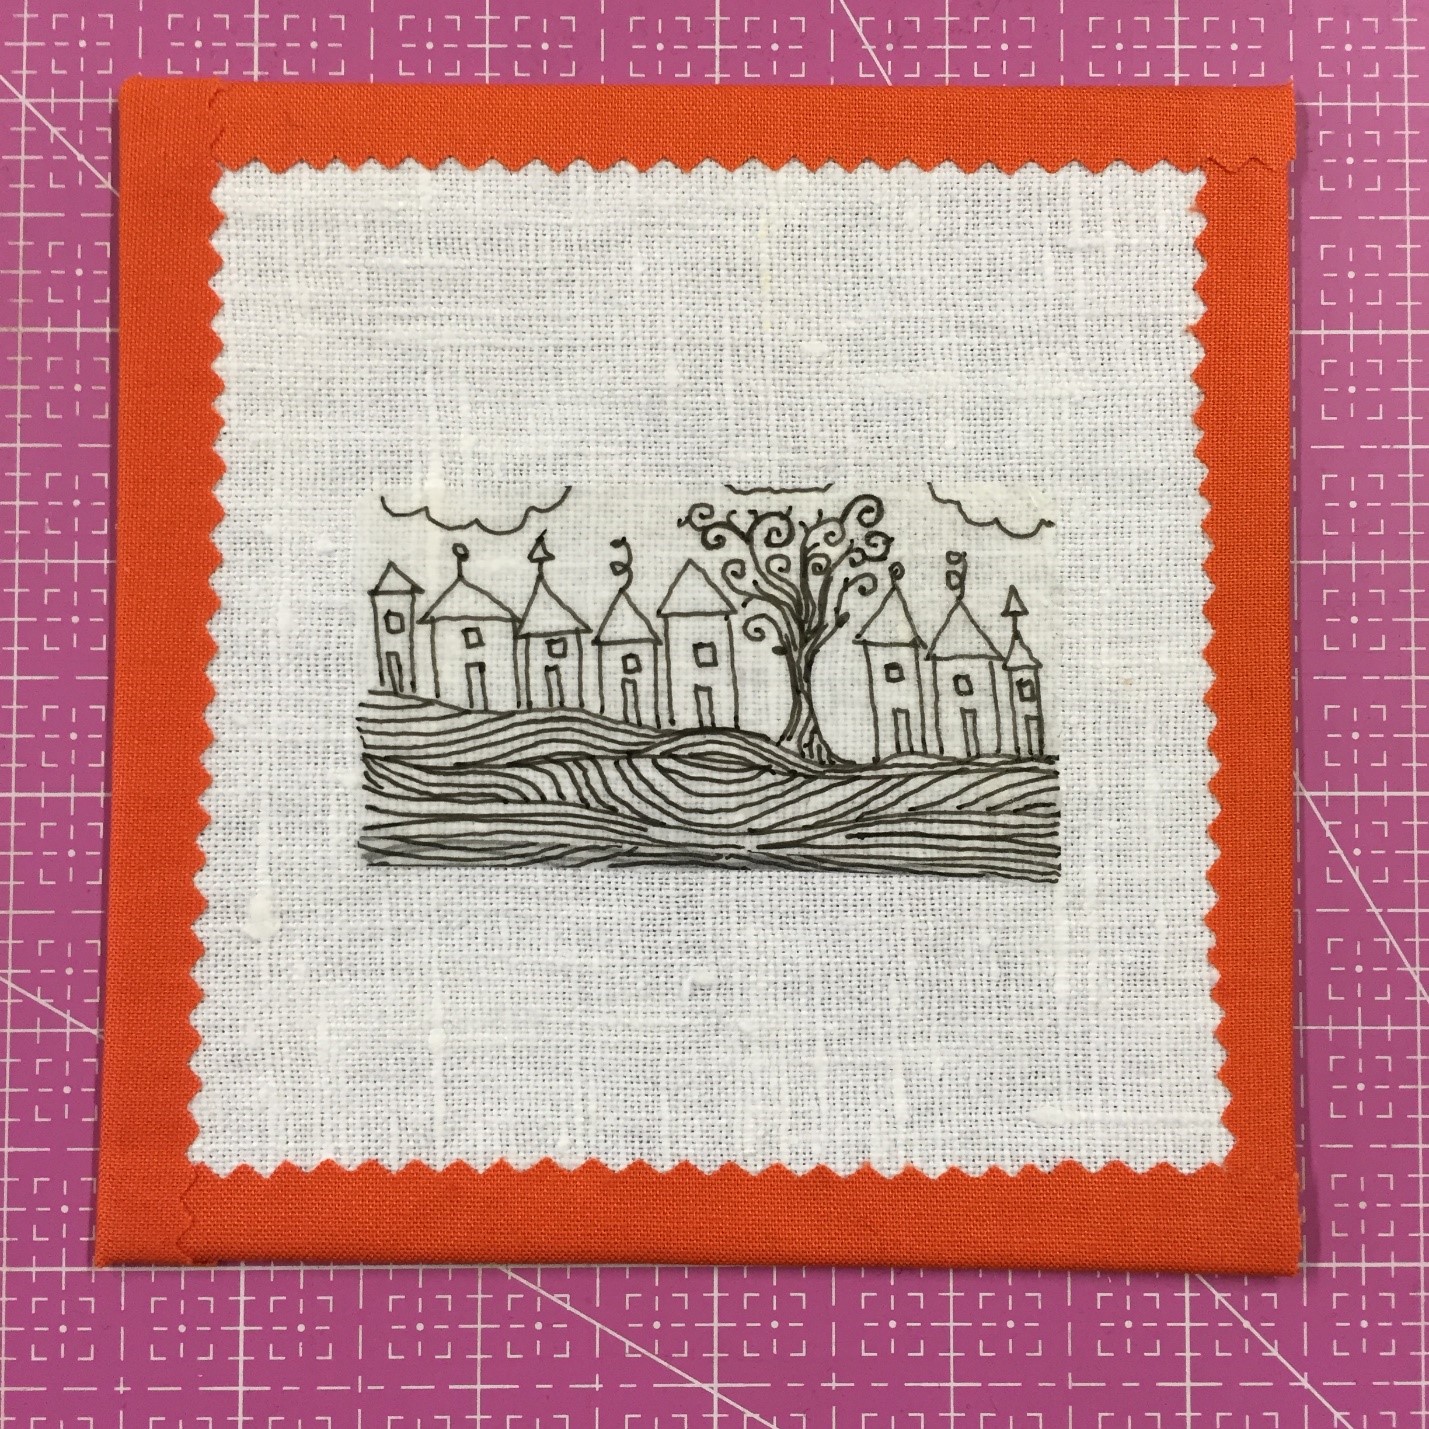
The new ticket to binding and making a really fun edge. The fabric has been pre-fused with Mistyfuse, and it just folds over to the back. I love this.

jami-fingal_pinking-shears_image-9

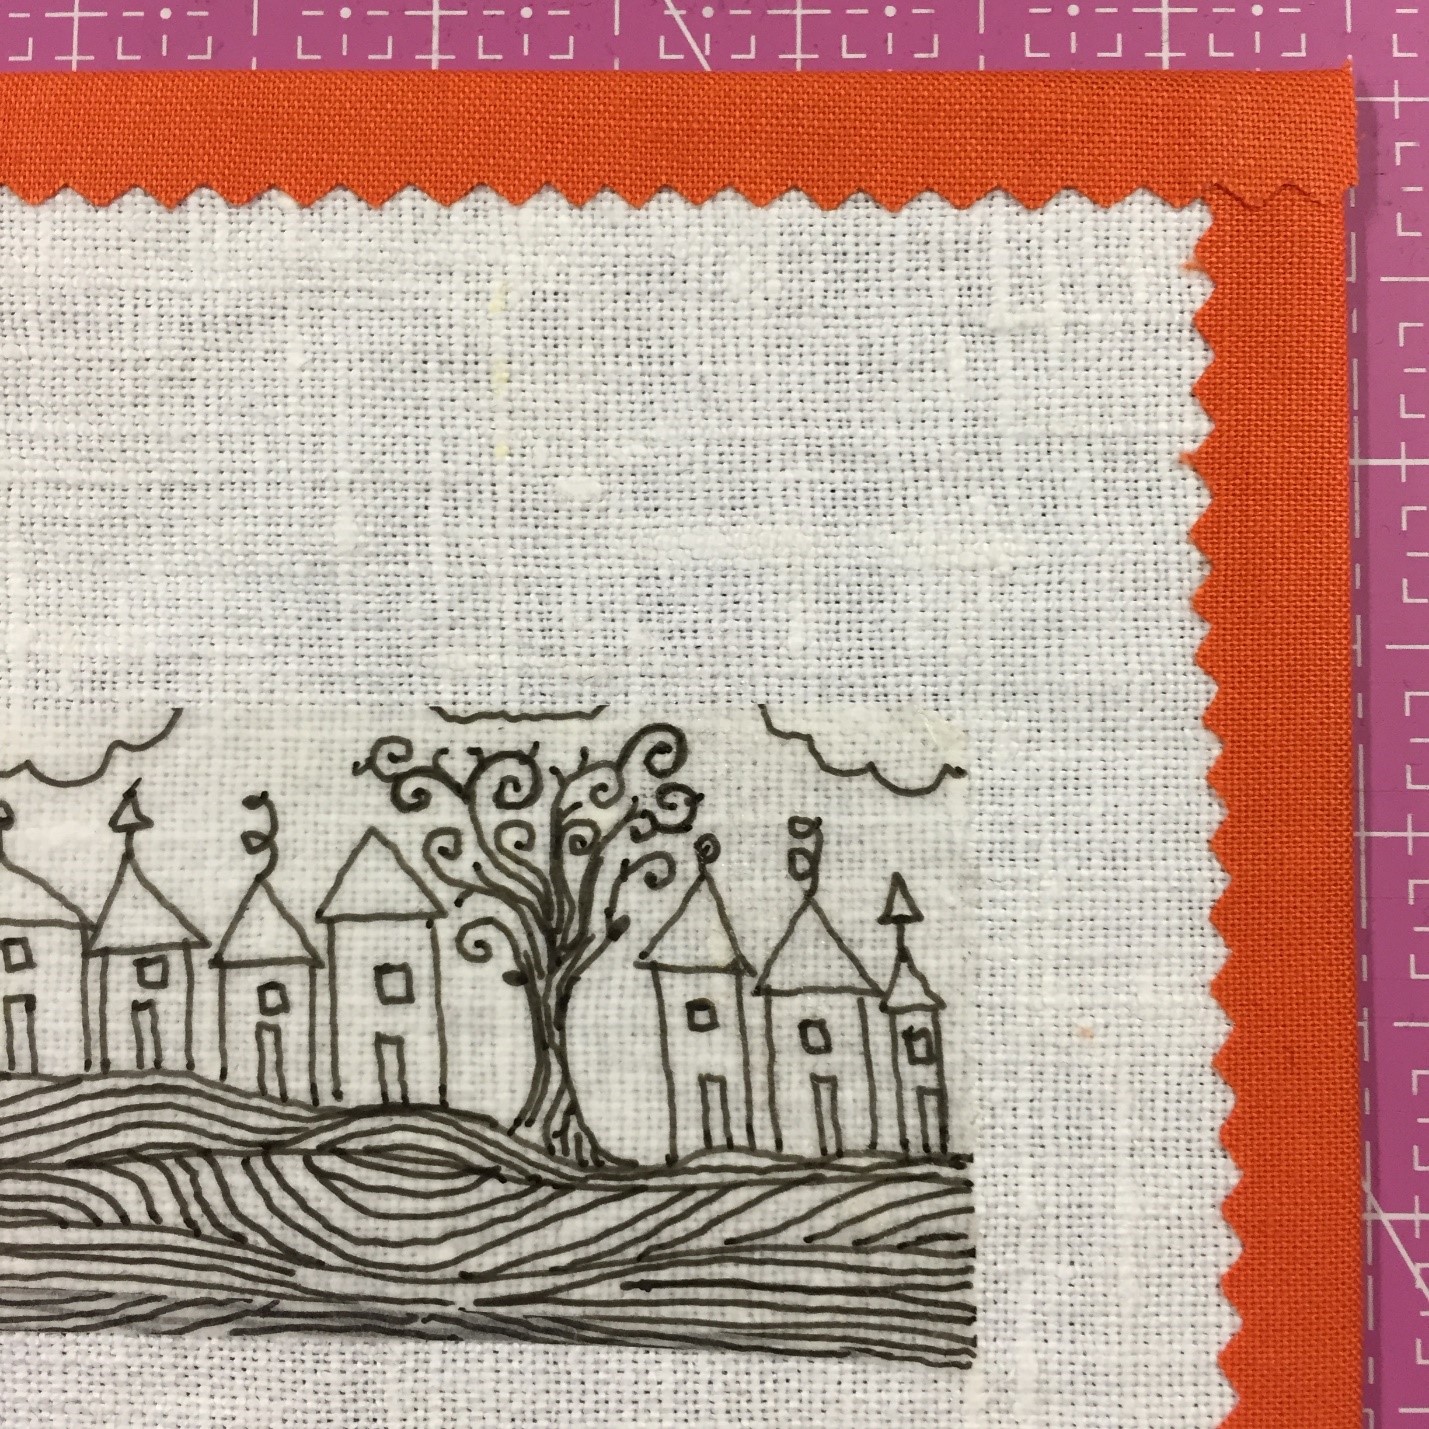
Closer look.

jami-fingal_pinking-shears_image-10

Happy cutting it up!
— Jamie Fingal


Shop Havel's Sewing

Posted in art ideas, craft, Crafting, Cutting Mat, Fabric, Fabric Scissors, For Beginners in Sewing, Free Craft Projects, Fun Stuff, Jamie Fingal, Sewing Supplies, Uncategorized, Wall Hangings | Comments Off on Creating with Havel’s Sewing Pinking Shears

Free Quilt Pattern – A Whimsical Pumpkin Centerpiece

Free Quilt Pattern: A Whimsical Pumpkin Centerpiece

By Terry White ©2012

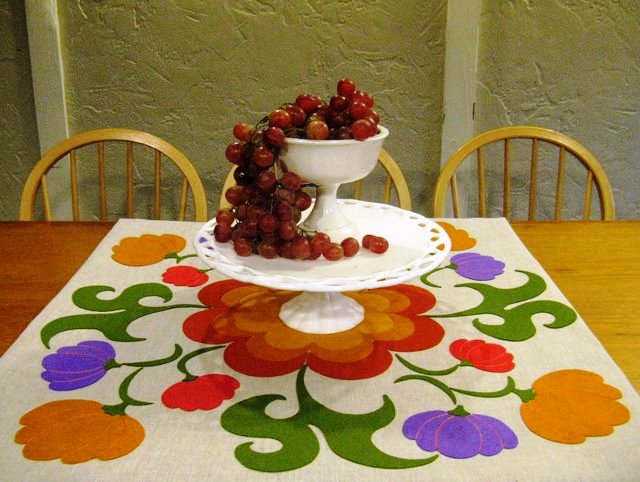
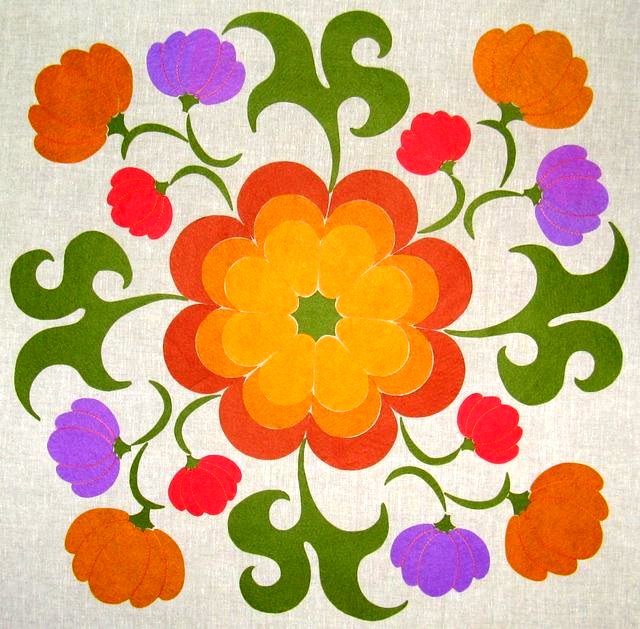
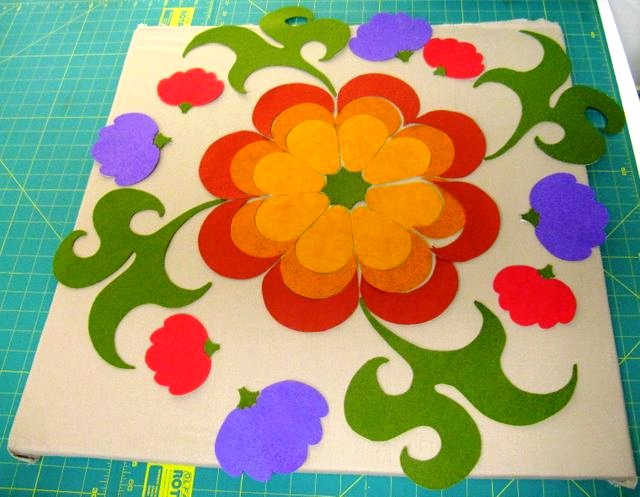
This bright modern pumpkin patch centerpiece can stay on your table all season long. It can be also be used as a wall hanging. The design also works well as a quilt pattern. Add a few borders and it will be large enough for a throw….I think plaid in fall colors would be lovely.

pumpkin-patch-centerpiece-by-terry-white-640x482

I used linen as the base fabric for this quilt applique project. Linen can be found in the drapery section of your fabric store (sometimes on the bargain tables) and it is usually at least 50 inches wide. Good substitutes for linen are osnaburg and heavy weight muslin or homespun.

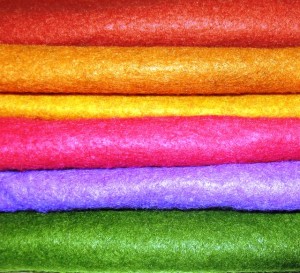
Wool felt is so easy to work with; it has so much body, comes in great colors and is easy to cut. You can simply fuse the wool to the linen and be done (as seen in the photo) or stitch it down….which I intend to do when I finish writing this quilt pattern for the Havel’s blog!

When you look at this design, you are looking down at the top of a large pumpkin. The pumpkin leaves and vines are surrounding the central pumpkin with little orange, purple and red pumpkins growing in the corners. This pattern was so much fun to design!

pumpkin-applique-640x629

Materials List

  • Linen square cut 36”
  • Linen or cotton fabric 36” square for backwool-felt-640x584
  • 18” squares of wool felt in the following colors:
  • Gold, deep gold, orange, rose, purple, green
  • Medium weight fusible interfacing 36” square
  • Fusible web for backing 36” square
  • 1 yard fusible web for appliqué pieces
  • 30 weight cotton thread in orange
  • 30 weight cotton thread in linen color
  • 30 weight cotton thread to match wool felt (if you choose to stitch
    the pieces down)

Supplies

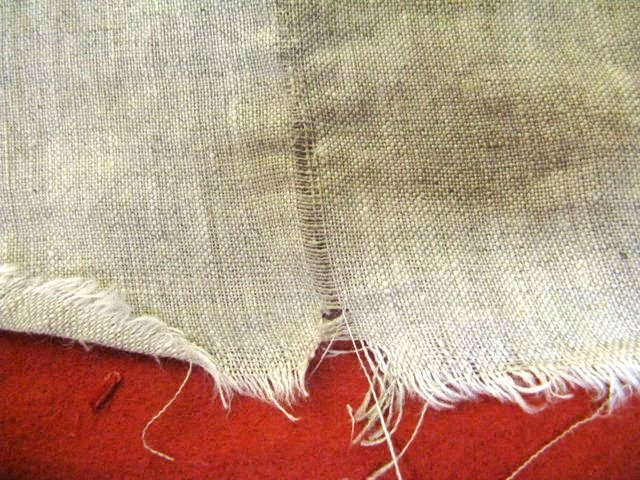
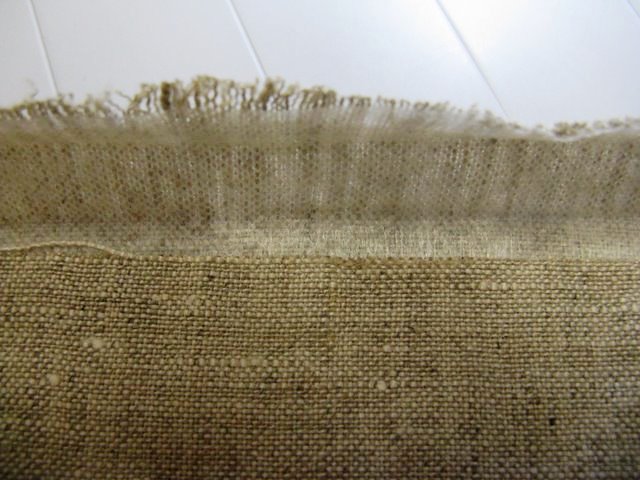
Start by preparing the linen or other even weave fabric. Cut it to 36” square. To do that, make a little cut at the 36” mark and pull threads. Cut along the line that the pulled threads make. When cut, pull a few more threads so that you have a fringe. Square up the fabric and press with sizing (I use a lot of sizing).

prepare-linen-640x480

Next, fuse the iron-on interfacing to the back of the linen.

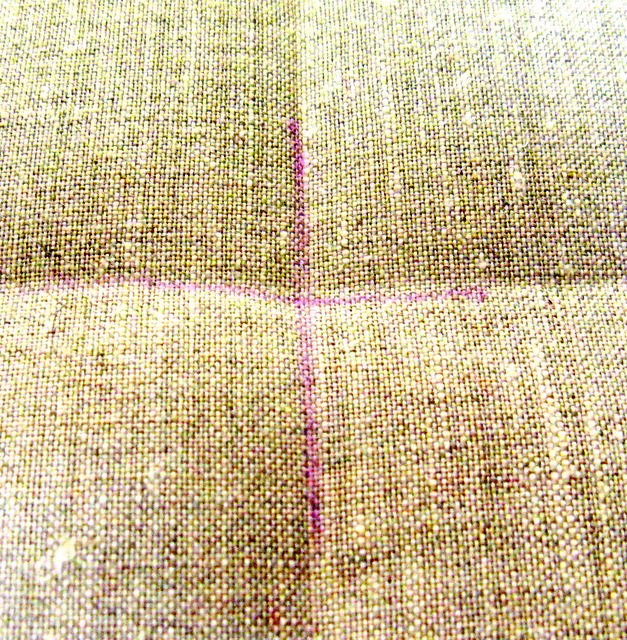
Fold the linen square in half and finger press a few inches in the center. Fold the square in half the other way and finger press the same way. Mark the intersection with a fabric marker. You will center the pumpkin stem on this mark.

find-center-627x640

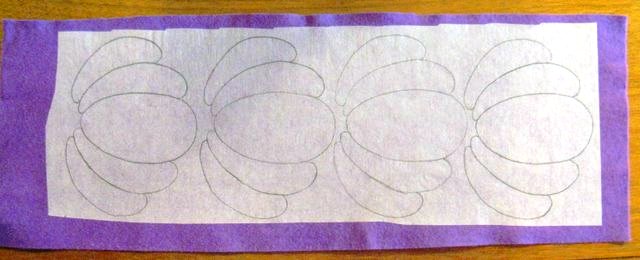
Trace the pattern pieces onto the fusible web. I like to use a mechanical pencil. Trace all the pieces together that will be cut from the same color wool.

trace-pattern-pieces-640x523

Iron the fusible web to the wool according to manufacturer’s instructions.

fuse-pattern-pieces-640-260

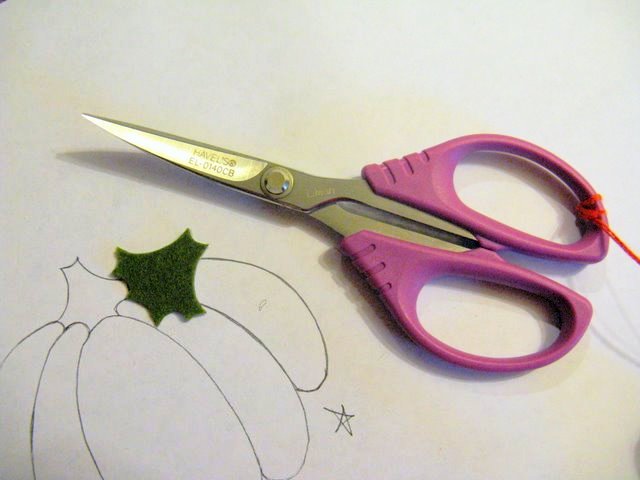
Carefully cut out the pieces. I like to use Havel’s small curved embroidery scissors because they give me better control. The curved blade helps me to cut lovely curved shapes.

cut-wool-640x480

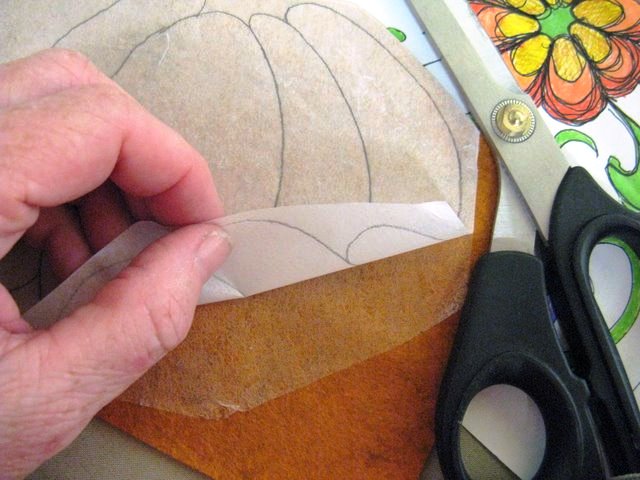
Here is a tip for using fusible web: Pull away part of the paper backing before cutting out the shape. That way it is very easy to pull the paper away from the appliqué….it gives you a starting point.

pre-pull-fusible-640x480

As you cut out the shapes, lay them out on your ironing board or other fabric covered surface. This way, you can see if you like your color choices. Pull away the backing paper before you lay out your appliqués onto the linen. Arrange the shapes according to the photo. You can use a yardstick to help with placement. The central pumpkin is divided into eight equal parts, so you can line up the pieces along the yardstick top to bottom and side to side.

lay-out-wool-pieces-640x497

(Use your colored fabric markers to draw details on the small pumpkins if you are not going to stitch the appliqué down.)

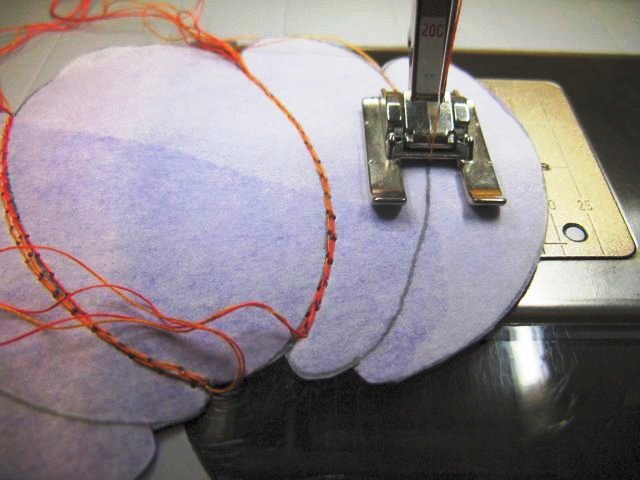
To stitch details on the small pumpkins, turn each upside down and use a long straight stitch following the drawn lines on fusible web paper backing. Stitch each line three times. Use the colored thread in the bobbin. I used Star cotton orange variegated thread. I used the same color for the gold, purple and red pumpkins.

stitch-in-details-640x480

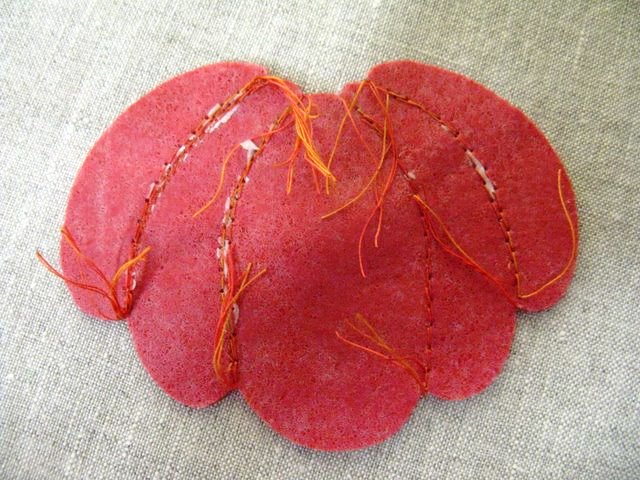
Trim the threads and pull the paper backing away.

gather-threads-on-back-of-pumpkin-640x480

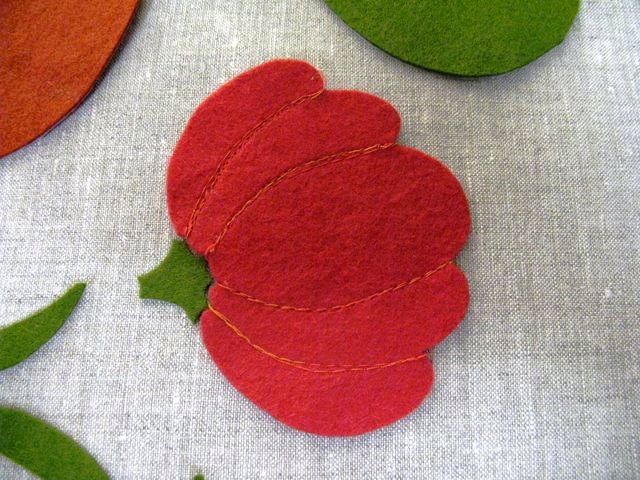
Gather the threads to the back of the appliqué. When you iron the shape to the linen capture the threads underneath.

pumpkin-applique-640x480

Lay out your pieces onto the linen and fuse. Set your iron to wool. The wool is thick and it takes a while to heat through the wool enough for the fusible to melt. Patience is required at this step. Heat a section at a time and go back over it several times. Once the fusible is melted and the felt is secure….it is really secure.

pretty-threads-for-applique-640x480

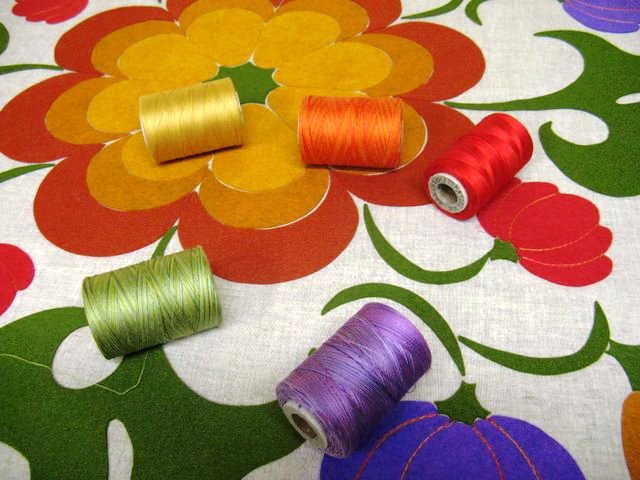
Here are the pretty threads I’ve chosen to stitch my appliqués.

using-applique-foot-553x640

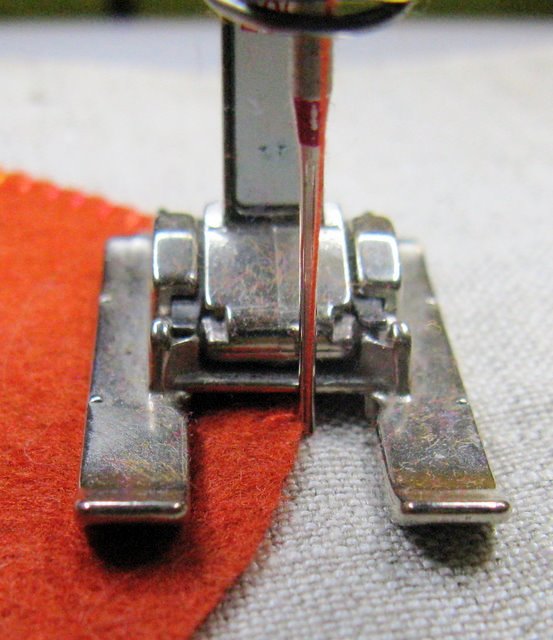
The photo shows an open appliqué foot. I am using a buttonhole or blanket stitch and you can see that I can get right at the edge of the appliqué because I can see it. I lowered the top tension (thread tension) so that the thread can move freely and make a full beautiful stitch. I suggest you test your threads, settings and materials before stitching.

the-stitched-applique-640x480

After all the stitching, the next step is to fuse your backing fabric to the back of the panel.

Make the backing about an inch smaller than your finished panel.

fuse-backing-to-panel-640x480

Fold and press the top of the panel to the back.

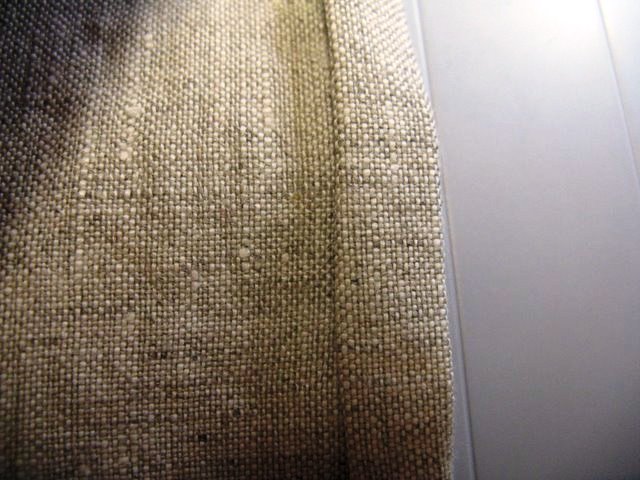
When starched linen is folded and pressed like this, it is very stable and doesn’t move around too much. However, if you want, you can use fabric glue or fusible hem tape to glue it in place.

fold-and-press-back-of-panel-640x480

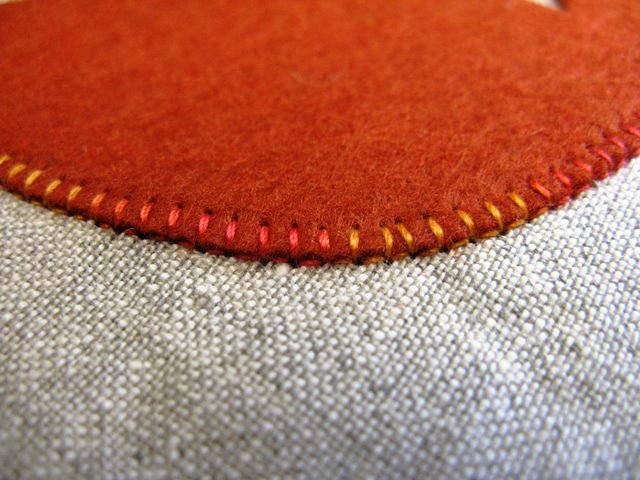
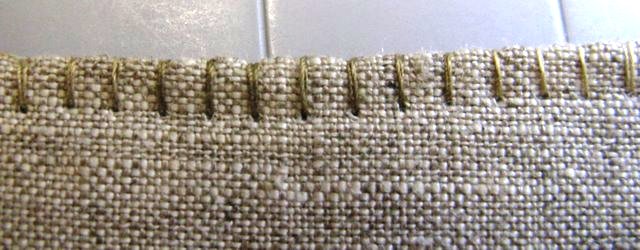
Stitching from the top, use the linen colored thread and a large blanket or buttonhole stitch to sew along the edge. I use the same thread in the bobbin as the top, and lower the top thread tension for a full stitch. I used a variegated linen color thread.

finished-edge-with-blanket-stitch-640x250

Click here to print out the pattern pieces
for the Fall Pumpkin Appliqué Centerpiece.


         shop-havels-sewing-now

Posted in art ideas, Fabric, Fabric Scissors, Fabric Selection, Free Craft Projects, Free Quilt Patterns, Free Quilt Projects, Free Sewing Project, Halloween, Holiday Projects, How To, Patterns, Quilting, Quilting, Seasonal, Select Fabric, Table Runner, Terry White, Thanksgiving | Comments Off on Free Quilt Pattern – A Whimsical Pumpkin Centerpiece

Fly a Fall Flag

by Jamie Fingal

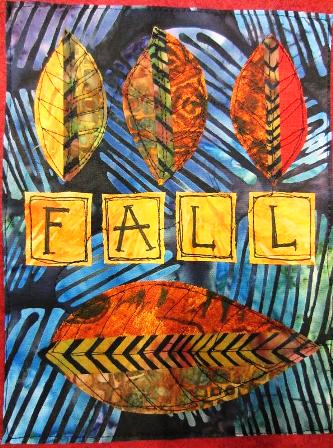
Learn how to make three flags, using scrap fabrics, fusing, wool blended felt backing and free motion machine quilting.

pic 28 448x204

Each flag measures 6″ x 8″ vertical format. I used wool blended felt for the foundation and backing. If you so desire one layer of felt is okay. I prefer the firmness of 2 layers. I would not recommend polyester felt, because noxious fumes will release when ironed or fused to other materials. Choose three background colors, that fit on a 6×8 foundation.

pic 2 445x336

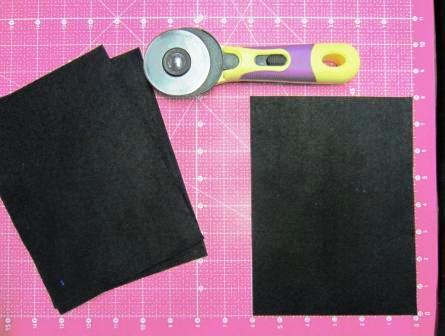
So, let’s get started. Cut out the felt 6” x 8” using a rotary cutter, ruler and cutting mat.

Fusing Lesson

A Fusing Lesson
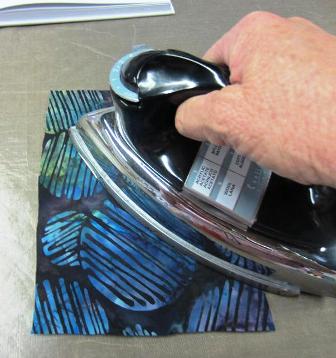
Picture 1: I use Mistyfuse, a fusible web, that doesn’t change the hand of the cloth. It is very easy to sew though on the machine, as well as, hand sewing. I buy it by the bolt. So, I have rolled it out onto the wrong side of the fabric.

Picture 2: Using a pressing sheet (Goddess Fat Sheet by Mistyfuse), I run my dry iron on the cotton setting over the entire area, making sure that the edges are all melted into the fabric. You can lift up an edge of the sheet to see how it is working.

Picture 3: On the left is the fabric without Mistyfuse, and on the right, is the fused fabric. You see it has a sheen to it, so you will know what side has the fusible on it. Trim off the edges that are not fused, and set aside. You will need 3 different pieces of fabric for the backgrounds. Fuse all of your fabrics for this project.

Brainstorming Quilt Project Ideas

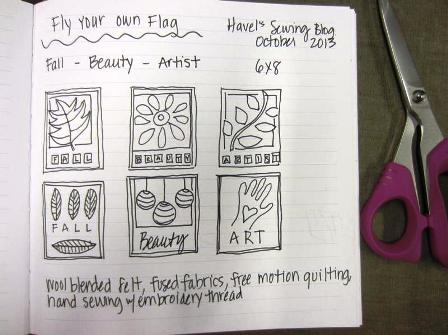
Here is a page from my journal/sketchbook on brainstorming ideas for this project.

Auditioning Fabric Options

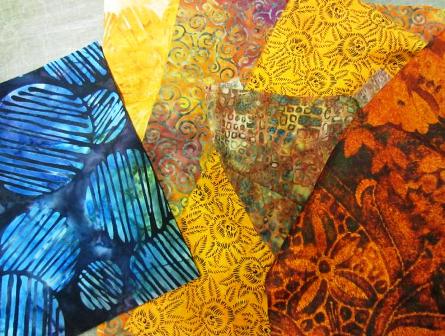
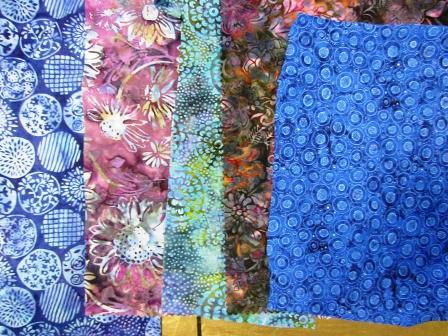
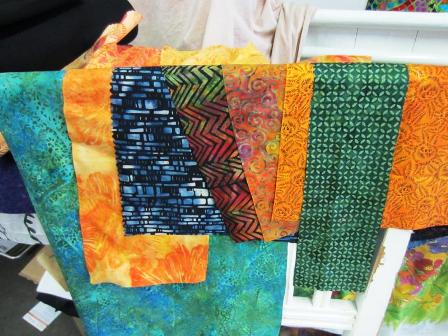
These are fused fabrics that I am auditioning for this project. This is the way that I normally work when I am making an art quilt. I am looking for colors that compliment each other, good contrasts, texture, and to make sure they are the same value. I am seeing that the blue/black geometric is too strong for this group. The batik with the chevrons is also too strong, but could be used, if cut for an accent.

Fusing the Backing of the Project

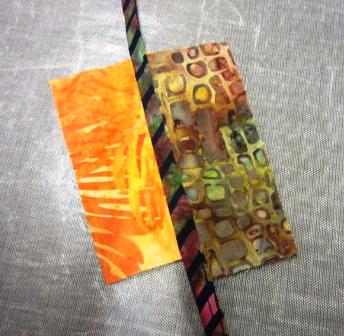
This is the background for the FALL flag, and I am fusing it into place on the wool blended felt. All of the flags will use the same method.

Trim the Sides

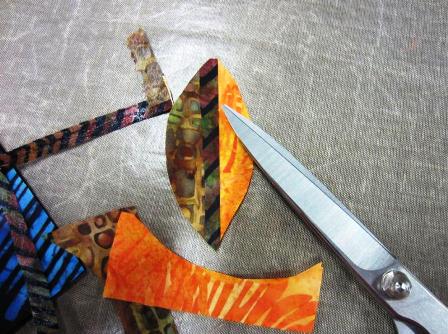
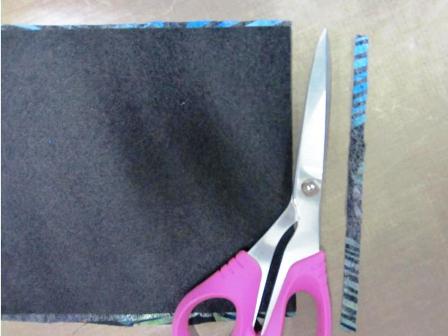
Turn it over and cut from the back, to trim the sides.

Auditioning More Fabric Options

I am now auditioning fabrics that will work well with this background.

Fusing to Create Fabric Leaves

Making Interesting Leaves: For this I am using 3 fabrics. 2 for the leaf sides and one for the center. I am fusing them together on a Goddess Sheet, but you can use Parchment Paper too. The fabric won’t stick to either, and it is a great way to build objects before fusing them to your actual project.

Cutting Out Fabric Leaves

Fussy cut your leaves out – one by one. You will need three of the same size, and one larger size. I would say that the smaller ones are 2” long and 1- 1-1/2” wide. I used 5 pieces of different fabric for the small leaves, and 3 pieces for the large leaf. The large leaf is about 4” long by 2” wide.

Situating Fabric Leaves on Background

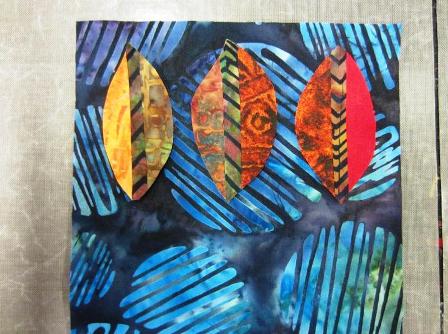
Fuse them onto the background, leaving room for the text in the middle. Note: the fabric that I used for the leaves, is echoed onto the next leaf, sort of like a natural progression into fall.

FALL Using Fabric Pen

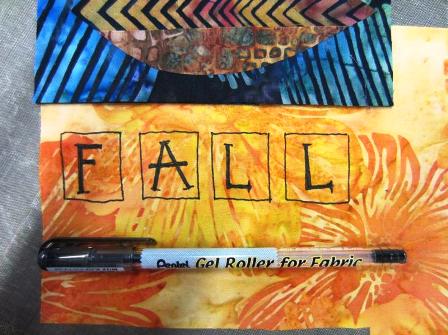
Place the lower portion of your flag on the piece of fabric that you have selected for your text. Draw squares onto the fabric with a Pentel Gel Roller for Fabric. The flag will be your guide to making sure that you don’t run out of room. You can write each letter into the square, but out with your scissors and fuse them on the flag, making sure there is some space between each letter. If you don’t trust your own writing, you could print the text out on your computer, and copy it onto your fabric by using the light coming through a window as your light box.
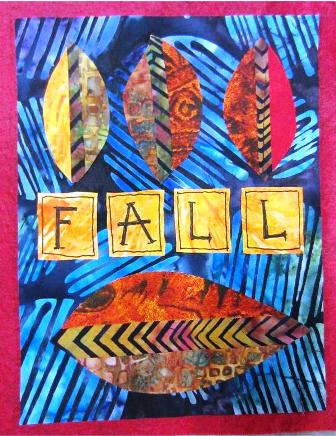
Finished Fall Flag Quilt

The flag is backed with another piece of felt. You can choose not to do this step. This is the way that I make all of my quilts. This piece is ready to be free motion machine quilted.

Auditioning Fabric For Second Fabric Flag

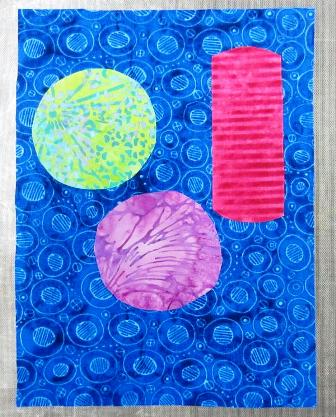
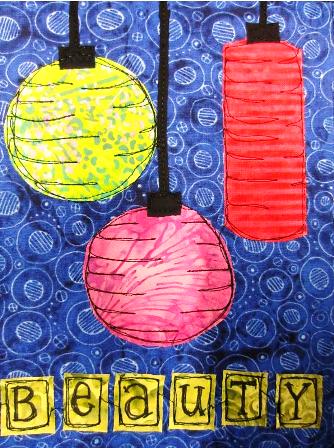
Now on to the next flag – I begin by auditioning the background fabrics for the 3 lanterns.

Fabric Lanterns For Flag 2

The royal blue makes a great background, and the colors that I chose for the lanterns are all complimentary colors, so they POP out. Cut 2 round and 1 rectangle.

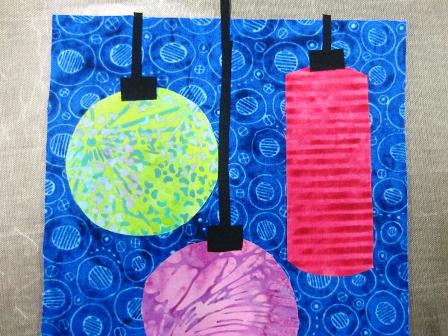
Creating the Fabric Lanterns

Add the lantern tops and rope, by using black fabric. You could use another color for these, but I think the black really sets it off.

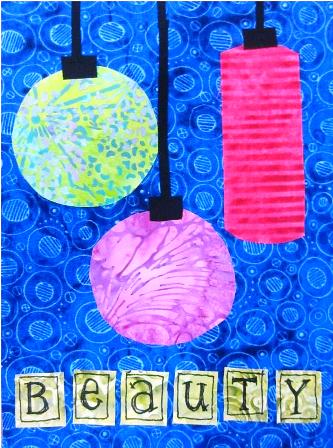
Finished Lanterns and Beauty Fabric Flag

The text using the same method as the FALL flag. It doesn’t have to be perfect. Use a color that goes with everything else that you have chosen, but is set off by the background. Back the flag with another piece of wool blended felt, or not, and set aside for the sewing machine.

Creating the Third Fabric Flag

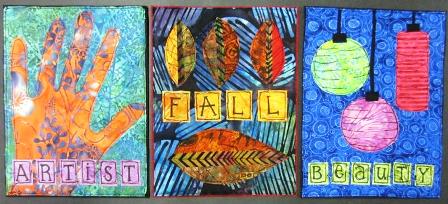
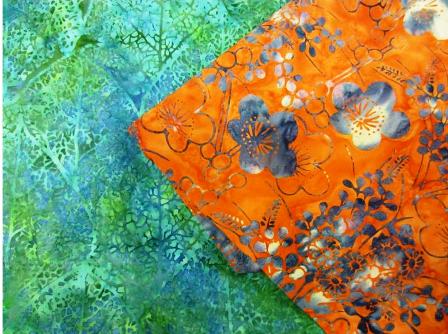
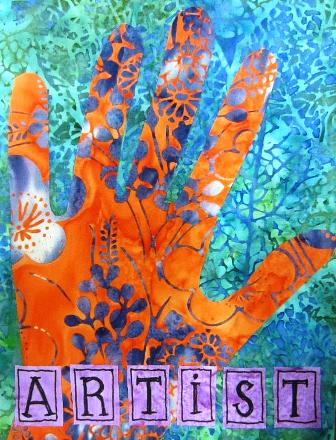
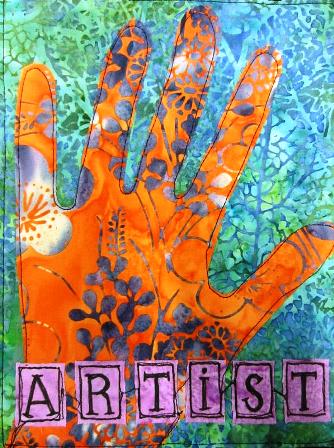
Creating the Third Flag – Artist: You only need 3 pieces of fabric. One for the background, the hand, and the text. I used the green for the background and the orange for the hand. Lavender for the text.

Tracing the Third Flag

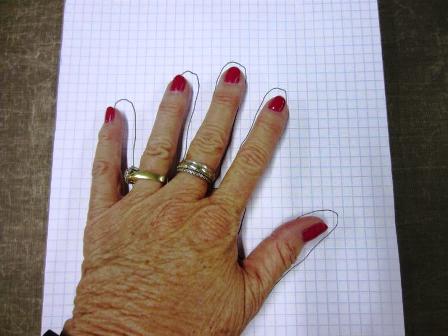
Trace your hand on a piece of paper, using a black pen. It doesn’t have to be perfect.

Tracing the Fabric Hand

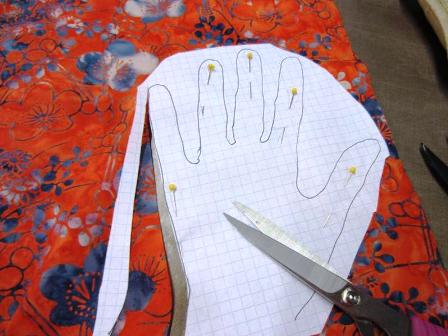
Lay it on the piece of fabric that you have chosen for the hand. Pin it into place. I find it easier to pin where the fingers are. Cut it out.

Putting the Fabric onto the Backing

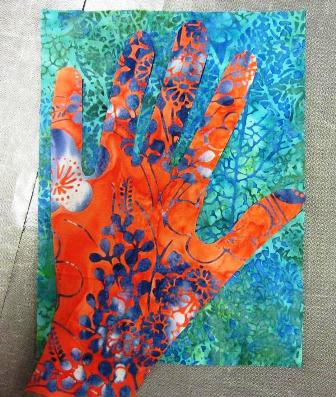
Fuse it into place and cut the excess from the back, like how we did it on the first flag.

Completed Third Fabric Flag

Line up the bottom portion of the flag to make sure that the boxes fit. Draw, cut, and fuse into place.

First Fall Fabric Flag

FALL
Free motion machine quilting. This is a great way to practice this skill. Simply outline the leaves and do as little or as much as you want in the veins of the leaves. Follow the lines of the text boxes. I did not stop and start these separately, but chose a dark line to sew over to the next block. I simply sewed the sides to the felt backing.

Second Fabric Flag Beauty

BEAUTY

Third Fabric Flag Artist

ARTIST

All Three Finished Fabric Flags

The Finished Flags: I have all of my flags hung using a laundry line and clothes pins. You can also sew pop tops on the back of the flags and hang on the wall with a small nail. I hope you have enjoyed this project. Happy FALL!


60mm-rotary-and-cutting-mat-set_cta

Posted in art ideas, craft, Craft to make, Crafting, Fabric, Fabric Cutter, Fabric Rotary Cutters, Fabric Scissors, Free Craft Projects, Free Sewing Project, Fun Stuff, Jamie Fingal, Seasonal | Comments Off on Fly a Fall Flag

Creating a Chenille Scarf for Fall

Chenille Scarf by Ruth Chandler

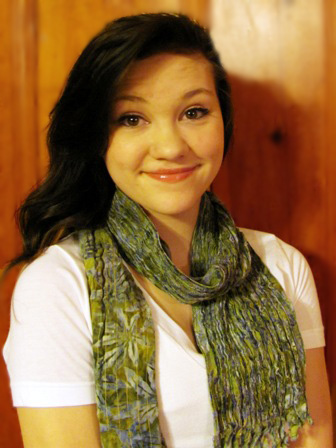
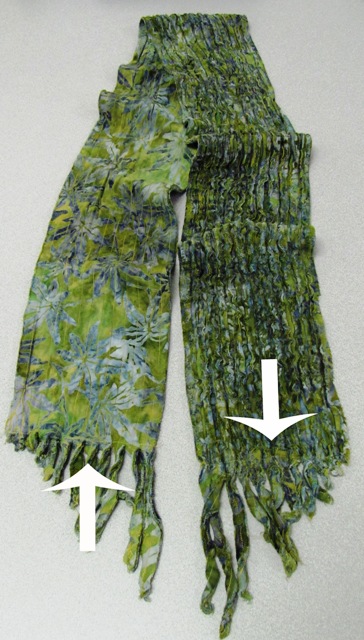
brittany wearing chenille scarfThis technique uses a special rotary cutter that has a guide on the bottom of the blade to prevent all layers of fabric from being cut. There are two ways to accomplish the fraying that makes the chenille. First, you can cut the fabric at a 45 degree angle, second you can stitch the fabric at a 45 degree angle. Without this angle the fabric will not fray nicely and you will be disappointed with your results.

Supplies:

There are two different options to choose from
when making your chenille scarf…

Option #1 – Fabric cut at 45 degree angle:

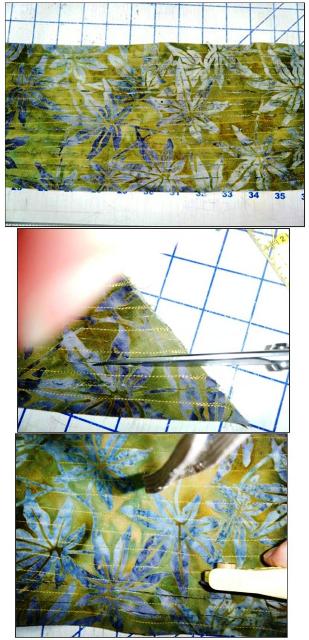
Stitch lines 1/2" apart from end to end

Stitch lines 1/2″ apart, from end to end.

  • First, press your fabric. I like to use a light starch spray such as Best Press. It will allow you to get a more controlled cut.
  • Lay the fabric out on a large table with the cutting mat under the fabric.
  • Using your ruler, find the 45 degree angle.
  • Line it up on a selvage edge of the fabric and draw a line along the ruler on the fabric. You will have to move your ruler keeping it lined up with the marking line until the line reaches across to the other selvage.
  • Now is the time to decide how wide you want your scarf, I would suggest no narrower than 6 inches and no wider than 12 inches.
  • Use at least 4 layers of fabric but no more than 6… I used 5. More than six layers and the scarf will be too bulky and the cutter will have a difficult time cutting through all the layers. Not to mention the wear and tear on your hands!
  • Now for the layering – the bottom (or first) layer needs to be right side DOWN.
  • Place the other layers right side UP on the first (or bottom) layer.
  • Pin the layers together, matching up the edges and smoothing out any wrinkles. Take your time with this step and use lots of pins, especially with the rayon.
  • If the edges are a little off that is okay, we will trim it up at the end.

Now it is time to stitch. Stitch from one end to the other, length wise. I used the markings on my machine throat plate to guide the stitch lines, but if you are not comfortable with that you can mark lines with your marking pencil. Try to keep the markings as faint as possible so they are easier to wash out. The chenille cutter has instructions on the package, it is important to read these so you can choose the right blade guide for your scarf. My stitch lines were a ½ inch apart so I used the medium 6mm guide. This worked well on the 5 layers of rayon that I cut at the 45 degree angle.

  • chenille pix trio 309x640Start at the right edge and stitch lines ½ inch apart end to end, until you have filled the whole scarf.
  • Make sure to backstitch at the beginning and end of each row to hold the stitching.
  • Lay the scarf out on the cutting mat.
  • Prior to this next step, engage your chenille blade in preparation for cutting.
  • You may want to snip the ends of your rows first with scissors, to get started.
  • Now, slide the cutter guide into the first row of stitching under all layers EXCEPT the bottom layer – do NOT cut the bottom layer of fabric!
  • Slide the cutter along the row and repeat this process till all rows are cut.
  • Be sure the guide is flat on the table, it will work more smoothly.
  • Sometimes a few fibers from the fabric will catch on the guide, simply pull the fibers out using a pair of tweezers.
  • If you want a little fringe at the ends of the scarf, you can cut through all layers to separate them. I would suggest not cutting the fringe any longer than 4 inches.
 

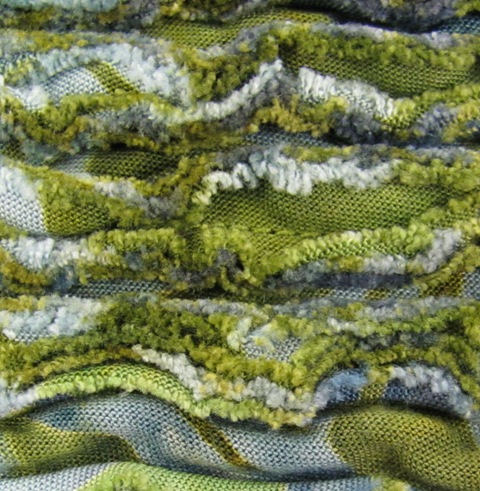
close up of chenille scarf after washing

Here is a close-up of the chenille scarf
after it’s been washed.

Now comes the magic part! Throw the scarf in the washer. I suggest a few towels also. Wash on a regular cycle. When you pull it out it will be frayed! Dry it with the towels, (you may have to shake your towels outside to get rid of stray threads) and when it is dry you will have a beautiful scarf! If the edges need to be trimmed to make it less ragged on the edges, use your straight rotary cutter to trim the outside edges.

Option #2 – Fabric stitched at 45 degree angle:

  • This technique takes a lot more time and thread.
  • Press and starch the fabric.
  • Lay the fabric out and cut 5, 8″ wide strips the length of the fabric.
  • You should have 5, 8″ x 72″ strips.
  • Lay the first strip right side DOWN.
  • Layer the next 4 strips right side UP.
  • Pin all layers together.
  • Find the 45 degree angle on your ruler and mark across the scarf starting at one narrow end and working down to the other.
  • Stitch along the markings, be sure to backstitch at the beginning and the end of each row.
  • Stitch all rows.
  • Prior to this next step, engage your chenille blade in preparation for cutting.

  • You may want to snip the ends of your rows first with scissors, to get started.
  • Now, slide the cutter guide into the first row of stitching under all layers EXCEPT the bottom layer – do NOT cut the bottom layer of fabric!
  • Slide the cutter along the row and repeat this process till all rows are cut.
  • If the guide is flat on the table it will work more smoothly.
  • Follow the above directions for washing and drying.

I hope you enjoy making a scarf to match your personal style. As always, I love it when you send me photos of your finished work.

Ruth

Click here for more more projects by Ruth Chandler

60mm-rotary-and-cutting-mat-set_cta

Posted in Free Sewing Project, Seasonal, Uncategorized | Tagged , | Comments Off on Creating a Chenille Scarf for Fall

How to Make a Nine Patch Variation

By Terry White

Using the same easy nine-patch block, you can make an entirely different quilt. In this quilt, there are no lattice strips, so the blocks make an allover design. I used blue and yellow. Instead of using just one yellow, I pulled as many light yellows as I could from my stash of fabrics…and the same with the blue.

Using blue and yellow is an easy choice for this type of scrap quilt because the two colors contrast so nicely. I can use a range of blues from lights to darks, and also different hues of blue. Bright blues and turquoise, grey blue, all work. The yellows range from lemon yellow to orange and I still have my strong color distinction.

I used fabrics leftover from other projects, so this a true scrap quilt. I believe that this mix makes a lively quilt…and, did I mention that these really are all scraps…so this quilt top cost me $0…yay!

quilters-stash-of-fabricAs a quilter, I have what is known to quilters as a “Stash” of fabrics. This is the fabric that I have color coordinated in bookshelves…this is the fabric I buy when I see it, like it and can afford it. Having this ‘stash’ makes it easy to start a new project at any time. I said start, not necessarily finish!

blue-yellow-scrap-strips

Here are strip sets just like the ones in the first quilt. The difference is that the width of each strip is cut 2 inches wide. So, each square finishes at 1 1/2 inch square. So, that means that each nine-patch block will finish in the quilt at 4 1/2 inch square.

yellow-squares-cut-5-inches

Next, I cut yellow squares the same size as the nine-patches (this is a 5 inch square which will finish as a 4 1/2 inch block). I am making a larger nine-patch with the small nine-patches and solid fabric squares.

9-patch-with-blue-fabric

The next nine-patch is stitched with blue squares of fabric. As you can see, I used deep blues in each strip set. Then, I used medium to light blues for the 5 inch fabric squares.

blue-and-yellow-squares-alternated

Here you can see the whole sequence of assembly. The blue and yellow solid fabric squares are alternated. So, you have a nine-patch in a nine-patch in a nine-patch.

dark-blue-squares-create-irish-chain
Here is the final assembly of the quilt top. The dark blue squares create an allover design known as “Irish Chain”. The quilt top is 54 inches wide x 40 1/2 inches long. This is a great size for a child or lap quilt.

I like the strong graphics and mix of colors in this quilt. It has an optical illusion of the little squares floating over the background.

Making nine-patch blocks are a very good way to learn to piece and get good practice for matching seams. The more you do, the more you can do.

This quilt is made in my sister’s colors…but it is not ready to quilt, yet…I have further designs for this quilt.

If you’re just starting with quilting and Nine-Patch, click here for the previous instructional blog. And for the best quilting scissors
and rotary cutters, click here.

Posted in Uncategorized | Comments Off on How to Make a Nine Patch Variation