by Terry White
Setting up your machine and space is very important. It’s nice to have things all together before you begin to stitch so that you can concentrate on what you are doing.
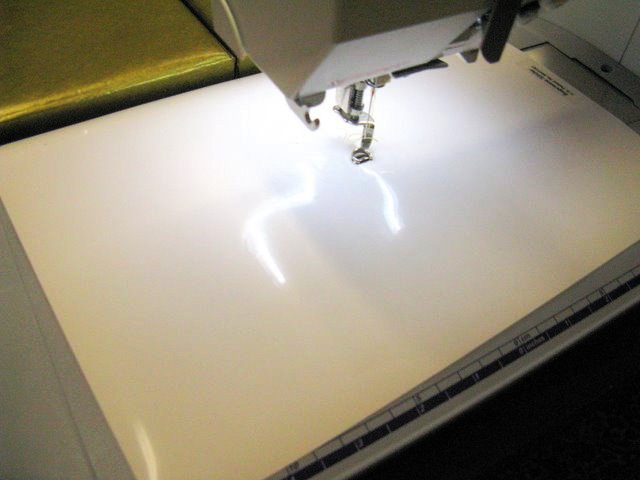
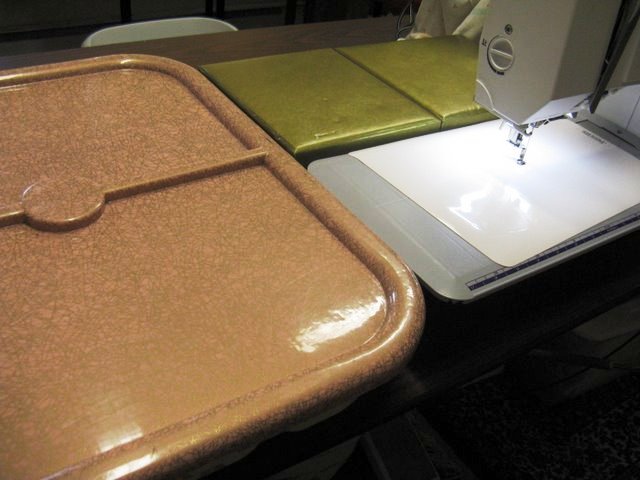
Use an extension table so that you have a nice flat surface on which to move your quilt around. I place a Super Slider on my machine bed which allows the quilt to have nice movement while I quilt.
For more extension space, I have a couple of smooth boxes that are the same height as my sewing bed. You can buy big extension tables, have your machine set into a table or use stacks of books. The larger the flat area you have the easier it is to manipulate your quilt while stitching.
Sewing machines today have a variety of feet just for free-motion work. I like to use the open toe free motion or darning foot. This foot allows me to see where I’m stitching. This foot will hover or bounce on top of your quilt which keeps the quilt from jumping up (which it does if you don’t use a foot) while allowing you to move the quilt freely under the foot. Your feed teeth need to be dropped, so that the teeth aren’t grabbing your quilt from underneath. Some machines use a cover instead of a drop feature.
In any case, it is good to use your sewing machine manual for the settings, available feet and how to drop or cover the feed teeth. The manual that comes with your machine is a great resource for information on all aspects of your machine.
I keep several bobbins full of thread when I’m quilting. Use the same type of thread in the bobbin as in the top. Make sure that you can pull the thread freely from the bobbin case. I have a second bobbin case for my machine which I can adjust for different thread thicknesses. My first bobbin case is never adjusted. Once you break that seal on the bobbin case, it never goes back to normal.
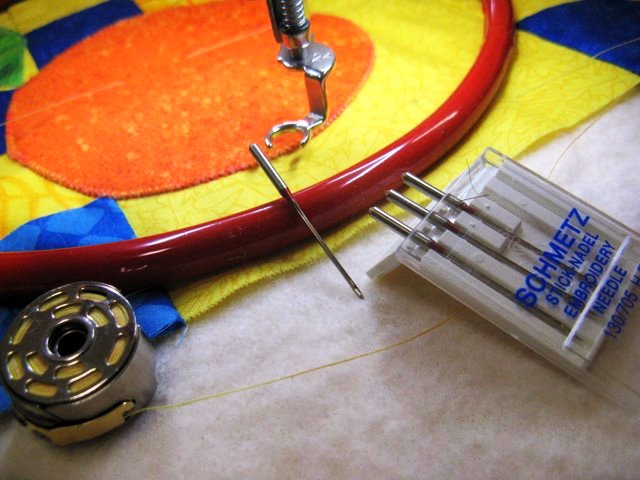
Use a 90/14 machine embroidery needle. This needle will pierce through all layers like butter because it has a sharp point. It is big enough to protect your quilt thread from shredding… and it lasts a long time.
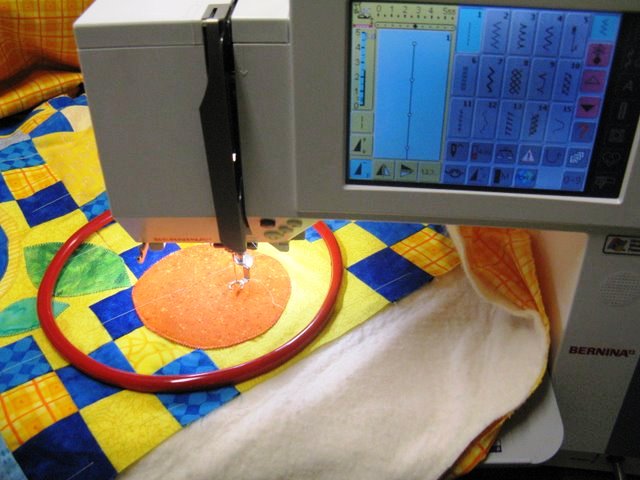
I use the Halo in conjunction with the Super Slider. The Halo is a weighted hoop with a rubbery coating. The coating grips the fabric, so it moves along with the hoop. The weight keeps the hoop in place. This is the perfect set up for quilting with a domestic sewing machine.
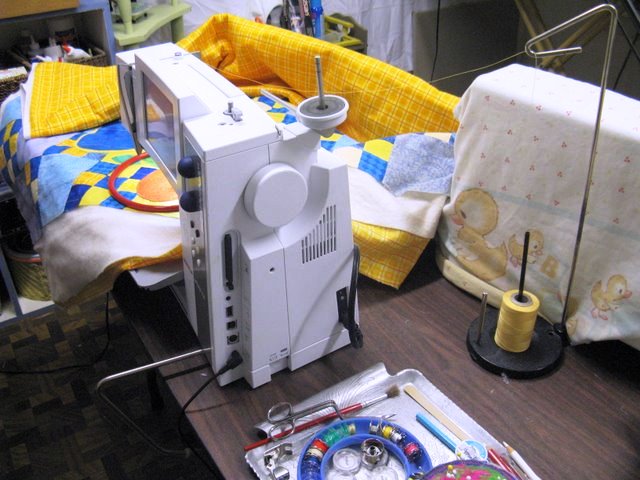
Here is my quilt ready to go. I am using a thread stand separate from my machine to deliver thread from my oversize spool. On the tray to the right of the machine, you can see my paint brush which I use to clean out the bobbin area every time I change a new bobbin. My Havel’s Ultimate Embroidery Scissors are also on the tray…I use those for snipping threads as I quilt.
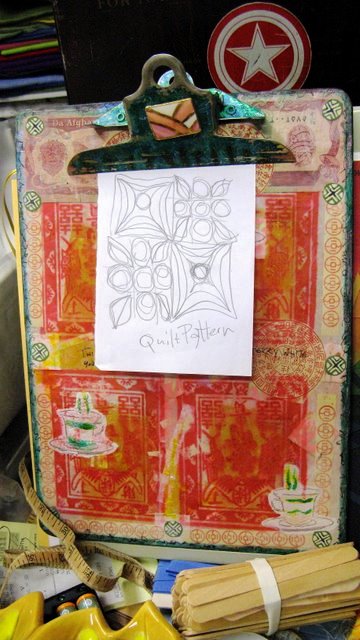
Before I begin to quilt, I practice my quilting design on a sample piece. Here is my quilt design on a clipboard in my sight as I quilt. This is to remind me of what I’m doing.
Set up your machine with a straight stitch. I set the stitch length at its longest length. This fools the machine into thinking that you are basting and it gives extra free-flow to your stitch. The upper thread tension will vary from machine to machine. This is something you will have to adjust during your practice piece until you have a balanced stitch. When you have found the best balance, write down the settings so you can set up the machine at a later date.
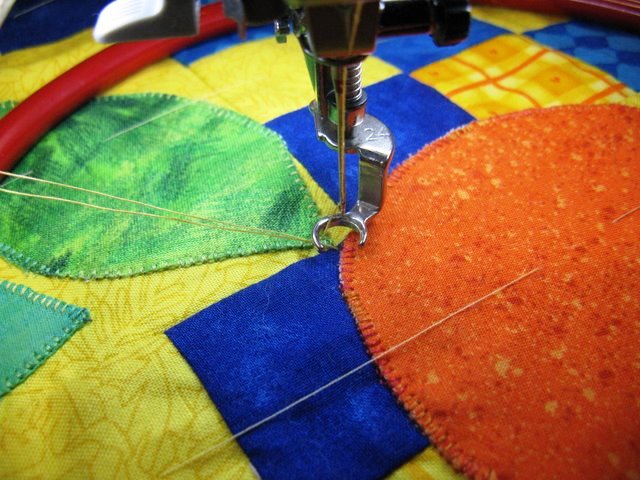
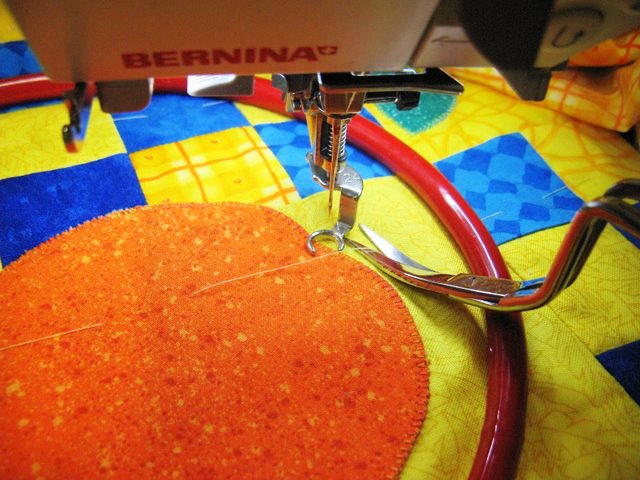
To begin, quilt around the appliqué shapes first so that the shapes don’t get distorted. Put your needle down and up, draw up the bobbin thread. Hold threads together in your hand and take a few stitches.
Get your needle sewing before you move your hoop. With practice, you will find a comfortable speed. You will coordinate the speed of the needle with the way you move your hands to have a nice consistent movement and stitch length. Moving your hands in a jerky fashion can affect your stitch quality.
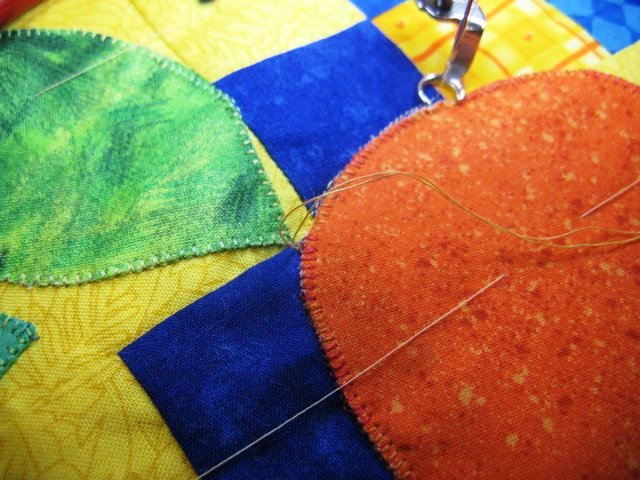
Keep the thread ends long enough to bury them into the layers of the quilt with a hand needle when the quilting is finished.
Stitch along the edge of the appliqué shapes.
When you come across the basting stitches, snip them instead of stitching over them.
After stitching the outside of the appliqué shapes, quilt a design inside the shapes.
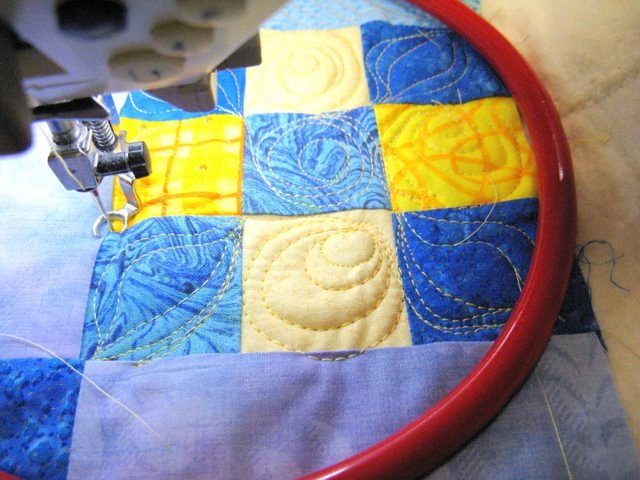
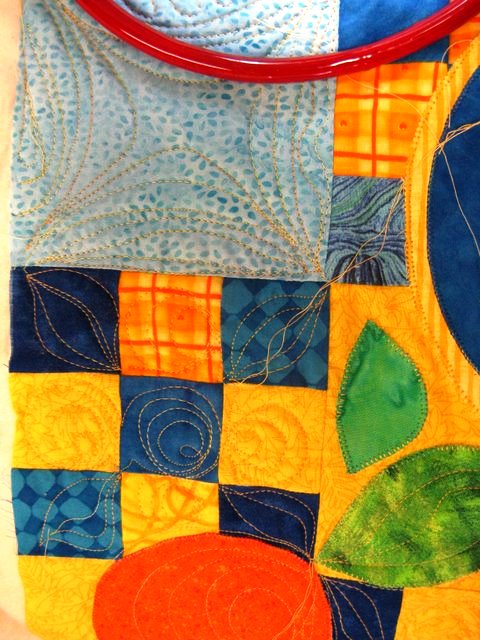
The quilt design in the nine patches is made up of oranges and leaves. One little square is quilted at a time and just move along to the next square to quilt.
You can see how a design in one square flows into the next.
The way I handle an overlapping appliqué design is to squish a smaller
quilt design into the squares.
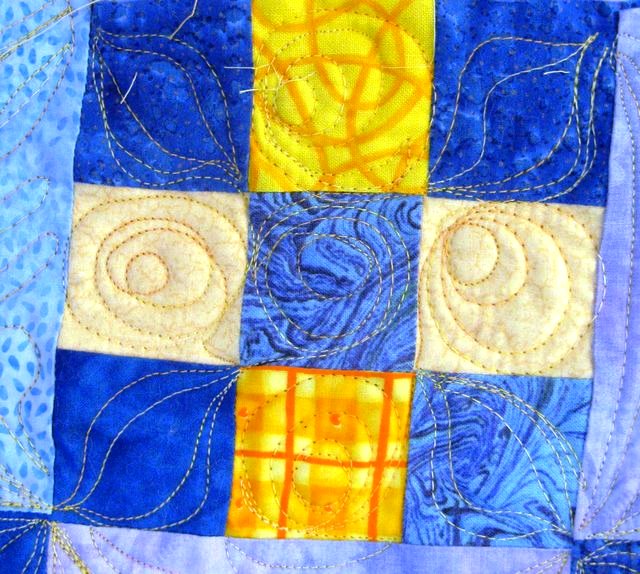
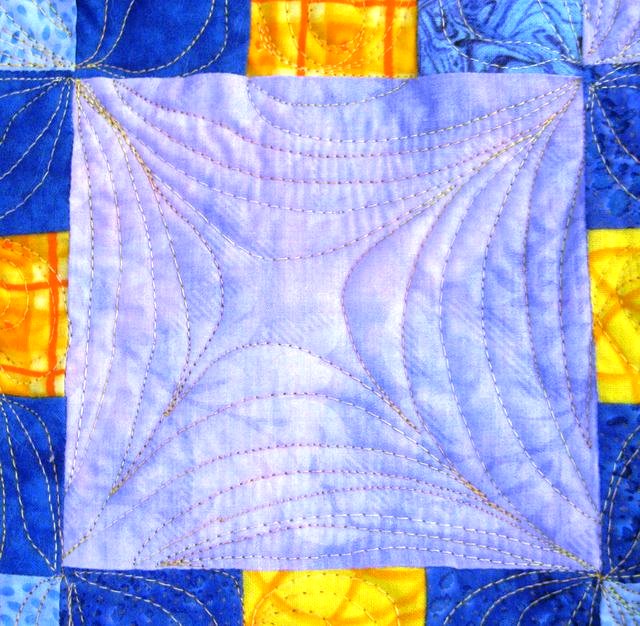
Here is the quilt design in the plain square fabric block.
Here you can see how the different quilt patterns flow from
one block to the next at the corners.
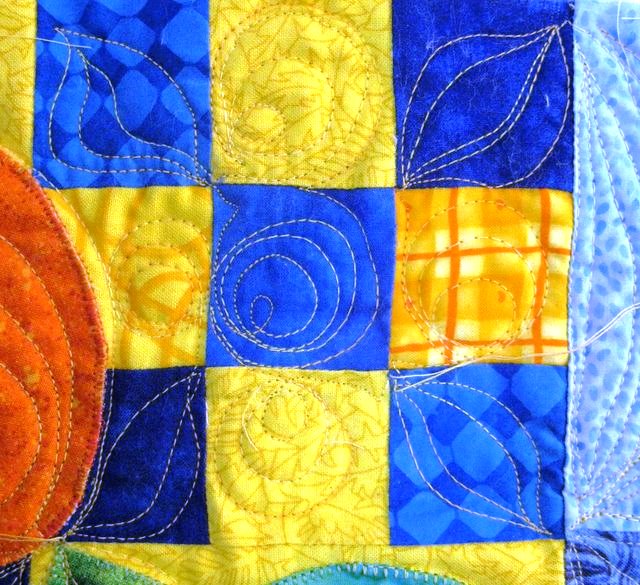
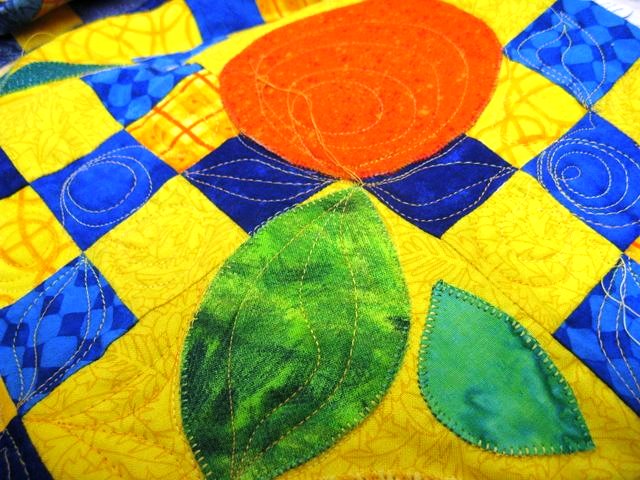
Here is another view of the quilt design. It seems like the leaves are
emanating from the orange.
I like to give the quilt a final Steam press. Press the binding, too, it is a nice finish.
Enjoy the process of quilting. It is a lot more fun to plan several quilting sessions than to hurry up and finish in order to get to the next thing.
Click here for more articles by Terry White.
For the best quilting scissors, click here….and read what other’s are saying about their Havel’s scissors.

