ESSENTIAL TOOLS NEEDED FOR EVERY QUILTER ~ By Terry White
You’ll thank me later….
If you are a beginner to quilting, the tools you need are few. There are, literally, thousands of tools for quilting available to the stitcher…it can be very confusing. So, to simplify, here is a list of the most essential things you will need to start quilting.
Marking Tools
You will use a marking tool for appliqué, marking fusible web, placement of appliqués on fabric, placement of embellishments on fabric and marking quilt lines.
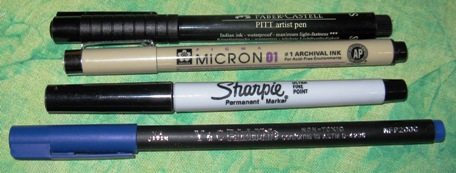
For Permanent Lines
• Micron Pigma Pen: an archival acid free pen, like the pens for scrap booking.
• Fine Point Sharpies: and when I take a hot iron to the marks they become permanent.
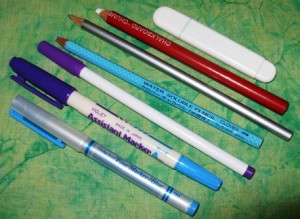
• Color Pencils: can be used as they can be matched to the colors of fabric used. Then there isn’t a harsh black line to worry about.
• Fabric Markers: are the best because they come in colors, are permanent and are made for fabric…however they can be expensive. So, if you buy just the primary colors individually from an art or hobby store you can save expense. Store all markers on their side to keep them from spilling ink or drying out.
For Temporary Lines
• Chalk Pencils: and markers are good.
• Wash Away Pens: however, if you live in a very humid area, the marks may disappear before you want them to.
Rotary Cutter/Mat/Ruler
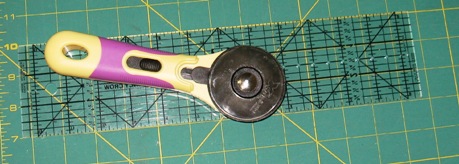
The single most important tool for the quilter has become the rotary cutter. In one step, you can measure and cut perfect straight strips for making patchwork. It has replaced the need for patchwork templates and the ability to cut perfectly straight lines with scissors.
The acrylic ruler is essential to the rotary cutter. Metal rulers ruin the blade and wooden rulers dull the blade. The acrylic rulers not only have measuring lines, but marks also for cutting various angles.
The cutting mat is very necessary – it holds the fabric still, protects table surfaces from the sharp blade and it prevents the blade from becoming dull.
How to Use a Rotary Cutter
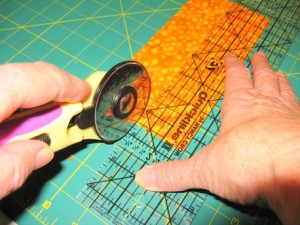
Lay your fabric on the mat, line up the edge of the fabric to the lines on the mat.
Place the ruler along the fabric where you will make your cut.
Place one hand flat on the ruler.
Hold the rotary cutter against the ruler at a bit of an angle and cut away from your body. You may have to reposition your hand holding the ruler down so that the ruler doesn’t slip on the fabric.
If this is your first time using a rotary cutter, practice on some junk fabric. It took me
several tries.
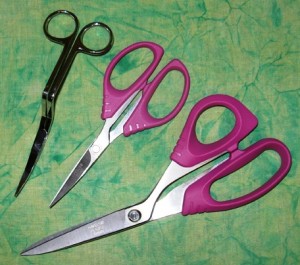
Best Quilting Scissors
• Havel’s 8” Sewing/Quilting Scissors to cut fabric
• Havel’s 5 ½” Curved Tip Sewing Scissors for appliqué
• 5 1/4” Ultimate Embroidery Scissors at the sewing machine
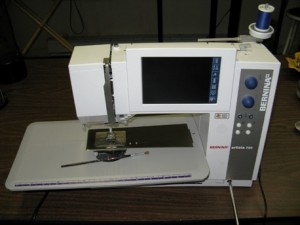
Sewing Machine
It should be in good working order. If it hasn’t been used in a while, it should probably be serviced.
Good working order means that the thread tensions work well. When you make a straight stitch on the machine, it is a smooth, even stitch with no puckers.
A clean machine is very important. Lint can build up in the bobbin area and wreck the timing of the machine and prevent good stitching.
Be sure to follow the instructions in your owner’s manual for the care and cleaning of your machine.
If you have a new machine, use the owner’s manual and become familiar with your machine before starting to quilt. When I acquire a new machine, I always do this. I will spend a day (or longer) learning all about my machine and go through every operation that my machine will perform so that I understand it.
If you are thinking of buying a new sewing machine:
Ask someone you know and admire and who sews beautifully – what does she suggest?
You want a good dealer. It is just like buying a car: you won’t be happy with your purchase if the sewing shop doesn’t support you with classes, service and supplies for your machine.
I use a Bernina.
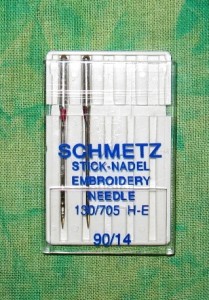
Machine Embroidery Needles
Be sure you buy the sewing machine needles that fit your machine. Believe it or not, sewing machine needles come in different lengths. The company that makes your machine will have the best advice for the needles for your machine. Don’t buy cheap needles – they are bad needles.
Paint Brush
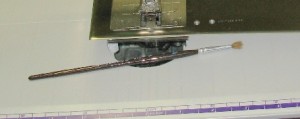
Keep a soft bristle paint brush by your machine. Clean out the bobbin area and the needle area several times a day when you are doing a lot of stitching. The lint that builds up will affect the quality of your stitches.
Quilt Pins
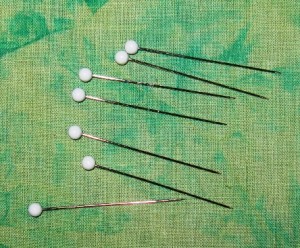
These are long pins with a plastic ball head. They are long to be able to go through several layers of fabric and the heads make them easy to pick up and to find.
Design Wall or Layout Area
When I lived in a teeny tiny home with no room at all to lay out a quilt, I used my bed as a layout space. I would pin sections of my quilt to a sheet (which was spread out on the top of the bed) to help me see how the quilt would look. If I needed to see it hanging up, I would hang the sheet from the top of a window’s curtain rod.
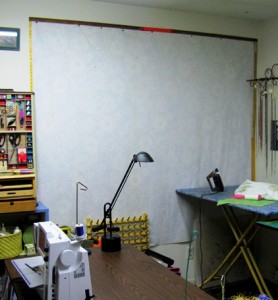
There are many fancy solutions for this need. I use flannel backed vinyl (tablecloth material) tacked to a wall in my stitch studio with upholstery tacks.
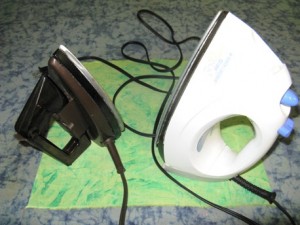
Iron
I use an inexpensive iron that gets very hot…unfortunately, I’m very clumsy and I drop my irons. I also use hobby irons and travel irons for small areas of pressing. I find that the small irons get very hot and are very easy to manipulate in small sections of work.
I don’t use steam for the most part in my work. Steam can distort the fabric.
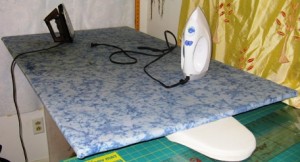
Ironing Surface
I made a large surface that I put onto my ironing board. I followed Sharon Schamber’s instructions: I started with a large section of OSB or MDF plywood board (your local home improvement place will know what this is and it isn’t expensive) cut to the size I wanted. Layer this with low loft cotton batting and cotton duck fabric. Then, pull the fabrics to the back and secure with a staple gun. This gives me a large and very flat surface which is perfect for pressing quilts.
 Pressing Cloth
Especially if you are using fusible webs, paints, or materials made with metal threads or nylon. Simply, a pressing cloth can be an old sheet or pillow case or a piece of muslin that will protect both the iron’s surface and the fabric’s surface.
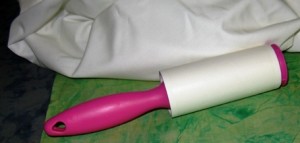
Lint roller
Can be used to clean my design wall, my ironing surface and even stray threads on my quilt.
Hand needles
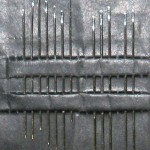
Hand Needles called “Betweens” work well for burying threads, use in stitching binding and rod pockets to a quilt and doing any hand stitching that may be required.
Next: Essential Materials for the Beginning Quilter
CLick here for Part 2 of How to Make a Quilt
…and for a downloadable PDF of this blog, click here.

Pingback: Quilting Patterns