Let’s Make Some Patchwork!
By Terry White
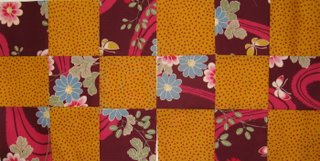
Patchwork refers to the technique of cutting pieces of fabric and then stitching them together to make a quilt top. The cut pieces of fabric are called patches.When the pieces are stitched together into a single unit, the unit is called a quilt block.When quilt blocks are stitched together, this is called the quilt top.When the quilt top is layered with the batting and the backing and quilted together, this is called a quilt.
Today’s quilter uses “strip piecing” to cut and stitch patchwork together. The “strip piecing” technique can be described as cutting strips of fabric, stitching them together, cutting them again and stitching them back together. Many complex designs can be created in this manner. The wonderful thing is that one only needs to know how to sew a straight line on the sewing machine.
So, I will start with the simplest block and that is called a Nine-Patch because it has nine patches in it.
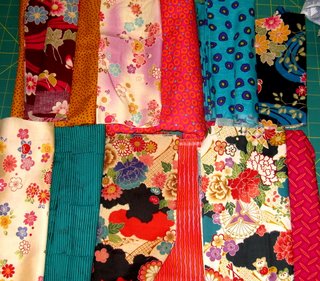
I start with laying out fabrics and here is the Japanese design group shown in an earlier blog. I laid them out making sets of two with contrasting colors.
There are six sets of two.
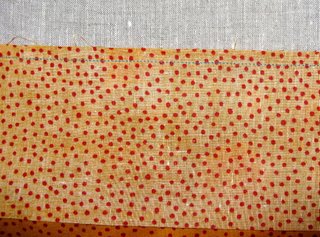
Before cutting my strips, I cut off the woven edge of the fabric, this is called the “selvedge”. It is more tightly woven than the rest of the fabric. You see little holes in it; this is where the fabric is held by machines as it is processed.
In a previous blog, I show how to use a rotary cutter.
We also have a video tutorial on this website.
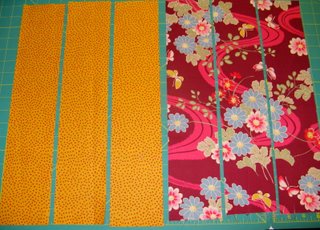
Starting with one set, I cut three (3) 1/2″ wide strips
with my rotary cutter of each fabric.
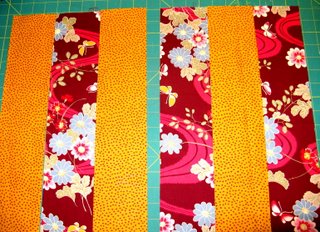
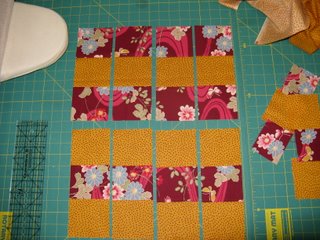
I arrange the fabrics into two sets.
Now, the strips will be sewn together with a 1/4″ seam. Quilters have proven that this is the best seam allowance for patchwork. The key here is to stitch very carefully so that the seam is 1/4″ exactly all the length of each strip.
This may take practice to always have a good seam.
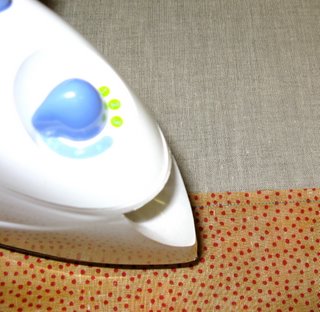
Press the seams together with a hot iron. Don’t use steam, it may distort the blocks.
Now, press the seams together to the darker fabric side.
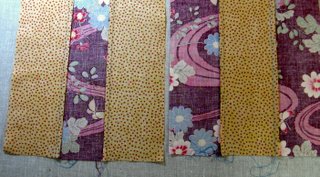
See, the strip set on the left has the seams pressed inward and the set
on the right has the seams pressed outward.
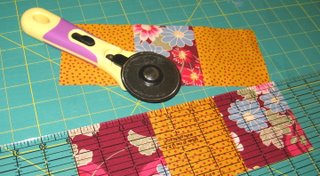
Now, cut the strip sets 3 1/2″ wide to create a strip of three patches.
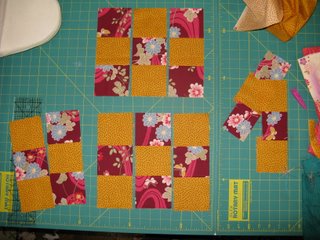
Arrange the sets into two nine-patch blocks. The blocks are reversed!
You will have extra patch sets and pieces; we will use those, too.
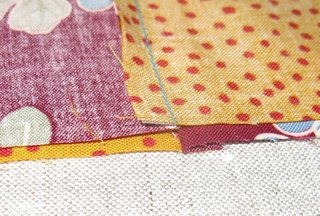
Sew the patch sets together with a 1/4″ seam. Now, you can see that by pressing the seams the way we did, the seams snug into each other making it easy to have matching points at the corners.
See more of Terry’s work at www.threadpaint.com



One Response to How To Make A Quilt: Part 4 – Quilting Patterns