Easy Craft Project to Use Up Your Fabric Leftovers!
By Leslie Jenison
For a long time I have been in the habit of saving my quilted “trimmings” – those hunks that are cut off a quilt construction for one reason or another.
I decided to make a new construction from these leftovers in the form of a yoga mat carrier. To make the carrier, I rolled up my yoga mat and measured the width of the mat as well as the circumference of the rolled mat. I decided I wanted the carrier to be 26″ long by 18″ wide, which will allow for the rolled mat plus a bit of room for something else to be rolled in with the mat, if desired.
I went digging through my scraps and began to randomly piece sections together with a zigzag stitch.
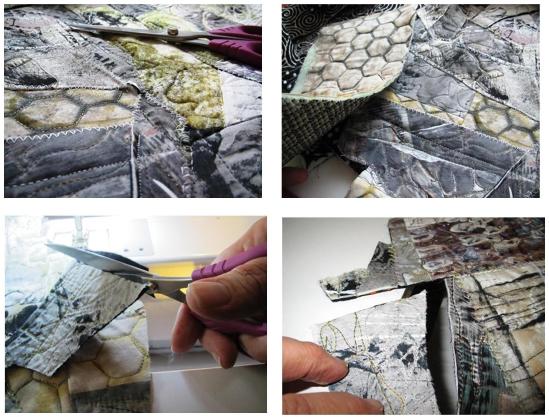
Once a large section of the pieces was joined together, I stopped to trim them. I eventually achieved the size I desired for the carrier.
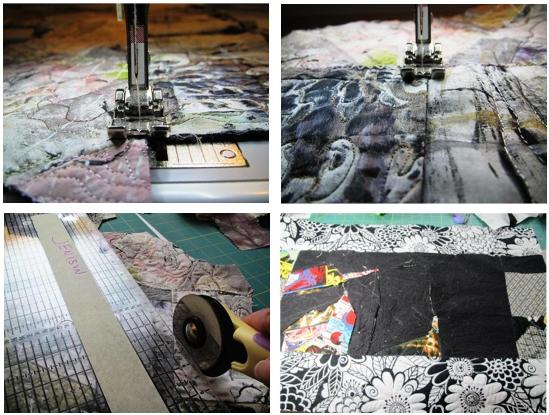
To improve the inside appearance of the carrier, I fused a piece of cut to size Hoffman fabric to the inside of the carrier and trimmed the edges. This also helped increase the overall strength of the construction.
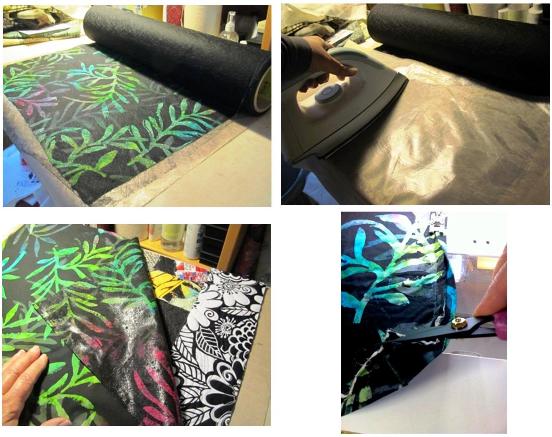
Cutting strips of the same cloth 1 /12″ wide, I joined them end-to-end, to create a binding for the carrier. I pressed both edges of the long strip toward the center.
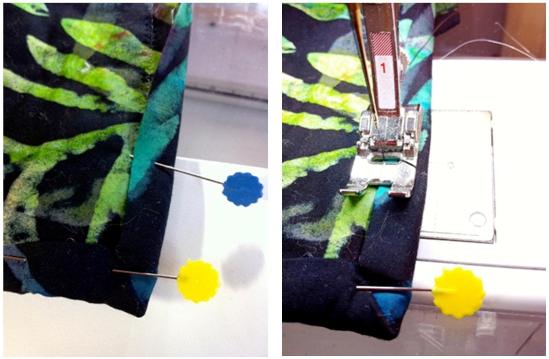
Beginning on the “right”, or outer side of the carrier, I stitched the binding down 1/2″ from the edge using a dark top thread and Superior Monopoly thread in the bobbin.
Once the binding was stitched all the way around the edges, I flipped the carrier – taking care to fold the binding over tightly. I then stitched the inside of the binding in place very close to the edge.
The clear monofilament thread is now what is showing on the outside of the carrier. Since the stitch line is so close to the edge of the binding, it is now virtually invisible. The result is a nicely finished edge that is sturdy!
Note: trimming the corner- both cloth & batting- at a 45 degree angle makes turning the corner binding much easier!
I had already purchased a set of strapping designed to fit around a yoga mat. (This one has a handle between two sets of adjustable clips.) I positioned the handle along one side of my mat and pinned it into place.
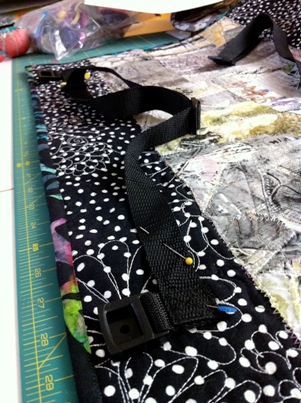
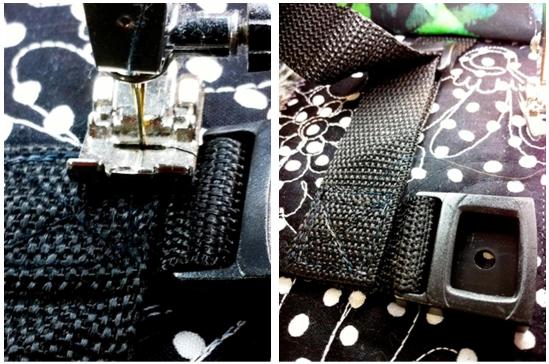
I then cut the male portion from the handle. Next I folded the cut end and stitched the strapping to ensure it wouldn’t fray.
I positioned the clasps 4″ from the edges on the opposite side of the carrier, pinned into place, and carefully machine stitched them to the carrier.
Even though the strapping is thick, the sewing machine had no difficulty stitching them in place.
Last, I created a pouch with a clear front that will be positioned inside the carrier with two large snaps, one on each end. This adds to the functionality of the mat carrier for me, as I do not wish to carry my purse into my yoga class, yet I often need a pocket for a few small items, such as my towel and cell phone (ringer off, of course!).
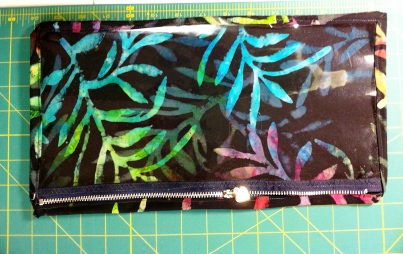
To create this zipper bag (the finished size for mine is 7″ by 14″), I cut a piece of thick clear plastic, sold by the yard in stores with home dec materials.
I stitched to the “right” side of a zipper. Using the same type of fabric that lines the inside of my yoga carrier, I cut a length of cloth one inch wider than the width of my plastic “window”, and 1 1/2″ longer. With the right side of the cloth facing the right side of the zipper, I stitched the cloth to the zipper. Turning the plastic and zipper so it was inside-out, I stitched the sides together, taking care to stitch closely to the zipper ends. The zipper ends were carefully trimmed, along with the plastic (and I trimmed the corners to a 45 degree edge to minimize the plastic poking a hole in the cloth.
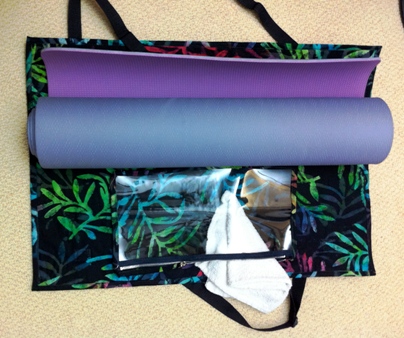
The bag was turned right side out. Large snaps were positioned on each top end of the bag. The male portion was attached to the bag, and the female portion positioned on the inside of the carrier and stitched in place.
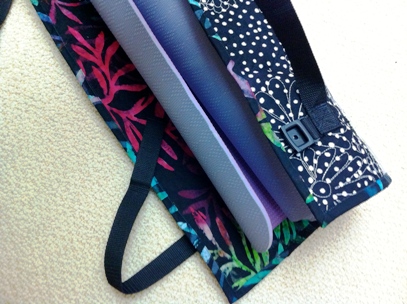
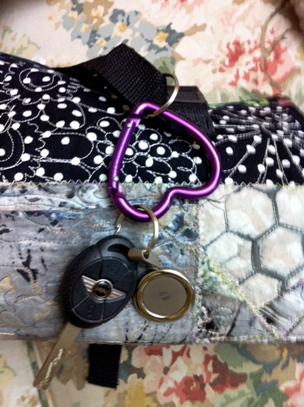
I added a whimsical but functional clip to the handle strap as a quick way to clip my car keys to the carrier. I found this clip at a home improvement center.
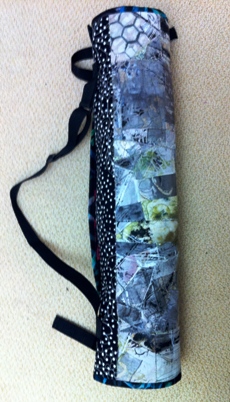
The finished carrier from the inside out is not only functional, but it’s also absolutely unique!
This carrier is absolutely perfect for carrying a quilt to and from a show, guild meeting, or anywhere else.
This carrier isn’t just for yoga mats- Get Creative!
Click Here For Additional Tutorials From Our Sew Creative Blog

6 Responses to Free Craft Project: Personalized Yoga Mat Carrier