
EASY PATCHWORK QUILT VIDEO TUTORIAL
by Natalie Santini of Sewhungryhippie
EASY Patchwork Quilts. As in “get this done in a day” quilt.
Yes you could make ten before Christmas or Hannukah or the New Year, but do you want to?
Maybe not.
Or maybe YES to demolish Scrap Mountain.
OH YOU KNOW it’s true.
I finally got around to making this short video tutorial like I said I would, many many Moons ago – YAY!!!! This is my favoritest make in the entire Universe because it’s fool proof!
I can be dreaming of chocolate fountains and Gerard Butler serving me Cuban coffee and STILL make these quilts.

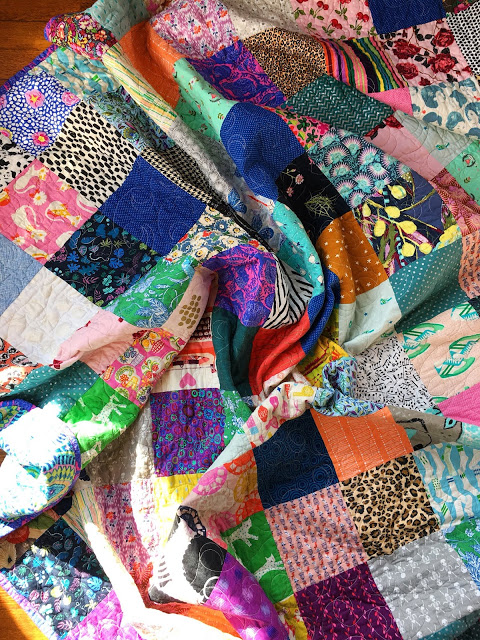
Even when I miss a perfect seam join, you cannot tell once the quilt is together! It’s BEYOND FUN!
HERE is the Video if it won’t play for you here on the blog.
I had a lot of issues with audio syncing with my mouth (that sounds awful) so please forgive me if there are bits where it looks like I’m speaking Finnish. I totally am.
THANKS SO MUCH for subscribing to my channel! I aim to load up a video every other week for you. Most are 10 minutes or less because honestly- AIN’T NOBODY GOT TIME…
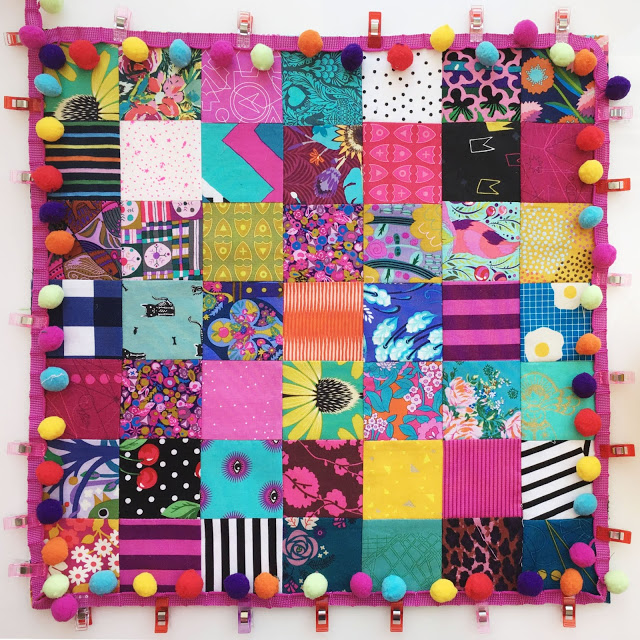
You’ll want to cut your squares out before beginning to sew, because then you can chain piece like a BOSS.
ANY SIZE WILL WORK for the squares, just make them all the same. I prefer 4″ squares if I want a really piece-y looking quilt and 6.5″ squares if I like piece-y but want it done faster. BOTH are amazing.
I’ve made 8, 10, and 12″ inch square blocks too for quilts, and sold them right away. It all works!! Just keep your cuts square, straight, and press press press.
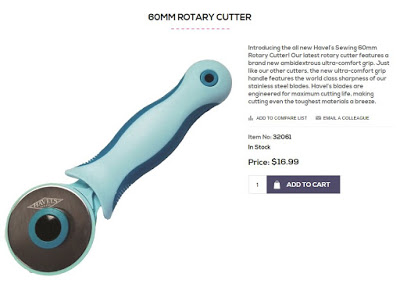
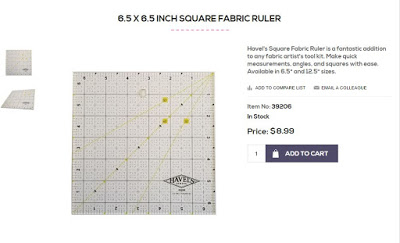
Acrylic Ruler + Rotary Cutter = most efficient way to cut squares.
Get the tools here at Havels Sewing.
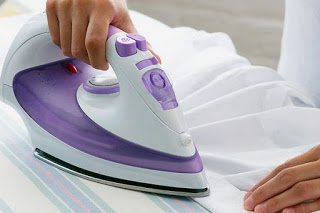
I don’t personally use starch, but you absolutely can if you like it!

Gosh dang it Ger, get outa my head already!
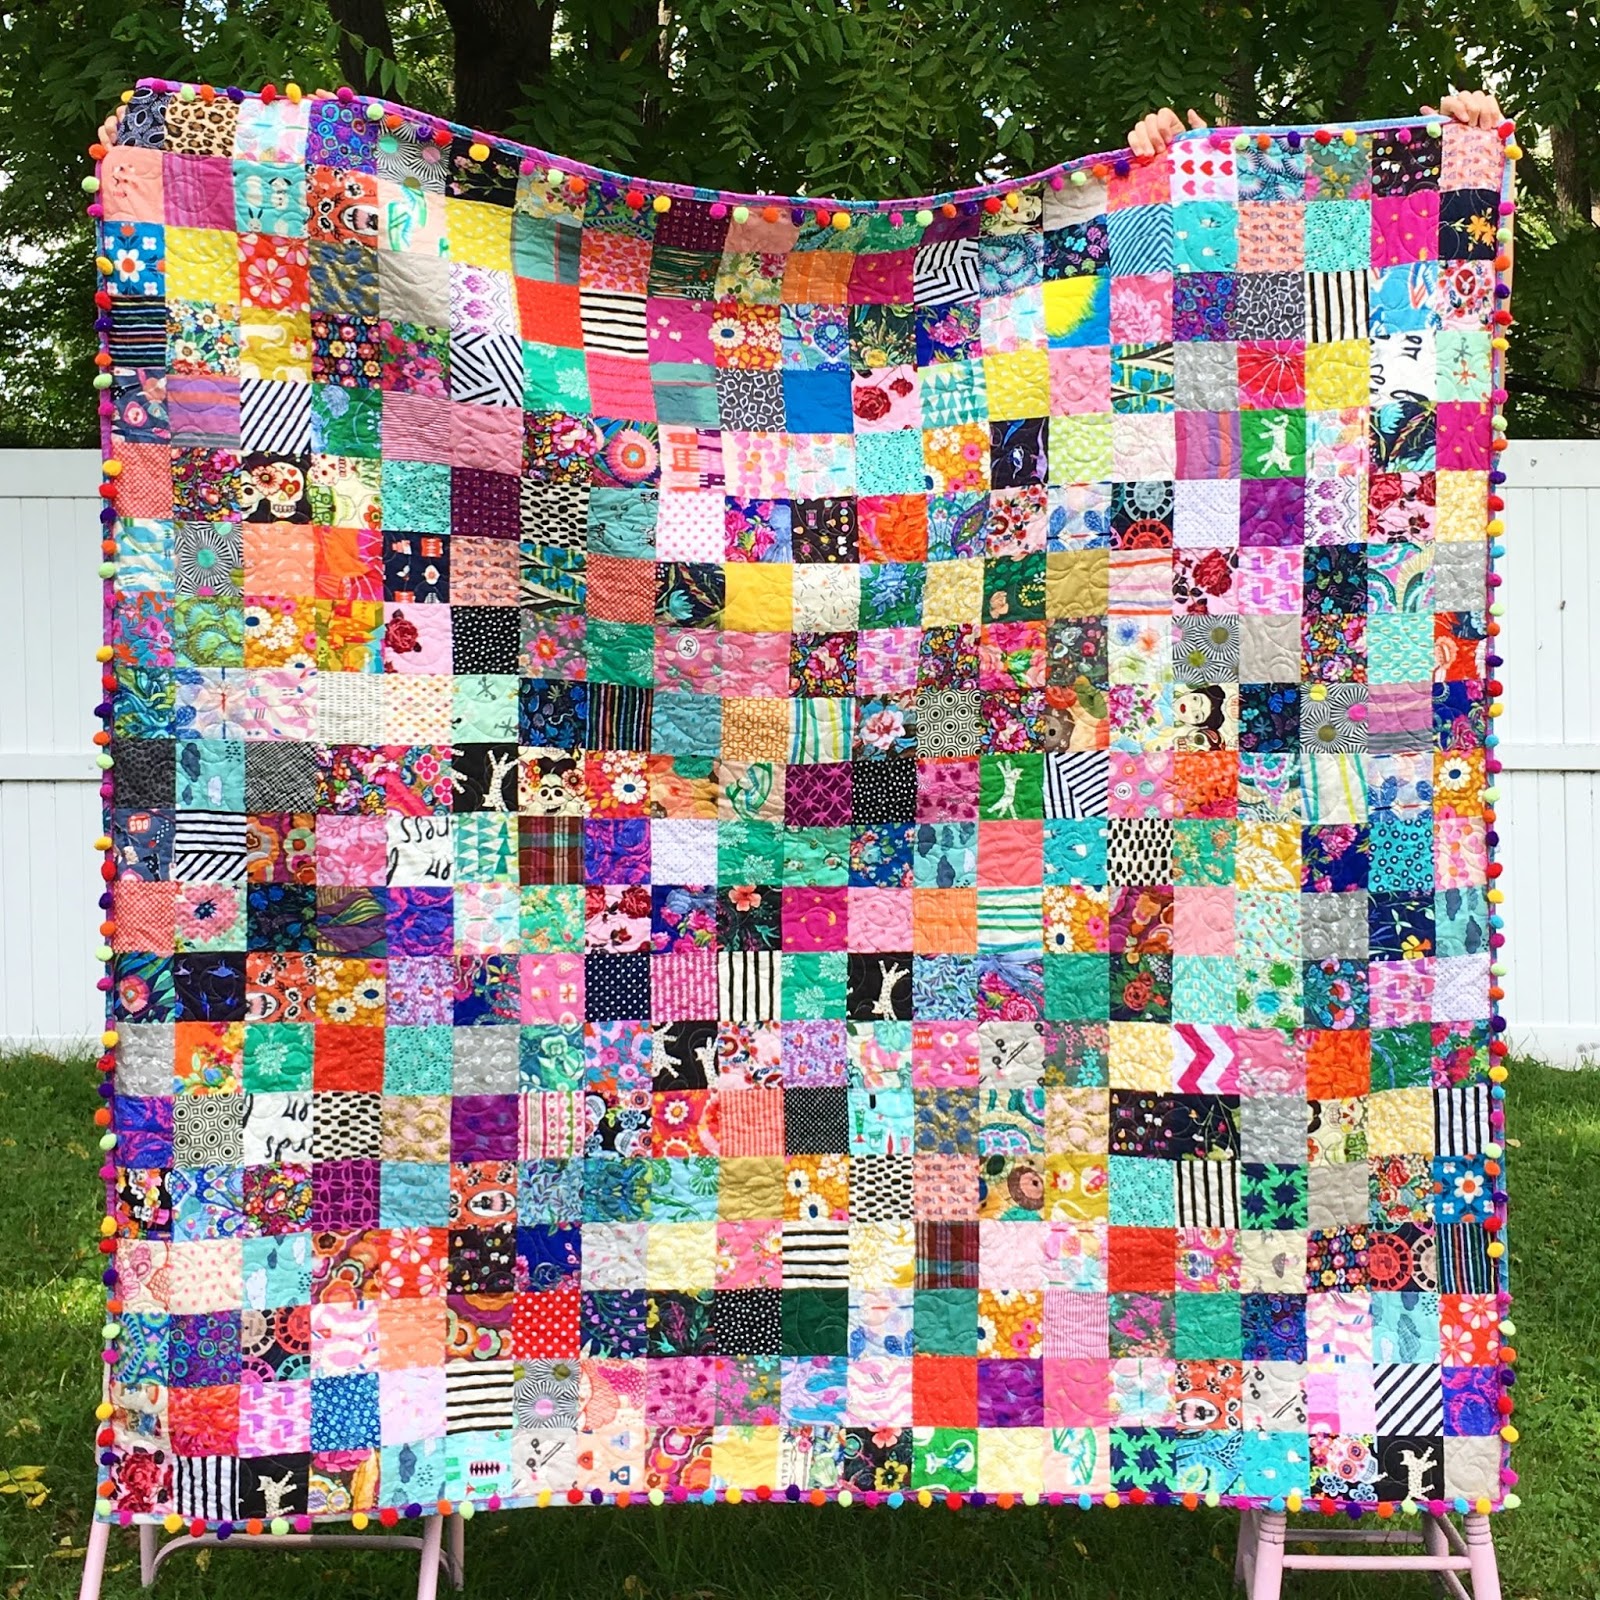
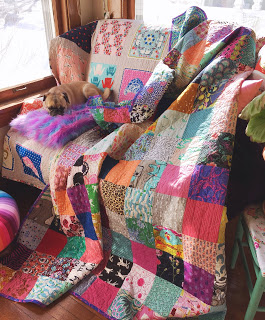
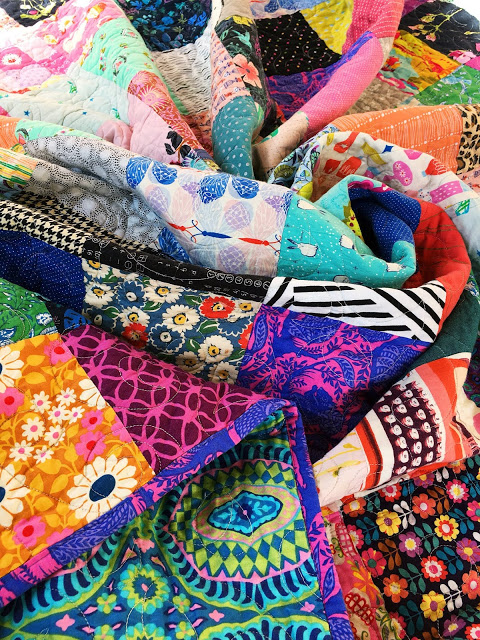
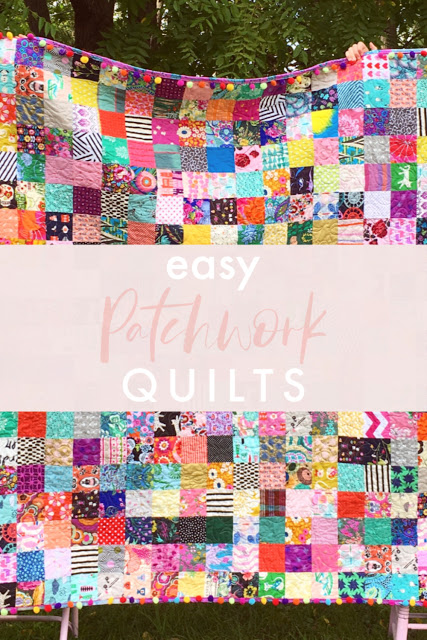
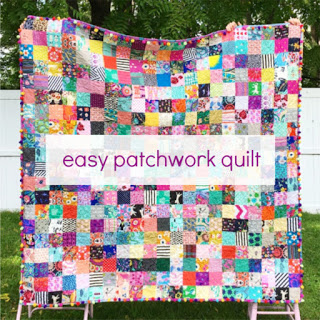
My video shows 4″ squares since I had a pile cut already. I use 400 squares to make this kind of quilt photographed here:
When I use 6.5″ squares I usually do ten rows of ten- 100 squares to make a 60″ x 60″ quilt. That’s a wonderful lap quilt for reading and sipping coffee.
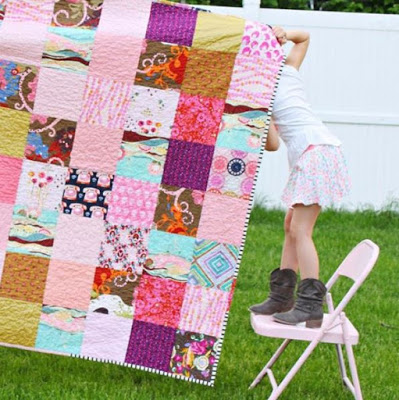
This one is 120 squares:
This is one I made with 10″ squares:
The point is, cut whatever size you like.
Then — keep all the seams at 1/4″ with a patchwork foot.
Also called quarter inch foot.
Sew all your seams straight.
Sew square to square, then sew sets to sets to make rows.
My rows are 20 across if using 4″ squares.
If using 6.5″ squares my rows are ten across.
It’s up to you! No wrong answers here.
Then sew rows together, two at a time to make sets.
Then sew sets together to make sets of four.
Then sew sets of four together to make a few sets of eight.
Then sew sets of eight together to make sets of 16.
You get the idea.
PRESS PRESS AND PRESS AGAIN.
I talk about nesting seams in the video, but sometimes due to fabric color I cheat a little. Do what works. There is no “correct” way – what works for you IS correct.
Don’t worry about the Quilt Police. They don’t matter.

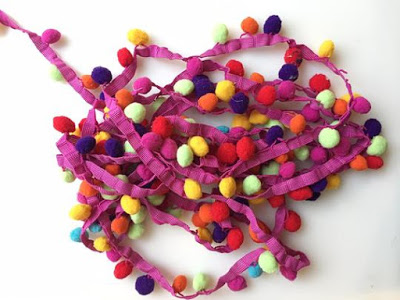
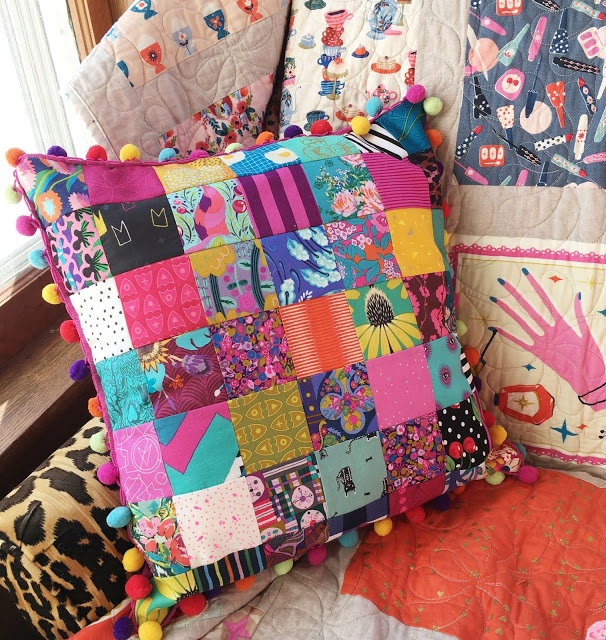
My pom pom trim tutorial is here if you want to add it to your quilt perimeter.
It’s the same technique whether you’re making a quilt or a pillow.
YES I have pom trim for sale here.
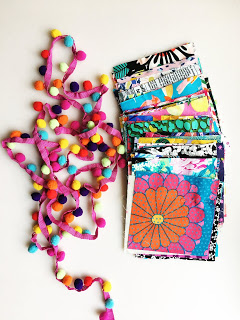
The Patchwork Pillow tutorial is here.
Same concept, just smaller.
Let us know if you make a quilt or pillow here in the Facebook Group or tag me here on Instagram by typing @sewhungryhippie.
I LOVE re-posting your work and giving you shout outs!
You all are amazing!
Stay warm!


I’m Natalie, aka the Hungry Hippie.I wear flowers in my hair, obsess about recycling, and I am always eating cheese. I’m a former Army Nurse Corps Officer turned tree hugging, granola eating “hippie” as my 20 yr Vet Husband likes to call me. I create patterns for sewing and quilting projects that are modern and fresh, with the aim of helping everyone through – no matter your skill level.Sew HungryHippie is all about sewing projects for the adventurous beginner or intermediate sewer. Nothing too intense. No focus on absolute perfection. (Gross.) JUST CREATE.My patterns are here in my shop and also in local stores- ask your local shop to carry them if they don’t yet. :)YES I do occasionally teach or give trunk shows and workshops. Find that info here: https://www.hungryhippiesews.com/p/teaching-workshops.htmlI love to collaborate! Drop me an email anytime.I SUPPORT MAKERS- yes you can sell what you make with my patterns on a home based scale. YES you can do a video on my patterns please just TELL ME first so I’m on board. Ya dig?If you make stuff with my products or patterns please link or tag me so I can share your work! 😀