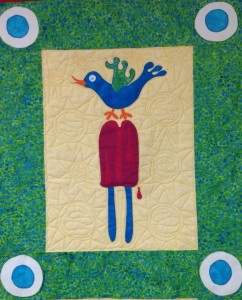
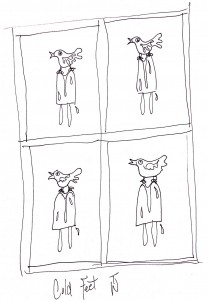
Cold Feet
by Terry White
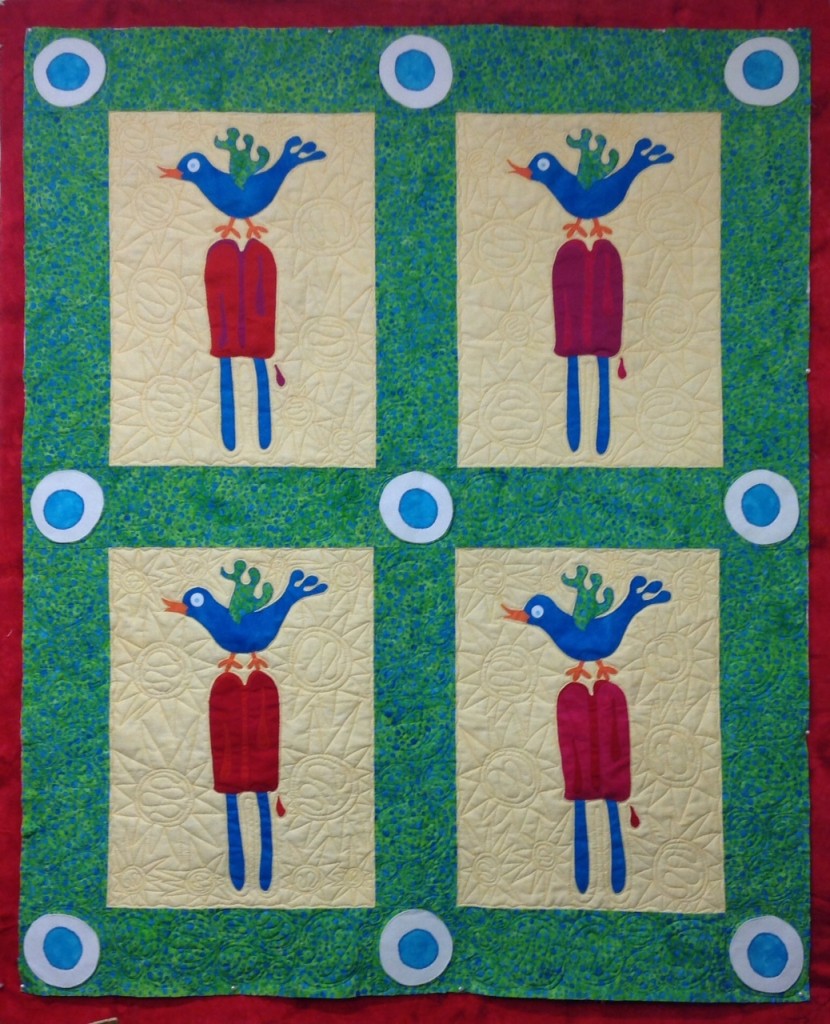
Child’s Quilt Measures 38″x 46″
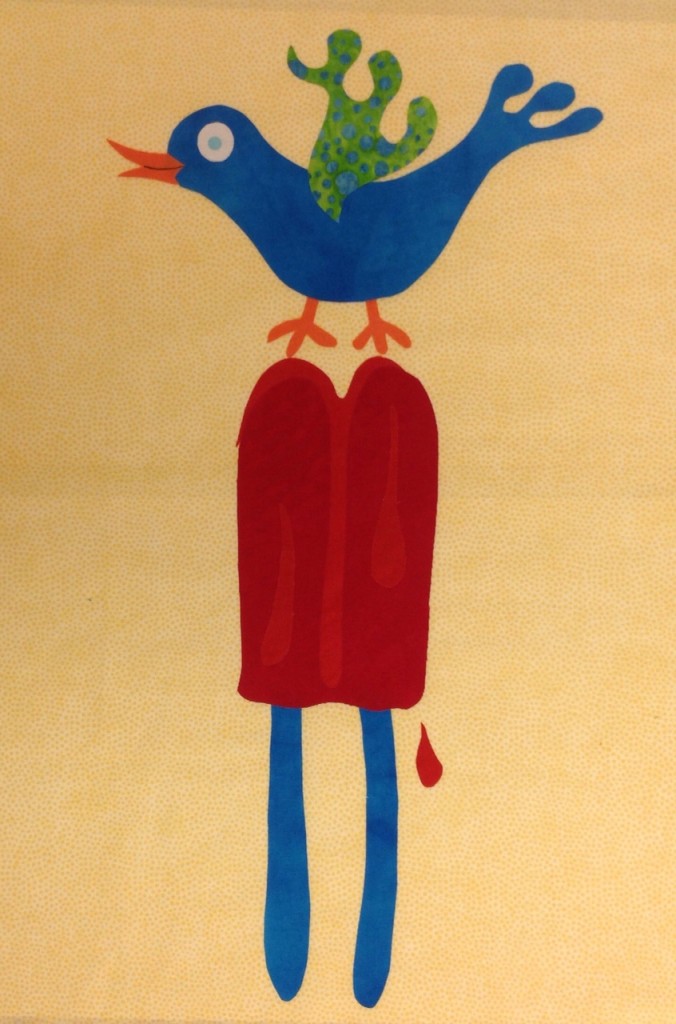
This bird is so hot that she decided to make her perch on a cold summer treat! My design is very simple, so the fabric colors are the key to this very happy summery quilt. I am using CherryWood fabrics in some of their newer clear colors. The stitching is done with Star Cotton threads. I love this particular match up of materials because they work really well together….stitching-wise and color-wise. The cool blue/green bubbles fabric is from Sew Batik. The bright turquoise hand dye for the bird is a piece from Joy’s Fabrics.
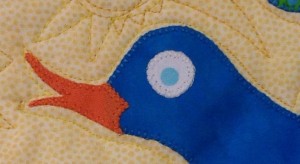
The bird pattern has a drawn eye, however, I chose to replace the drawing of the eye with a blue on white polka dot fabric. One thing led to another…..the new eye design became the corner squares! Even the smallest change on one thing can lead to a big change in the whole design of the quilt. The corner square design would never exist if I hadn’t changed the eyeball!
A variation on this design would be adorable made with all prints. This is a scrap appliqué quilt. You can even use fat quarters for each appliqué section.
This is an easy quilt to make. All the techniques you might need to learn are contained in the four e-books”Quilt Instructions for the Beginner” Click here for all the books.

Supplies You Will Need:
FABRICS: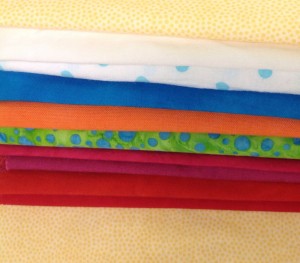
1 yard yellow dot for appliqué blocks
Cut into 19″x 15″ rectangles…you can use four fat-quarters
Appliqués- Each appliqué is so small and requires small scraps of fabric. One 15 inch square of blue fabric is enough for the bird body and the pop sticks. The rest require less than that.
1 yard of blue/green fabric for lattice strips and corner blocks
Cut lattice strips 4 1/2 inches wide-wait to cut the length until you have appliquéd the panels and trimmed them. Then cut the length of the lattice strips the same lengths as the lengths of the two sides of the appliquéd panel.
Cut 9 corner blocks 4 1/2 inch square
1 1/3 yard for backing
1/3 yard of red for binding
1 yard of fusible web ( I use Wonder Under)
4 pieces of non-woven medium weight interfacing cut into 19″x 15″ rectangles
Batting- this is up to you….see batting recommendations in e-book

THREADS:
The first group of threads are for the appliqué
The blue sewing thread is for stitching the quilt top together
The green/blue and yellow threads are for the quilting
TOOLS: Cutting Tools
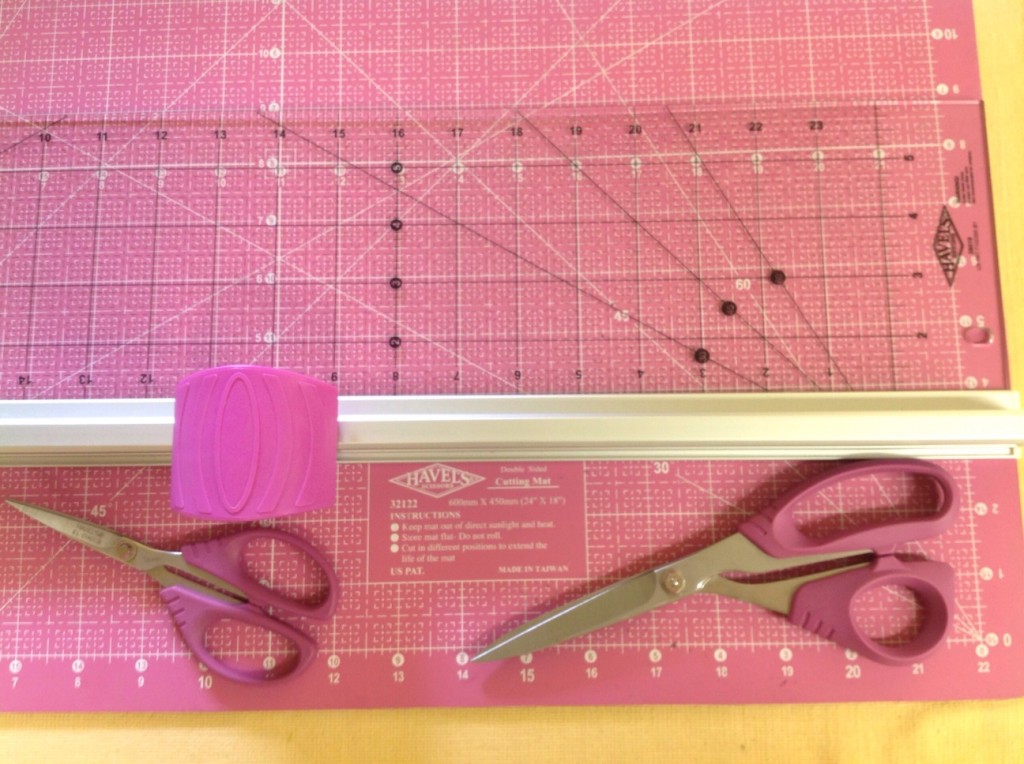
I used the new Havel’s Sewing Pink Cutting Mat and Fabric Cutter for cutting my fabric…this tool is really easy on my hands! I use the 5 1/2″ curved scissors to cut out my curved appliqué pieces. I also use them to cut threads from the quilt top…they curve away from the fabric so that I don’t get unexpected holes in my work.The 8″ bent serrated scissors are my go to for many things….they live on my cutting table!
Iron
Sewing Machine- Bernina if you have it
Machine Needle- 90/14 machine embroidery needle
Design Area
The total design area of the bird on the pop is 16″ x 9″. Here is the appliqués fused to the background fabric.
each with the interfacing.
Trace the bird appliqué pieces onto fusible web…making sure that you are tracing the reverse side of the design. Do the same with the ice pop pattern.????????? I can reverse the patterns for them???????
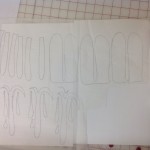
Ice Pop Tracings on Fusible Web
When tracing the individual pattern pieces, extend some of the outlines when the piece will be underneath another piece.
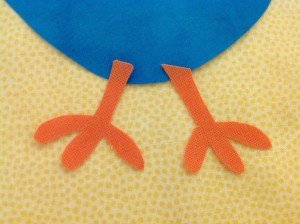
The bird’s feet- extend the leg about 1/4 inch so it can be placed underneath the bird body.
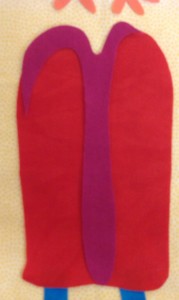
The center section of the ice pop- make the inside line bigger than the drawing, this piece will be placed underneath the main ice pop piece.
Overlapping Tracings
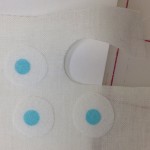
Bird’s Eyeball
For the white fabrics which will be appliquéd to the quilt, I fuse the white fabric to another piece of white fabric first. This adds some body to the eye and corner block circles and it keeps the darker fabric from shadowing through.
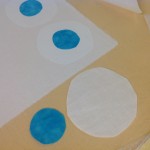
Corner Block Circles
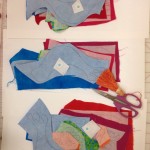
Groups of appliqué pieces for each block
By grouping the appliqués for each block together, you can keep your work organized and be sure that each block has all of its pieces.
Fold-line in fabric
Fold your background fabric in half lengthwise and finger press. This will help in the placement of the appliqués. Lay each block on interfacing. This will insure better machine embroidery.
Place your appliqué pieces onto the background fabric.
Some pieces will overlap. Look at the design for placement, for instance;
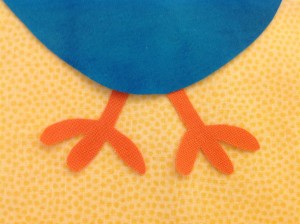
The bird’s feet are placed under the bird body.
The Ice Pop details are placed under the main piece.
 Ice pop 2
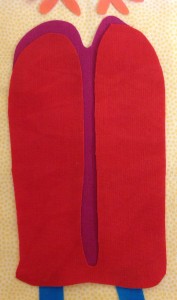
Fuse your appliqué pieces into place for each of the four blocks.
For my stitching, I used a tiny buttonhole stitch and cotton threads in colors that enhanced each appliqué piece.
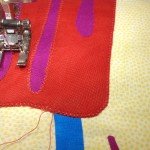
Appliqué under Presser Foot
The key to the very small curves and points is to stitch slowly and watch where the needle goes into the work. If you can stop, turn the work a little bit, then stitch as you go around a curve, then you can keep the stitches right along the edge of the work all around. For instance, I make one stitch at a time when I’m stitching around the eyeball.
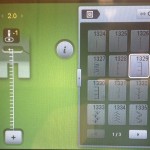
Stitch Settings on the sewing machine
For appliqué, First, I choose the stitch, then I tweak it so that it is exactly what I want.
I set my buttonhole stitch so that the edge of the stitch is in center needle position so that I can stitch right along the edge of the appliqué.
I change the width and length of the stitch for a smaller stitch.
I lower the top tension so that I get a prettier, fuller stitch.
I increased the presser foot pressure to have greater control over the fabric.
Appliqué the circles onto the corner squares
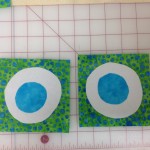
Corner Squares with Circle Motifs
Stitch the quilt top together.
At this point, it is good to trim the appliqué panel to make sure it is square. Then, use the real measurements to determine the length of the lattice strips.
2 Rows-Stitch together two blocks with strips in between and on each end

Blocks Sewn with Strips
3 Rows- Stitch corner block,strip,corner block, strip, corner block
Layout for Sewing
Stitch rows together.
Layer with batting and backing.
Baste layers together.
MACHINE QUILT:
Section of Quilt
Close-up of Quilting Suns on the Top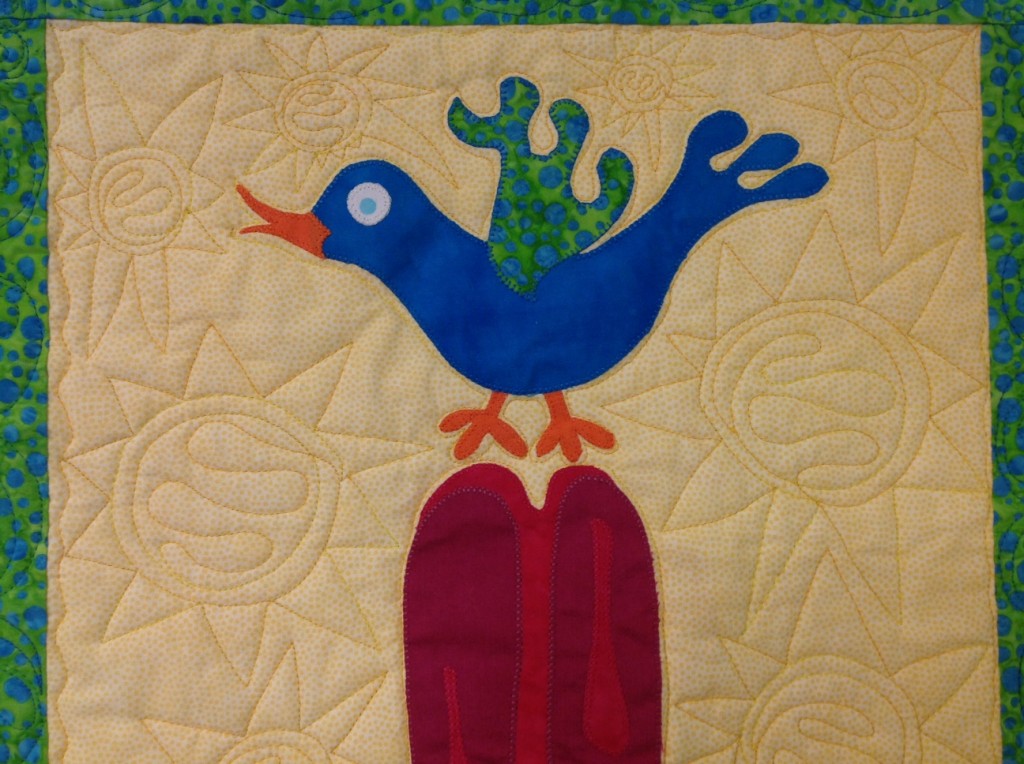
Section of Quilt
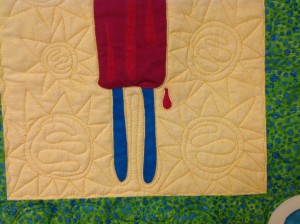
Close-up of Quilting Suns on the Bottom
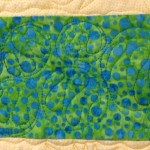
Close-up of Quilting Bubbles in the Borders
Bind the quilt in red.
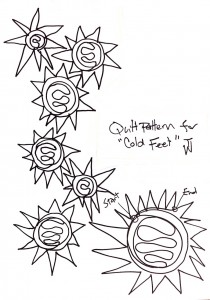
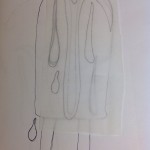
DESIGNS:
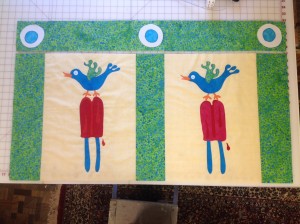
Original Layout Design
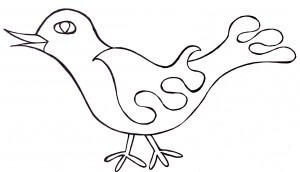
Bird Appliqué
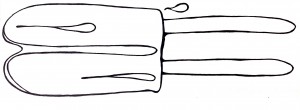
Ice Pop Appliqué