by Emily Lang
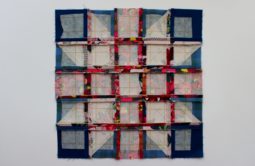
Use this piecing trick anytime you want perfectly matching patchwork, especially when using small pieces.
What you’ll need:
Scraps, or cut squares
Lightweight fusible interfacing – such as Pellon’s Quilter’s Grid (Pellon 820)
Havel’s Ultra-pro seam ripper
First cut 25 squares paying attention so as to cut as precisely as possible. (for this example I’m using a Rolling Star block, using squares cut at 2 1/2” x 2 1/2”. The block will finish at 10” x 10”)
Arrange the squares in five rows of five with the edges touching, but not overlapping.
Measure the width of these squares laid out. Use this measurement to cut your interfacing. I like to cut my interfacing a smidge shorter than the measurement to prevent getting fusible on my iron.
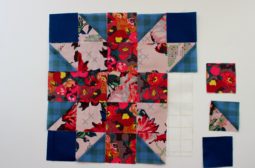
Place the fusible interfacing glue side up on your ironing board. Carefully arrange the squares, right side up, on top of the interfacing. Be sure that the edges are touching, but not overlapping.
Using a damp pressing cloth, press the blocks to the interfacing. Remove the pressing cloth when it is dry, and allow the block to cool completely before moving.
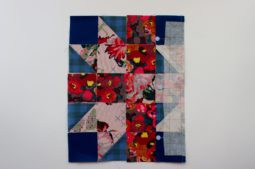
Fold over one column of squares so they are right sides together on top of the rest of the squares. Sew 1/4” away from the fold.
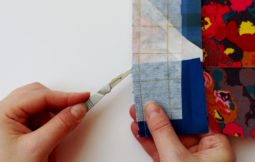 Starting at the bottom end of the seam, carefully put the point of the Ultra-pro seam ripper between the two edge squares, within the seam allowance, with the sharp edge facing the interfacing. Gently move the seam ripper blade side to side while pulling it up along the fold. It will easily slice through the interfacing on the fold.
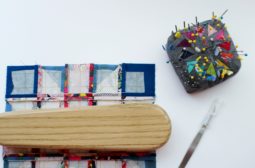
Press the seam open. I use a tailor’s clapper to hold the seam open after pressing. This provides very flat seams.
Once all the rows in one direction are sewn and pressed, turn the block 90 degrees and continue with the cross rows.

