
By Jamie Fingal
Jamie is author, teacher, and now, fabric designer! Be sure to visit Hoffman Fabrics and check out the Heart & Soul Sisters line. This fabric line is also featured in our “Cut to the Point” Quilt Contest Childhood Memories.

Happy New Year everyone! Fly Your Own Flags for January with brave, strong and bold girls. Each flag is 6×8 inches, vertical format. These are easy peasy. No batting, no binding. Just fun.
Mistyfuse and a Goddess Sheet or Parchment Paper
Rotary cutter, mat and ruler
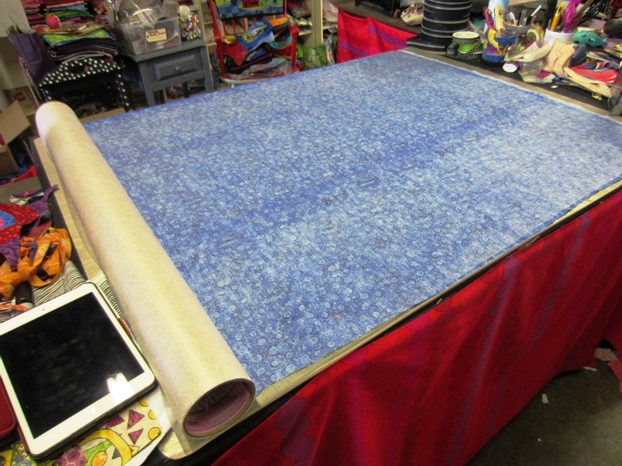
You will need to pre-fuse all of your fabrics for this project. I didn’t use this particular fabric for this project, but you can get an idea of how to fuse using Mistyfuse. I rolled out the Mistyfuse from this 35” bolt. I usually fuse very large quantities of fabric in my studio to make quilts for my fabric lines, so that is why this is so large.
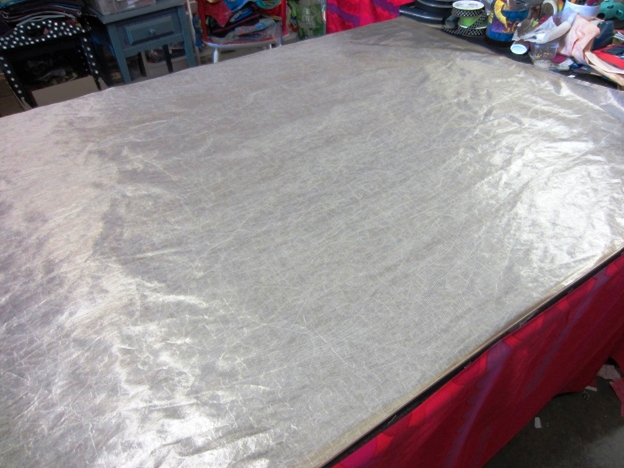
I lay a Goddess Sheet over the top. This happens to be a Holy Cow one – the largest and it covers the entire surface of my design table, and the fabric. Mistyfuse has Goddess Sheets in many different sizes for even the smallest pieces of fabric. With an iron on the cotton setting, press the Mistyfuse into place on the fabric. The Goddess Sheet will protect your iron and make the fuse to the fabric even better. Make sure that you iron all of the way to the edges. If you lift up one corner, and see that it is not bonded, go over it again with your iron. Wait for it to cool before removing it carefully.

Materials: ½ yard of black wool blended felt by National Nonwovens #TOY002, available at big box sewing stores and some quilting stores. It is a more narrow bolt, so it is easy to find on shelves. I would not recommend using polyester felt, because it is not a secure substance in which it iron on. Also, you will need about a ½ yard of the same wool blended felt in a fun color for the back.
Fabric? The fabric that I am using for this ‘tutorial’ is from my fabric line “Heart and Soul Sisters” by Hoffman California Fabrics. It came out in December 2014.
I used about ¼ yard of the girl fabric and the text fabric, but you may want more, because there are other things that you can make with it.
To start. Cut 3 pieces of wool blended felt – 6” x 8”
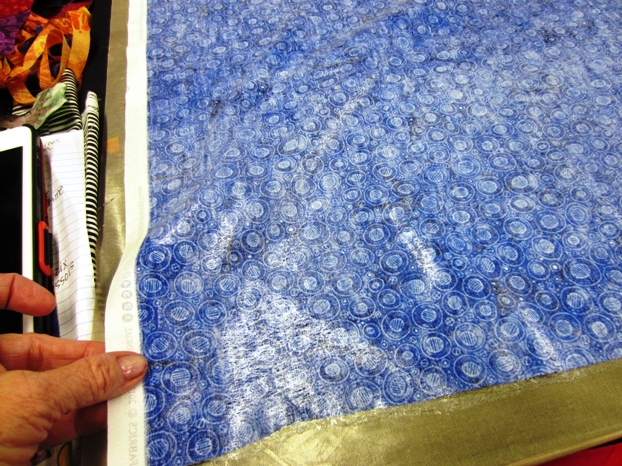
Your fused fabric will look shiny like this. Don’t fold it right away. Just lay it on a flat surface or over a drying rack. You can use it right away. Let it dry at bit before you fold it to store on a shelf or in a drawer for another day. It will never dry out or flake off the fabric. It doesn’t change the hand of the cloth and you can sew by machine or by hand easily. I have fused very large pieces, such as this, and very small pieces, the size of my finger.
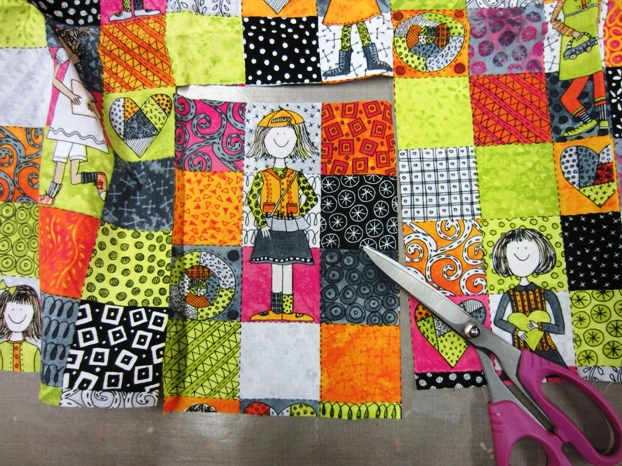
Here is the girl fabric. This has been pre-fused with Mistyfuse. Each one of these squares is 2”. All of the artwork is from my drawings. It is totally fun to see them come alive on fabric. This is the perfect fabric for this project, because of the grid design.
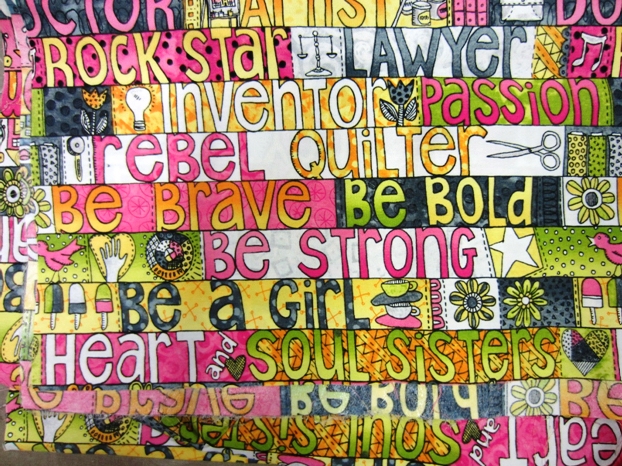
This is the text fabric. All about brave, bold and strong girls. Heart and Soul Sisters. Dream big to live the life you imagined for yourself.
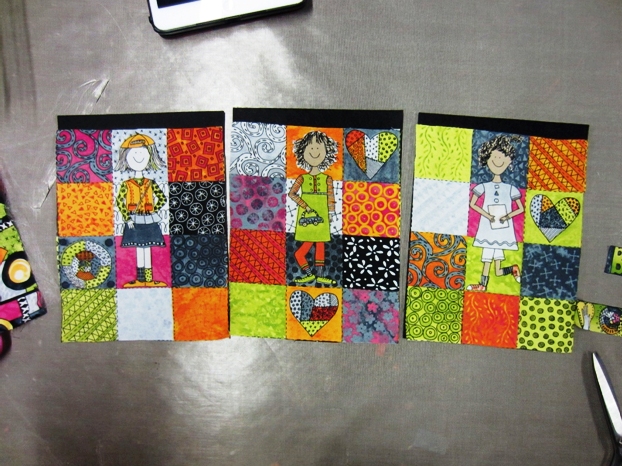
Place your focus fabric on each of the felt foundations. There will be a space at the top, but it will be covered with another piece of fabric. Press into place.
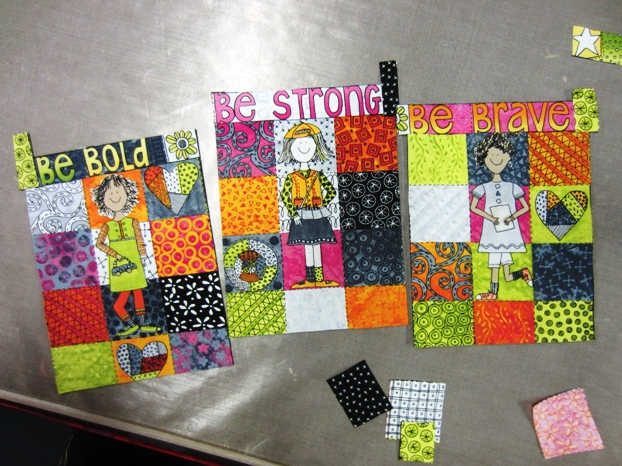
Using some of the leftover 2” squares from the girl fabric and some of the artwork from the text fabric, select the words that you want, cut, and place them on the upper portion of the flag. Press into place.
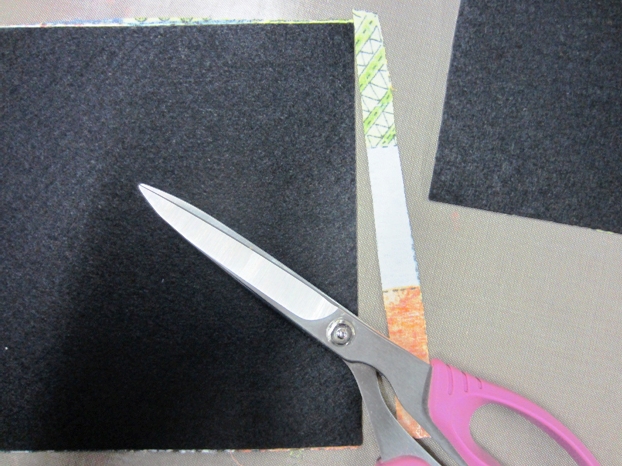
Trim the excess fabric off the edges, by turning it over and cut from the back, using the felt as your guide.
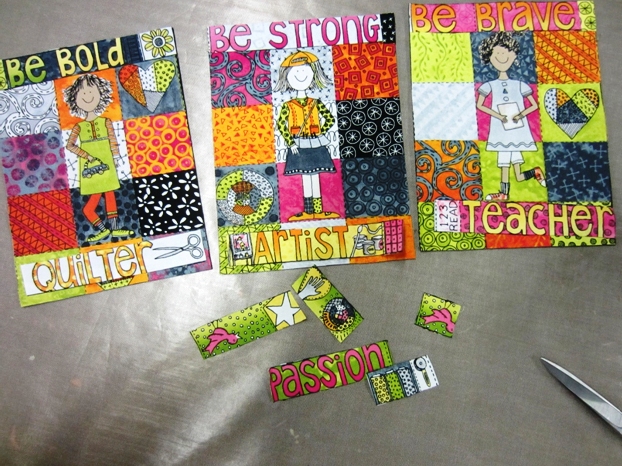
Select the text that you want for the lower portion and press into place.
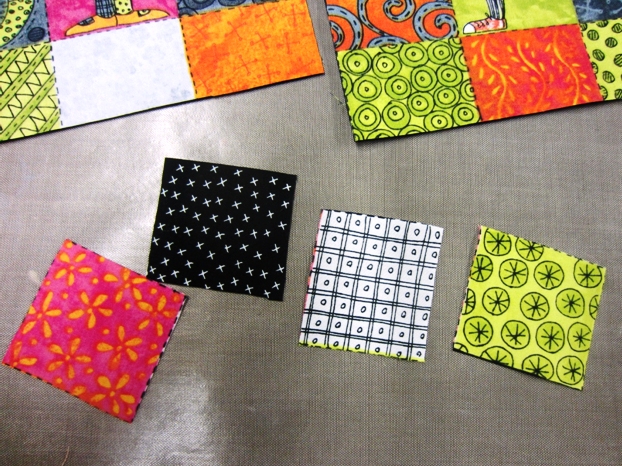
Using the squares, you can cut them into smaller pieces and add them to your flags, to add more color, interest and fun.

Like here is an example. You can use more grid squares and artwork from the text fabric. It brightens up the entire piece!
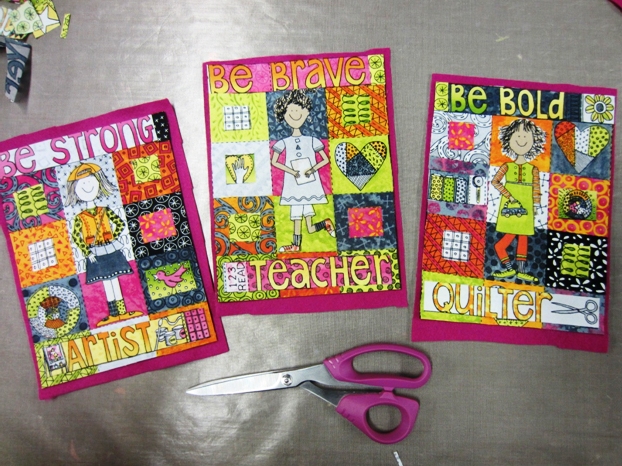
Back your flags with another piece of wool blended felt in another color. They don’t have to be cut perfectly, but you want the color to be visible from the front. These are ready to take to the sewing machine for some free motion machine quilting. Are you ready?
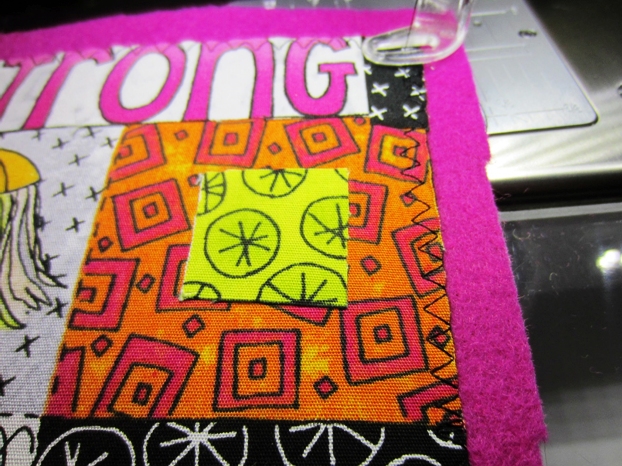
The first thing that I did was to free motion zig zag around the edges of each flag. If you are uncomfortable with using a free motion foot, like shown here, you can use the #1 foot with the feed dogs up to zig zag around all of the edges.
This is pretty simple, and a great way to practice free motion machine quilting. Just guide your needle around the squares and the lettering. Be sure to get the small shapes inside of the squares. It doesn’t matter if you cross the lines or go over something twice.

Here is what the back looks like. Don’t stress yourself out. I didn’t take my needle around the girls. You could, if you so desire, but it is not necessary.
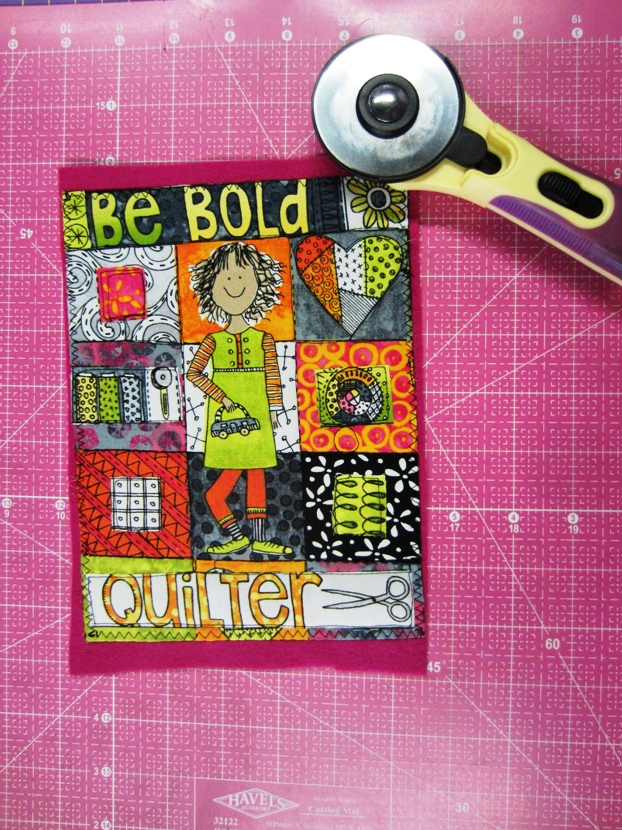
When you are finished free motion quilting all three pieces, trim the colored felt with a rotary cutter, ruler on a cutting mat. You want to have a bit of it show through from the front. It’s a design element, and brings out the colors on your piece.

Like this. Great flags to hang in your own studio, or give to a friend. I attach them to laundry line in my studio, securing them with wooden clothes pins. Totally inspirational.
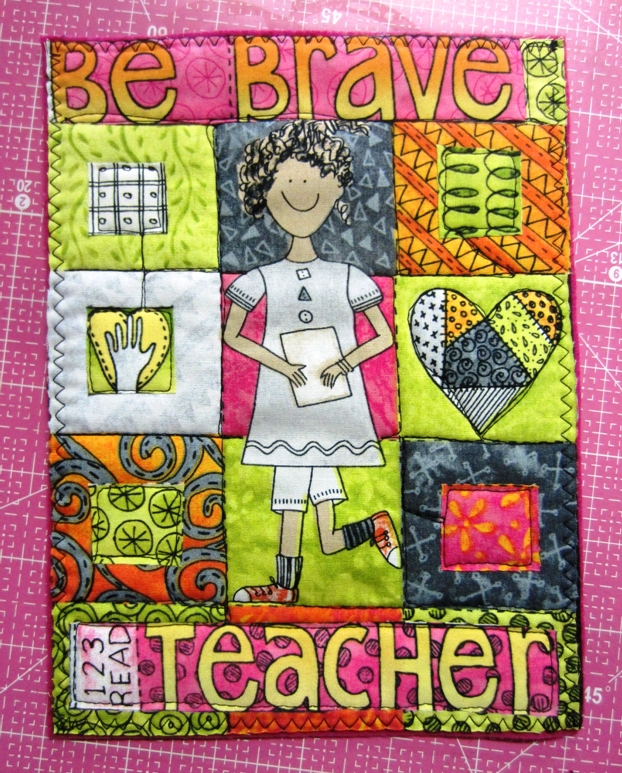
Be Brave
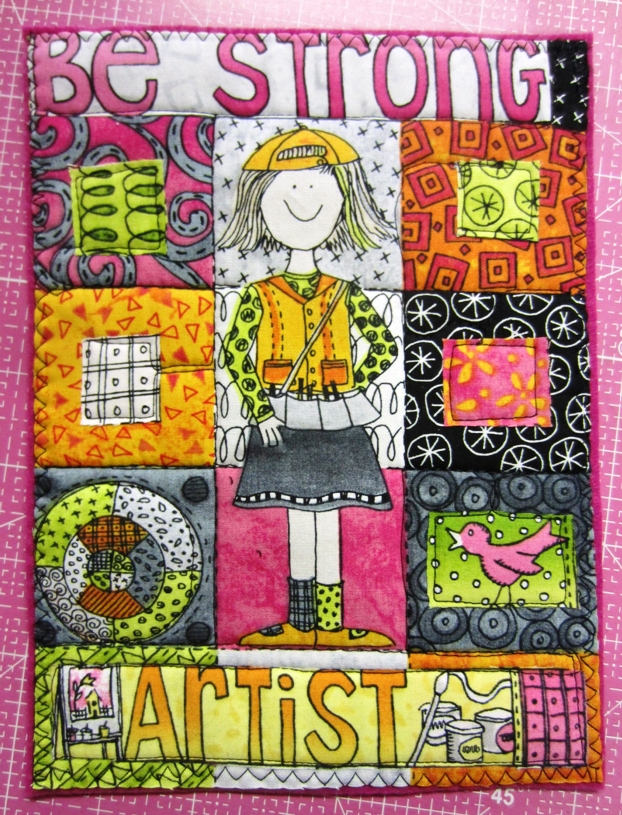
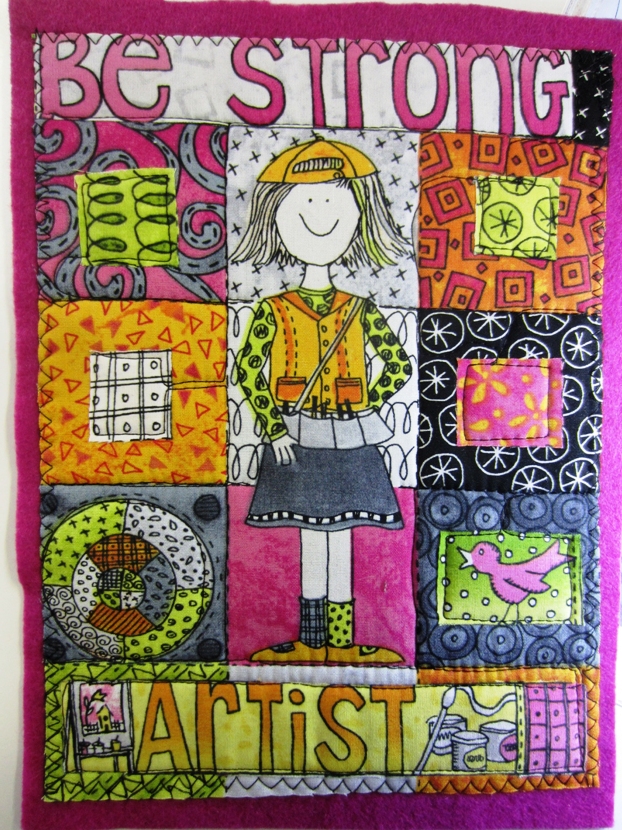
Be Strong
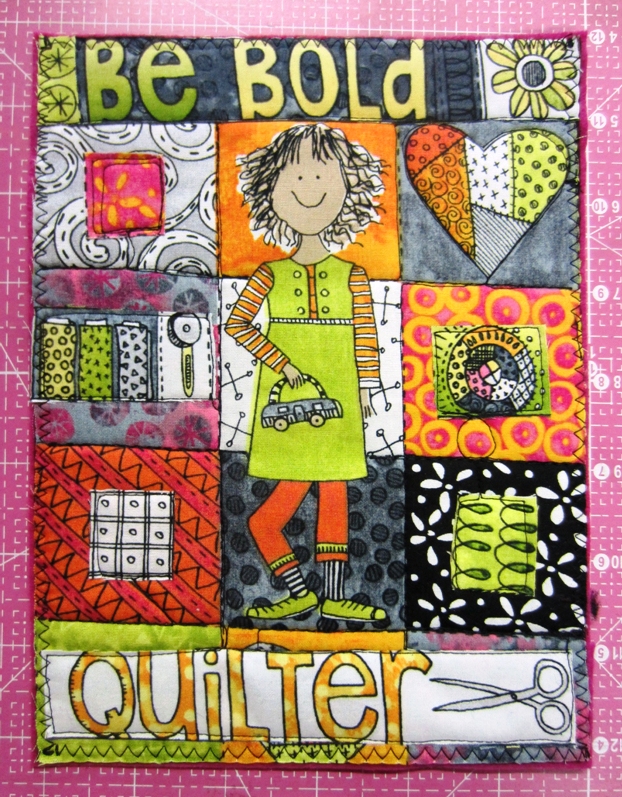
Be Bold
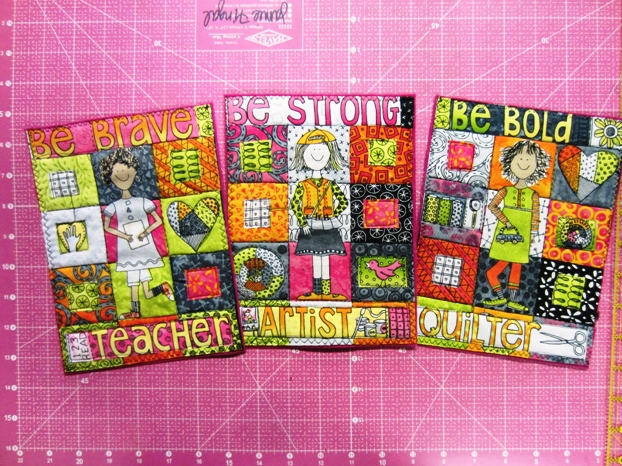
Fly Your Own Flags – Be Brave, Be Strong, Be Bold