By Terry White
Let spring dance its way in with this
seasonal quilt project!
This design is about spring, budding trees and the way our rabbits dance and play across my backyard. I used a color palette in my design that’s popular right now for nurseries, which I love. The silhouette of the rabbits and berry tree on the soft gray polka dot fabric creates a strong graphic quilt, which works well in the current baby nursery decor.
You will need:
Fabrics
- 1 1/2 yards of 100% cotton white muslin for the appliqués
- 1 yard of gray small polka dot 100% cotton fabric for the quilt top
- 1 yard of aqua medium polka dot 100% cotton fabric for the borders and binding
- 1 yard of medium weight non-woven interfacing
- Batting, backing and binding to fit quilt dimensions (I used the border fabric for the binding)
*When doing the stitching on the quilt top, the dimensions of the top can change. I always suggest cutting the backing fabric and batting after the quilt top is finished.
Thread
I used a gray Star multi-colored cotton thread called “Graystones”. It’s a light-to-dark gray variegate with 3 to 5 inch random color changes. It’s also one of the threads I designed for the Star line. I think it has a softer effect than a black or solid dark gray would have. Use the same Star thread in the needle and the bobbin for the quilting.
Also:
- 1 1/2 yards of Wonder-Under paperbacked fusible web
- 90/14 machine embroidery needle for the whole project
*I suggest you use an open toe embroidery foot for stitching the appliqué. I also suggest you use a darning, free-motion or stippling foot on your machine for the thread drawing and quilting.
Instructions:
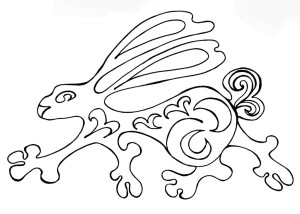
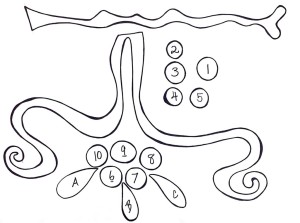
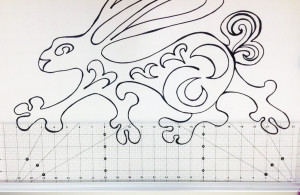
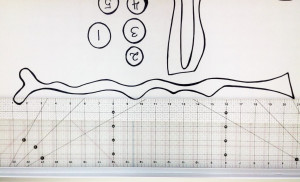
Enlarge pattern according to the pattern guide photos located at the end of this article.
Trace the appliqué designs and details onto fusible web. Trace the shapes as they appear in the pattern – they are already reversed for the fusing technique. In the case of the rabbit, trace a second one in reverse.
I made the appliqué designs large enough so that you can use a color thread to appliqué them with the small buttonhole stitch without cutting off any of the design. I always draw my appliqué shapes a little larger than they need to be so that the stitching doesn’t appear to cut off the shape. You don’t need to cut the shapes any bigger to allow for the stitching.
Fuse (according to manufacturer’s directions) the pattern pieces to the white muslin.
Two tree design pieces are fused right next to each other for the continuous tree design.
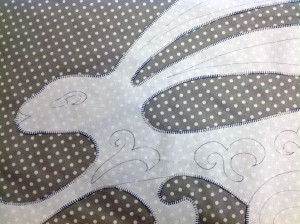
When tracing the rabbits onto the fusible web, trace the details with a dark marker at the same time. After fusing the web to the fabric, turn the appliqué over and trace the details with a light marking pen onto the fabric.
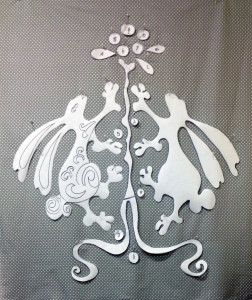
Cut the shapes out. My suggestion is to arrange the appliqués onto the quilt top first. Reference the first photo at the beginning of this article for placement of the appliqué pieces. You can make some marks on the top with a light or disappearing marker. Take the pieces off and lay them aside.
Then, only fuse the center tree shape to the top.
Back the quilt top with the interfacing before doing the appliqué work. I always use a stabilizer when doing any kind of machine embroidery, and this part is embroidery. It adds body to the quilt top fabric which helps to prevent puckering and distortion.
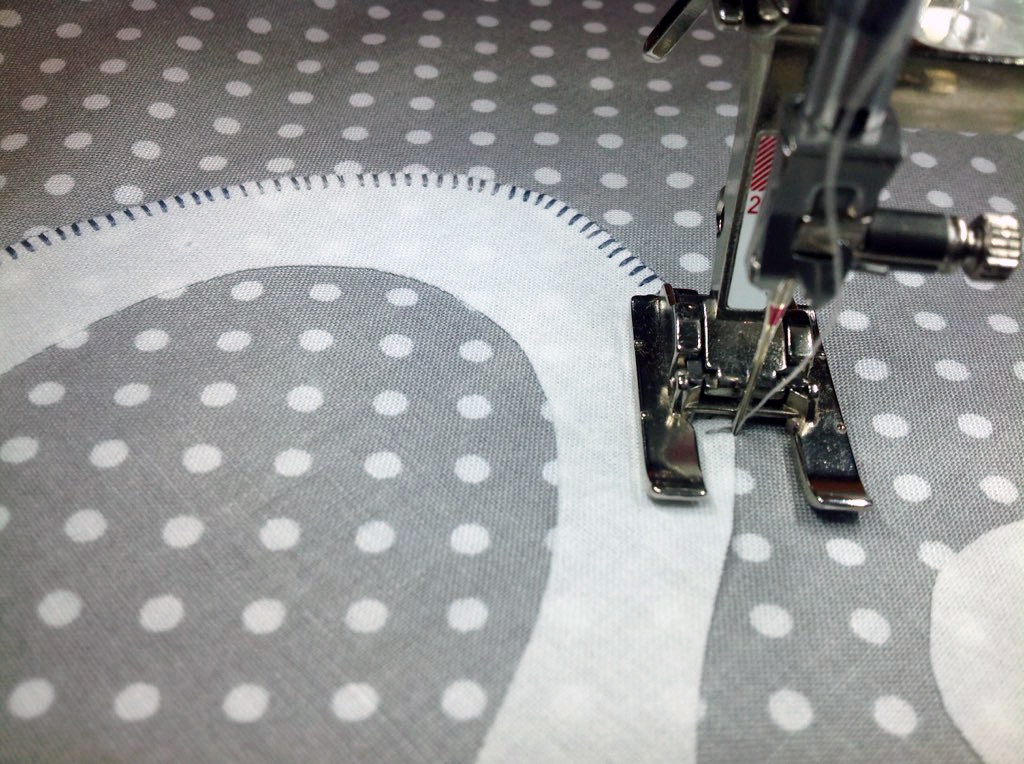
Set your machine for a small blanket (or buttonhole) stitch. The stitch should also be adjusted to a lower tension so that the stitches are not too tight. This is a good time to do some experimenting with the same materials you’re using in this quilt to make sure the tension settings work for a beautiful stitch. Make a note of the stitch settings that work for you.
Next, fuse a rabbit and stitch.
Fuse the other rabbit and stitch. Fuse the circles along the tree and stitch. Then, fuse the blossoming pieces and stitch. This helps to keep each appliqué shape in pristine condition until you are ready to stitch it.
Layer the quilt top with batting and backing.
Baste the quilt, and quilt with free-motion stitching.
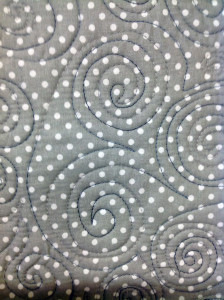
I love the effect of using the same variegated gray thread for quilting. The scrolls don’t have a harsh solid appearance, as the color fades in and out on the gray background.
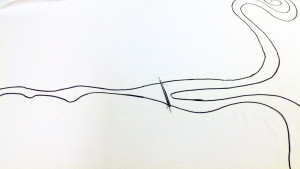
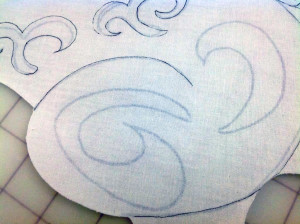
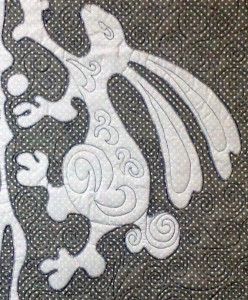
The two photos show my quilting design. I used the rabbit’s tail as my quilt pattern for the allover.
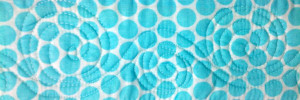
For the border, I made two scrolls — I quilted one, completing it all around the border, then I quilted the other scroll.
Pattern Guide Photos:
Bind the quilt, love the quilt and give the quilt to a special baby.
If you don’t thread paint or do any kind of free-motion work, you can use a light gray fabric marker for the details on the rabbit, and then quilt as you know how.
If would like to learn free-motion embroidery, I have 2 Craftsy classes online where I teach free-motion machine embroidery techniques.
Click here for a printable PDF version of Terry’s Rabbit Dance Baby Quilt.
Terry White is a studio fiber artist who has been doing this kind of work since 1996. She discovered the techniques she uses, including threadpaint, machine appliqué, piece, quilt, embellish with beads, fibers and minutiae with sewing machine techniques, through experimentation and self-study. She is a wife, stitcher, artist, sister, mother, friend, nana, gardener, baker, writer, student, teacher and American. See more of Terry’s work at www.threadpaint.com.


