Best Scissors For Use With Difficult Fabrics
by Leslie Jenison
In this tutorial I demonstrate how to use sheers to build a layer over the surface of a project. For this project I took scraps of fabric that had been used for a previous project and fused them to a base-layer of cotton cloth with Mistyfuse fusible.
After fusing the initial layer, I machine stitched about half the strips into place with a combination of straight stitches and variable width satin-stitch.
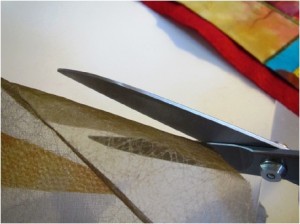
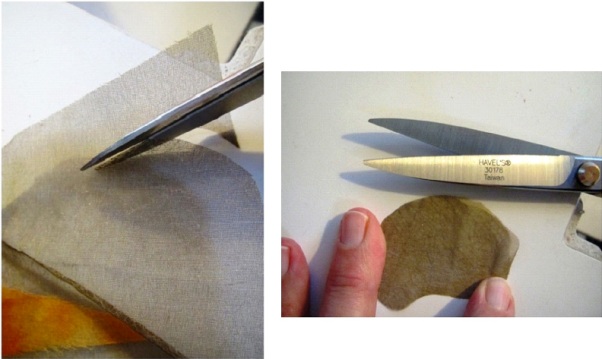
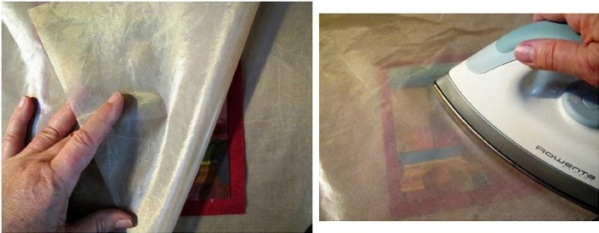
Micro-serrated edges add the needed "grip" to handle slippery fabrics - here is a piece of fused organza.
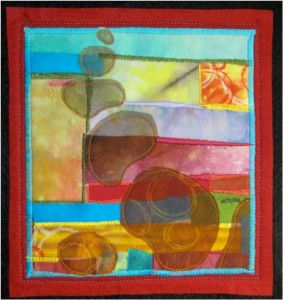
Using more scraps from a previous project, in this case, a piece of silk organza and silk charmeuse (both notoriously fussy to handle) that were pre-fused with Mistyfuse fusible, I used my Havel’s 7″ Serrated Sewing/Quilting Scissors to free-cut small irregular rounded shapes. These shapes were used to build another layer over the fused strips, thus adding depth and focal interest to my piece.
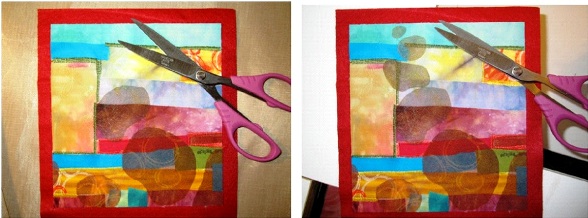
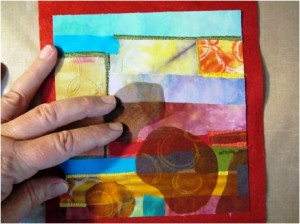
Additional small pieces of fused organza are fused into place to create a layered focal point for the quilt.
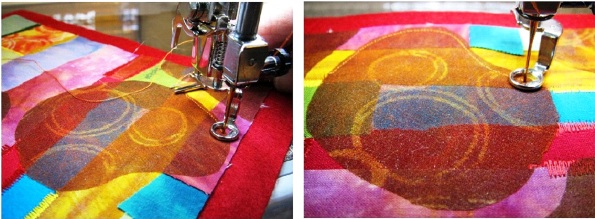
Once fused into place I chose to free-motion stitch around the edge of each piece to assure stability. After each piece was stitched into place and secured with a lock-stitch, I used Havel’s Snip-A-Stitch to clip the threads very close to the surface of the cloth by holding a small amount of traction on the top and bobbin threads while clipping. The rounded tip makes it possible to get very close to the fabric surface and clip without risking a cut into the cloth surface. It is very important to lock your final stitches in place with several close stitches prior to clipping. The added traction will cause the clipped threads to be “buried” in the quilt layers.
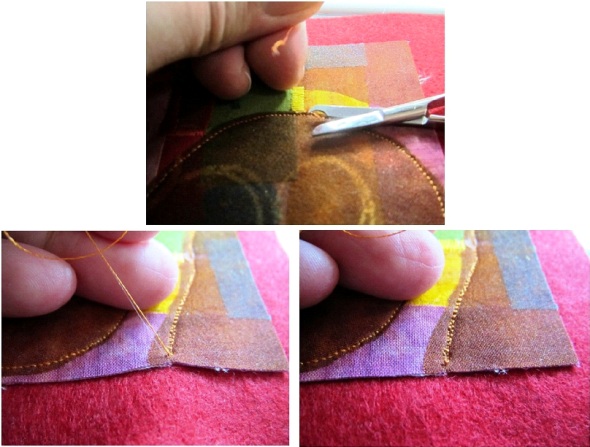
Using the snip-a-stitch and holding traction on the two threads (top and bobbin),it is possible to trim the threads so they are "buried" in the quilt.
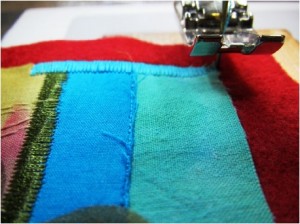
The surface was stitched wherever there were raw edges on the quilt surface,
then the outer edges were satin stitched to the felt.
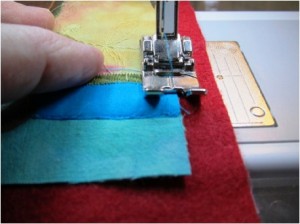
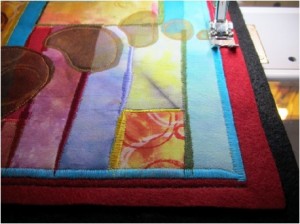
A second layer of felt was added below the first, this layer one-half inch larger than the first layer all the way around. The second layer of felt is secured into place by straight-stitching around the perimeter of satin-stitching, 1/8 inch from the edge.
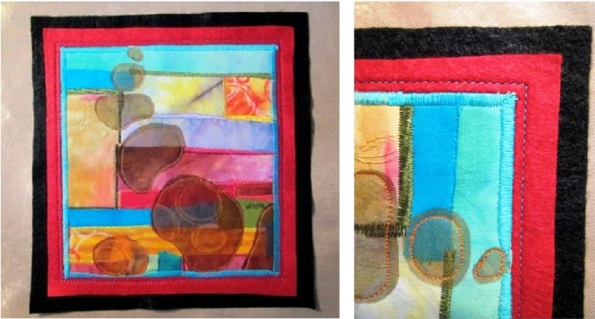
Another layer of felt is added that is 1/2 inch wider around the perimeter.It is stitched into place by sewing a straight stitch 1/8 inch outside the satin stitched edge.
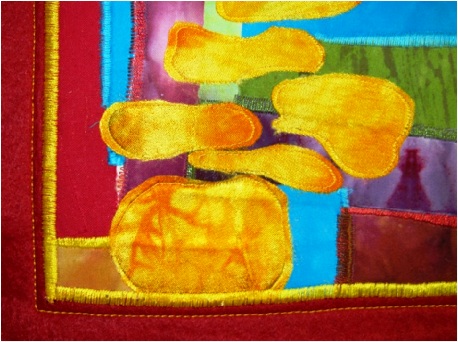
Silk charmeuse is notoriously difficult to handle. The micro-serrations in the scissors make cutting these shapes very easy! Here is a second quilt, using silk charmeuse cut into irregular shapes and fused to the surface, then stitched by machine.
These small quilts can be framed or hung by adding a hanging device to the back.
To see other ideas for quilted wall art just click here.


One Response to Quilting Tools and Havel’s Scissors