The Big Finish – Fun Binding Techniques
Once in awhile I make something and it goes into what Scot (my husband) calls “The Under Bed Museum”. It may be that I haven’t figured out what to do with a project or how to finish it. Here are some ways I’ve learned to finish things and get them into the light and out from under the bed.
I wrote a book called, “Enhance Your Quilt – Embellish”. Apparently, I had written too much and tried to do too many things. Here are some of the edge finishes or binding techniques I want to share that did not fit into the book!
We know how to do traditional binding techniques. If a textile isn’t traditional anyway, a creative finishing approach is appropriate. I especially like to use these techniques on small quilts. One has to get in close to look at a small piece and having little extras in the edge adds delight! Let’s explore some special edging finishes just for the fun of it!
Scalloped Ribbon Binding
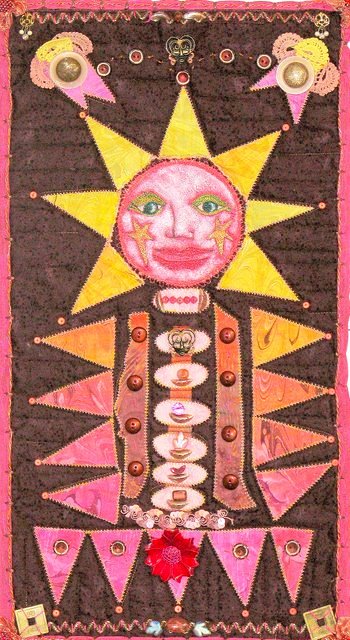
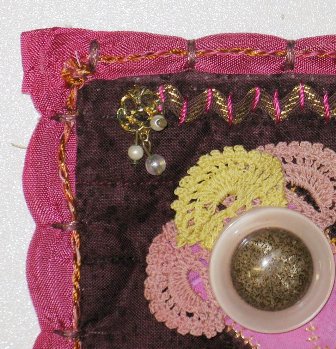
This is the quilt, Sun-A-Pillar.
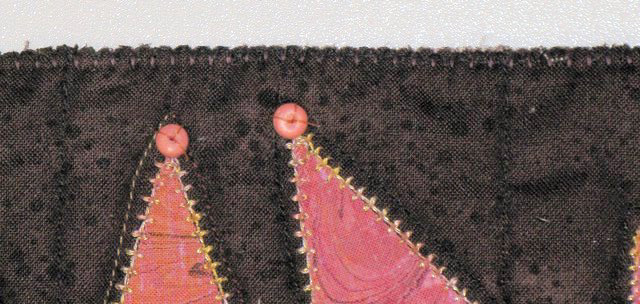
I quilted this piece all the way to the edges. After the quilting is done, I like to trim and stitch the edges before binding. This will draw up the edges and keep them nice while applying a binding or edge finish. This also helps to prevent a gather or pucker at the binding seam.
For this quilt I used a blanket stitch with brown thread to prepare the edge
of the quilt for the finishing technique.
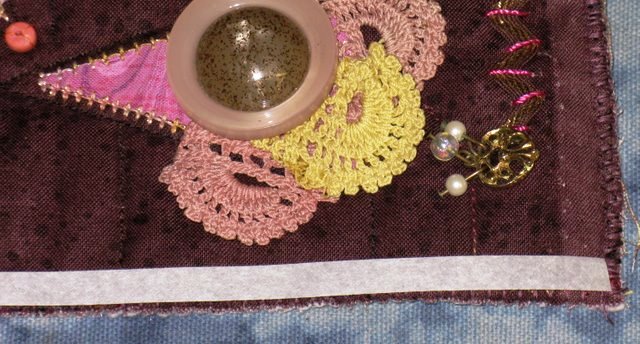
Then, I fused a strip of paper backed fusible web on the edges.
You can buy this on a roll or cut strips from fusible web.
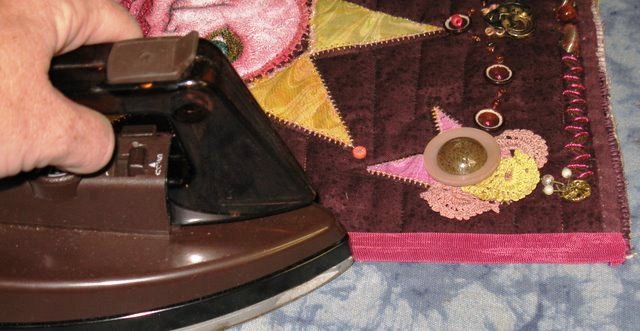
After removing the paper, I ironed rose colored hem tape to the quilt.
I laid a twisted cord on top of the hem tape as I bar tacked the hem tape to the quilt. You can see that the bar tack draws up the tape for a scalloped look.
The corners are finished with the addition of a yo-yo with a raspberry bead in the center.
Decorative Stitch Edge
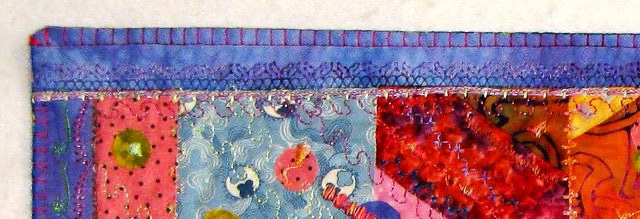
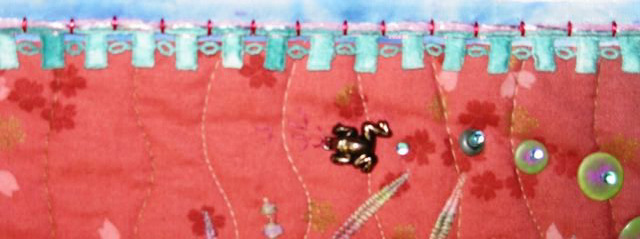
Instead of using a separate binding, the edge of the quilt border is folded under ½ inch and pressed. Then, the edge of the quilt back is folded under ½ inch and pressed. You can pin the edges together or use fused hem tape to iron and fuse the edges together. Then, use a decorative stitch to finish the edge.
Stacked trims
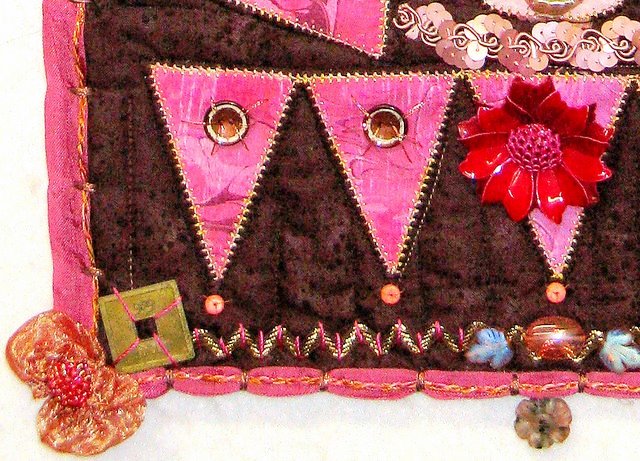
After binding a quilt in the traditional way, I stacked and glued several trims to the edge and then bar-tacked over a cording, stitching the trims to the edge at the same time. Stacking various trims makes each trim more special.
Novelty Yarn
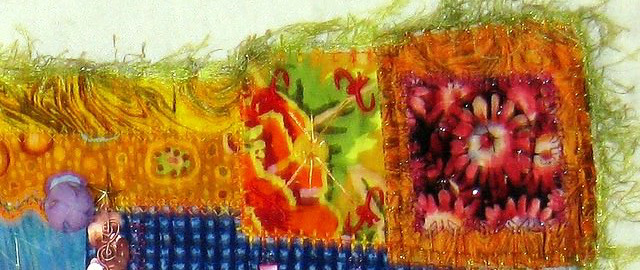
The edge of this quilt is decorated with a fuzzy yarn. The small quilt was first finished with the decorative stitch edge using a blanket stitch. Then, the yarn was stitched to the edge with a large blanket stitch. After stitching, the fuzzy yarn can be picked out of the stitches with a knitting needle to release the fibers. I used a pretty light green thread that matched the yarn. The yarn appears to float on the edge of the quilt.
For more articles by Terry White, click here.
Do you use a special decorative trim on your quilts?
Share them here, we’d love to hear from you.

2 Responses to Quilt Binding with Terry White ©2012