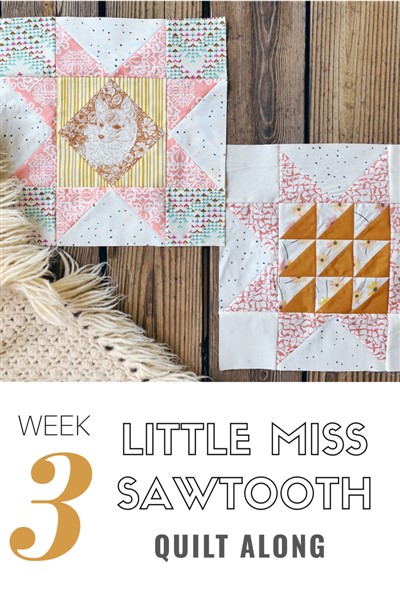
Little Miss Sawtooth Quilt Along – #3 – Gabrielle and Ava

This post is a part of the Little Miss Sawtooth quilt along that starts September 6, 2019 and ends January 10, 2020.

If this is the first time you are learning about this quilt along then please read this post to find out the intentions behind the quilt along and more details.

To view all the posts concerning this quilt along on my own blog, click here.

To view all of the posts that includes the patterns here at Havel’s Sewing, click here.

If you prefer a paper pattern, you’ll find it here.


We are making two new stars today!  Moving right along!  I’ve been trying to make sure I like and comment on all of your Instagram posts showing off your progress.  There’s so many of you though.  I’m doing my bestest to keep up.  I have LOVED seeing your fabric choices and your blocks.  The fussy cutting is so much fun too!  Some of you are really going for it and it’s so interesting and inspiring to see what you come up with.  If you were near me, my oohing and ahhing every few minutes might start to get old.  Haha!  I’m doing so much of it!


Product Spotlight


This Week’s Task

For the next two weeks we have two blocks to complete:  Gabrielle and Ava.  Let’s dig in!


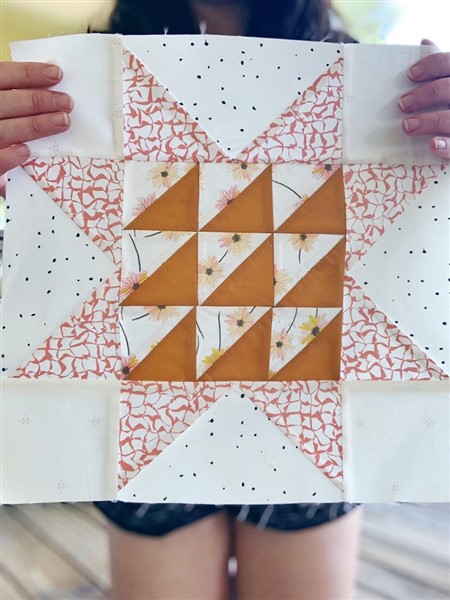
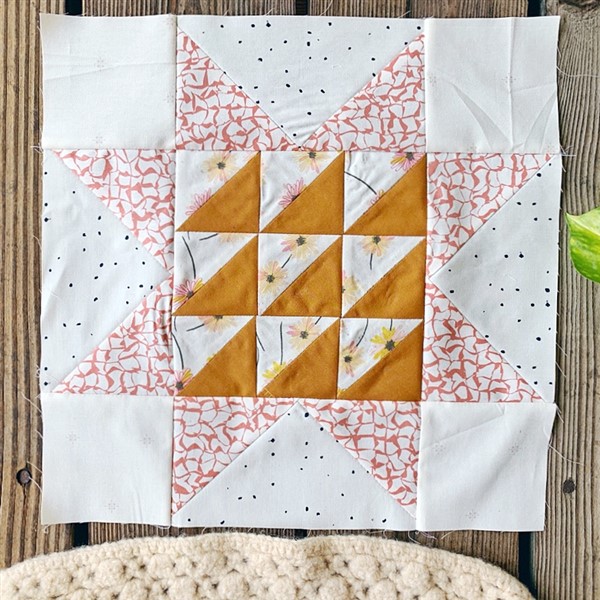
Gabrielle

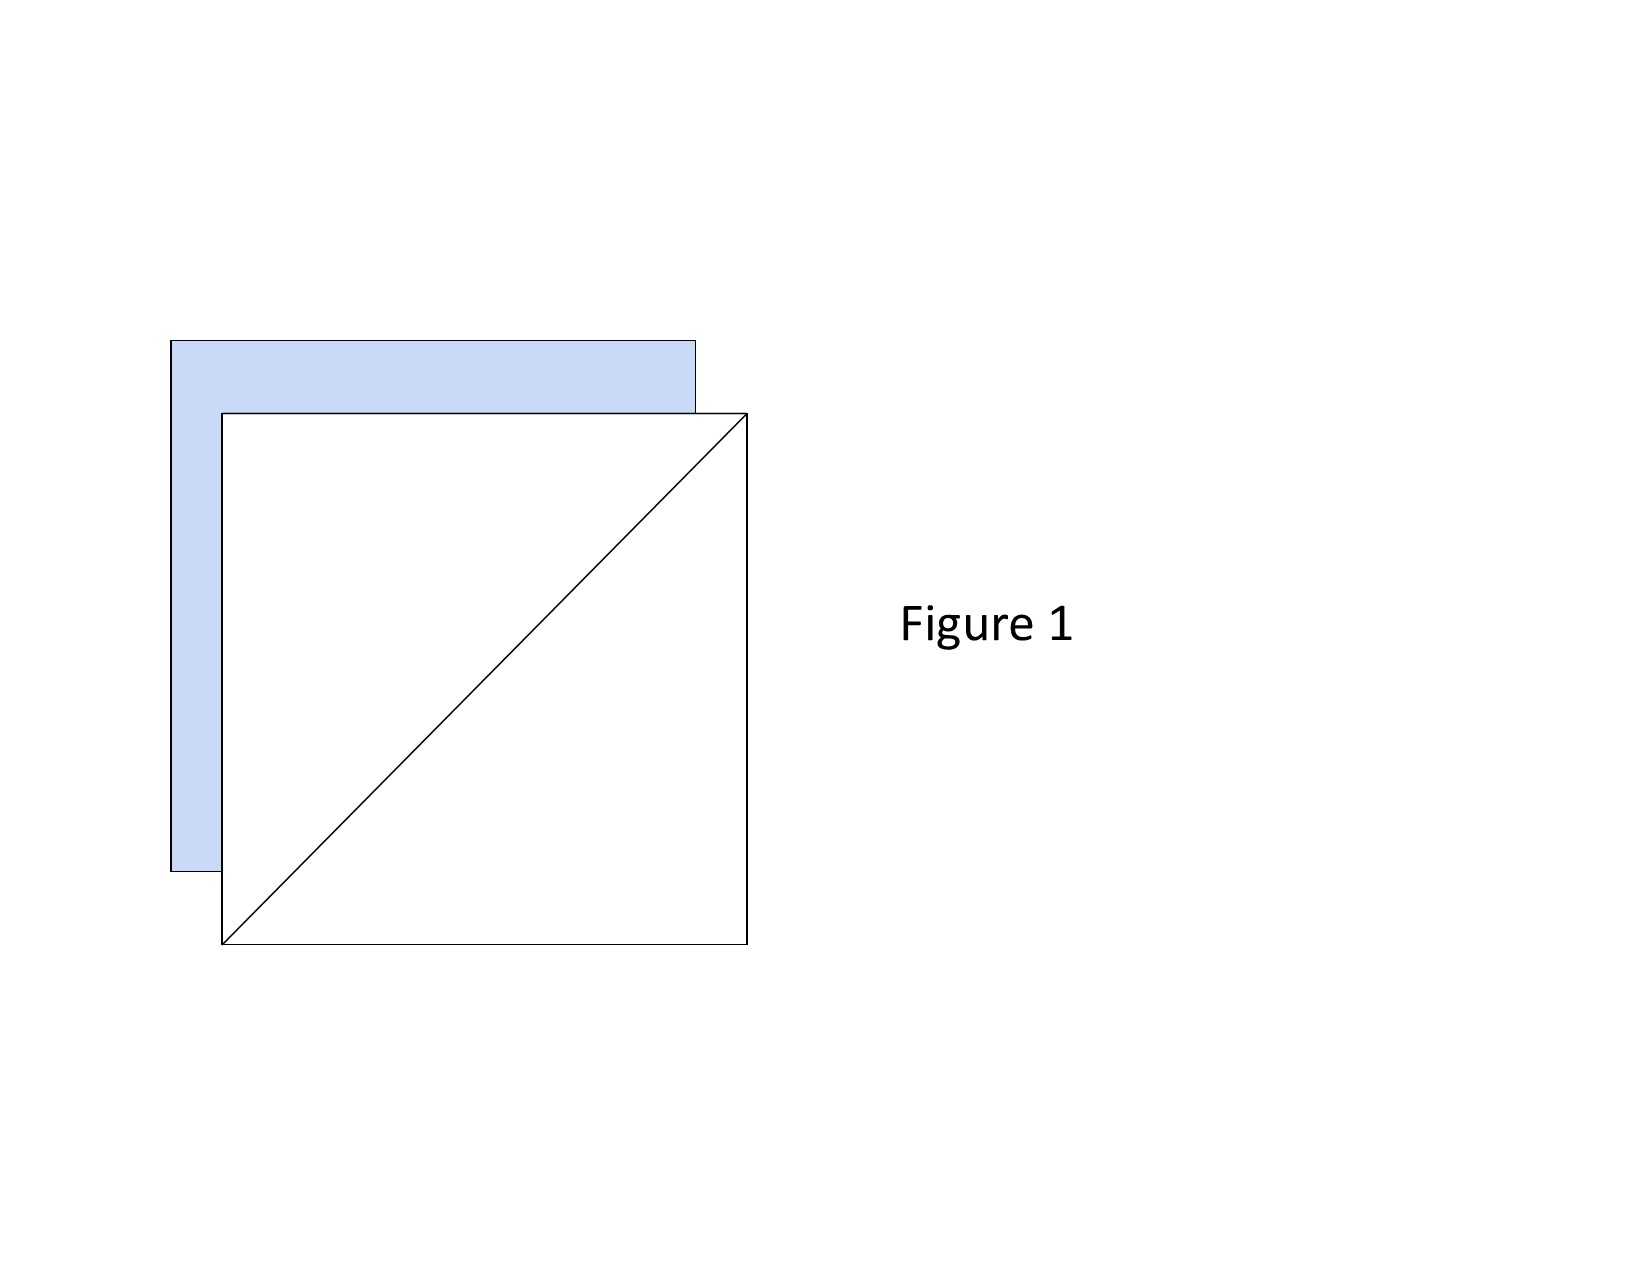
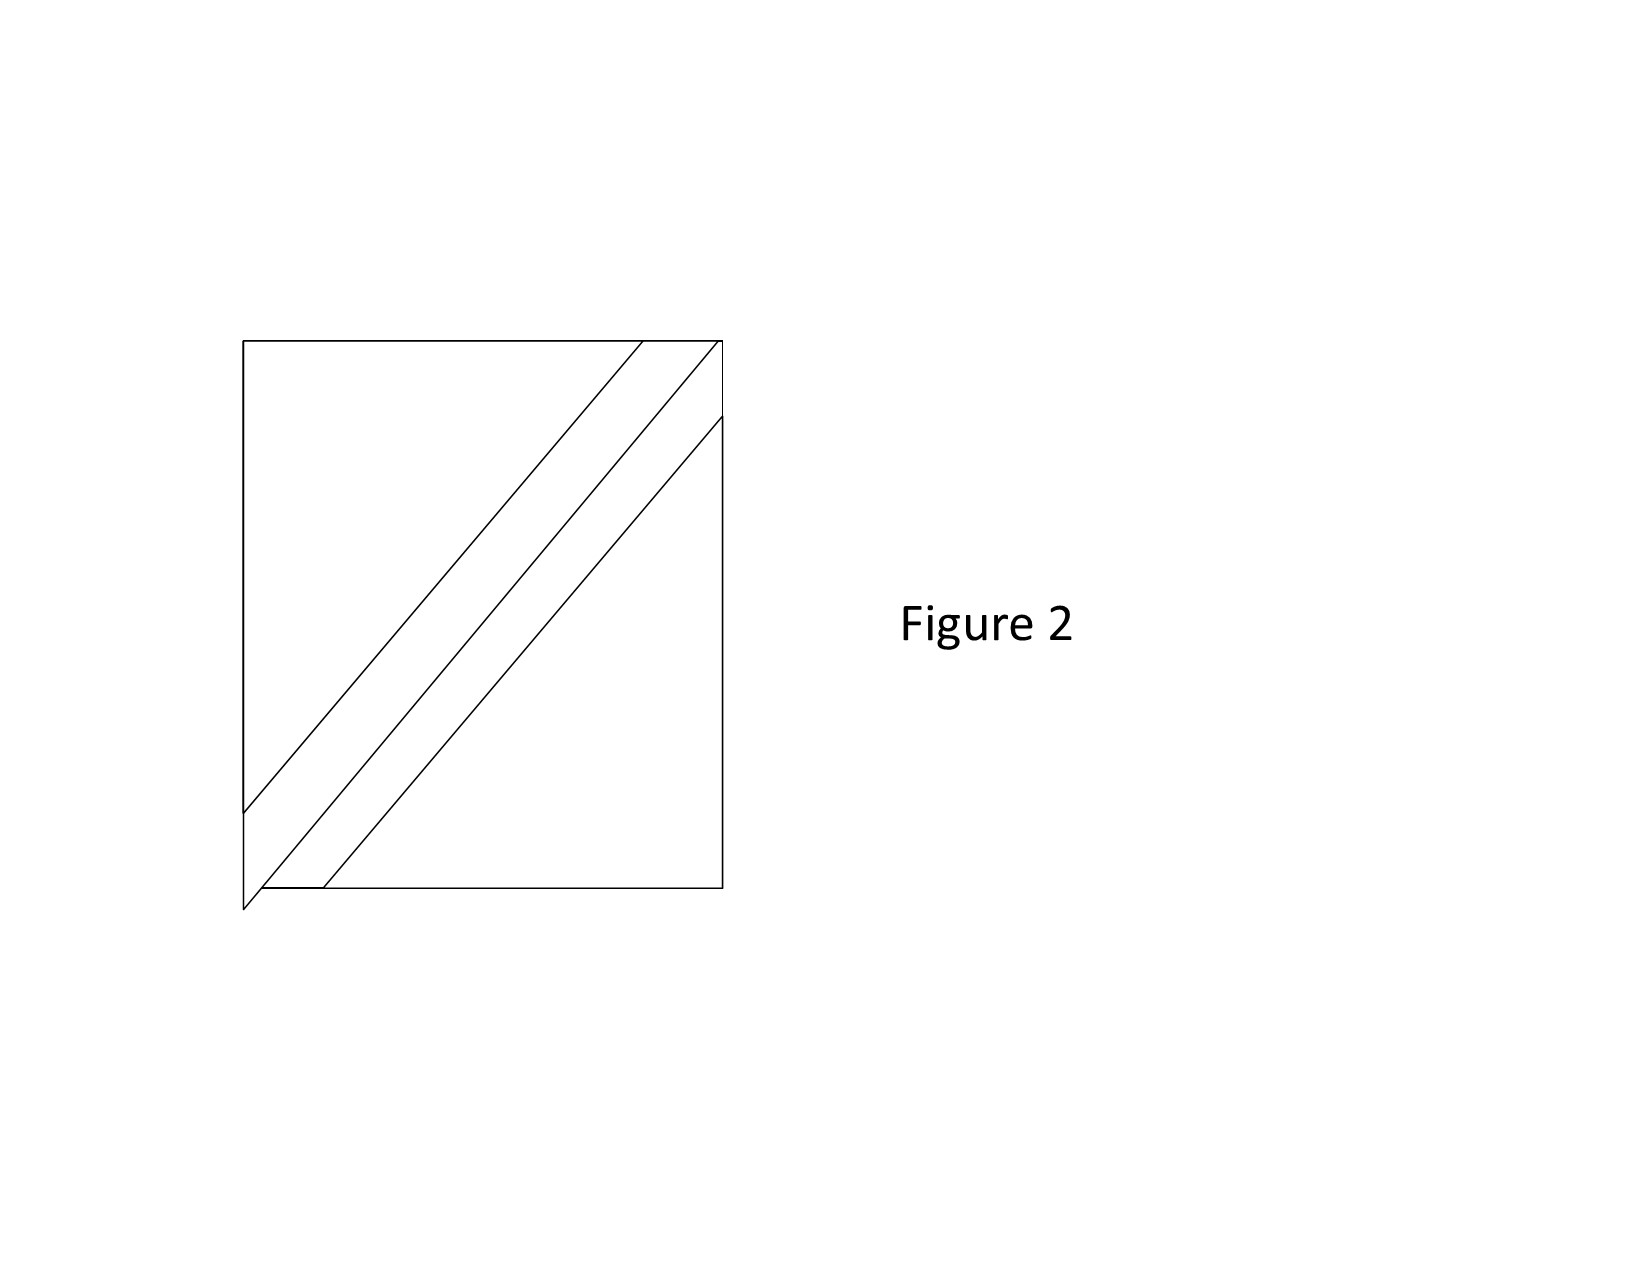
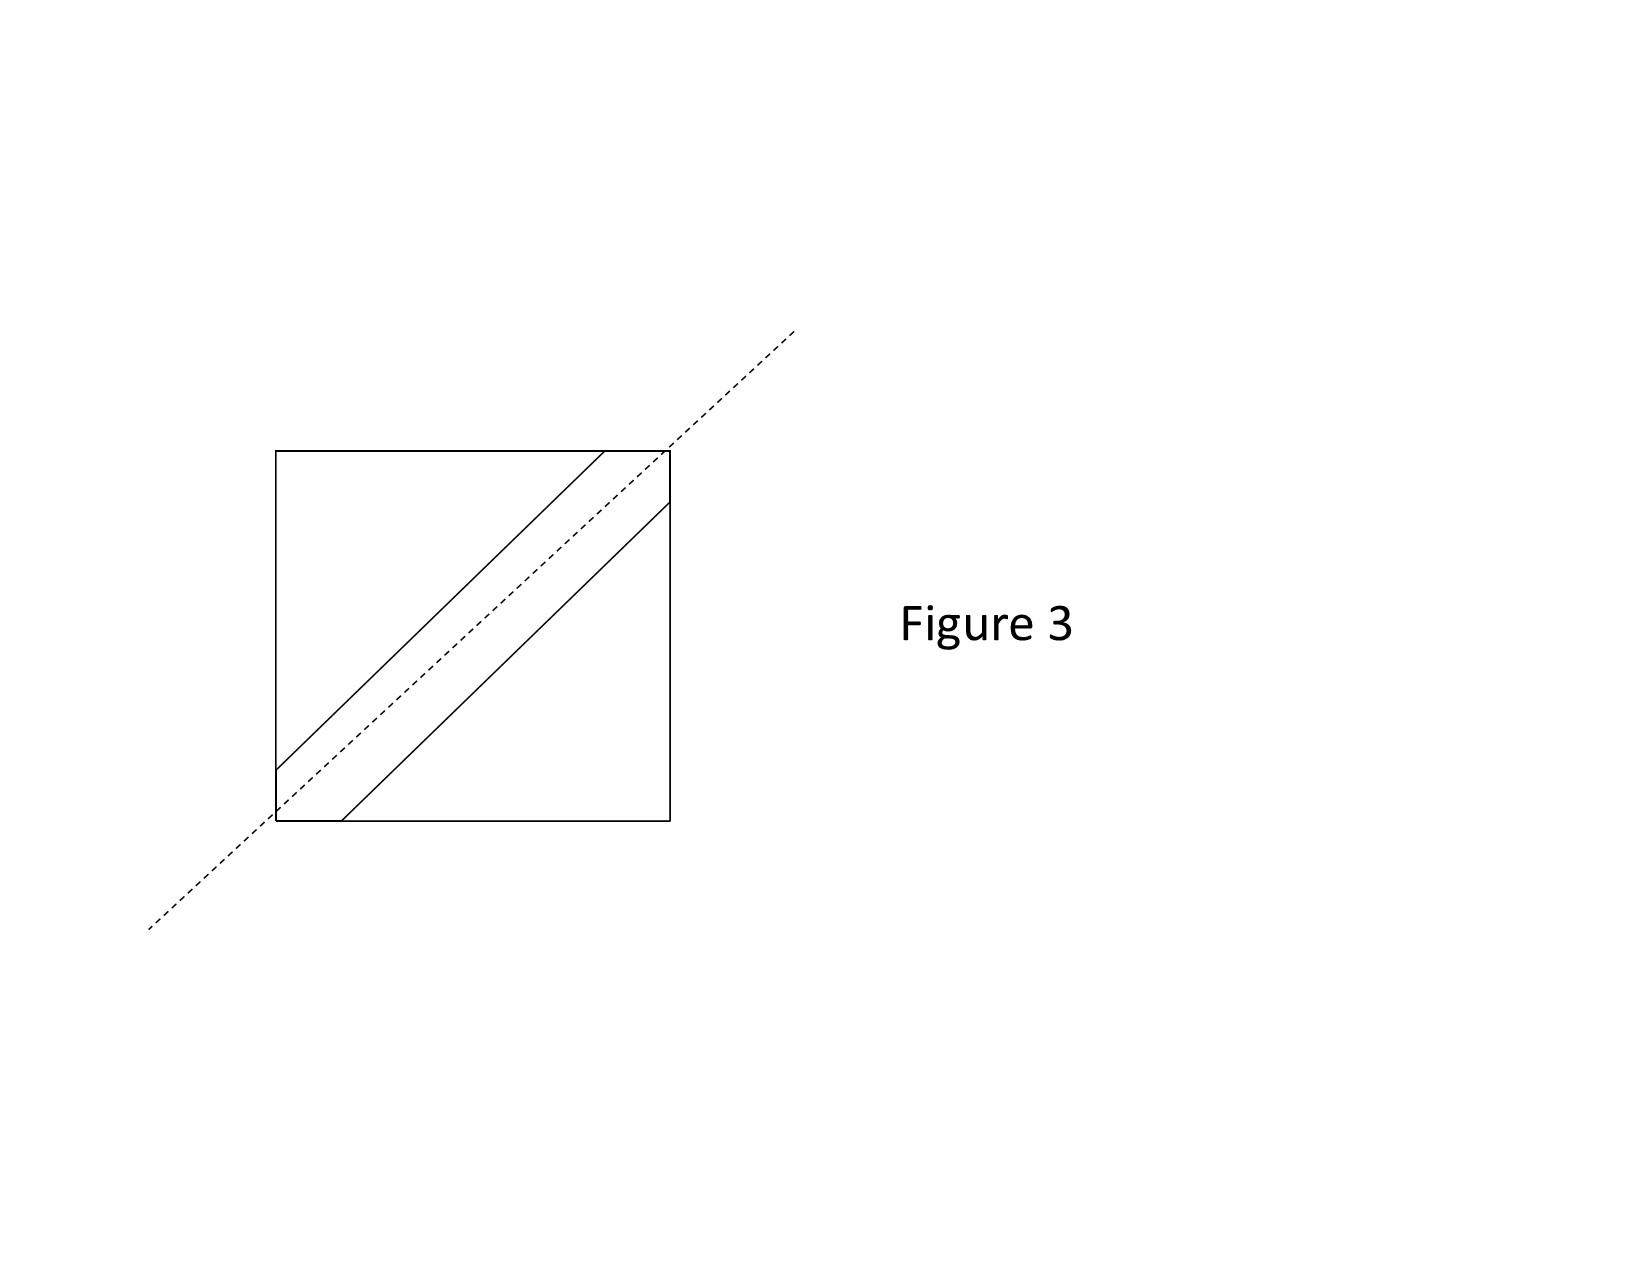
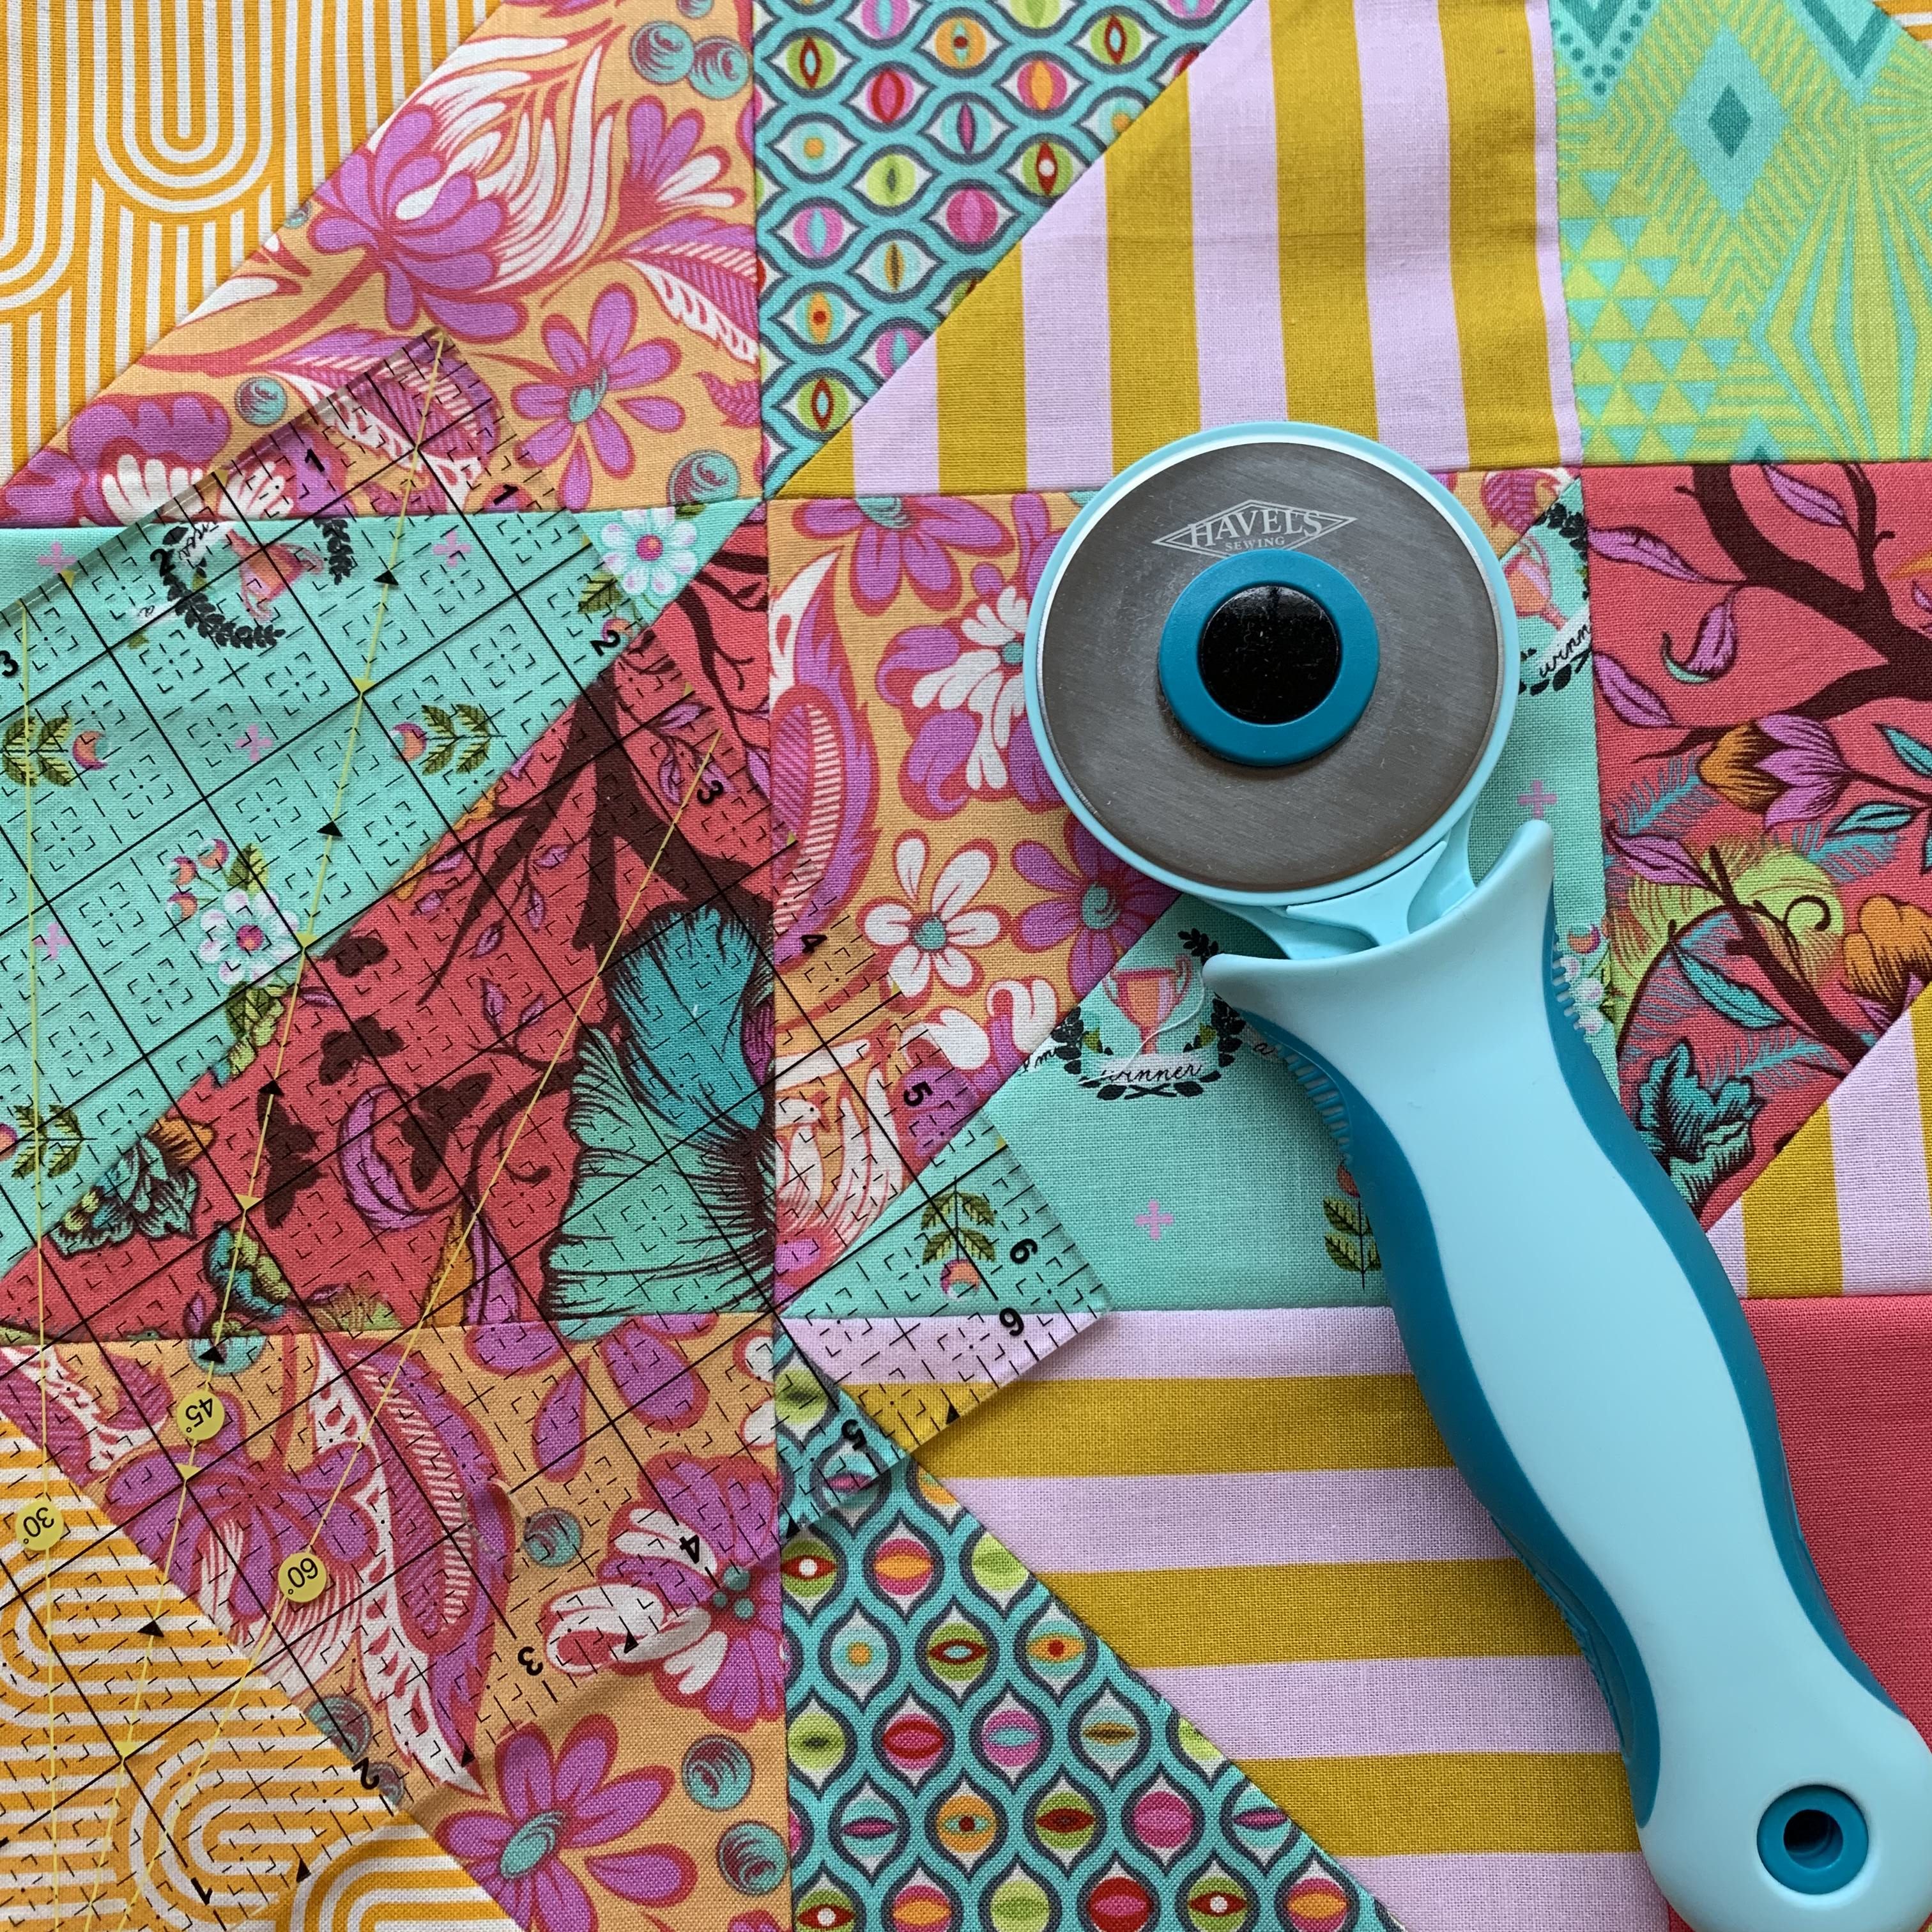
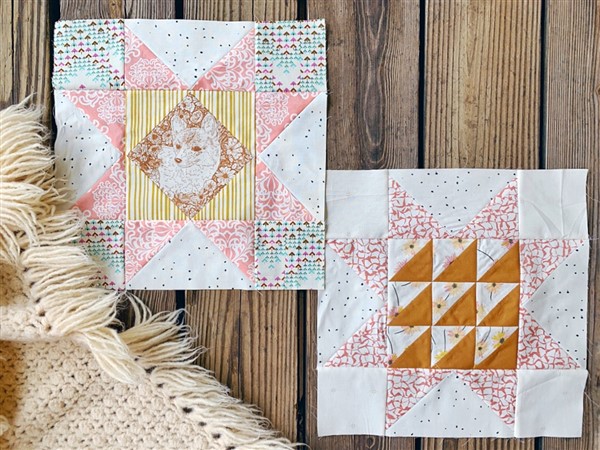
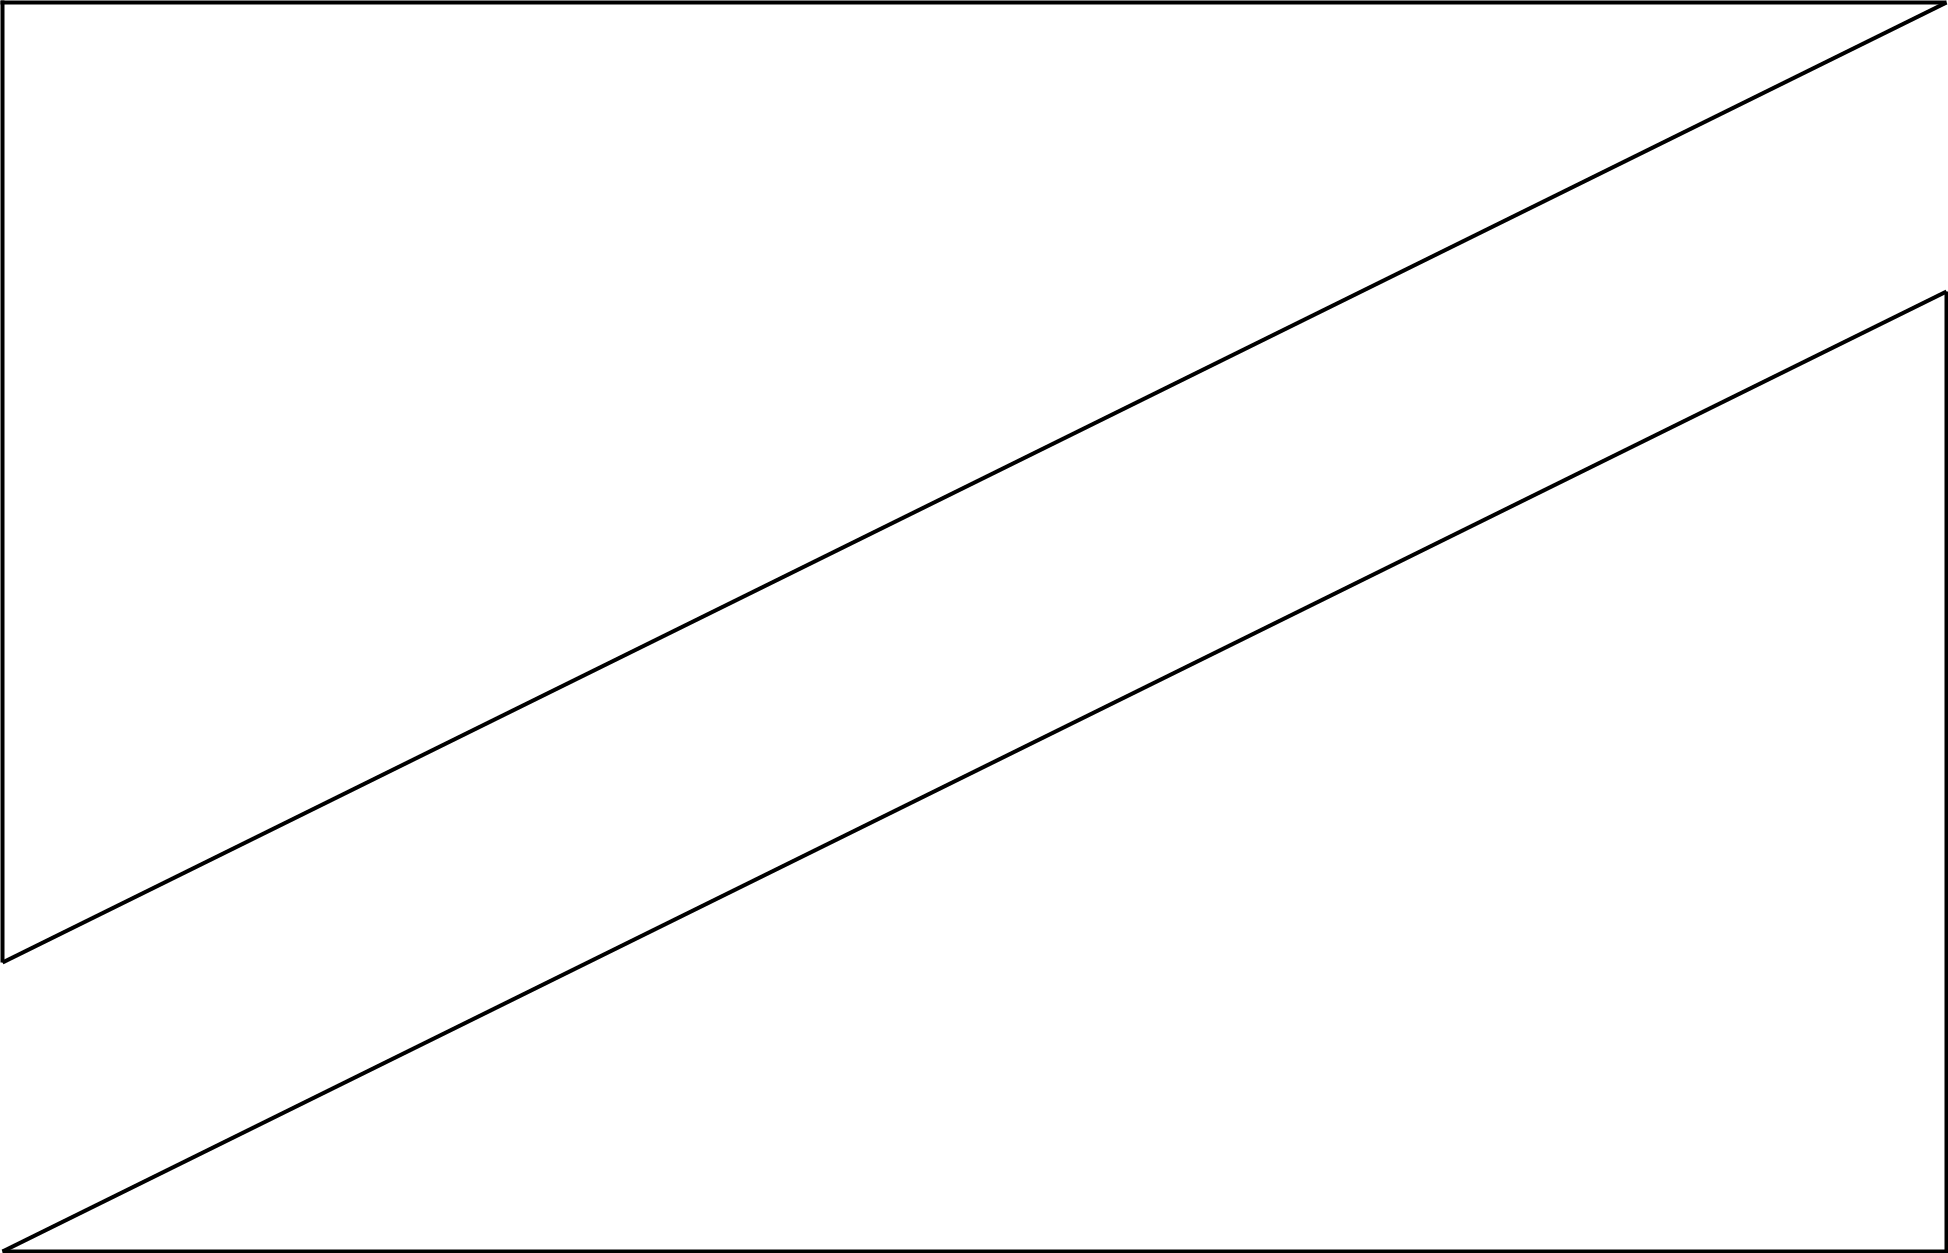
This sweet girl is just 9 half square triangles.  Teeny weeny HSTs that is!  We are making them in a different method that uses strips.  Your half square triangle ruler is essential for this method.  I’m including a template if you don’t have one, but if you’ve never used this ruler and struggle with HSTs, I think you’ll find it extremely helpful at making perfect little units.  And there is a whole lotta HSTs in this quilt pattern.  I’ve got a tutorial as well for the basic method of HST making with this ruler here.

But back to Gabrielle, I LOVE this method of HST making.  When you can use all sizes of scraps to get the same unit it really frees you up to make use for those scraps.

I’ve used Raw Gold solid and Gitan Paradis for my inner unit.

Tips + Thoughts

  • You probably have heard me say this a hundred times, but starch is your bestest friend.  Starch your fabrics before you EVER cut your starting pieces.  You have to press them anyway.  Adding a little starch before you do doesn’t take up much more time and it will be worth it.  Starch and triangles are like peanut butter and jelly!
  • Your ruler or template should flip sides with each HST cut.  This will make the most of your strip.
  • Don’t iron!  Only press.  HSTs need to be handled with the utmost care.  They are cut on the bias and have a tendency to get wonky on you.  How you treat them will determine if they end up wonky or not.
  • You can always make HSTs the usual way if you prefer it.  Don’t let my methods hold you back from what you love!
  • Color is important in this block.  You want to be able to see the HSTs, so choose two contrasting fabrics for best results.
Click here for the Gabrielle pattern.

Here is the template if you don’t have this ruler.


If you prefer to foundation paper piece Josephine instead of the way I’ve written the pattern, Nicole Buckley has generously provided us with a paper piecing pattern (you will need to already know how to paper piece).  Find the paper piecing pattern for Gabrielle here.


Ava

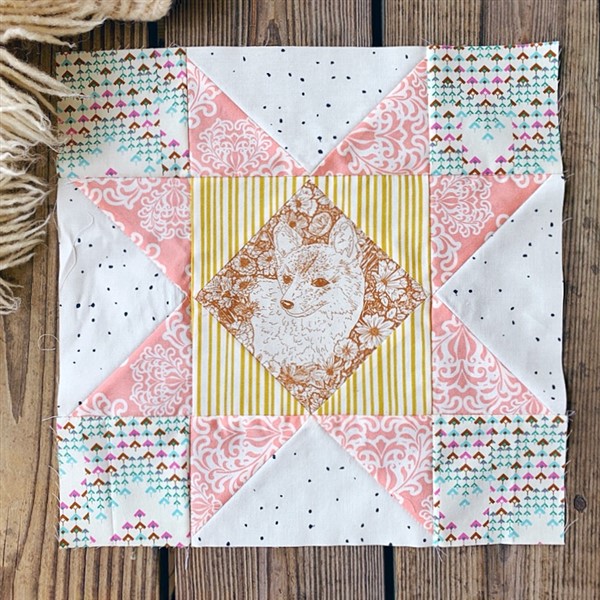
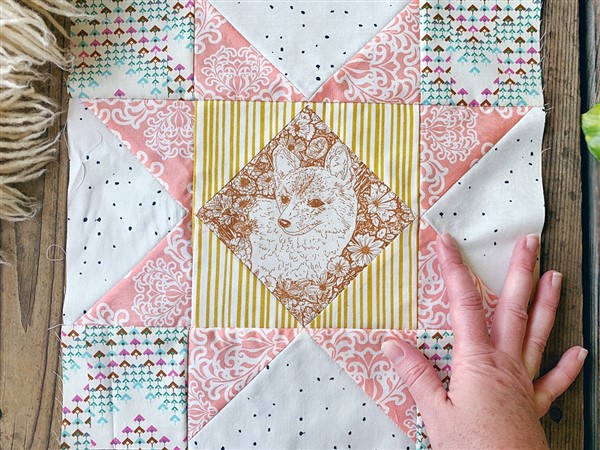
Oh, sweet Ava!  She’s an old traditional block.  Often called a square in a square or an economy block.  She ends up looking like she’s on point and just a perfect place to fussy cut something special.  She’s made by snowballing the corners on to a larger square.

I’ve used Wandering Doe again and Streakly Business for my inner unit.

Tips + Thoughts

  • Starch again is a tip here!
  • For me, snowballing has a tendency to get wonky.  I like to nit pick at my placement of the smaller square and mindfully get it flush with the corner, otherwise I always end up a bit off.
  • If you hate drawing lines, there’s this so you don’t have to.
  • If you like how I’ve kept my lines going in the same direction, I achieved this by turning all of them on their right side before sewing them onto corners of the main square.  This would work for all directional prints.
Click here for the Ava pattern.


If you prefer to foundation paper piece Josephine instead of the way I’ve written the pattern, Nicole Buckley has generously provided us with a paper piecing pattern (you will need to already know how to paper piece).  Find the paper piecing pattern for Ava here.


Tools In Videos


Giveaway Details

Just a reminder, you can enter the giveaway by posting your progress on Instagram using the #littlemisssawtoothQAL.  Havel’s will be giving away random prizes to one winner each week.  Winners will be chosen and announced on Instagram @Havels_Sewing every second Thursday after a pattern releases.  You don’t have to be completed with each pattern release to win, you only have to post progress.  You must be following Havel’s Sewing to win the giveaway prize!


Get a personalized Little Miss Sawtooth quilt along label for your quilt.

Get the label here.


I’ve been getting questions about my scrappy background.  I wrote a post awhile back about it here.

Have fun making Gabrielle and Ava!  I’ll see you in two weeks.  🙂


Let’s Connect

Blog / Email / Instagram / Newsletter / Fabrics


Posted in Melanie Traylor, Melanie Traylor, Quilting | 3 Comments

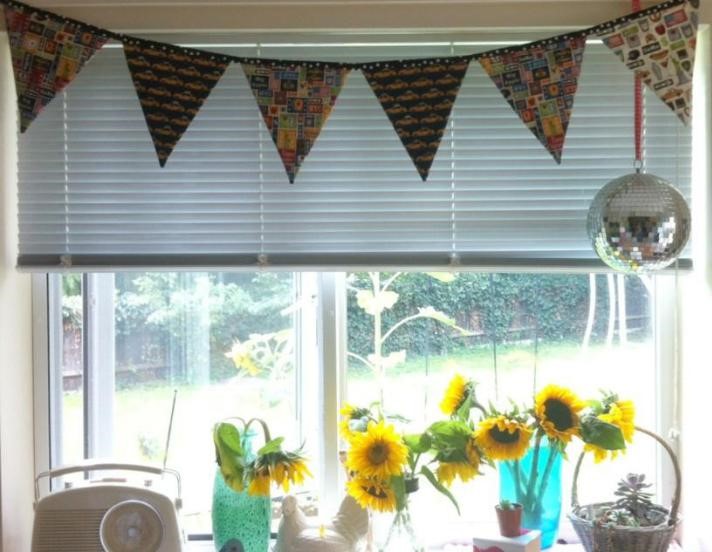
Halloween Bunting & Tutorial Pattern Kit

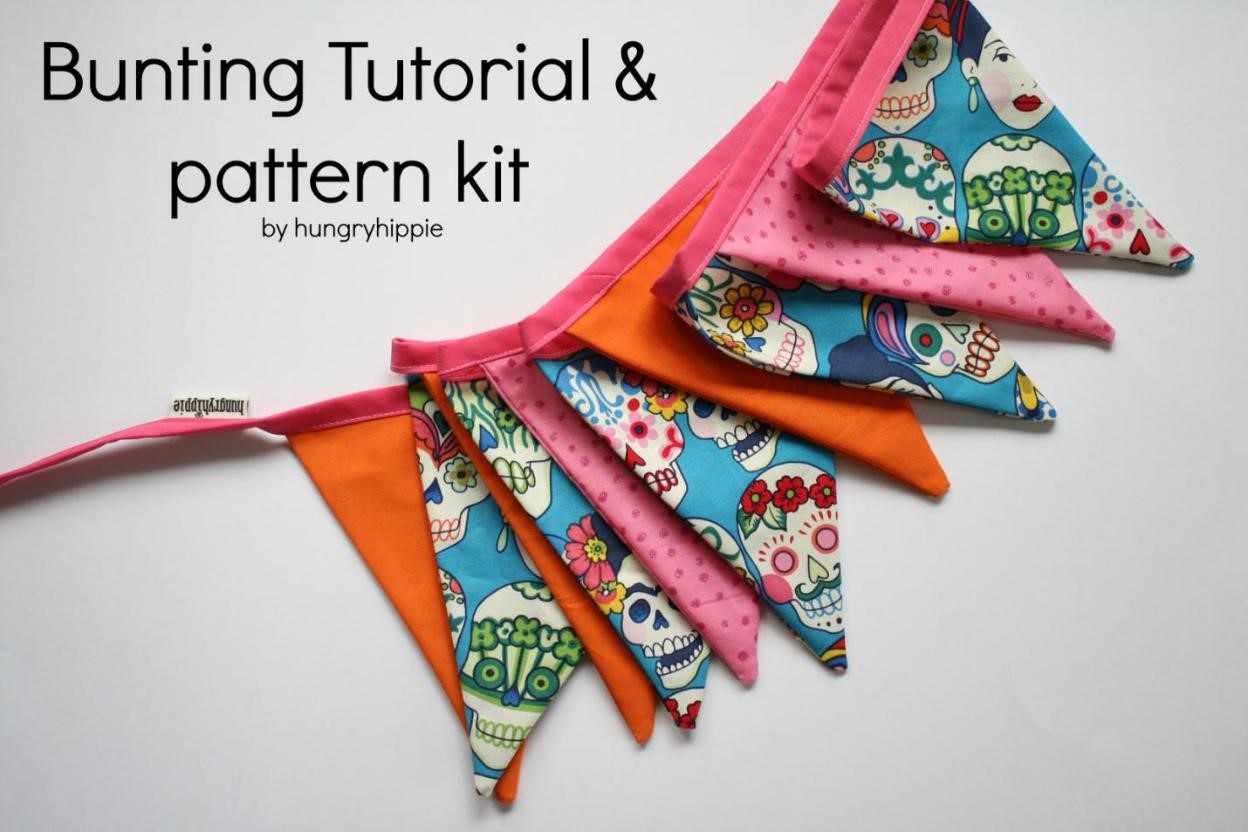
Bunting Tutorial & pattern kit

by hungryhippie


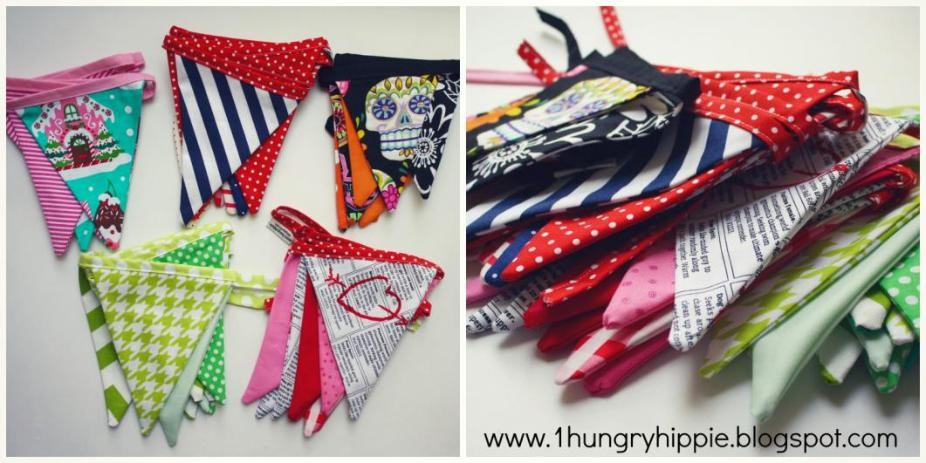
For these bunting flags, you can use any fabrics you like, even scraps. Cotton is easiest for first time sewers, but almost any material can be used. I’ve cut up old shirts and jeans to make buntings as well. Eco friendly and easy-just what I like!


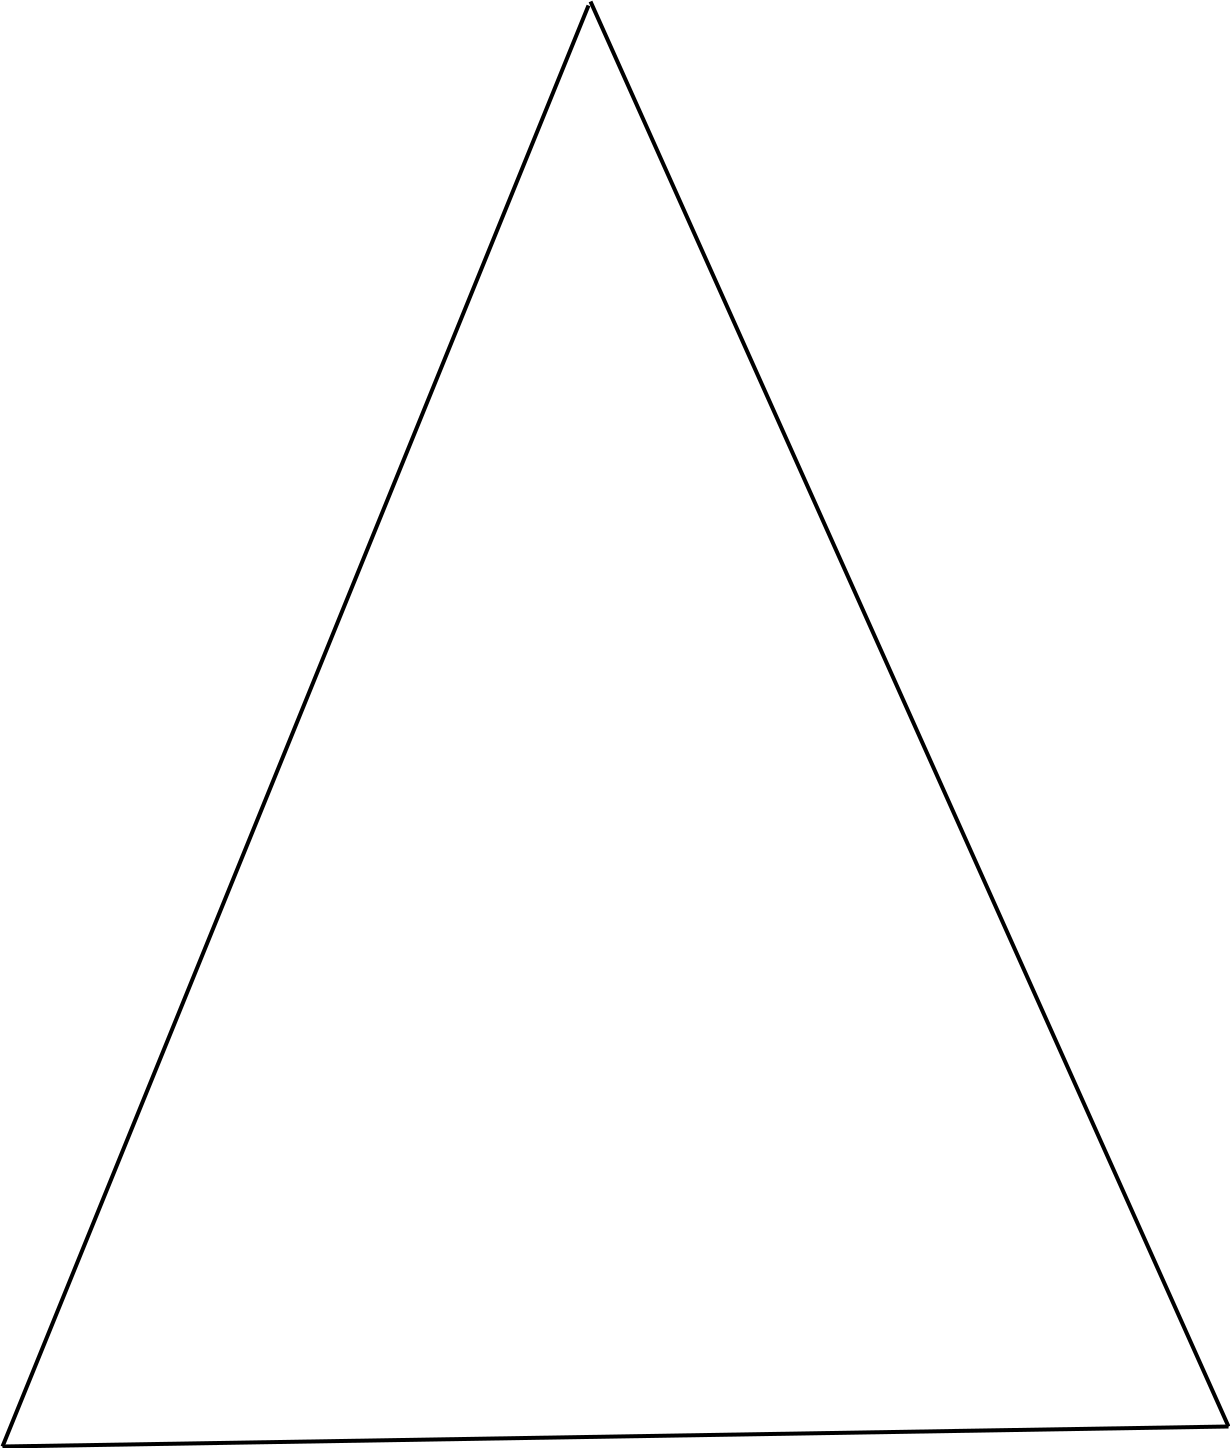
Step 1: Use the included pattern to cut out the triangle shapes from poster board or card stock. This way you can keep it forever, using it over and over again.

Step 2: Cut all triangles at once. You will need two pieces (front and back) for each triangle. For example, nine flags would be eighteen fabric triangles.

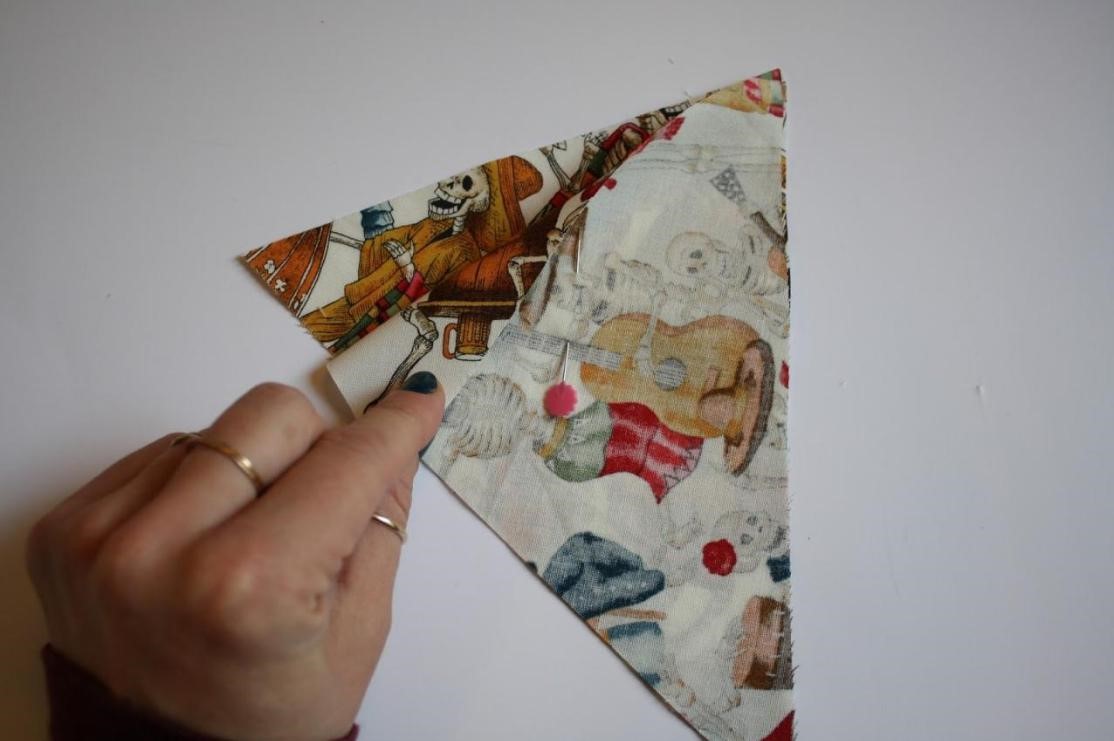
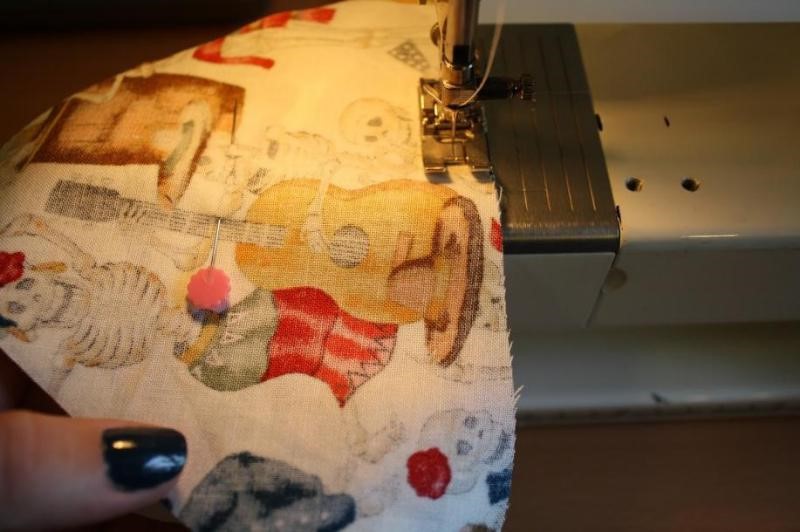
Step 3: Pin the two fabric triangles right sides together and sew the sides at a 1 /4″ seam. Leave the top open for turning later.

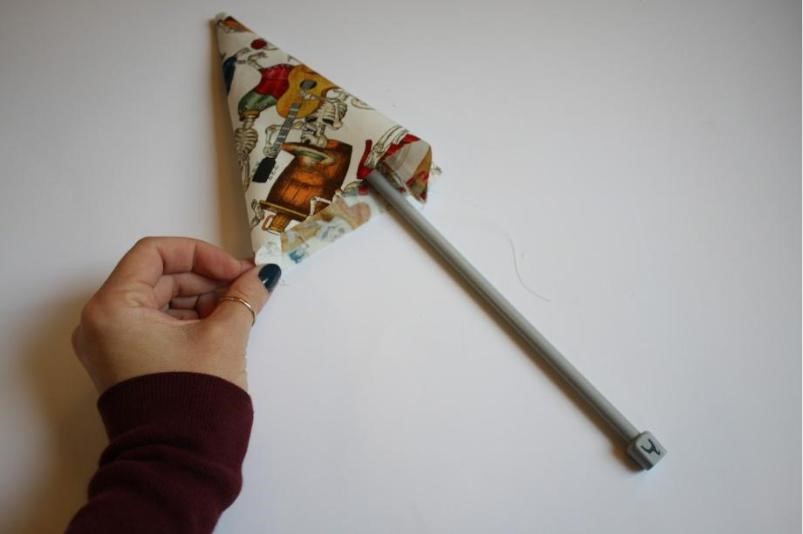
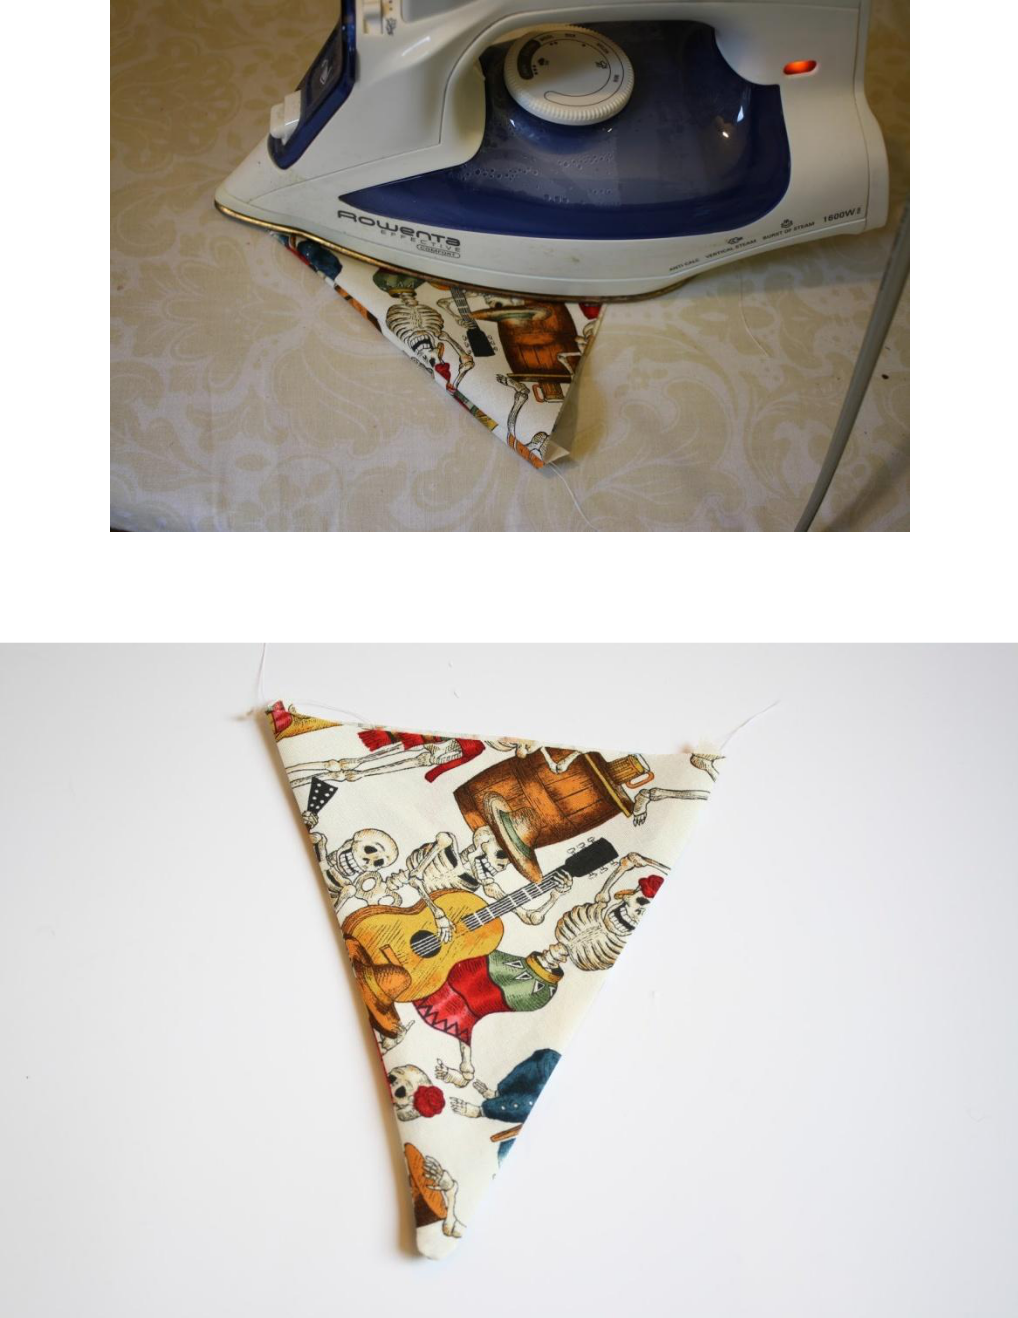
Step 4: Turn each triangle right sides out again and press. You may have to use a pointy thing to get the end nice and crisp.

I used a knitting needle to help me get the point pushed out.

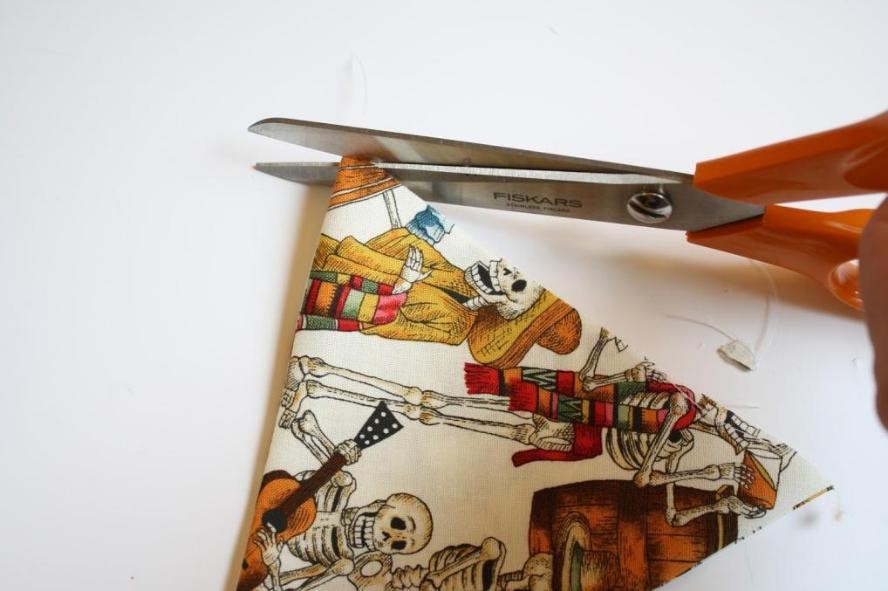
Step 5: Trim all corners and threads to clean it up before we finish off.

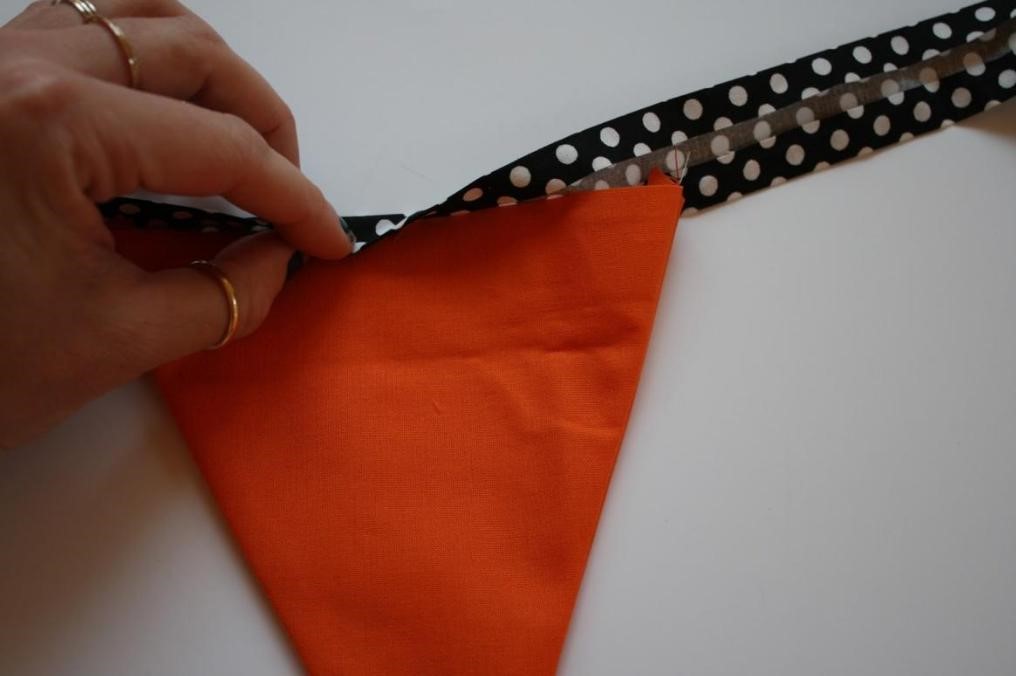
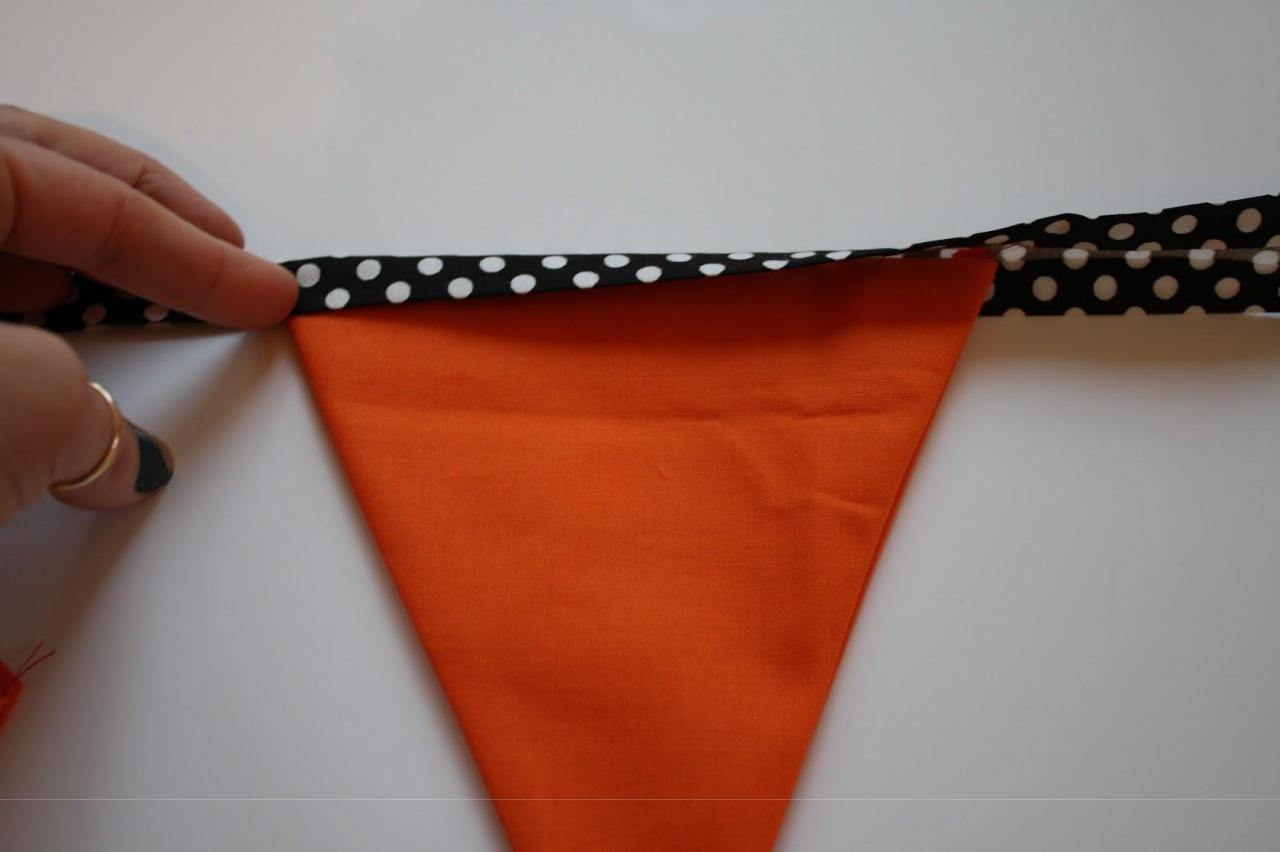
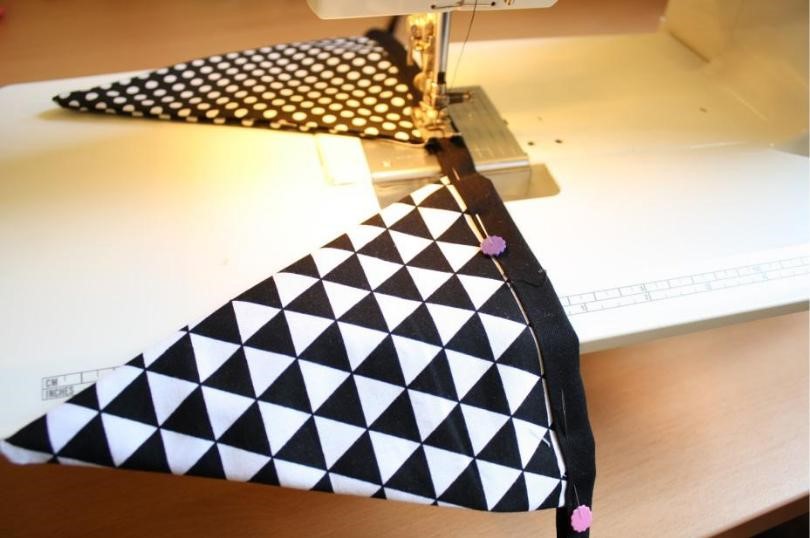
Step 6: Insert into the folded center of double fold bias tape, and press. Pin each corner into the bias tape, for security while you sew the edge closed.

*The bias tape doesn’t have to be cut on the bias for this project. I now make my tape along the selvedge edge of the fabric with the Simplicity Tape Maker machine to help me iron it all out smoothly and neatly in just a few minutes.

Step 7: Sew the entire open edge from end to end, closing the bias tape. Check to be sure you are catching both front and back while you sew. It’s not difficult, just take a second and check yourself.

Trim the ends of the bias tape with pinking shears and hang it up!

Thank you for your support! Find me online here:Facebook/pages/hungryhippie or my blog: 1hungryhippie.blogspot.com


Posted in art ideas, craft, Craft to make, Crafting, Free Craft Projects, Free Sewing Project, Fun Stuff, Halloween, Holiday Projects, Natalie Santini, Tutorials, Uncategorized, Wall Hangings | Comments Off on Halloween Bunting & Tutorial Pattern Kit

EXPLORE Quilt Along – Homemade Emily Jane

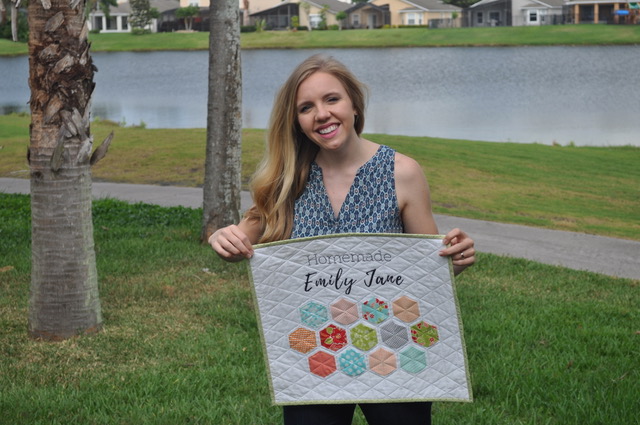
HOMEMADE EMILY JANE

QUILTING, SEWING & INSPIRING CREATIVITY
WELCOME  ABOUT EMILY  SHOP BLOG GALLERY CONTACT


EXPLORE QUILT PATTERN RELEASE AND QUILT-A-LONG DETAILS!

September 24, 2019

The day is finally here and I get to officially release my first quilt pattern to you all!

I designed this quilt to be easy enough for anyone at any level, so if you’ve never made a quilt before, this is a great place to start! If you’ve been quilting for years, I am sure you’ll have fun making the Explore Quilt too! You can choose from 3 sizes: Pillow, Baby, and Throw! I’m toying around with the idea of scaling down even further to make a mug-rug size. Would you be into an extension pattern for some tiny piecing?
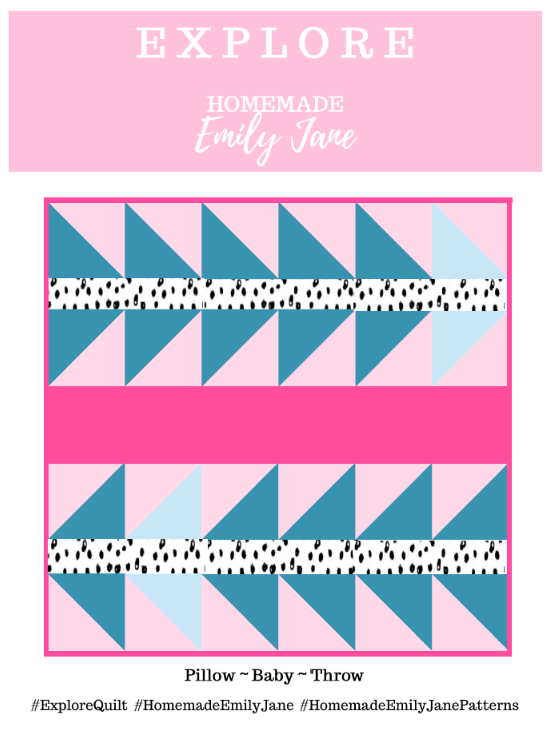
TO GET THE EXPLORE QUILT PATTERN FOR FREE, SIGN UP FOR MY NEWSLETTER HERE!

Oh and by the way, this is also the launch of my very first newsletter! Yay! Sign up today so you can be in on the very beginning! When I start sending them out, please do share feedback with me about what you like/don’t like/want to see more of!
QUILT-A-LONG OVERVIEW!

Have you heard that I will be hosting a QUILT-A-LONG for the new Explore quilt pattern? (I’ve been talking all about it on my Instagram!)

I have planned for the Explore Quilt-A-Long to be super laid back in terms of time commitment, so anyone can do it. I want to let you know we are going to make this thing in its entirety from START to FINISH during this QAL! I am not about unfinished projects! But do not worry, the Quilt-a-Long will be spread out through 7 weeks to make sure we all have plenty of time to finish!
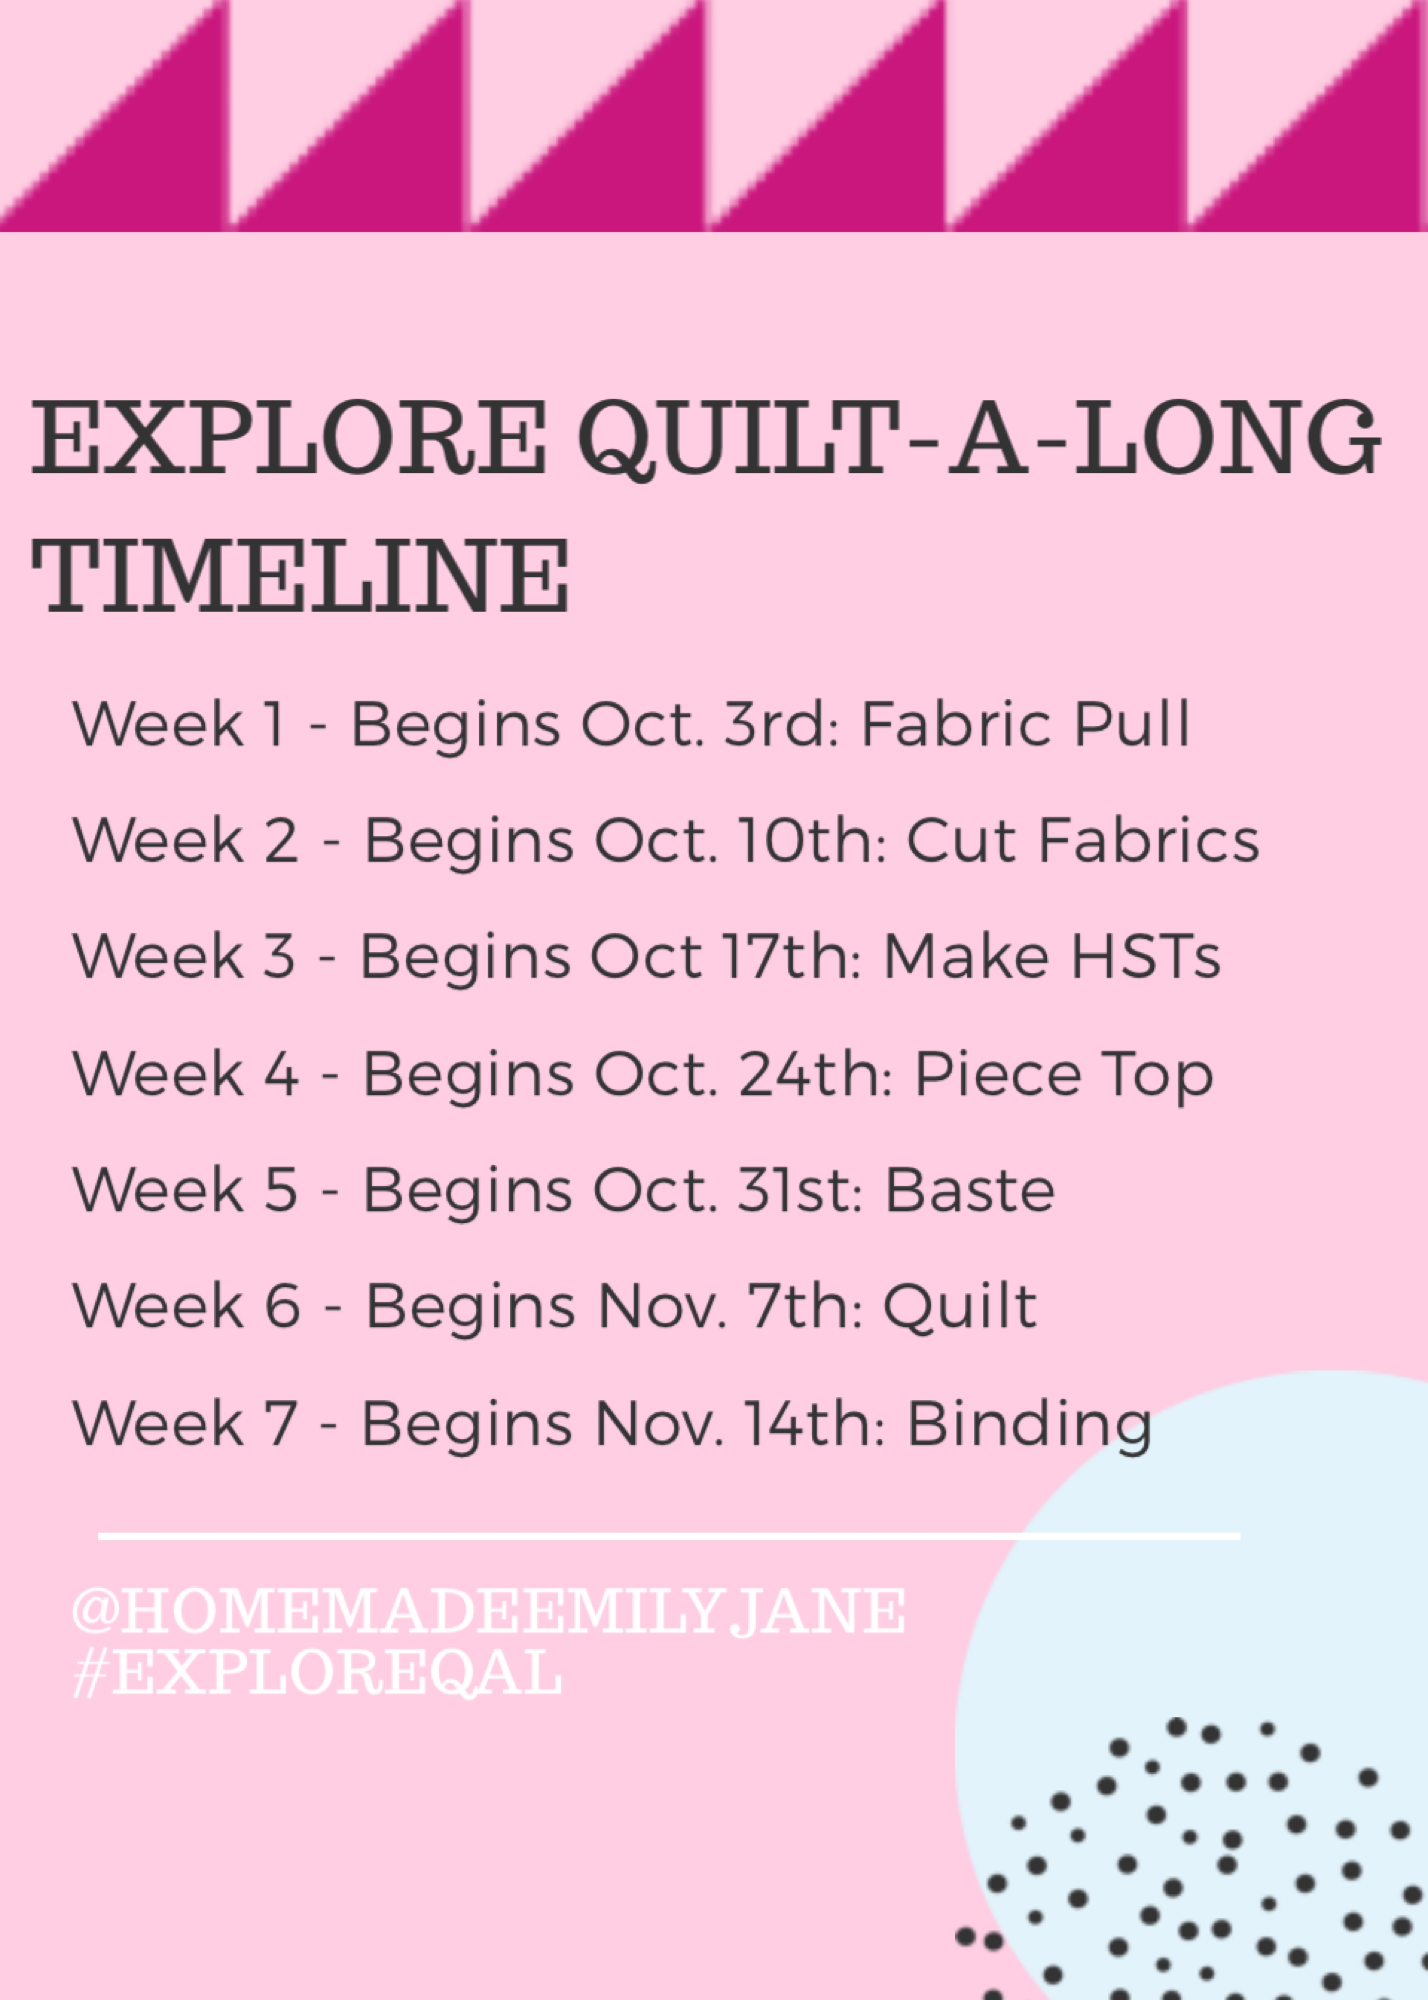
WHAT YOU NEED TO KNOW ABOUT THIS QAL TIMELINE:

Like I said, we are taking things SLOW. I have things set out in a neat weekly timeline, but some things may actually take more or less time for you. For instance, if you plan on doing tons of intricate hand quilting, you might want to get started on the hand quilting a little early. I am 100% all for working at your own pace, but if you want to be entered to win prizes, you’ve just gotta be careful to post your photos during the correct week!

OH THAT’S RIGHT, THERE WILL BE PRIZES!

Each week we will have a prize or two, courtesy of some amazing sponsors! To be entered to win the prize, simply post the corresponding picture for that week’s prompt on Instagram using #ExploreQAL and make sure you register for the QAL at this link here. I will draw each winner at the end of each week, the morning that the next prompt begins. All the prize info will be sent out in the weekly Quilt-A-Long emails you’ll get when you register.
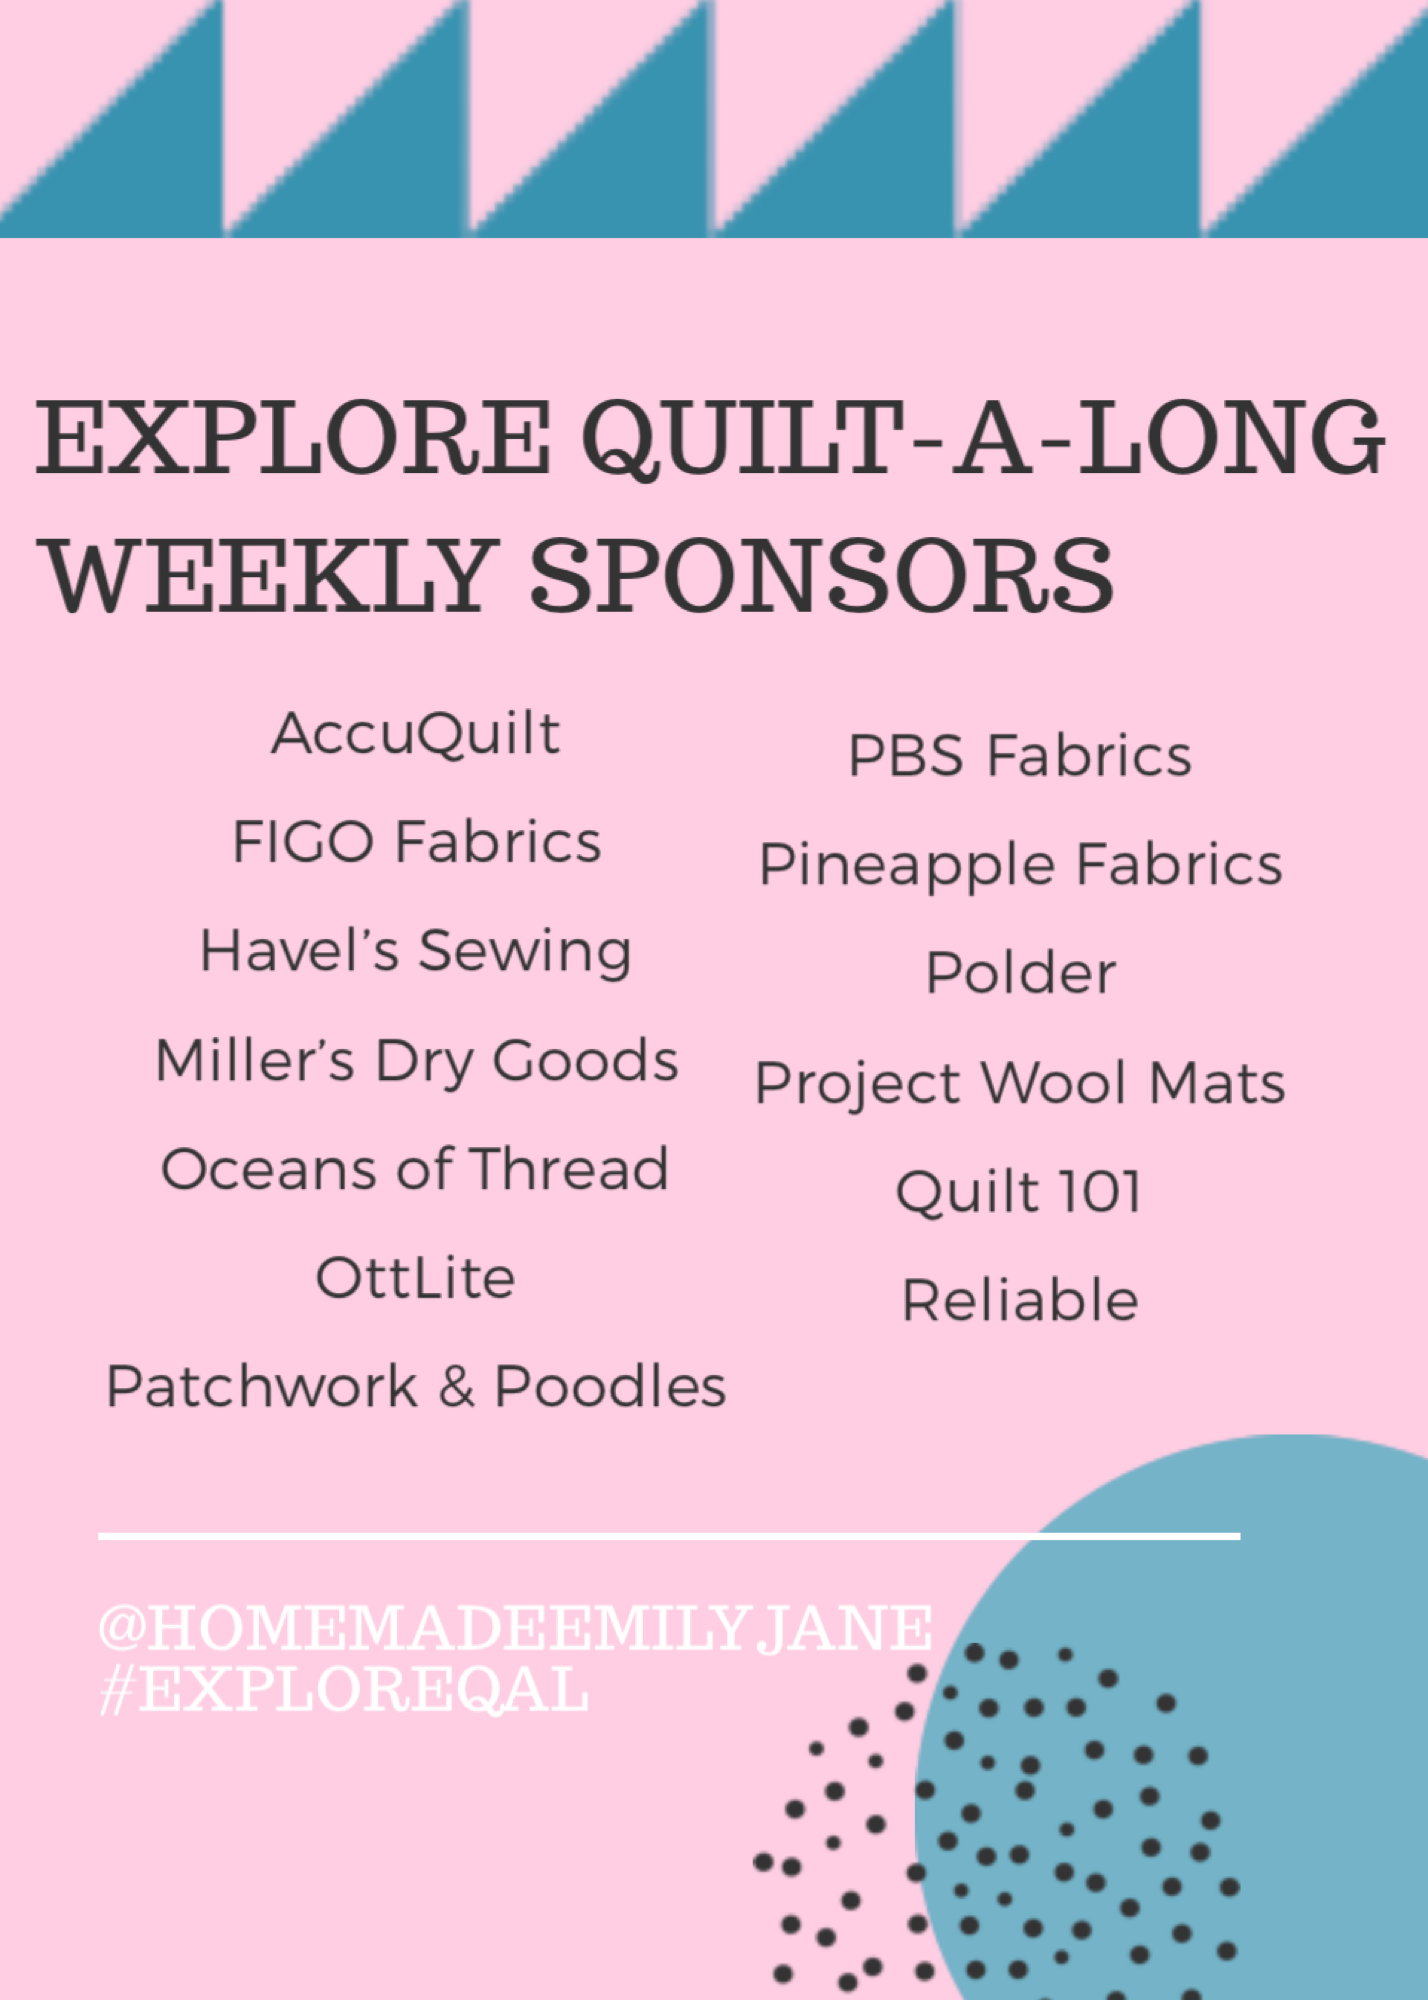
HERE’S A SHOUTOUT FOR SOME OF OUR SPONSORS! GO CHECK THEM OUT!!

*AccuQuilt
*FIGO Fabrics
*Havel’s Sewing
*Miller’s Dry Goods
*Oceans of Thread
*OttLite
*Patchwork & Poodles
*PBS Fabrics
*Pineapple Fabrics
*Polder
*Project Wool Mats
*Quilt 101
*Reliable

WHAT ABOUT A GRAND PRIZE?

The #ExploreQAL is going to have a super awesome grand prize! You will only be eligible to win the grand prize if you post your corresponding photos during each week of the QAL!

*drumroll please*

One lucky winner will get their very own HUSQVARNA VIKING EMERALD 118 sewing machine!
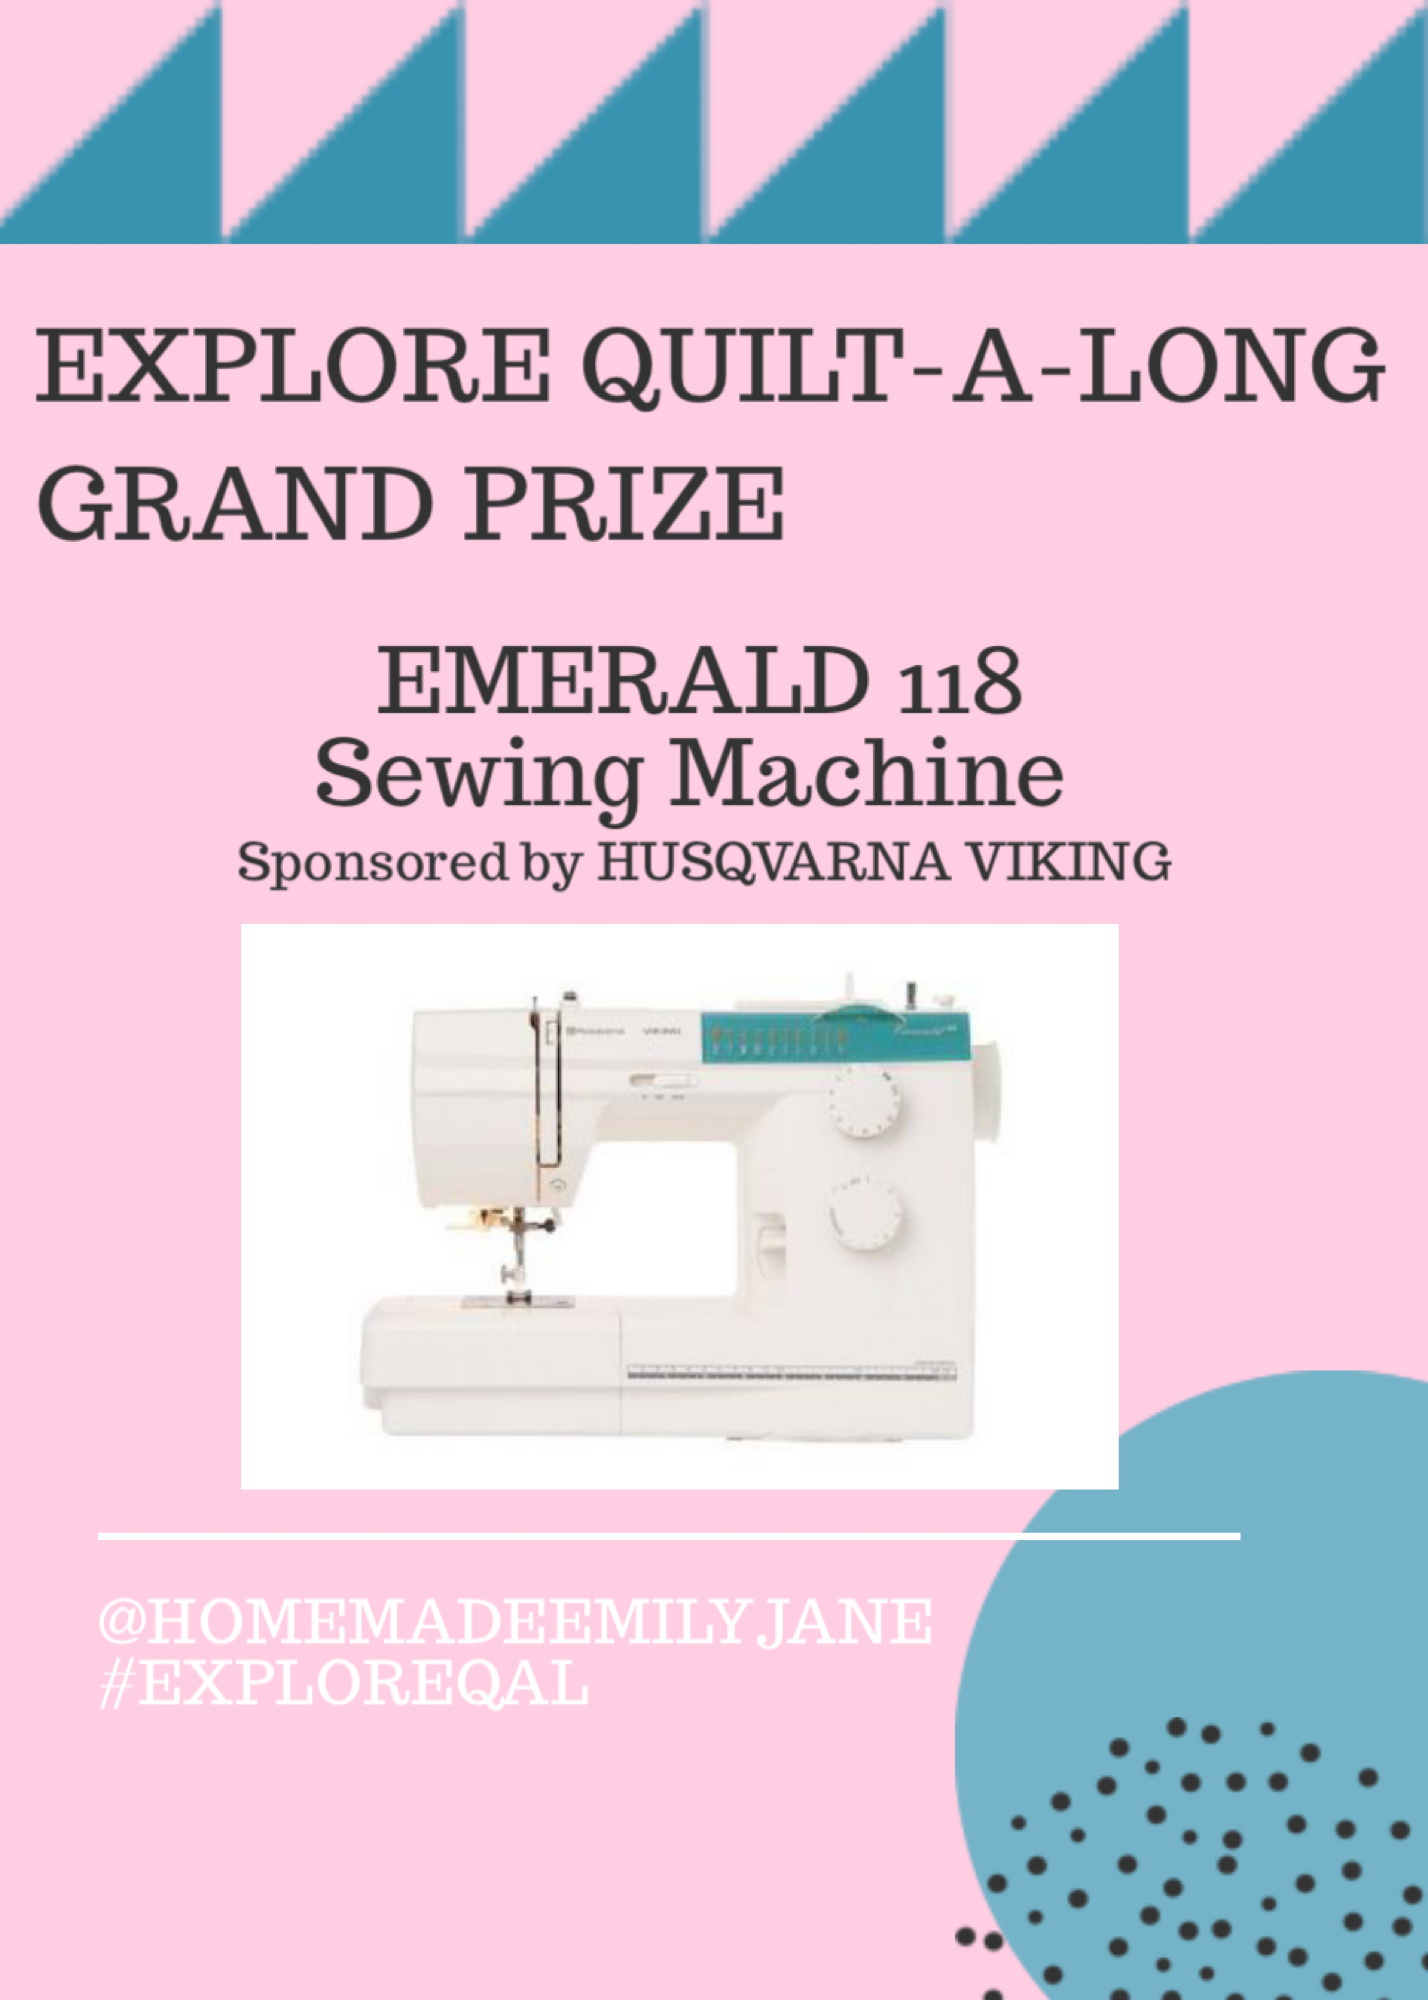
This sewing machine is an amazing work horse and lightweight enough for you to take it with to sewing groups and classes; I actually learned to sew on an EMERALD and still have the one my parents gave me for my 16th birthday! I would recommend this machine to anyone, which is why I’m so thrilled that I get to give one away!

BUT EMILY, DOES IT REALLY TAKE 8 WEEKS TO MAKE THIS QUILT?

It actually can come together really fast! One of my pattern testers actually made the baby size quilt with HAND QUILTING in less than 3 days, so if you want to go ahead and sew faster than this QAL timeline, go for it! Just remember that to be eligible for the grand prize, you MUST post pictures for the weekly prompt DURING that week!

CLICK HERE TO REGISTER FOR THE #EXPLOREQAL!

WITHOUT FURTHER ADO, I WANT TO SHOW OFF TO YOU THE BEAUTIFUL & CREATIVE WAYS MY PATTERN TESTERS MADE THEIR OWN EXPLORE PILLOWS AND QUILTS! I HOPE THESE INSPIRE YOU AND GIVE YOU IDEAS FOR WHAT YOUR OWN WILL LOOK LIKE!

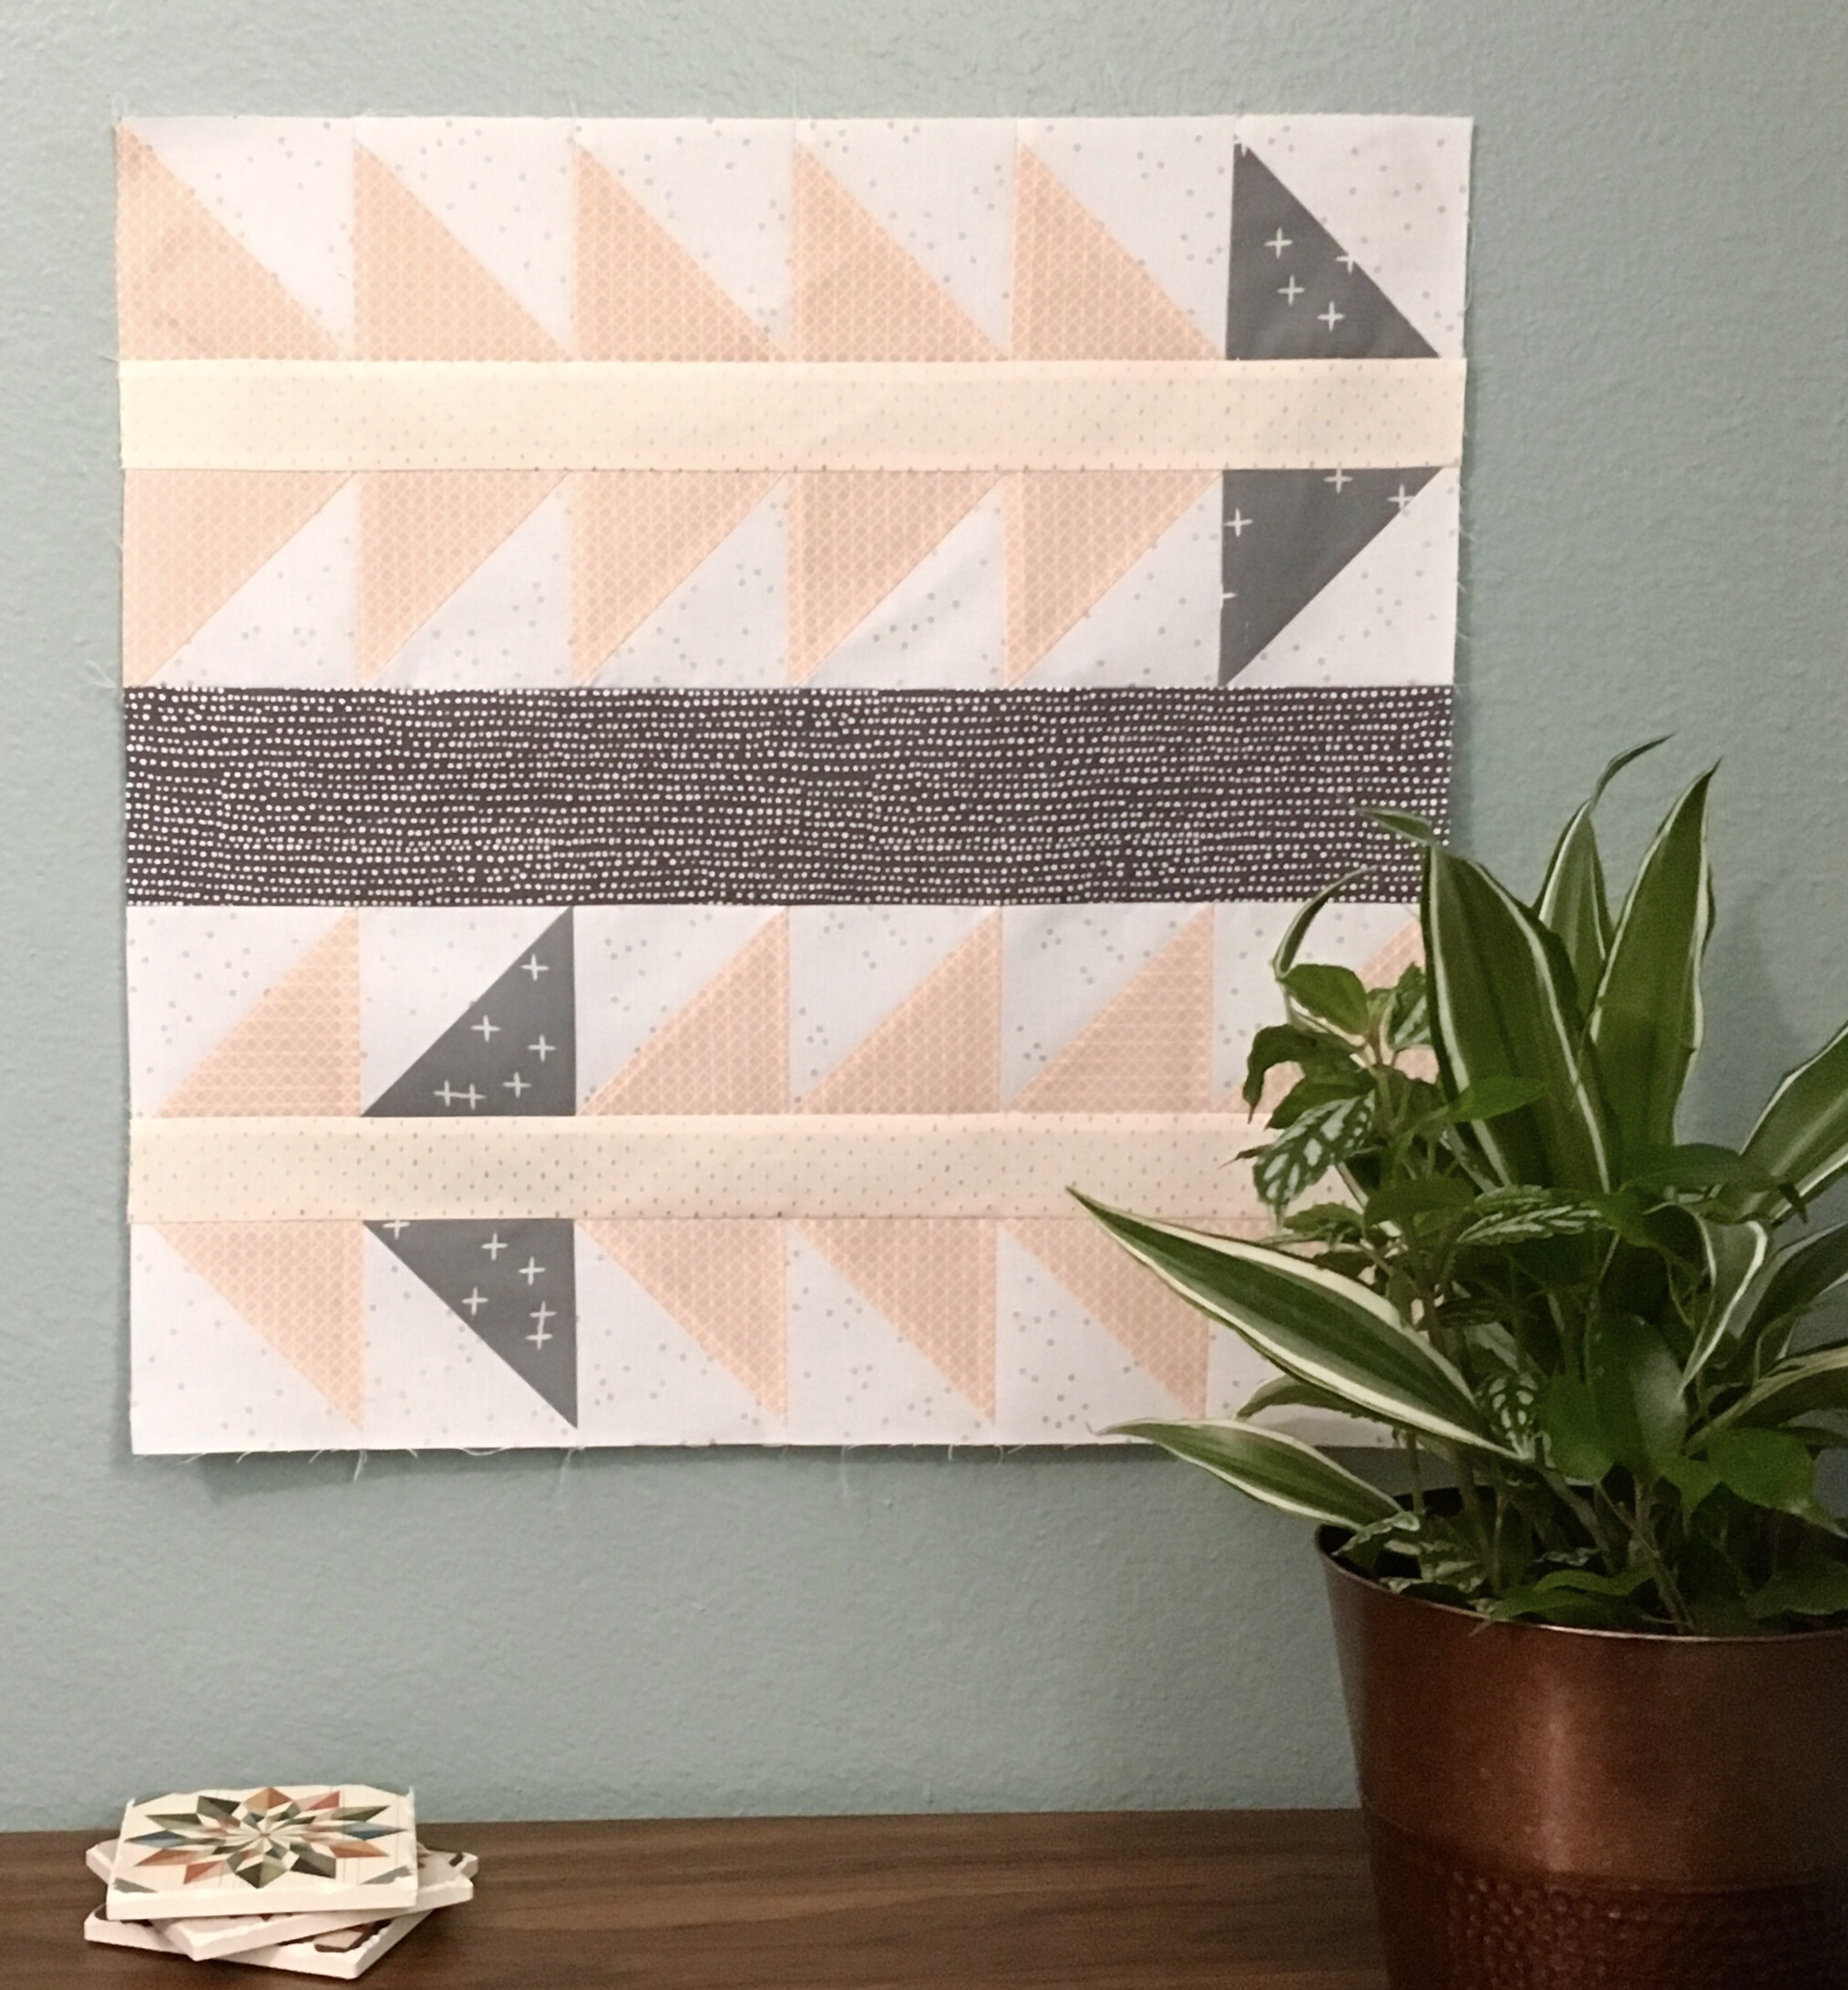
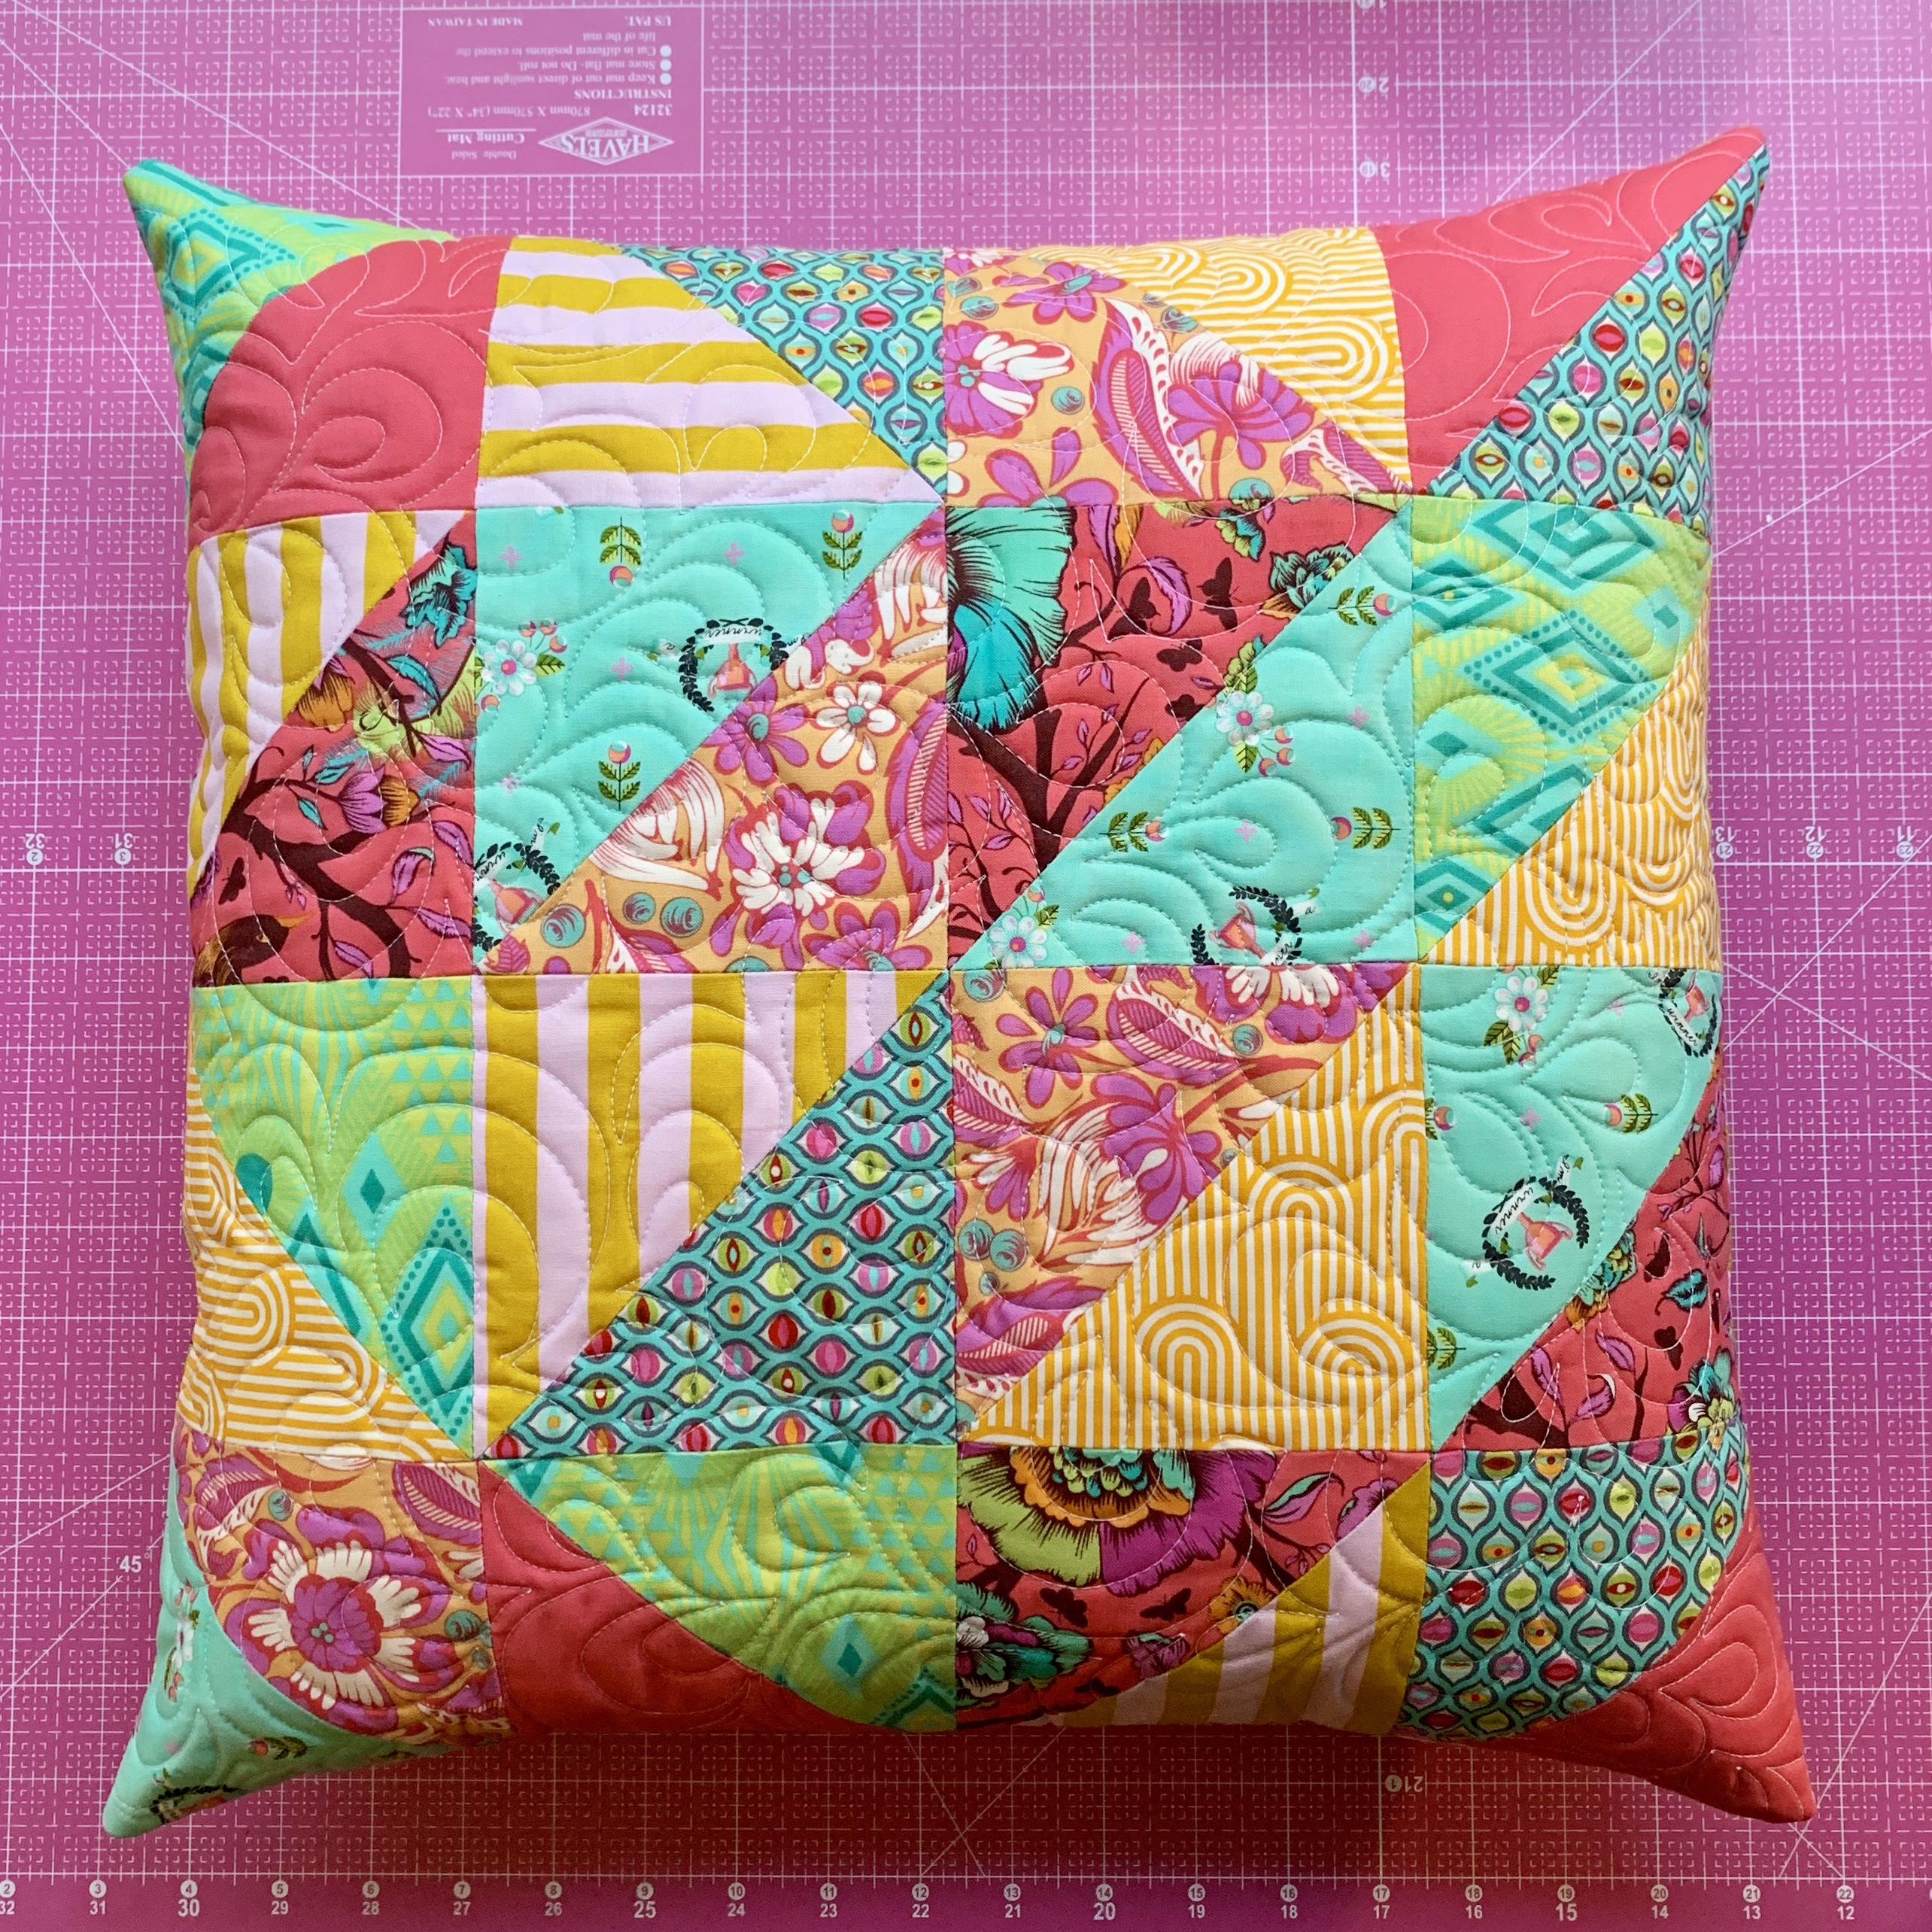
I love the modern yet timeless feel of this neutral colored pillow by @hollandhomesteaddesigns.
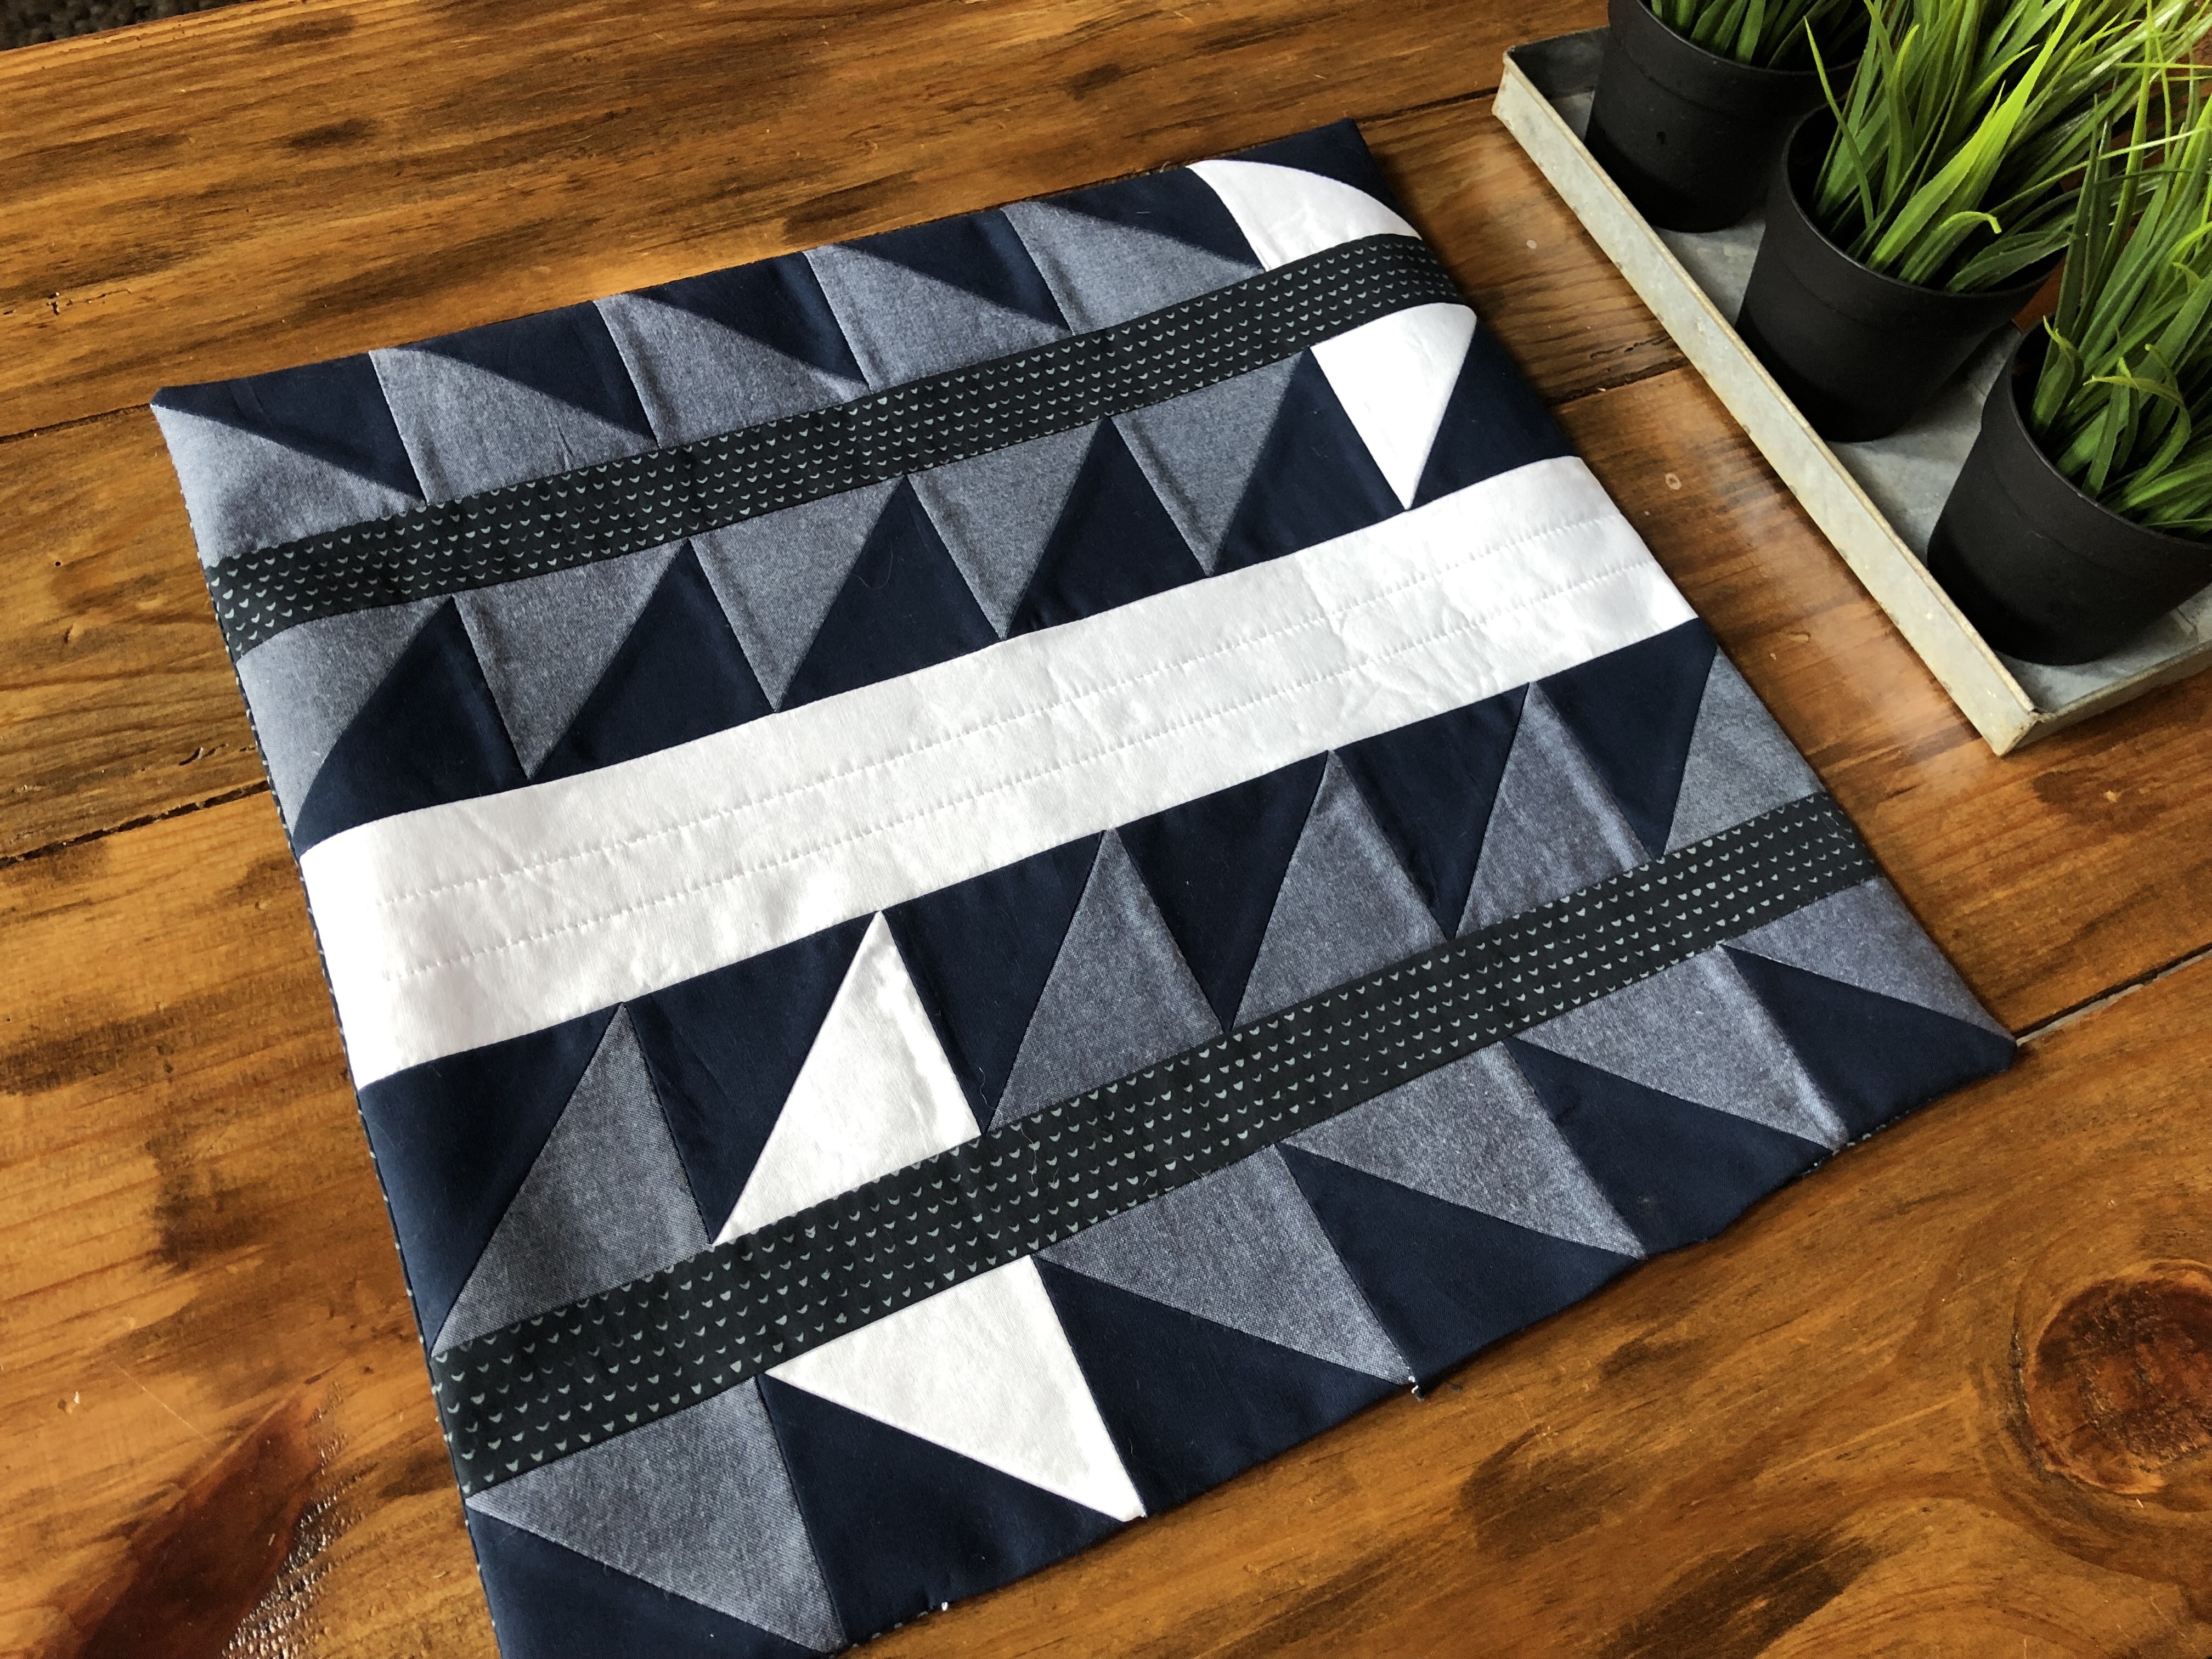
I also am a total sucker for beautiful soft pinks like @finleyfabric used in hers.
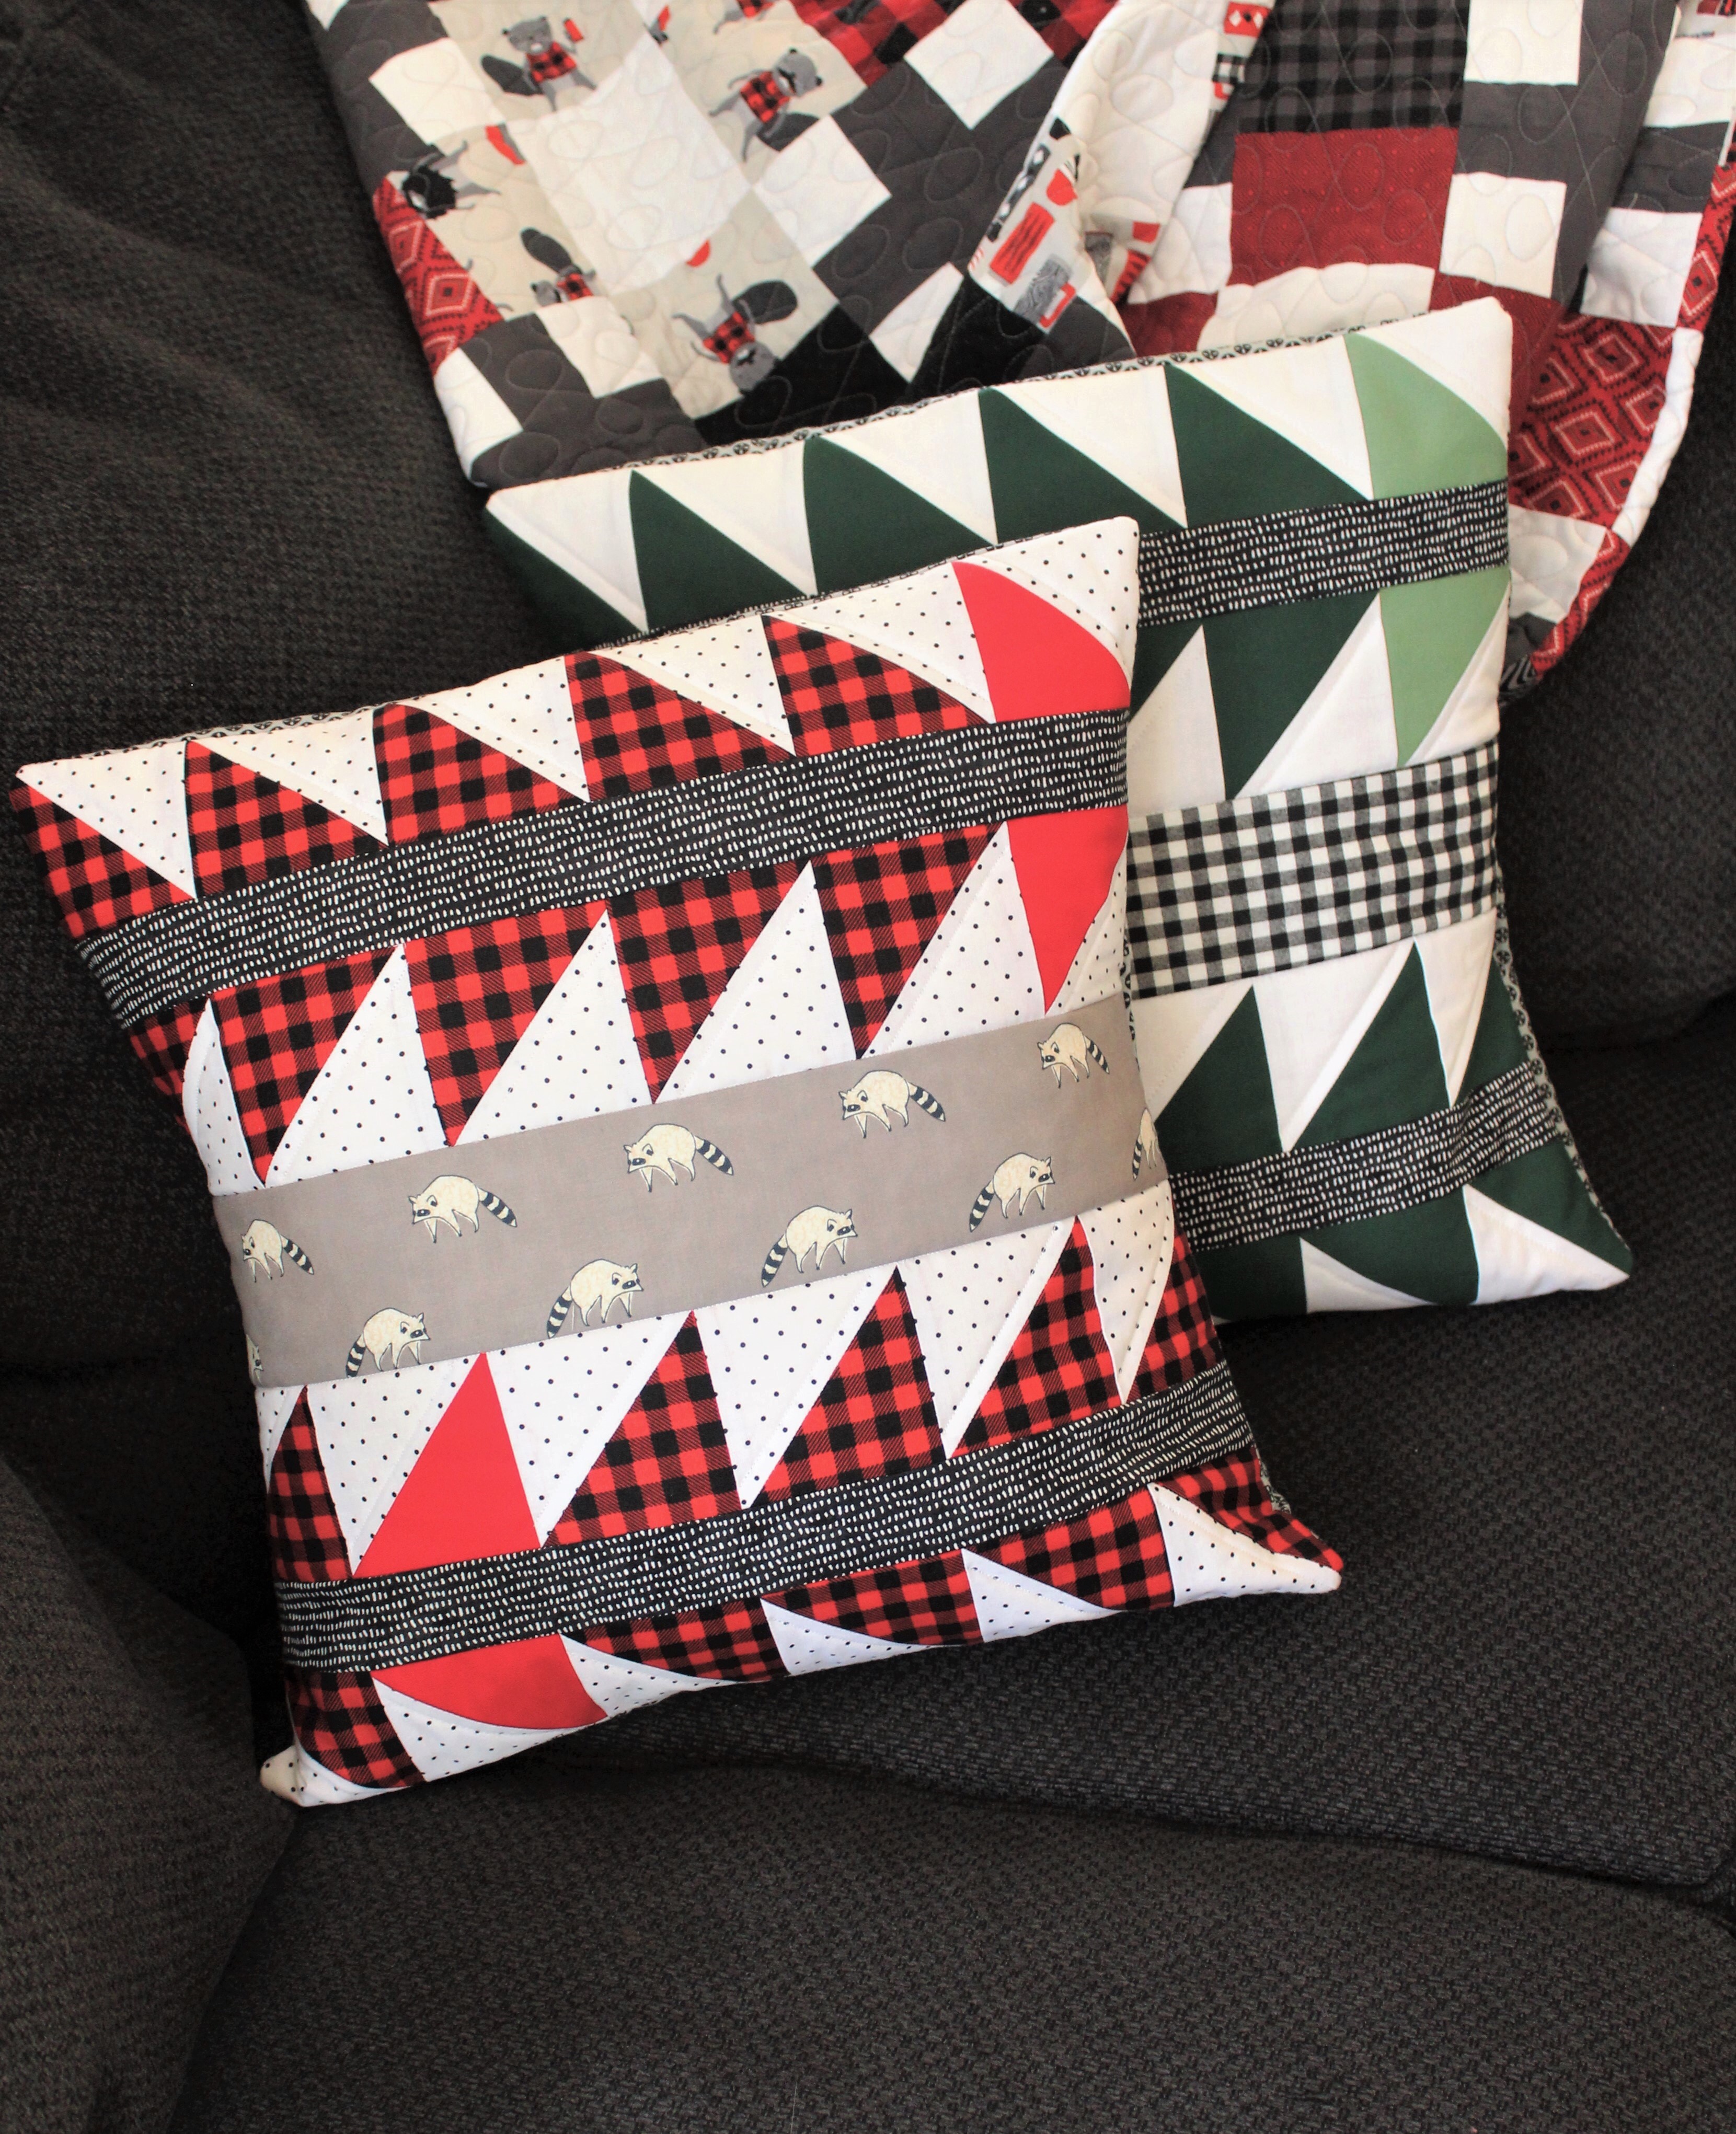
Can anyone resist coordinating Christmas pillows? These beauties are by @sewmanyboys and I can not get enough!
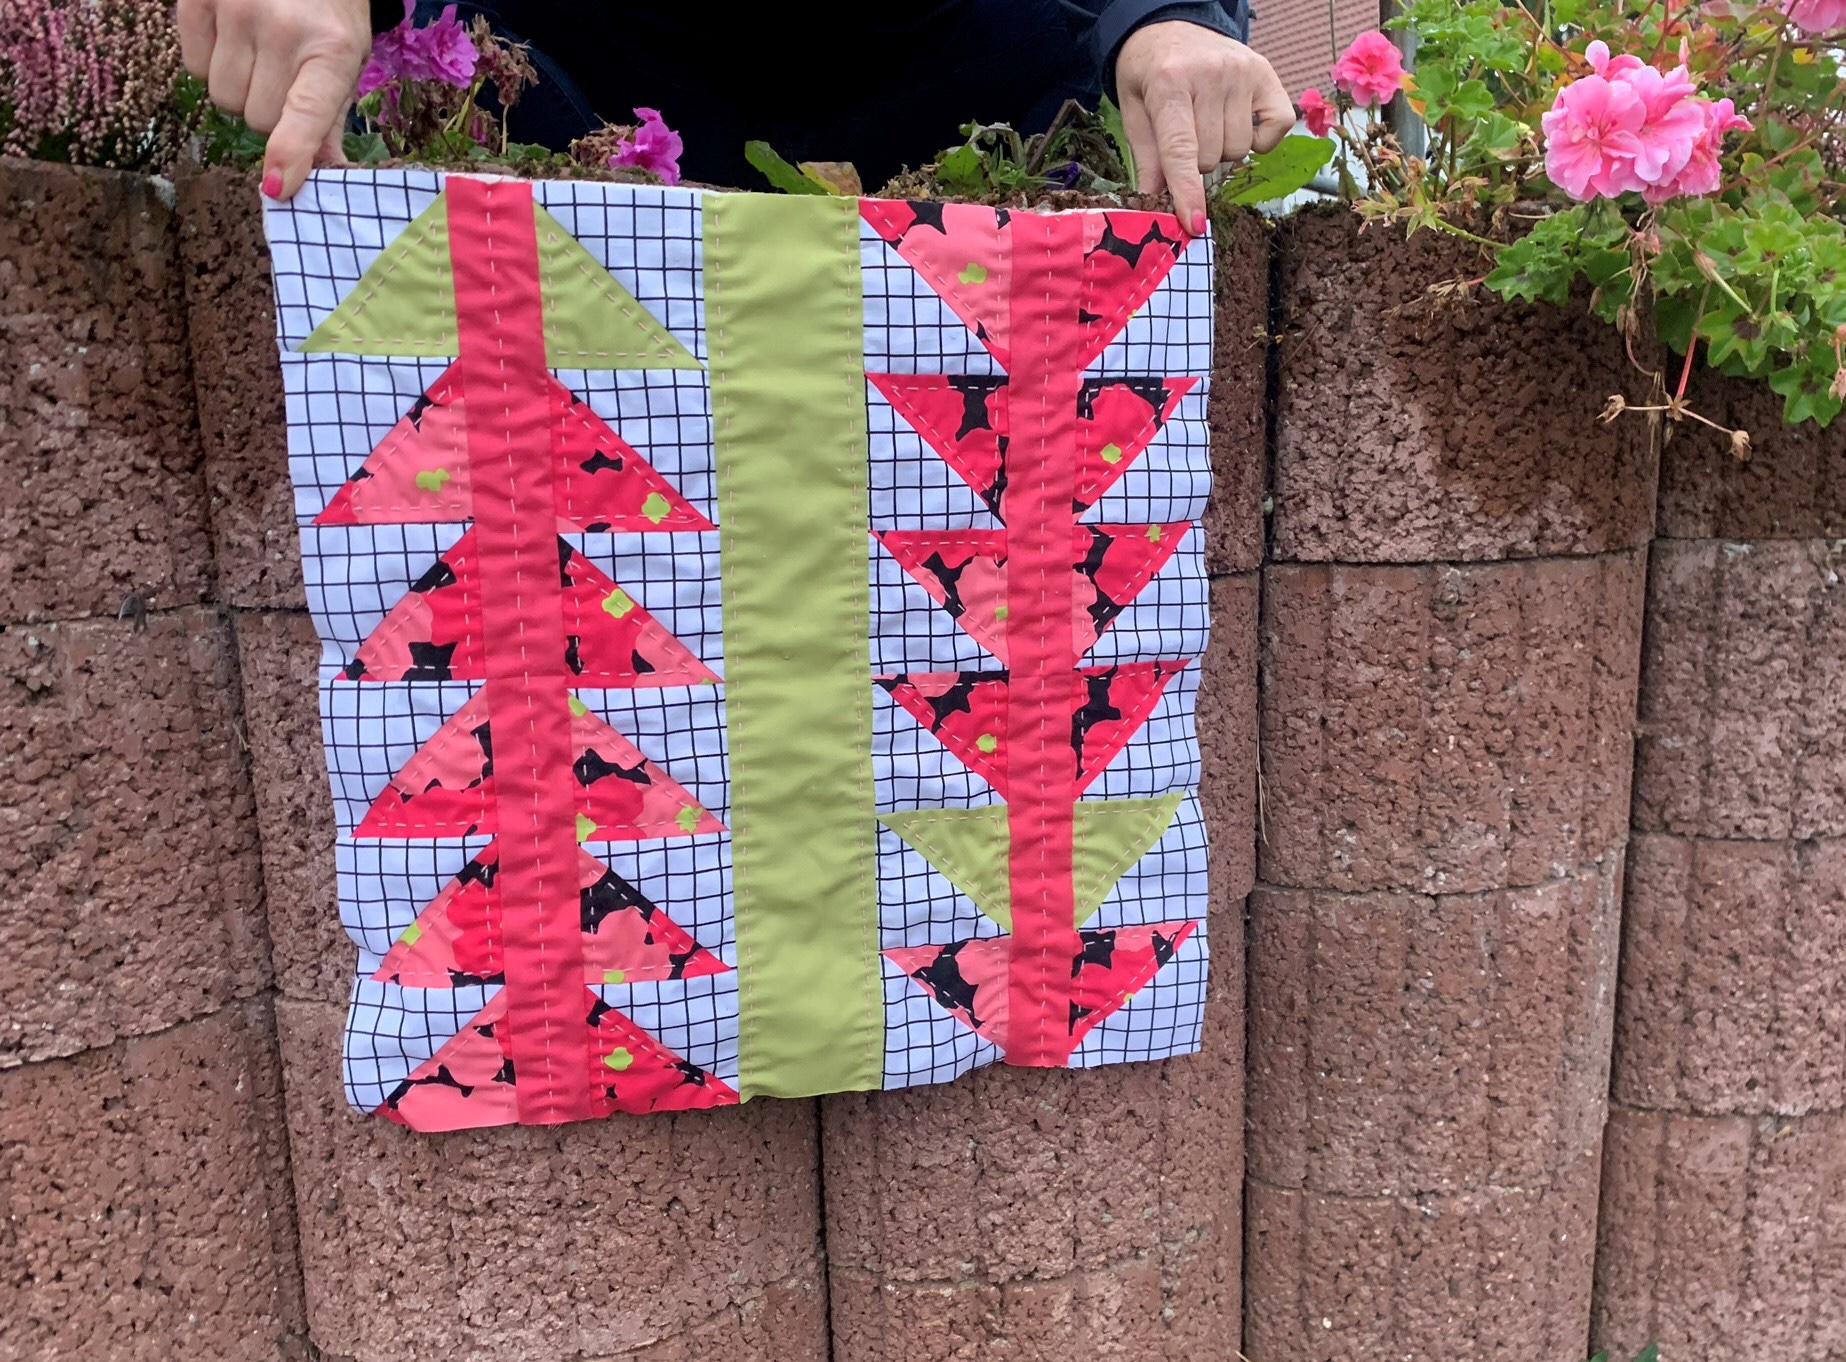
These bright florals speak to me! I love how @redheaded_rita did hers! 
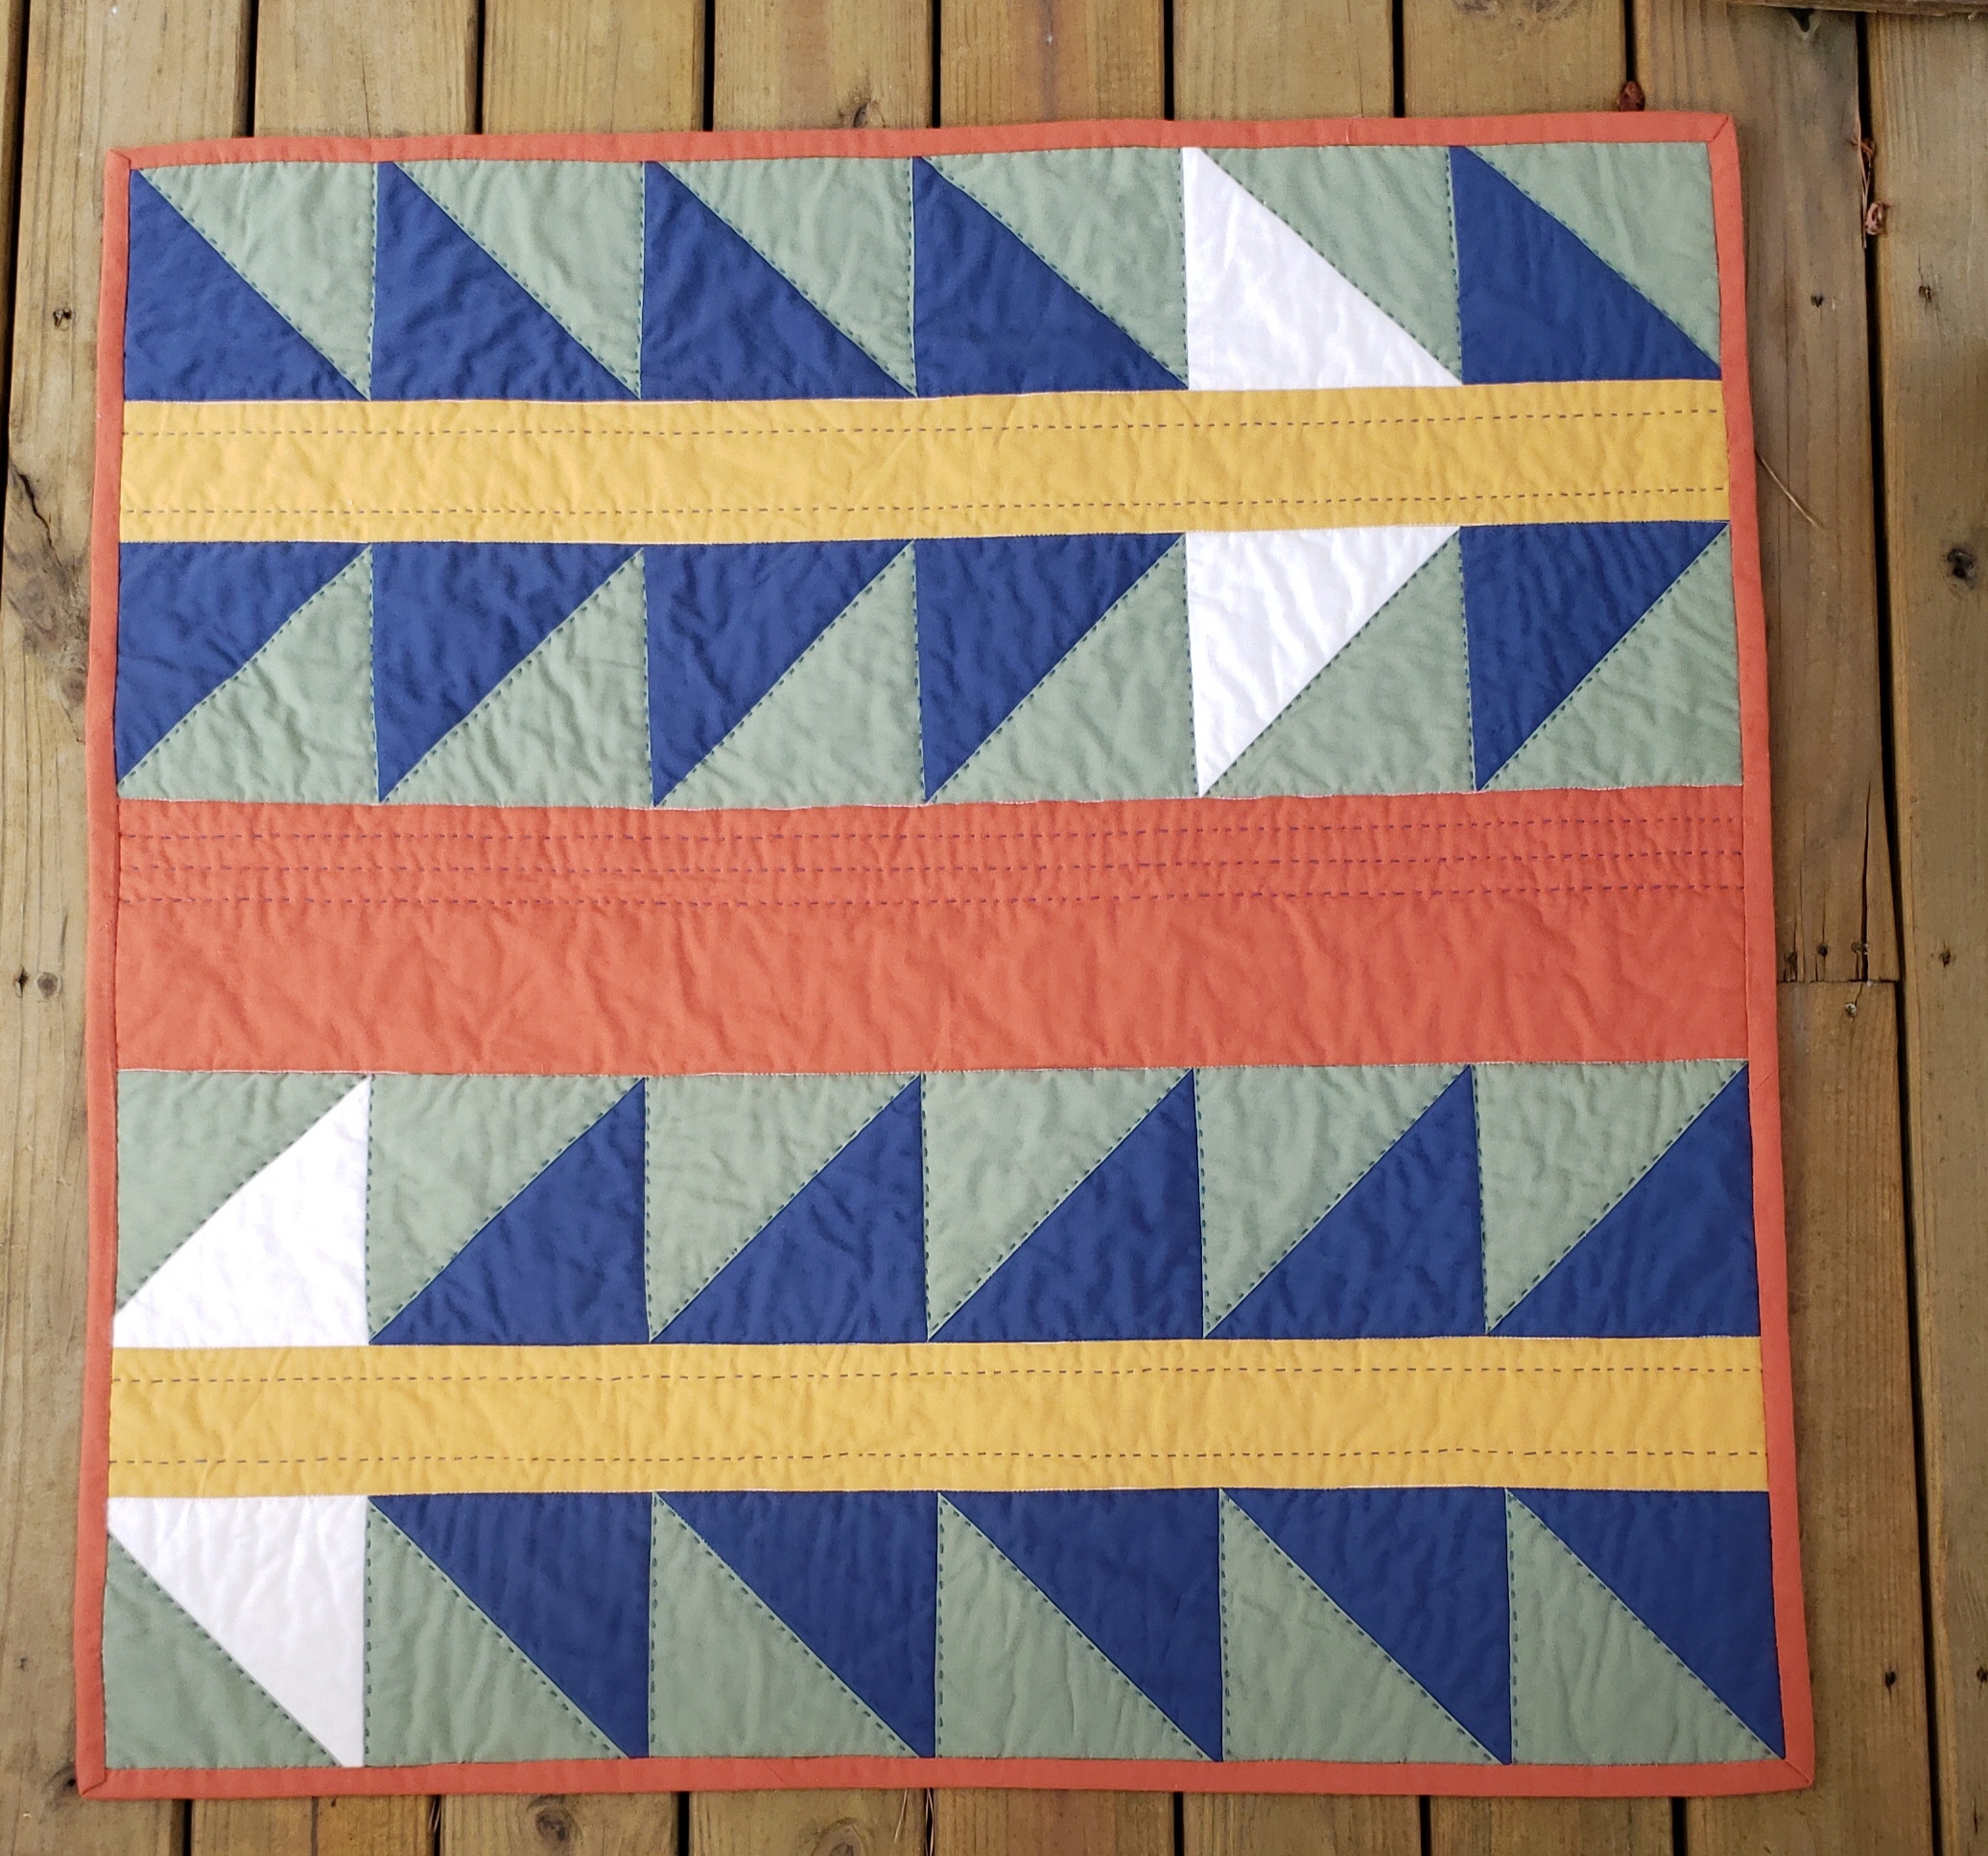
THIS was the one that I told you was finished in less than 3 days! @grandmothersbloomers did an amazing job on this baby quilt!
It takes a special kind of skill to back AND bind a quilt with MINKY fabric! I just love how @mandakayquilts did hers!
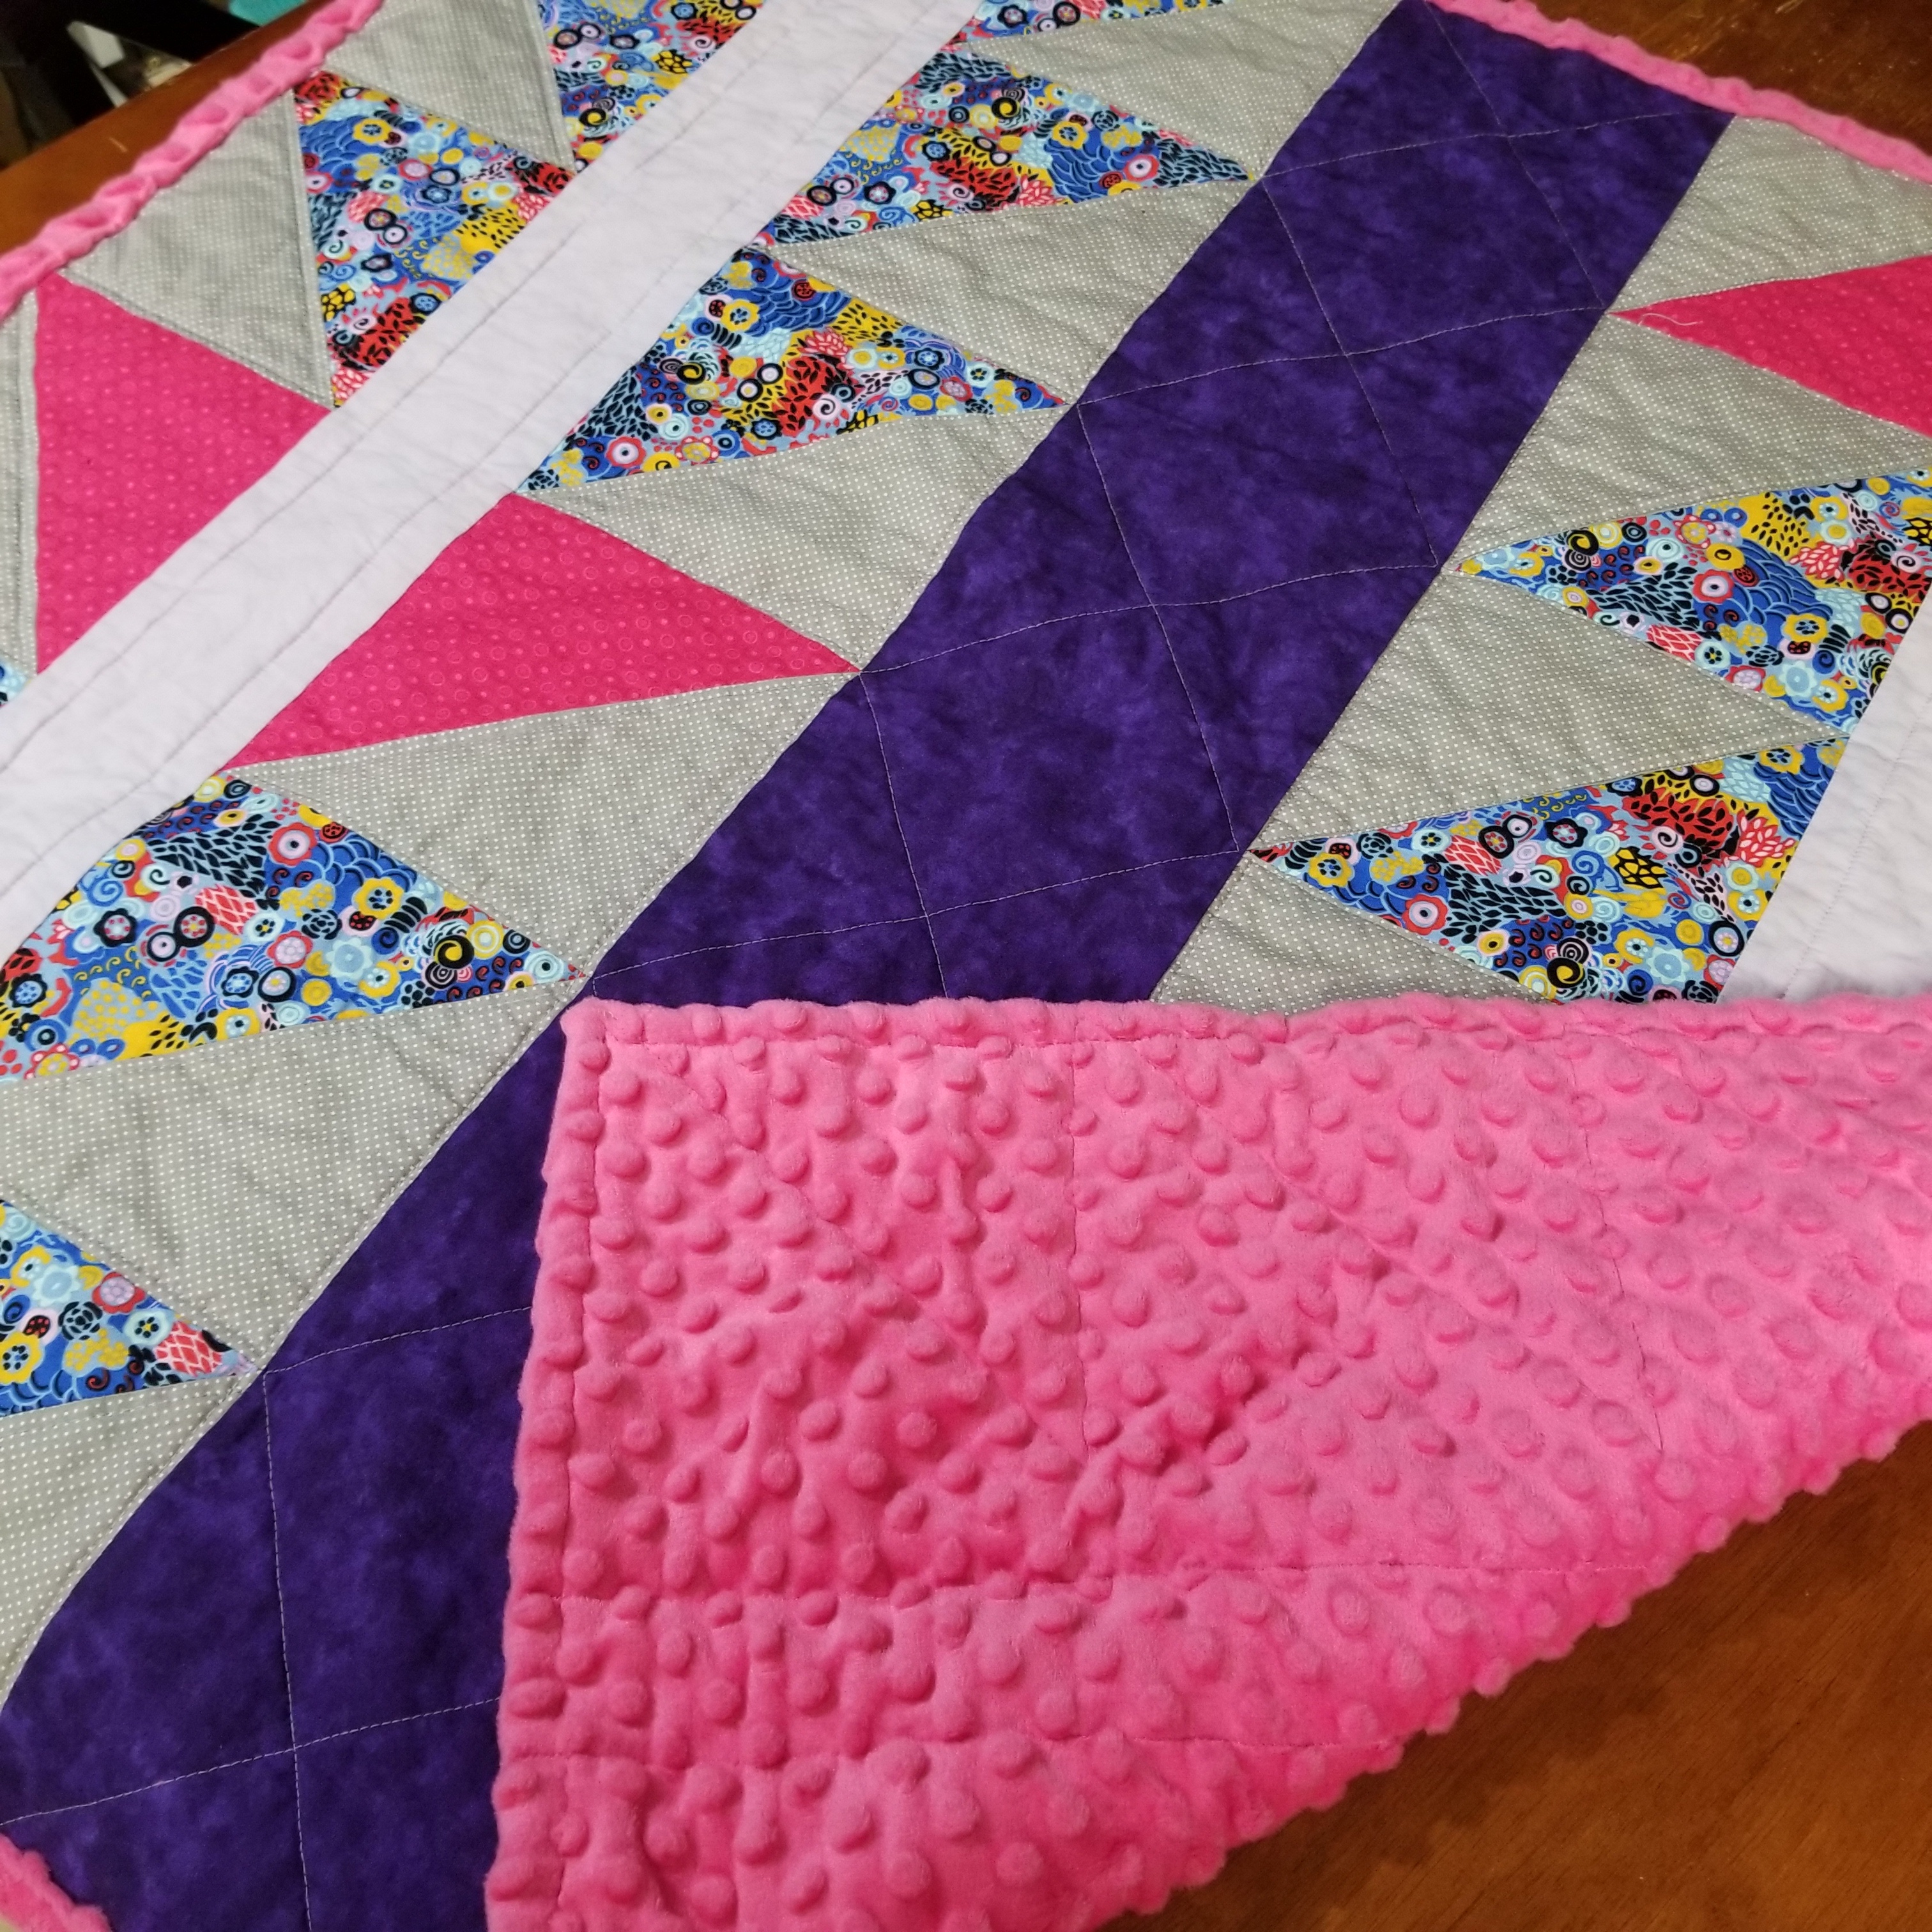
These pops of pink are my love language on this throw size beauty by @olliequilts!
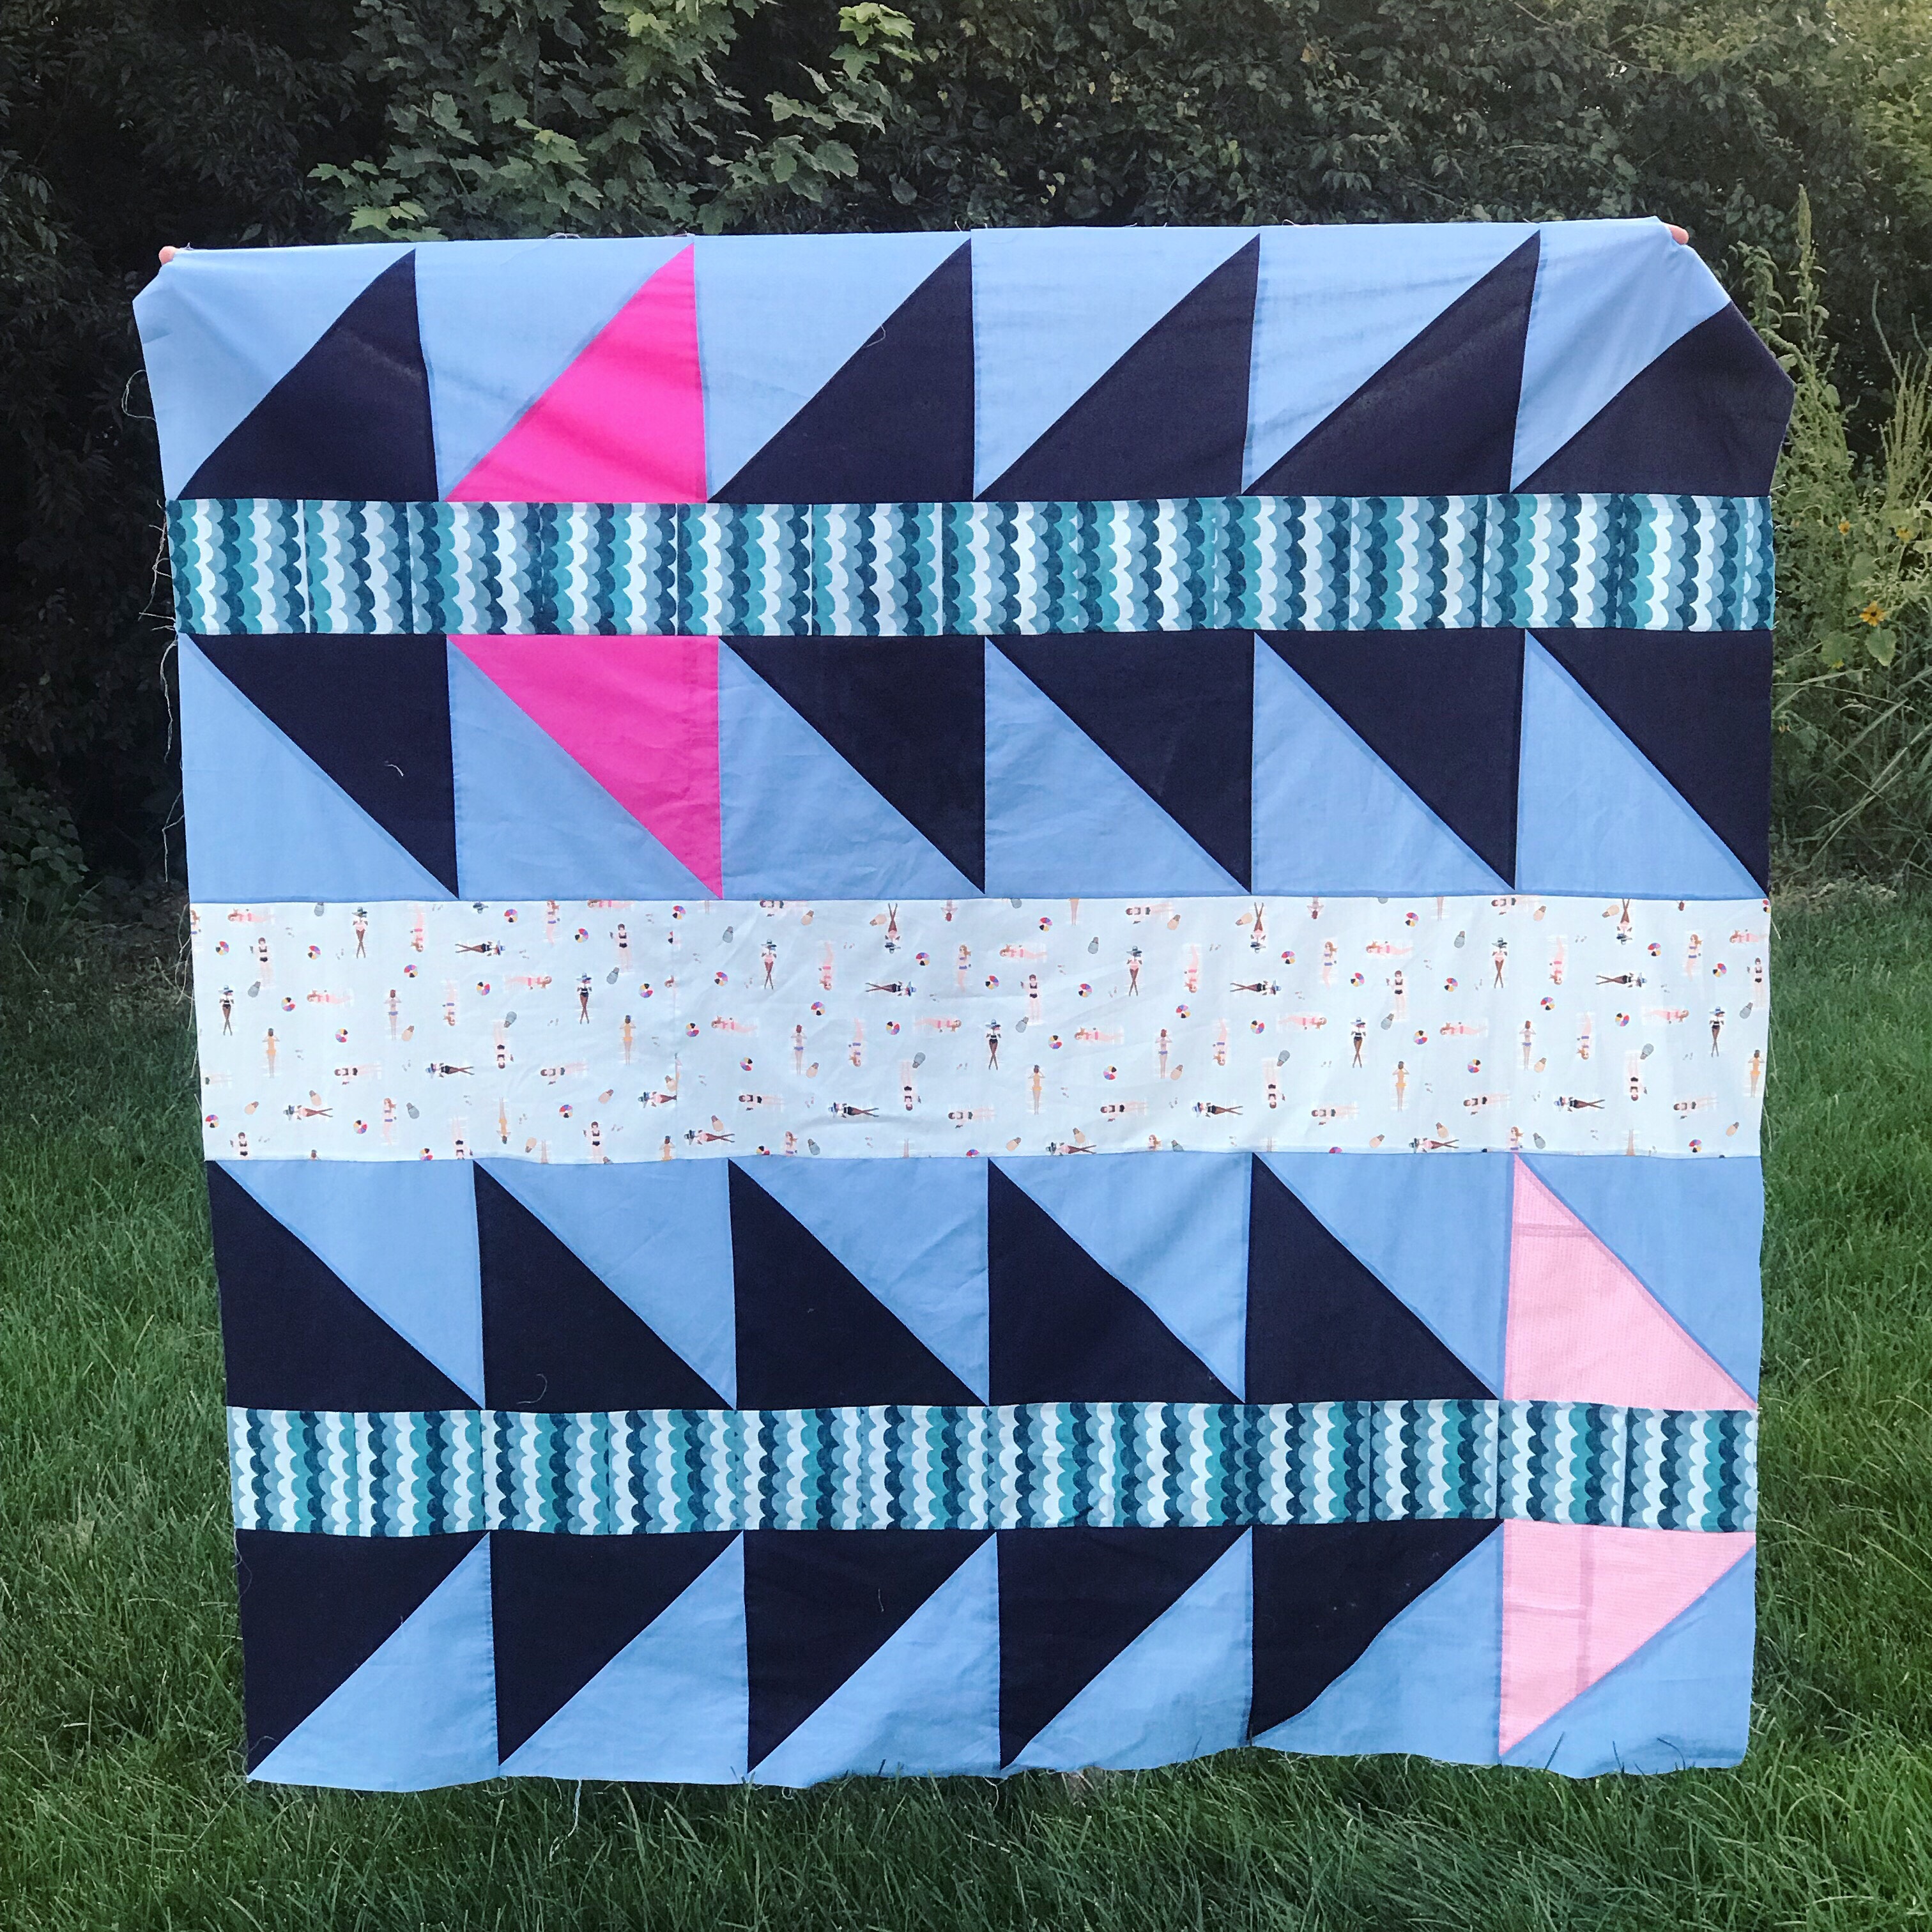
If you want to turn yours into more of a rectangle, feel free to add some borders to the top and bottom like @chemescraftycorner did on hers!
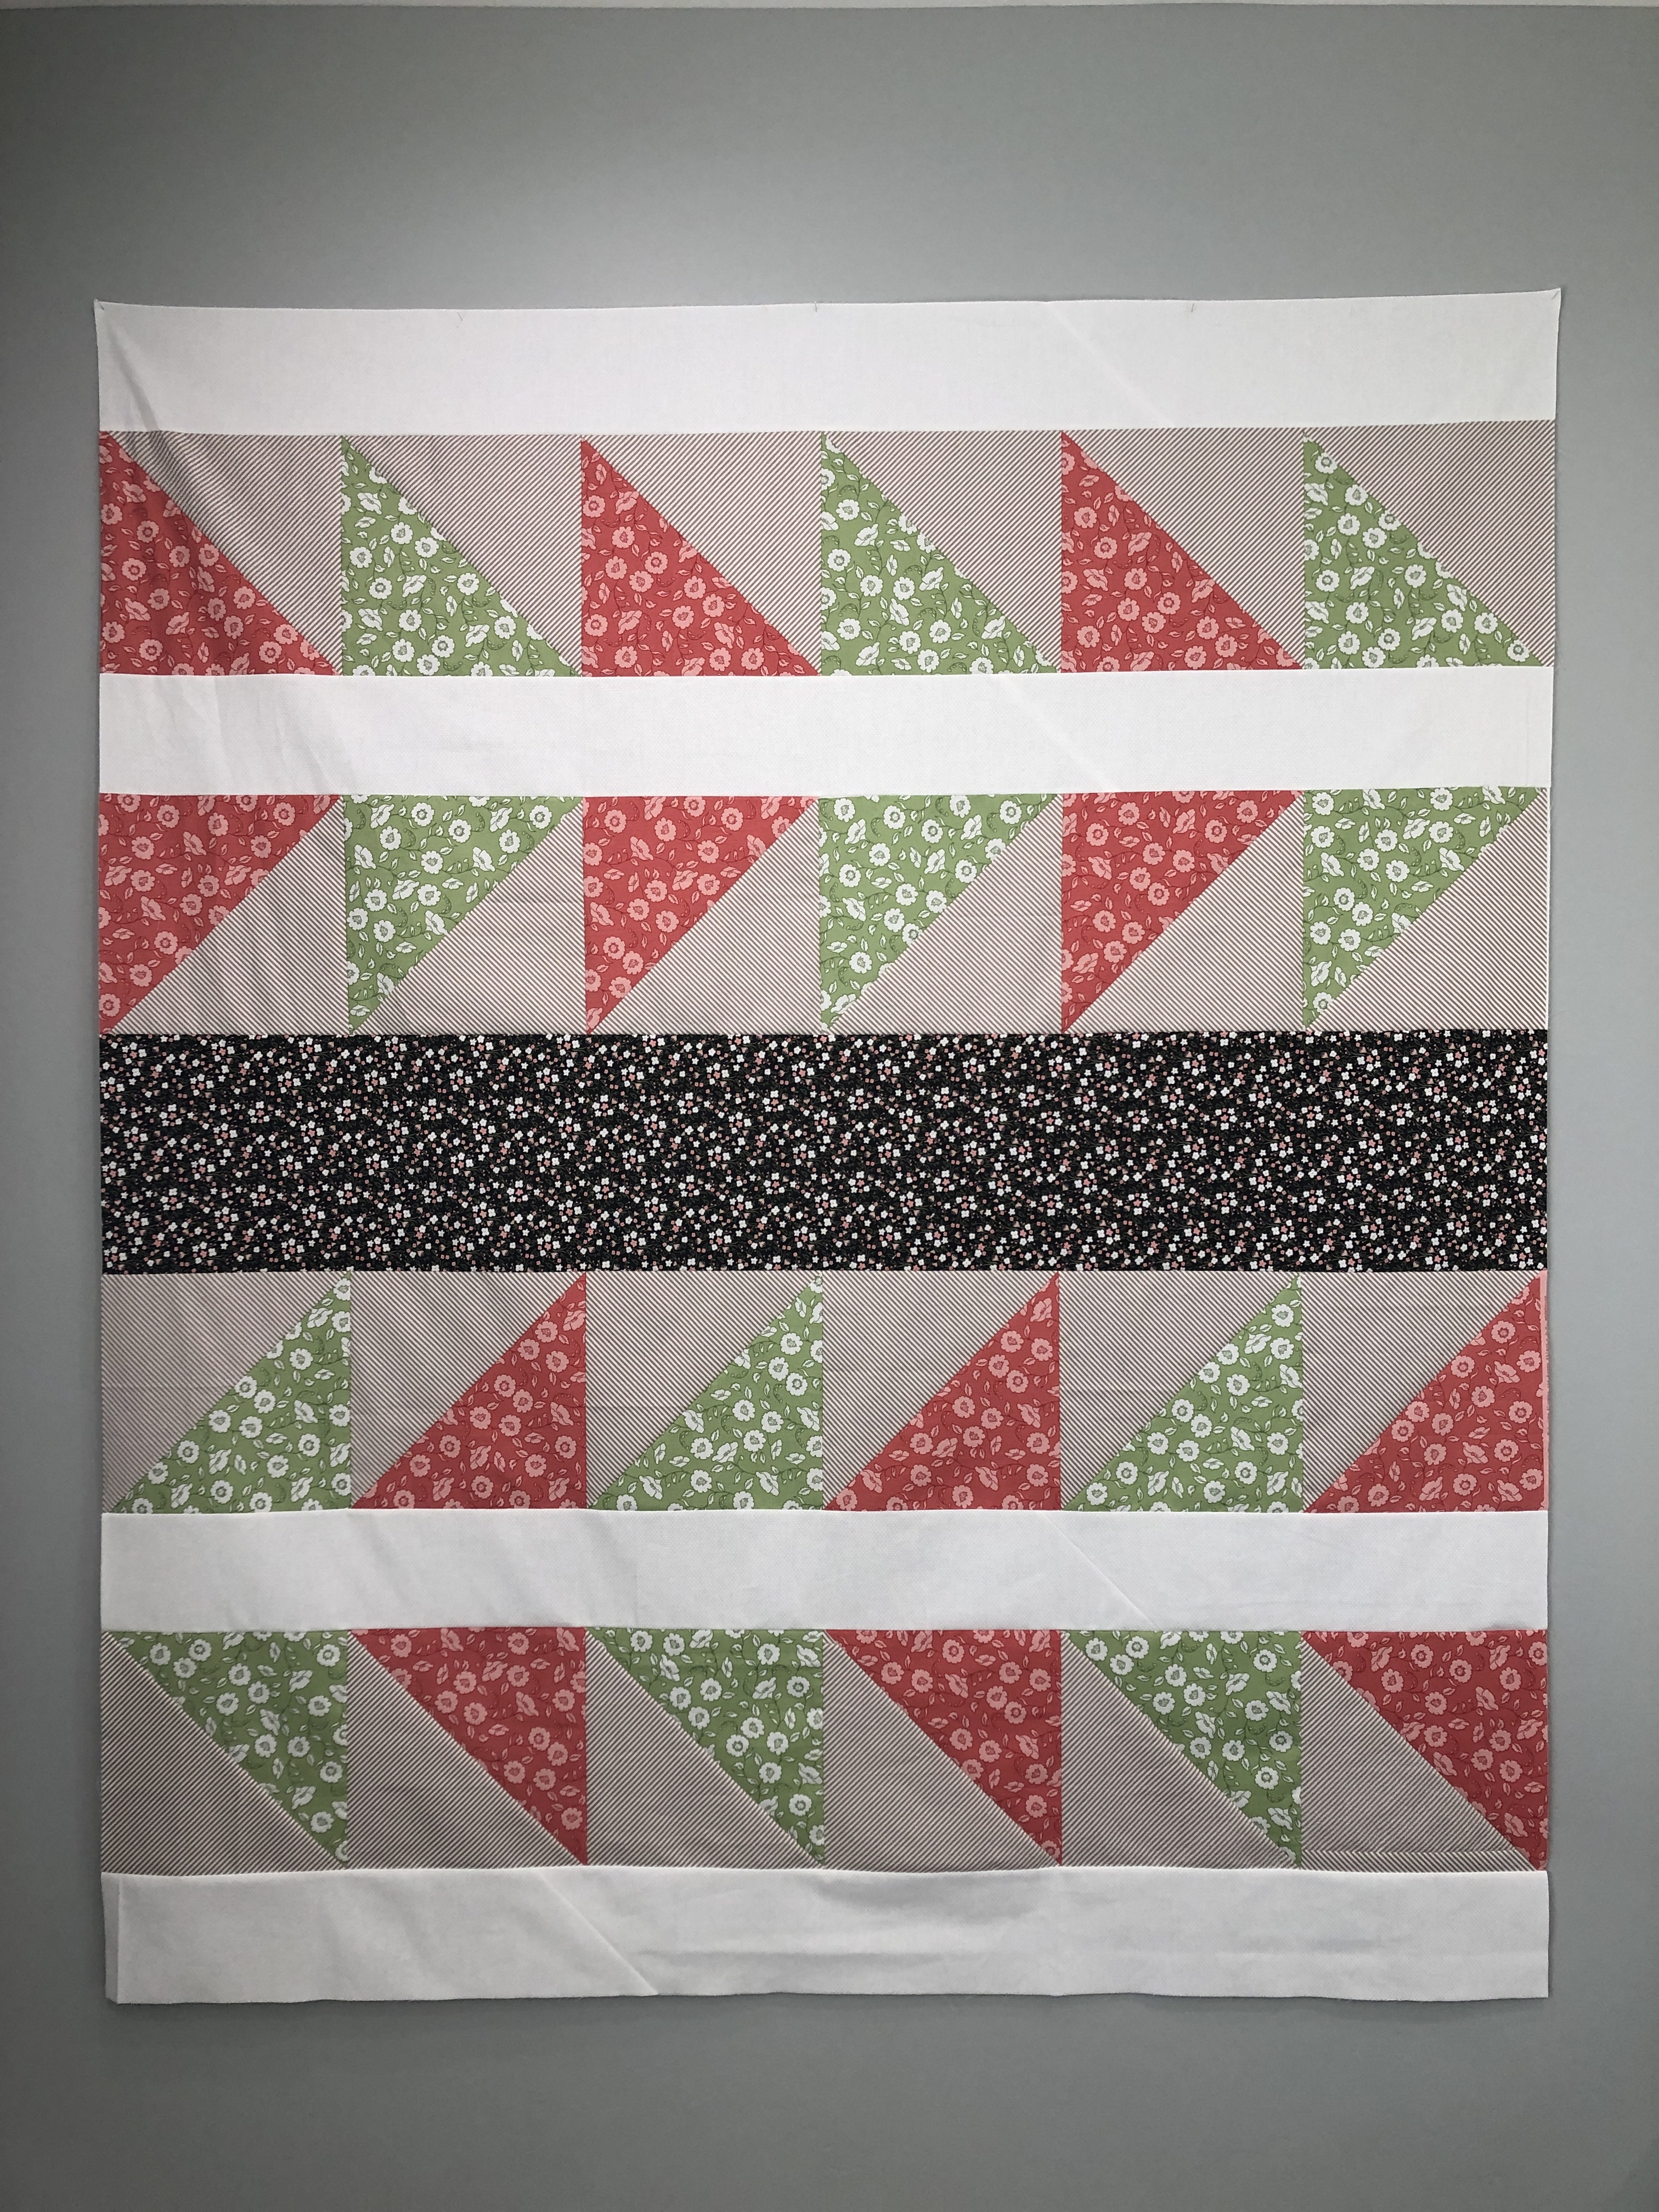
Another green & red one to really get us in the holiday spirit! Love this one by @kate.vestermark!
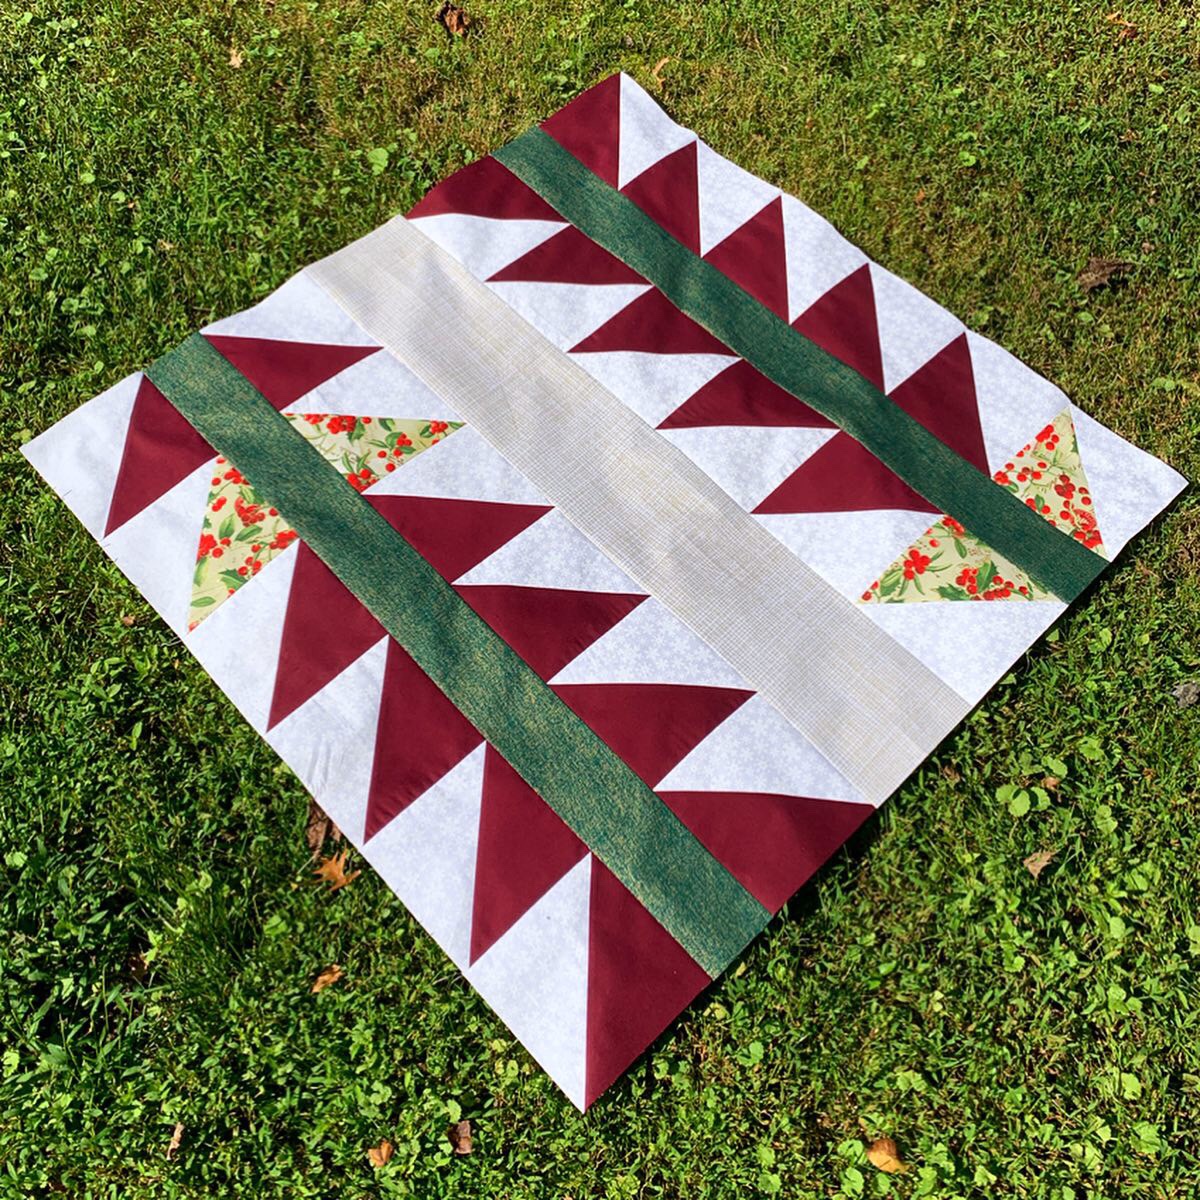
The quilting on this pillow is out of this world amazing, done by @sharingseams!
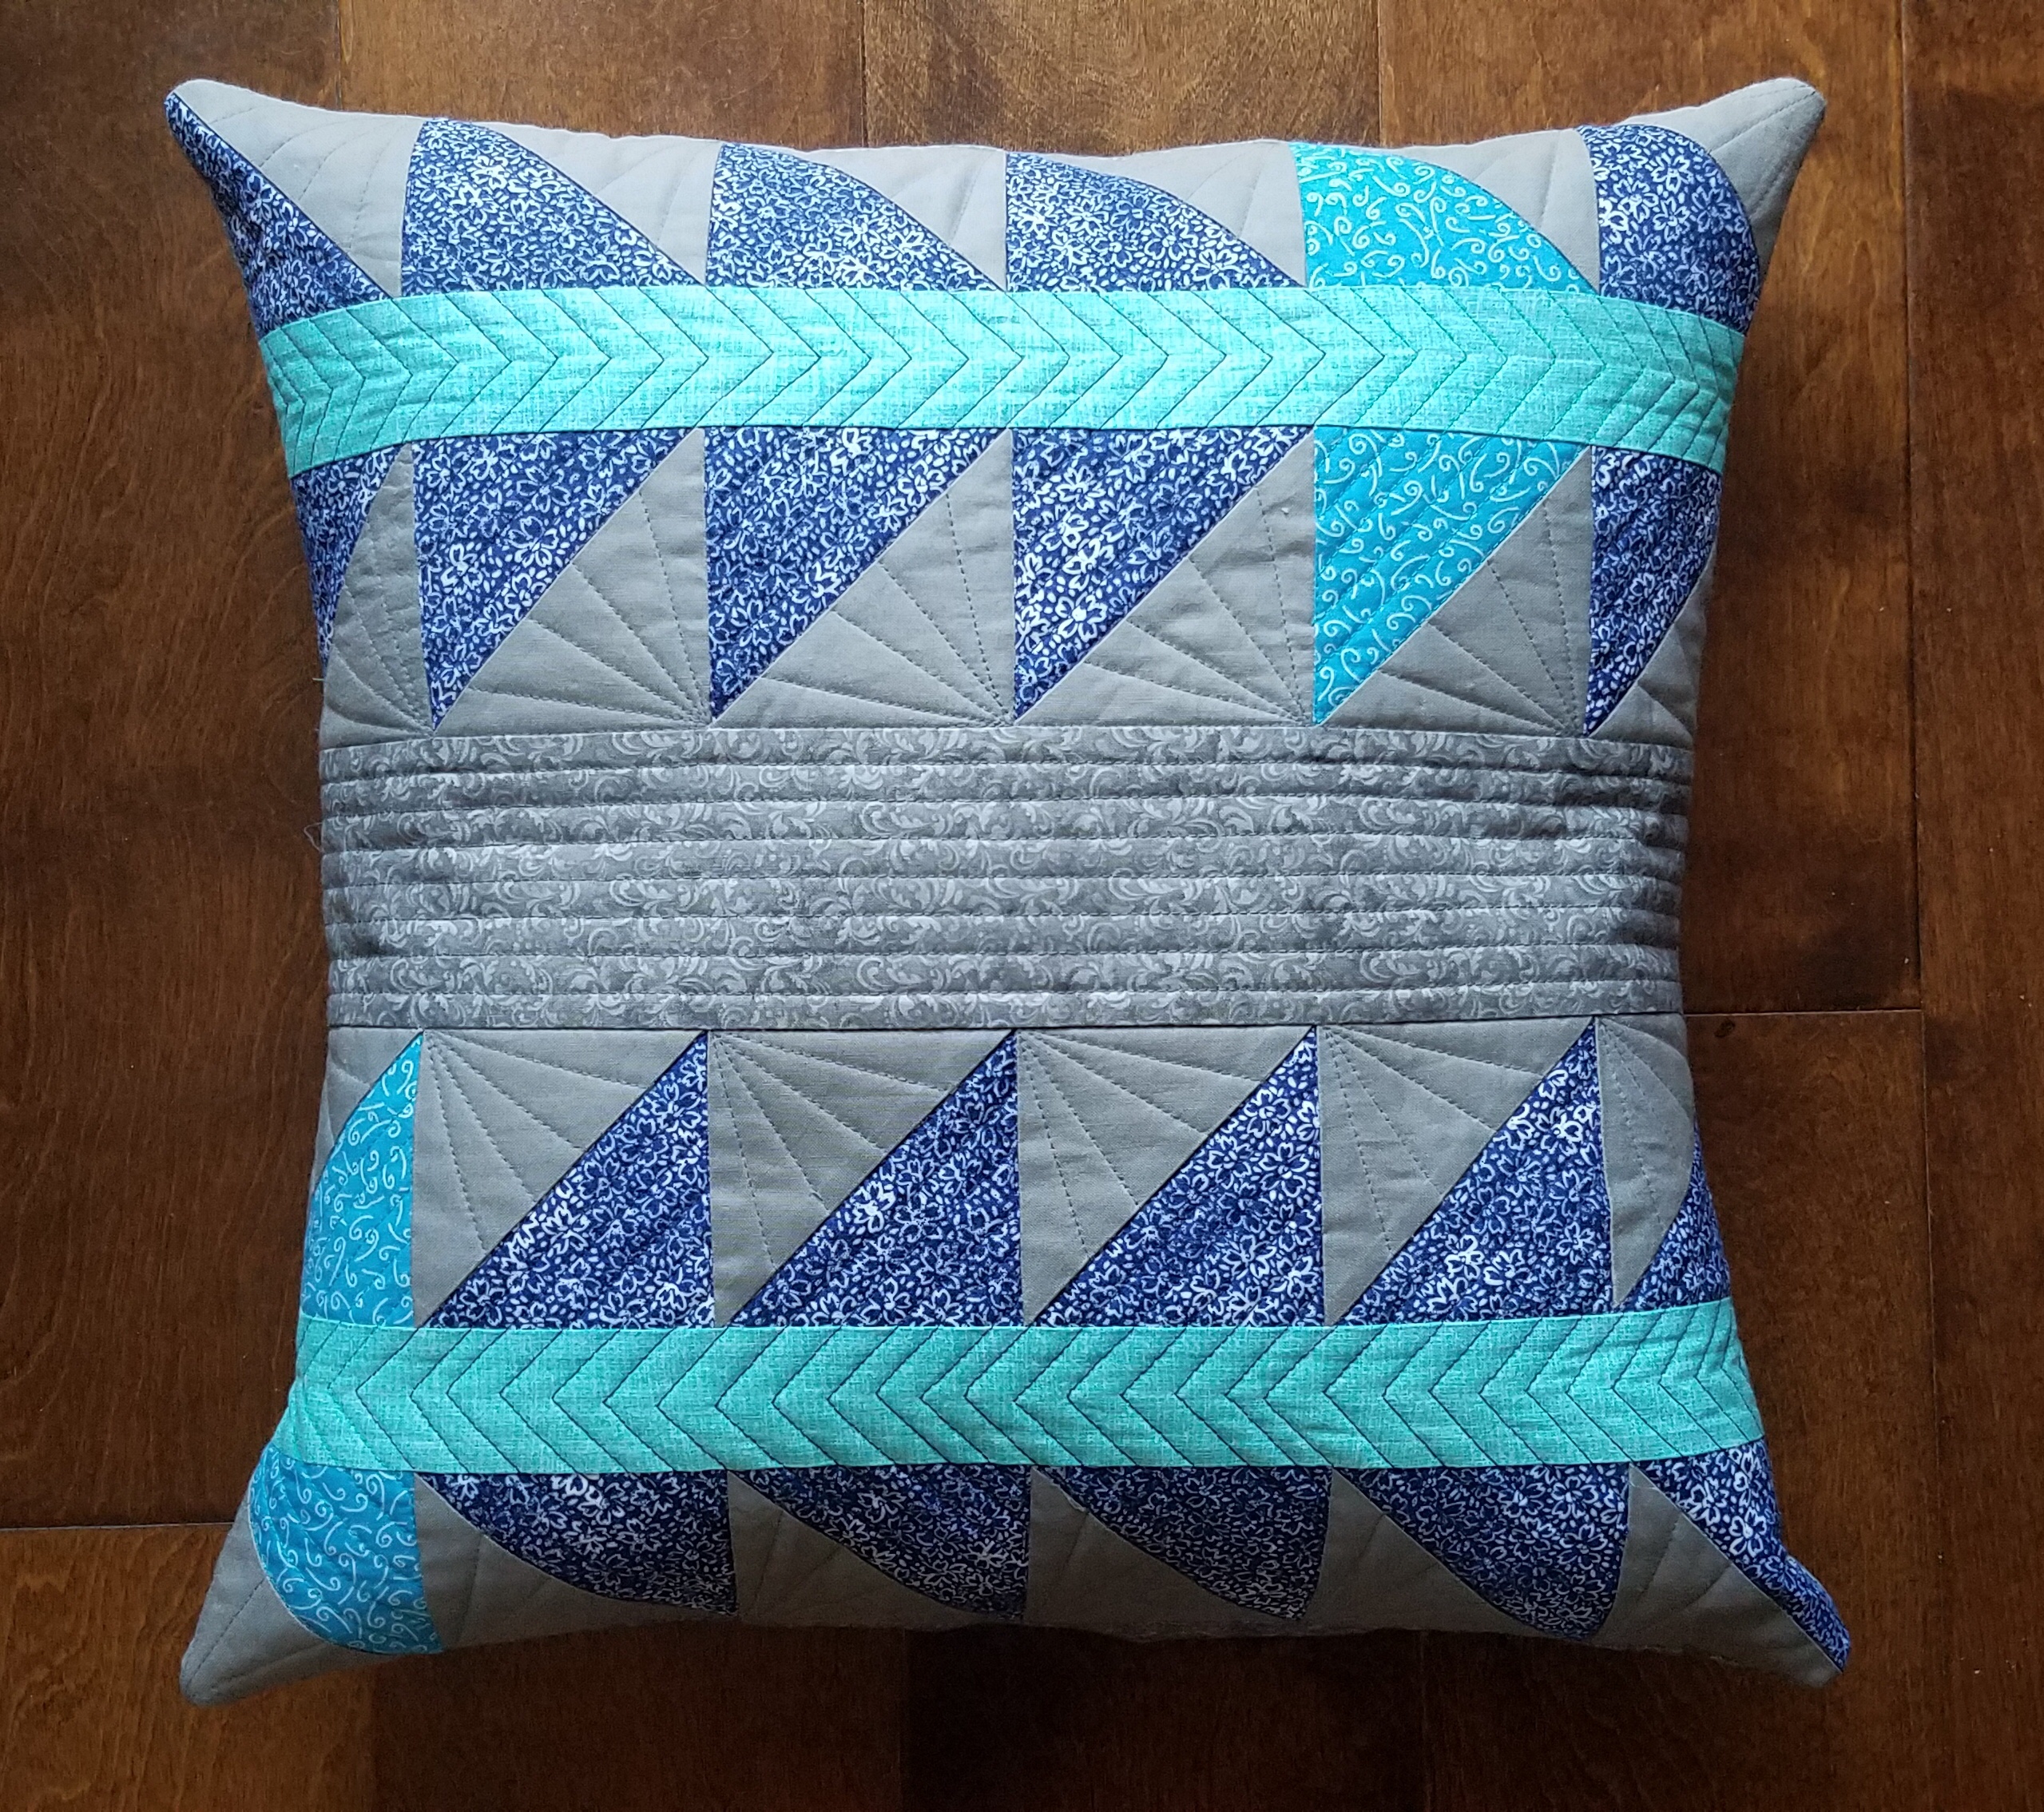
Don’t you think those little plants are the cutest? I love this version by @thealabamastitcher
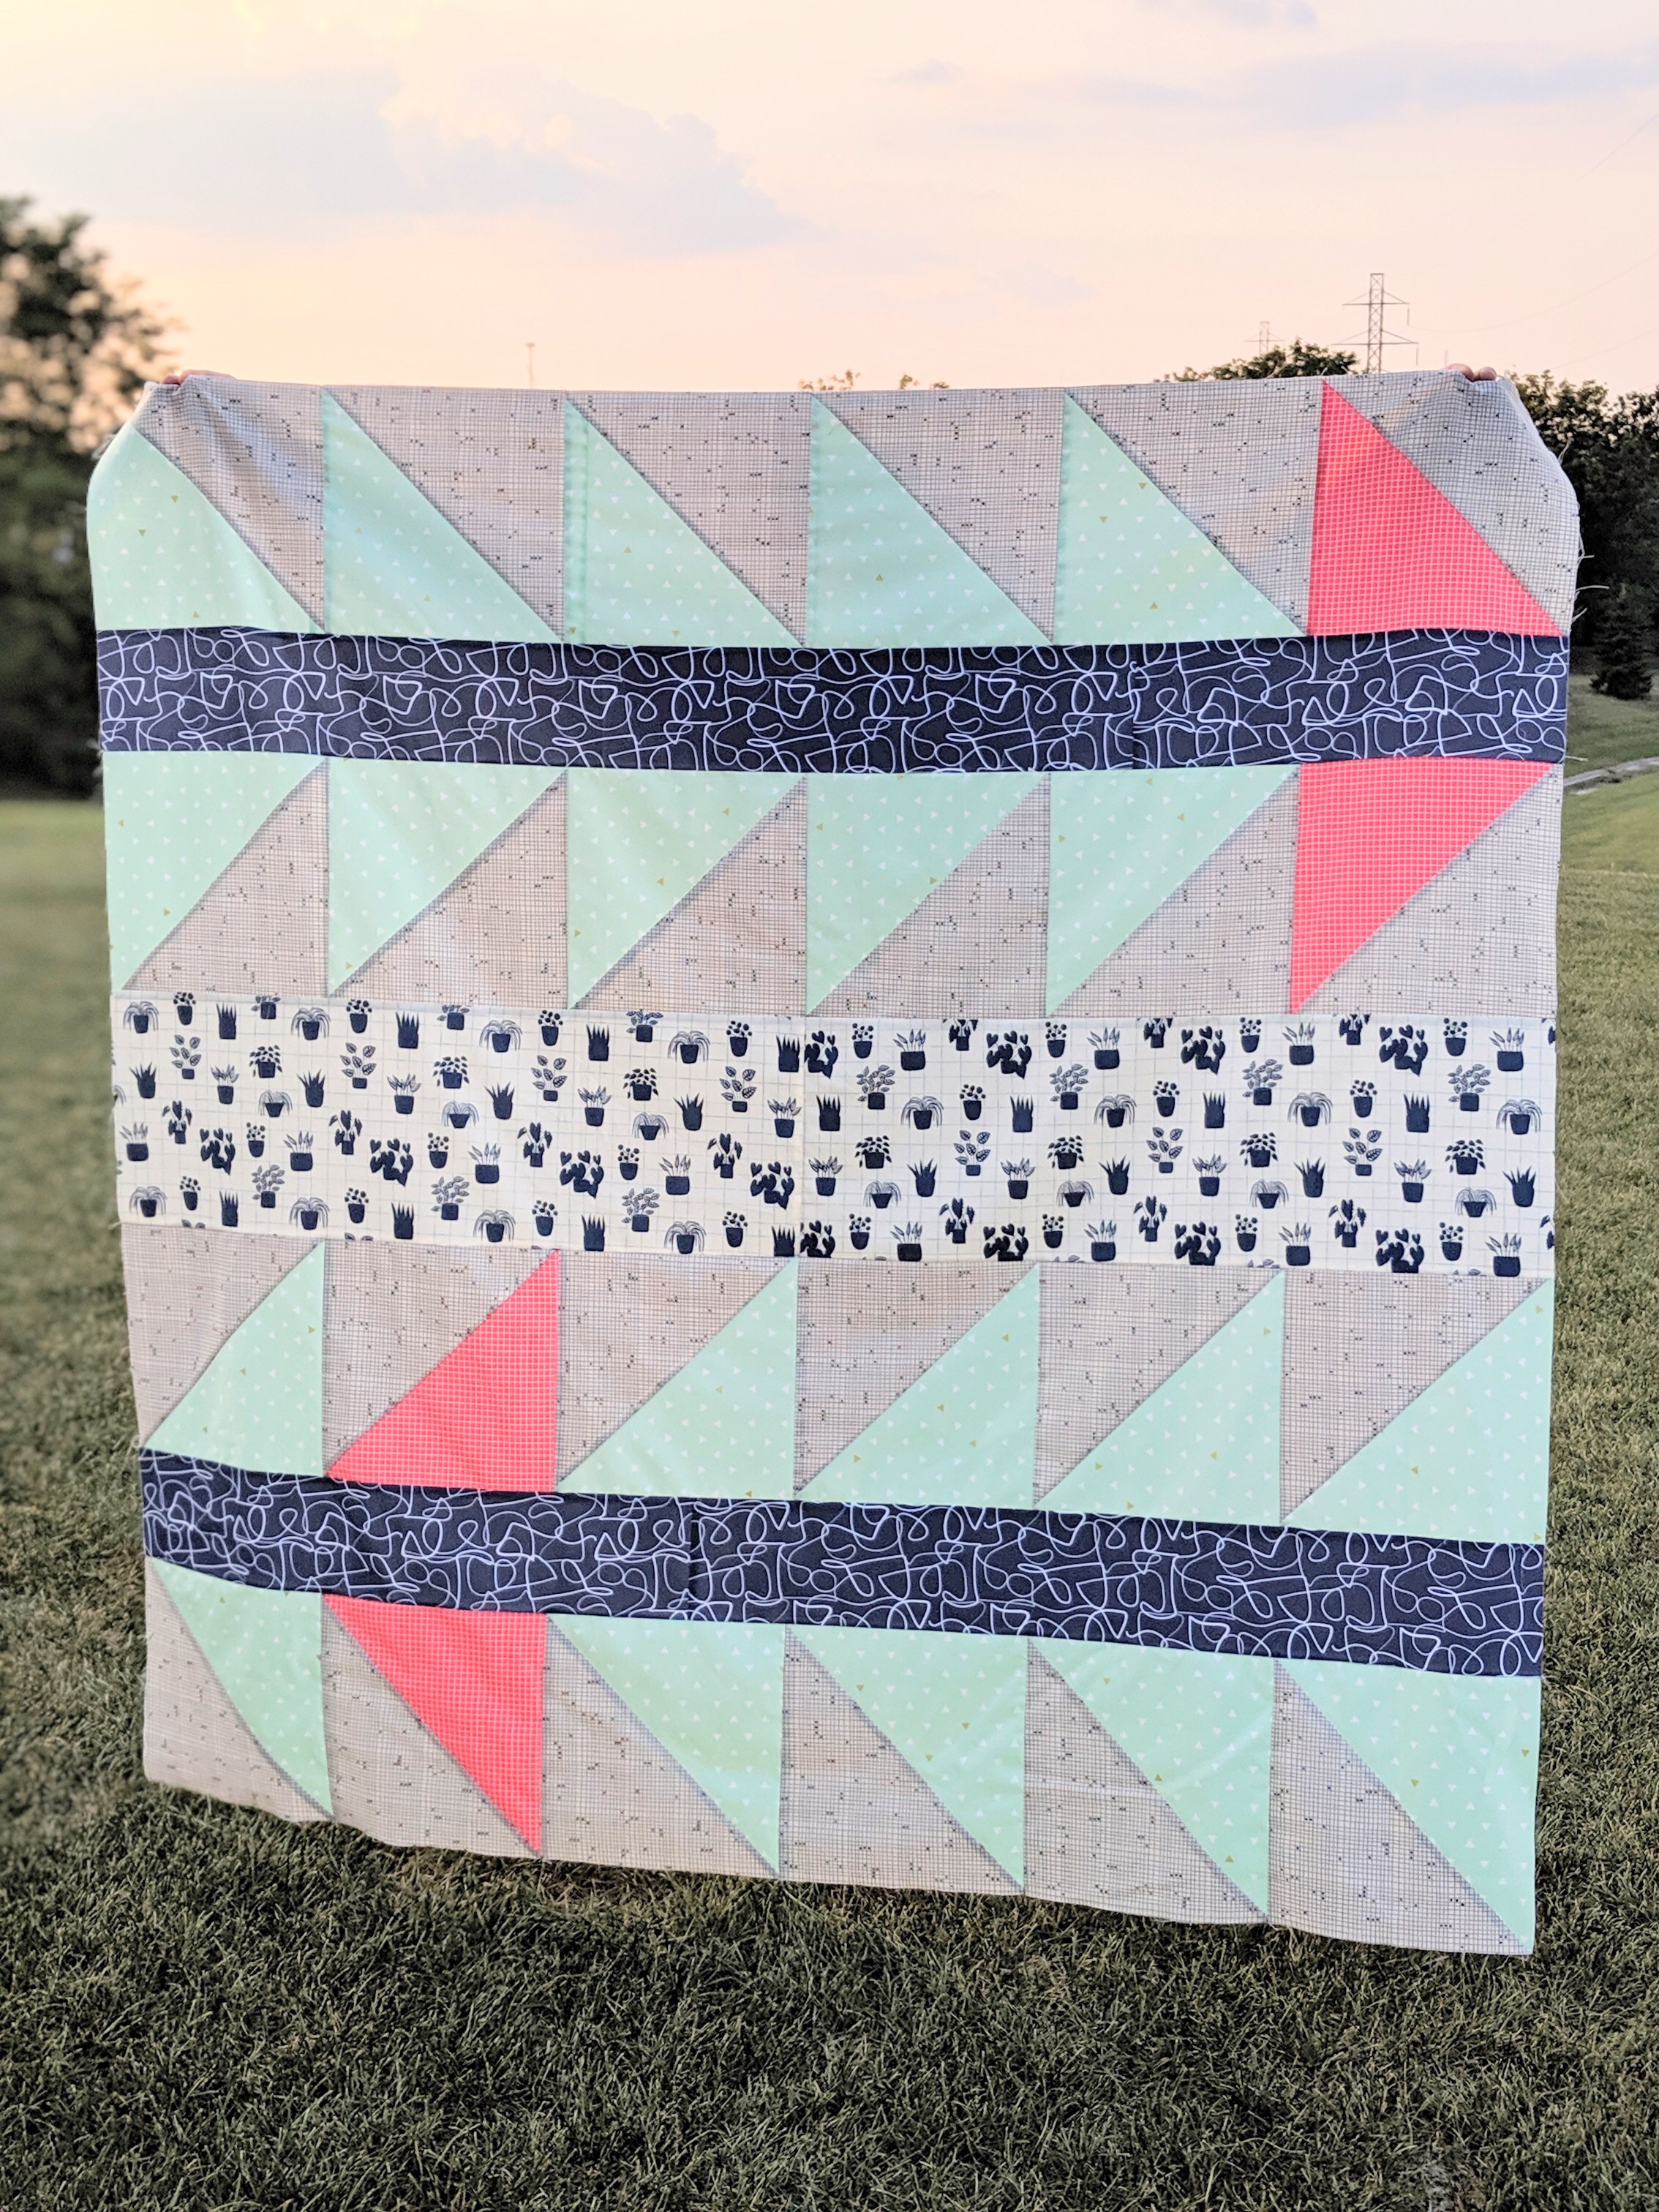
The sewing themed sashing on this one really makes me smile! This gorgeous pillow was made by my AUNT & QuiltCon buddy @orthsandy!
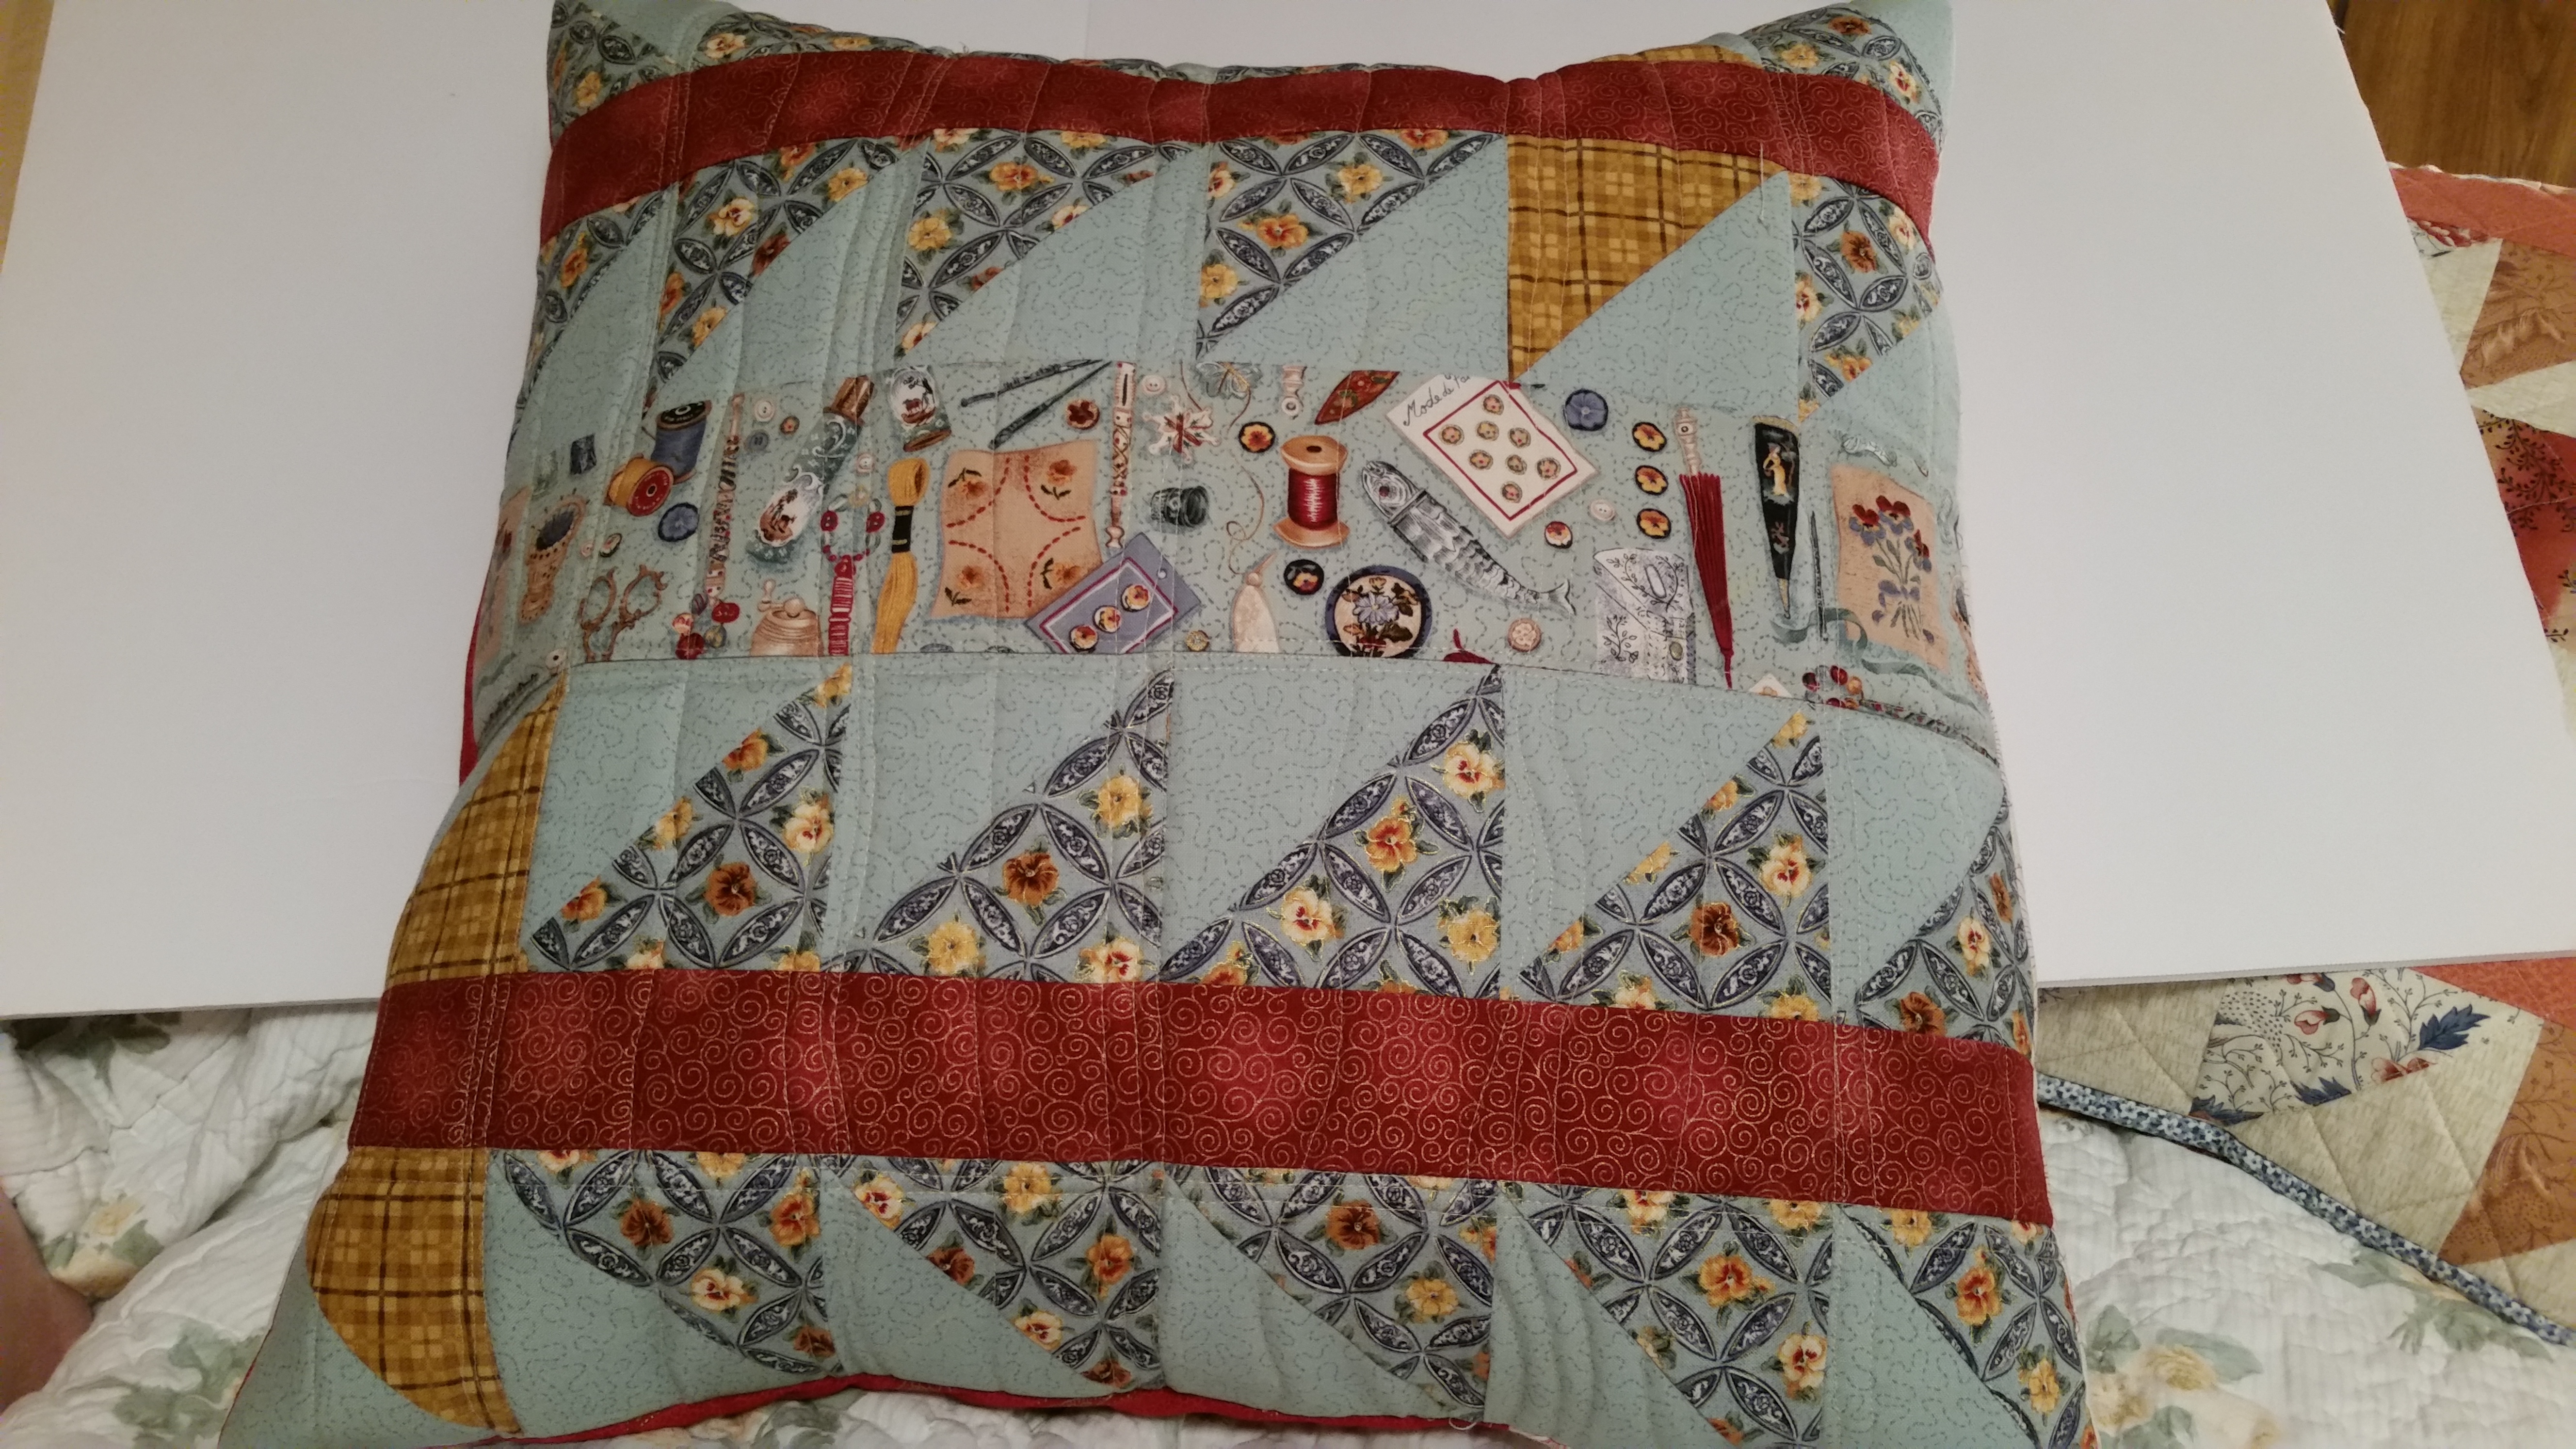
This cute combo of modern geometric and floral fabrics by @thehomebodycompany is really nice!
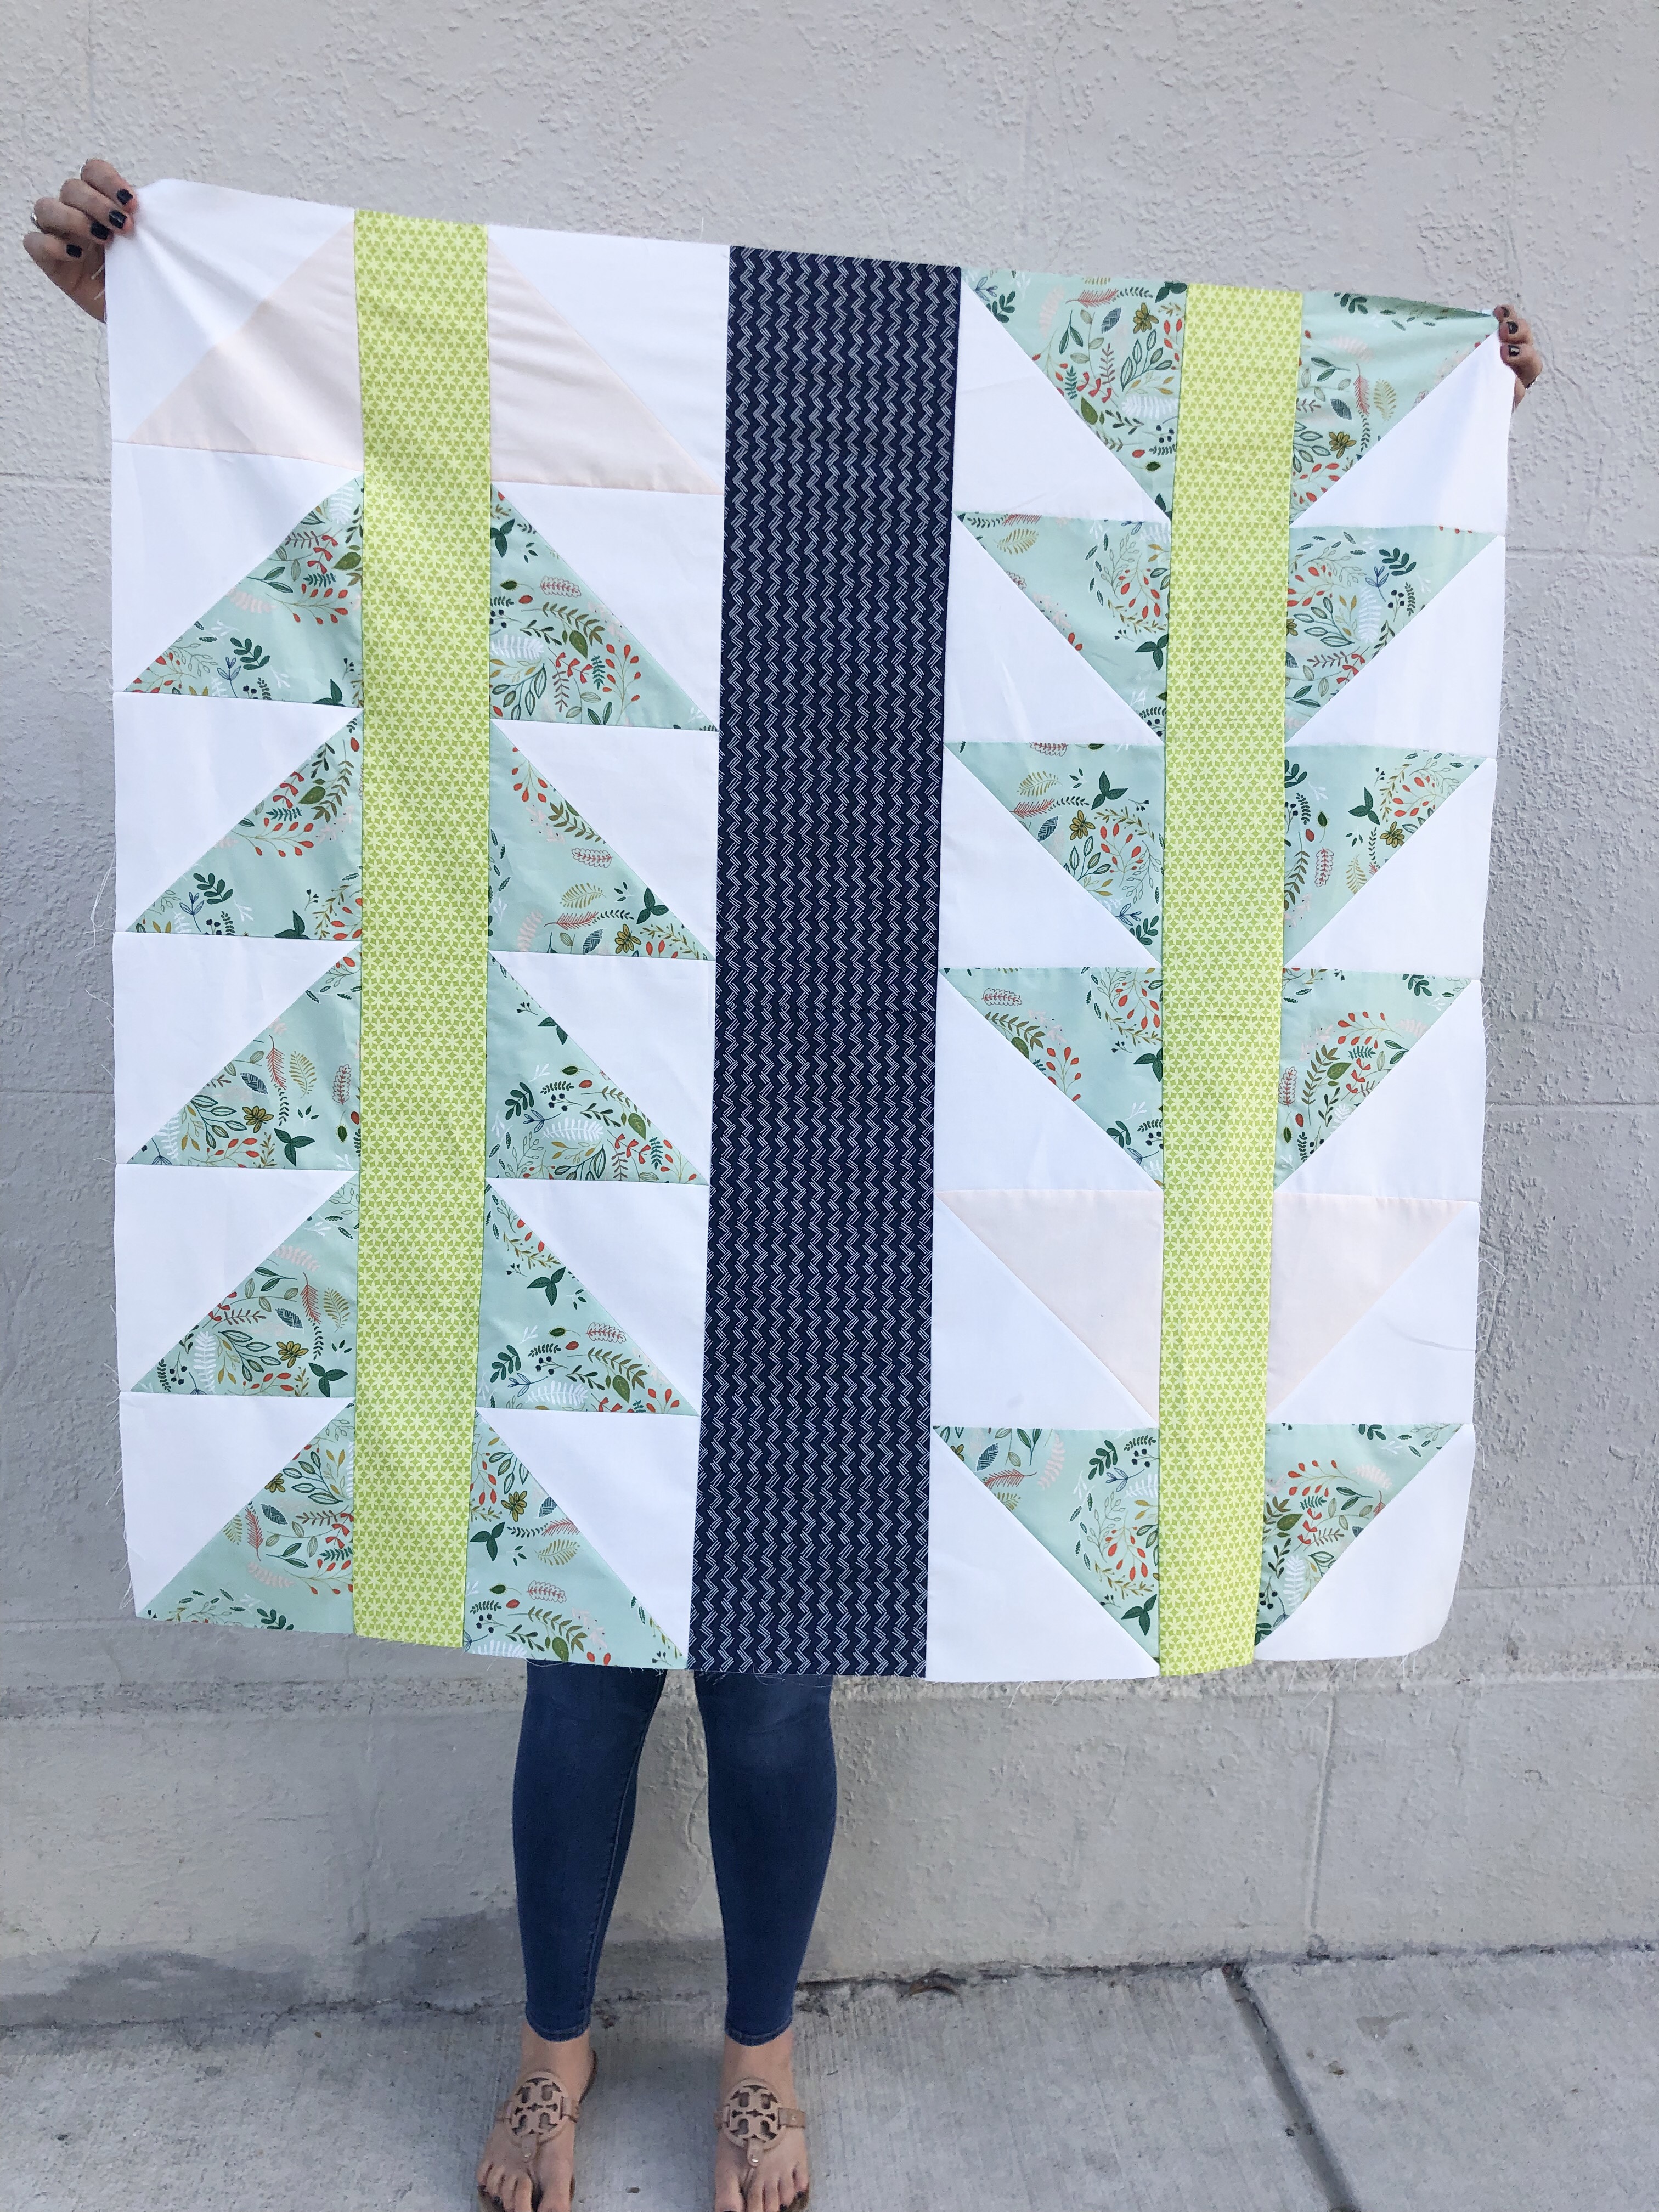
I am super fond of the vibrant color palette @stitch_till_dawn used on hers!
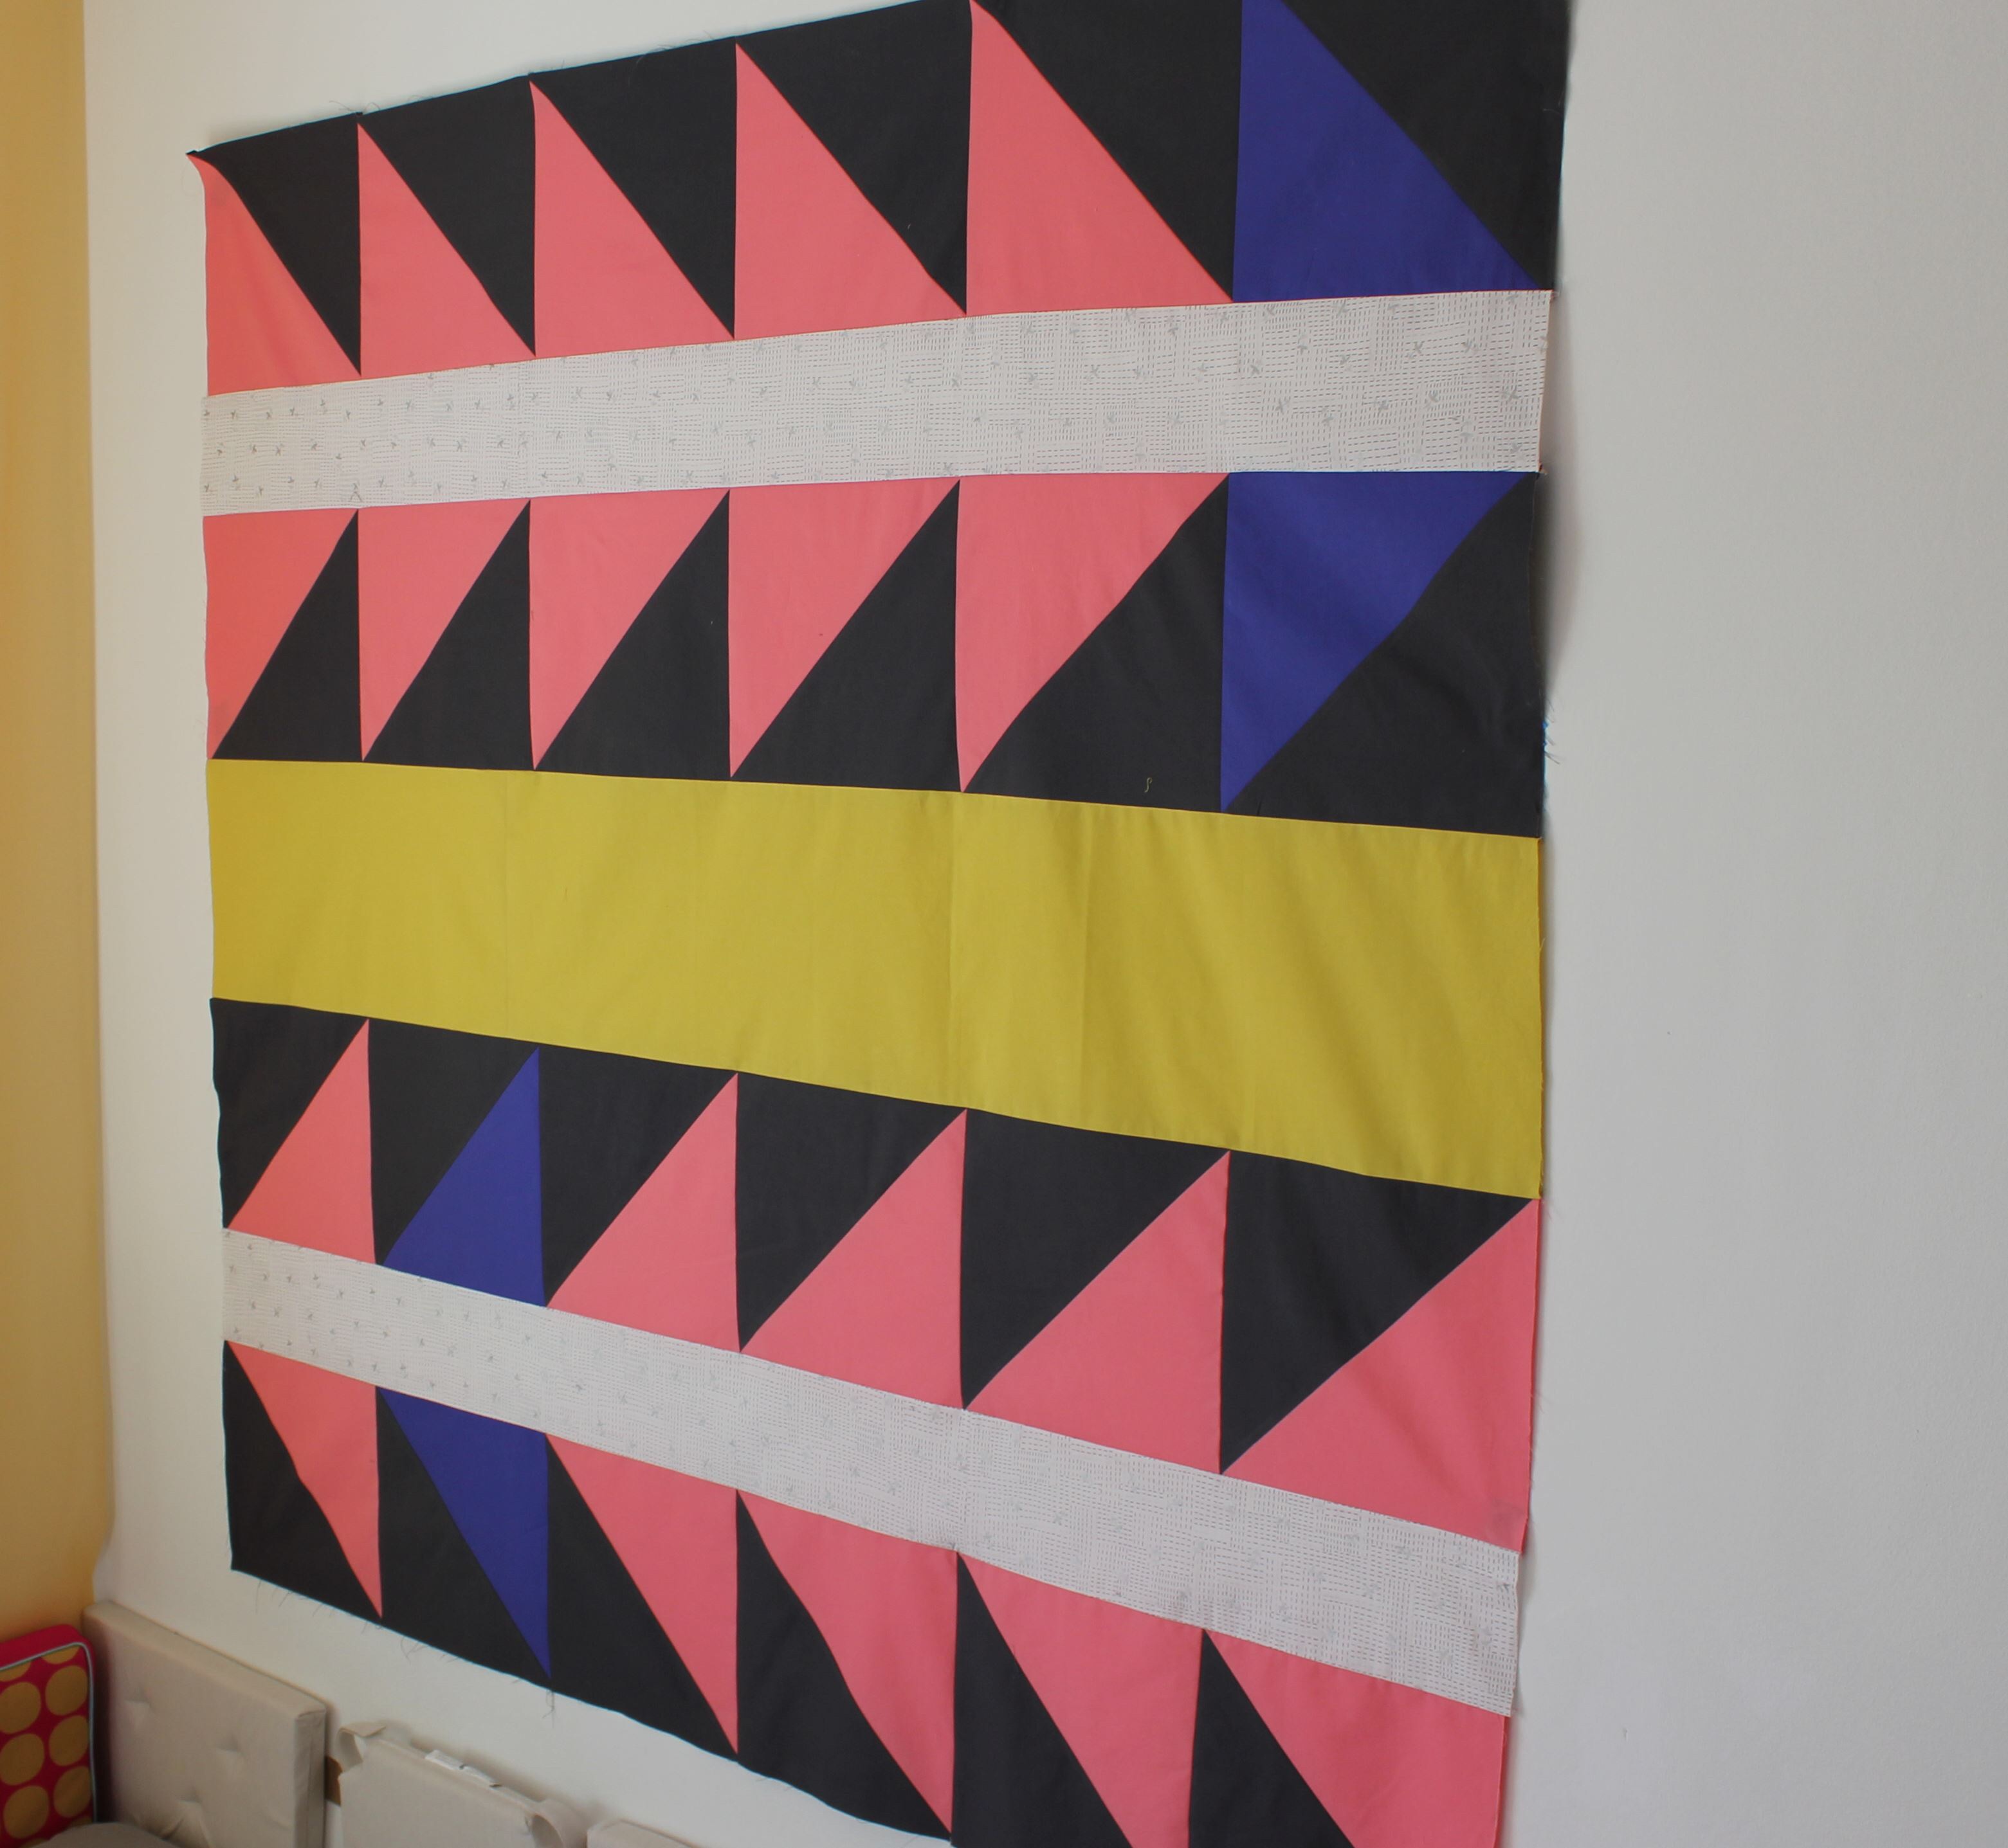
Oh and look, it’s totally scrap friendly too! I love the scrappy, yet still cohesive, look of this one by @sew_ellen_.
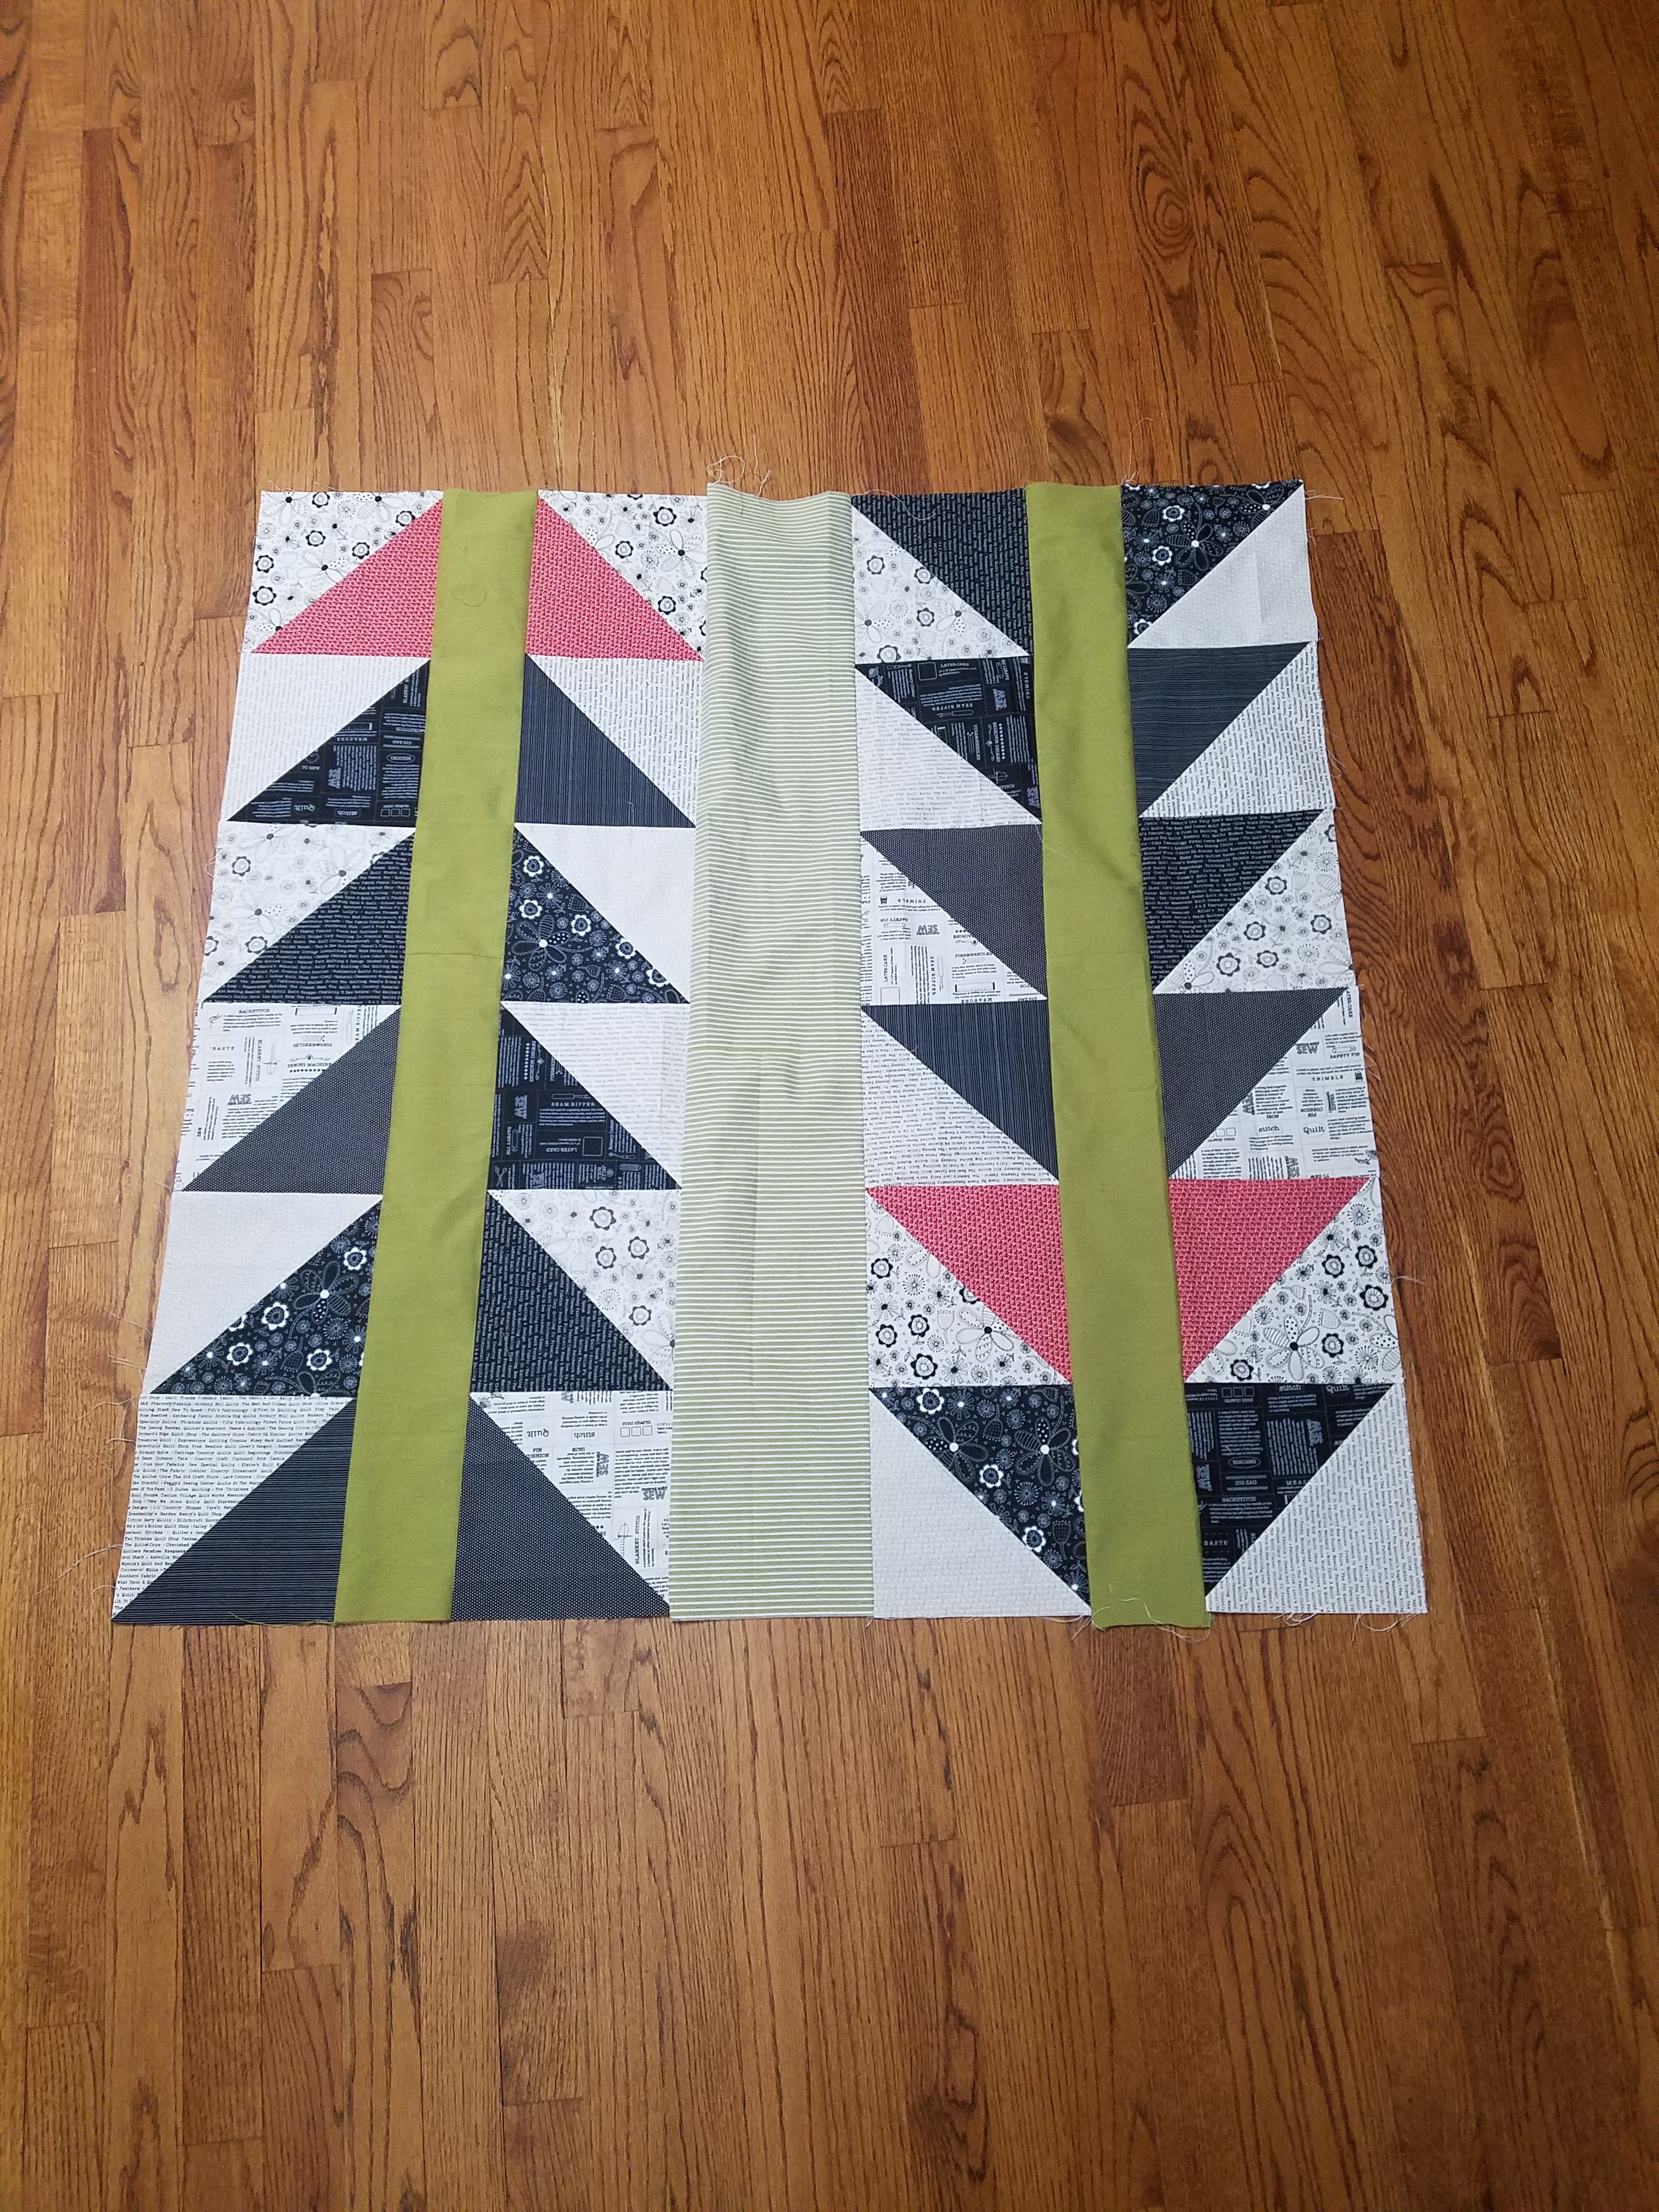
This cheerful yellow print is just divine in this baby size by @crinklyquilts.
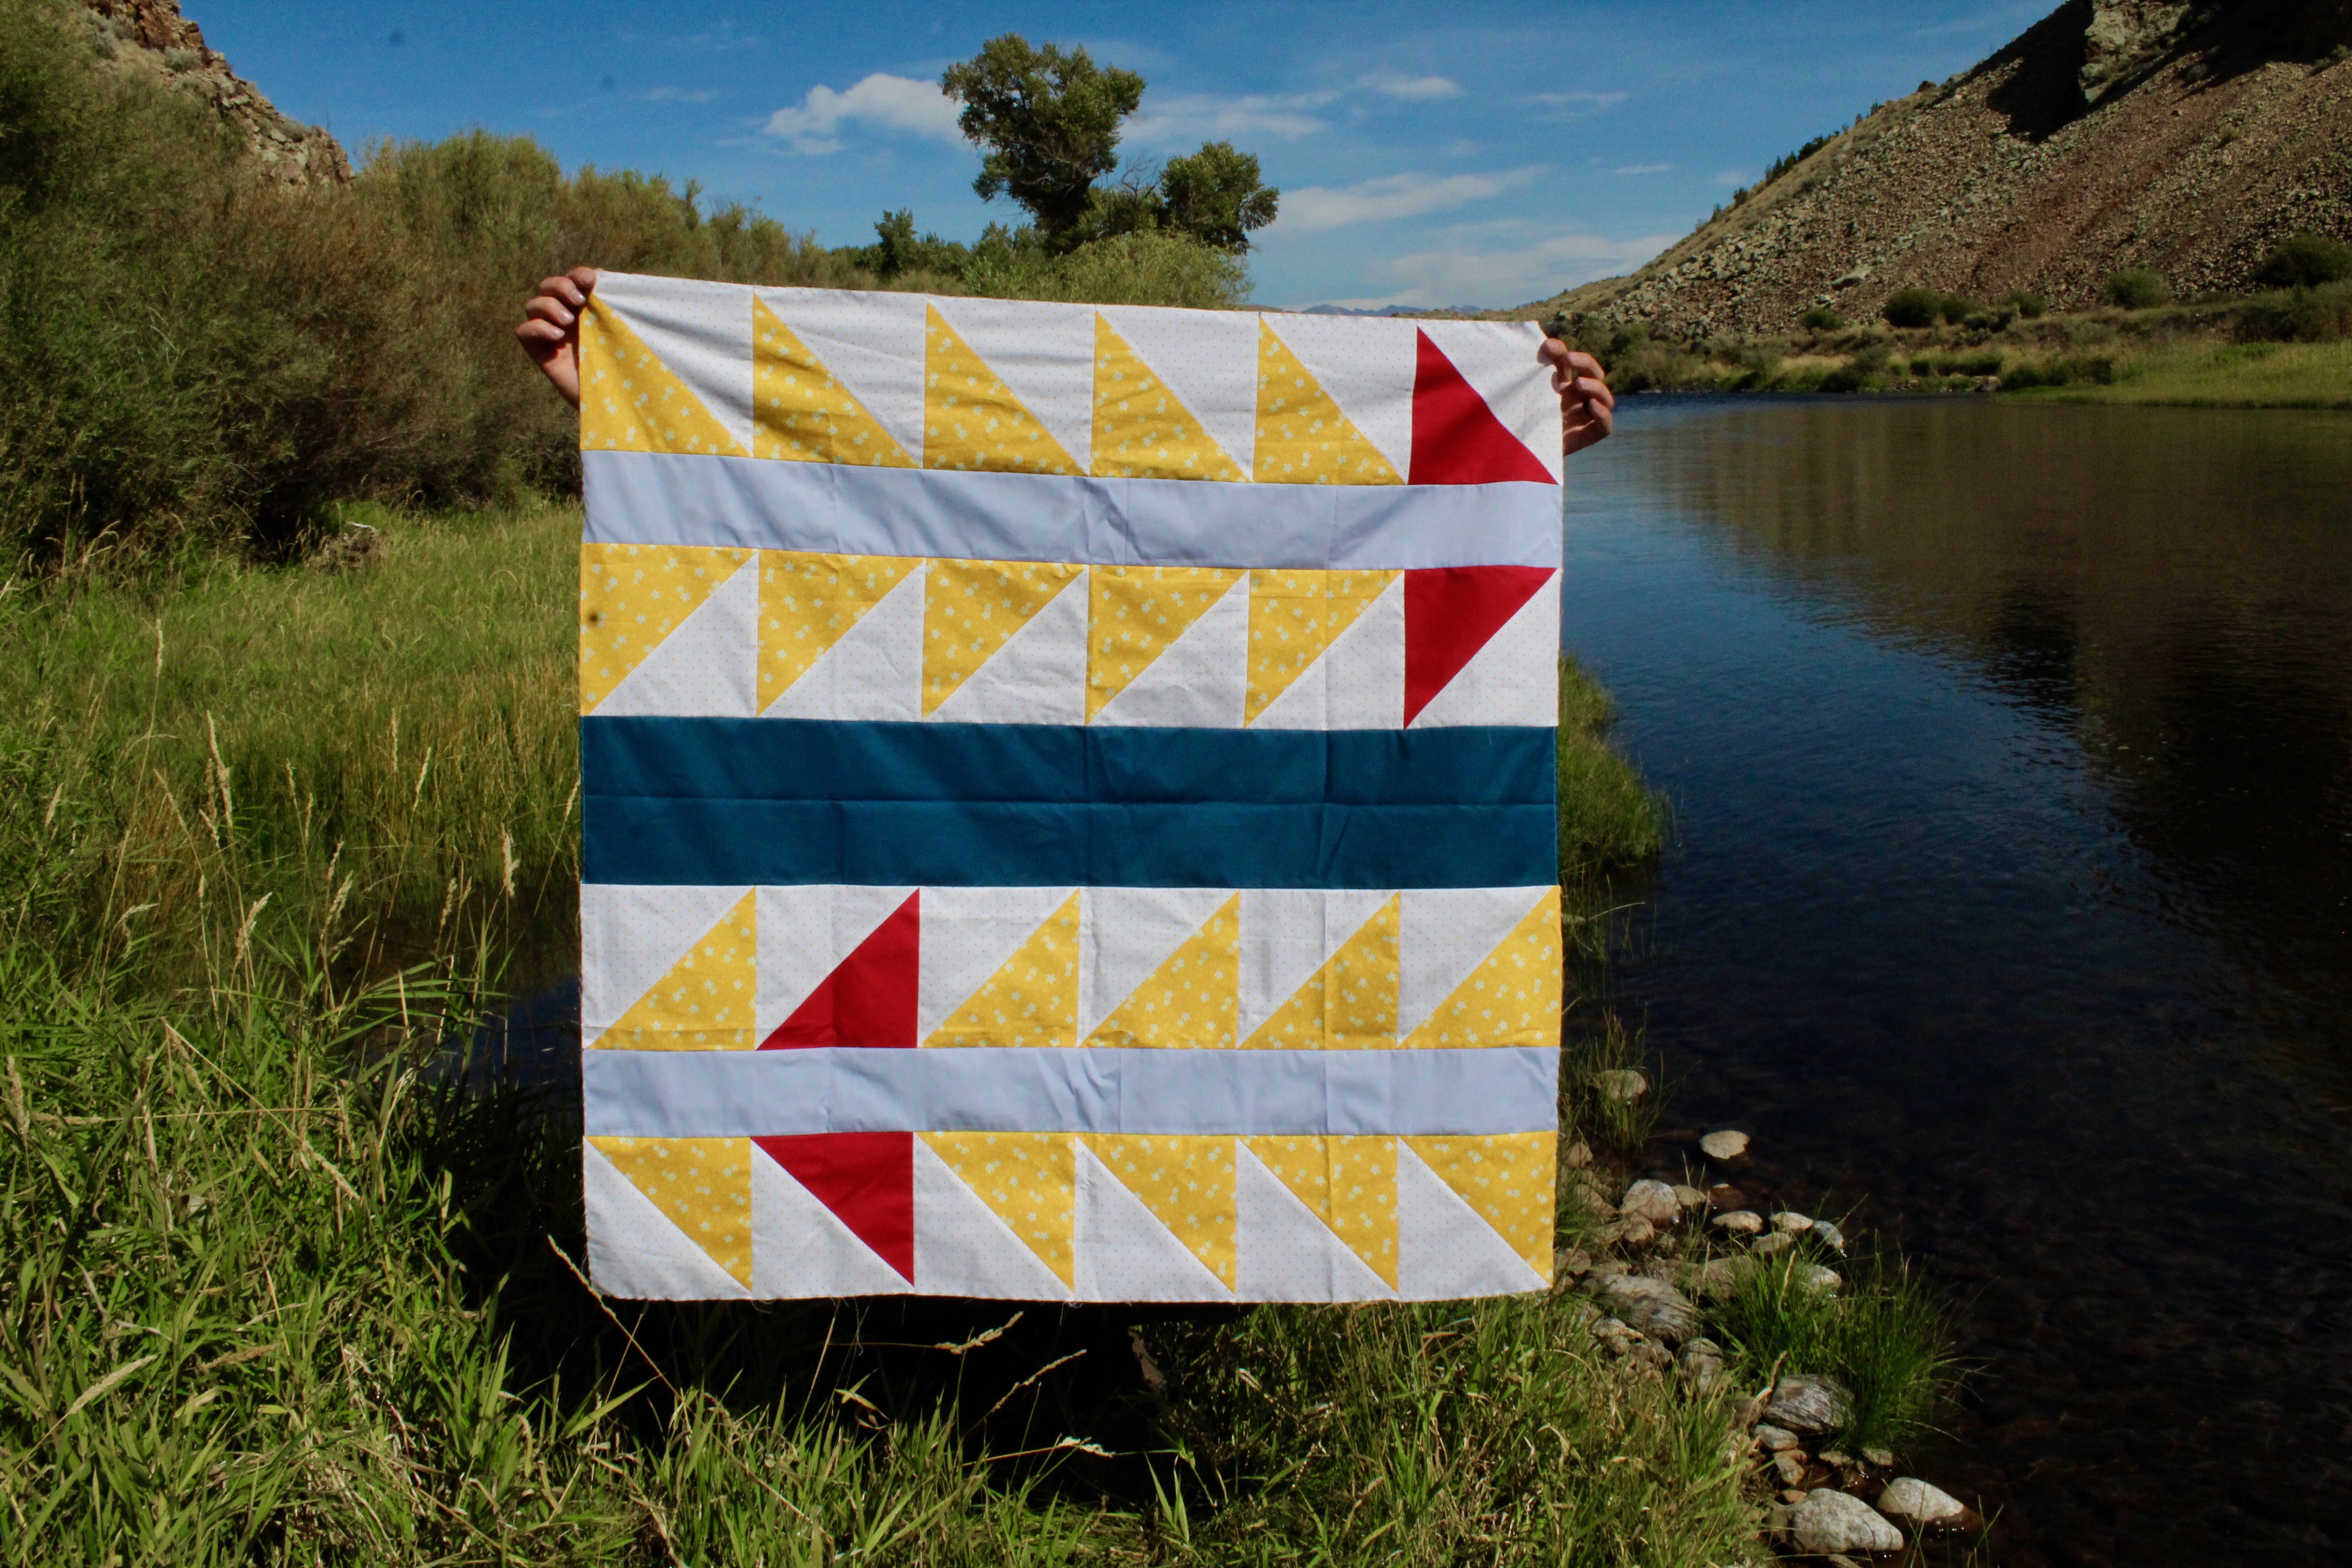
I can’t get over the perfect use of fun floral prints in this modern one by @sew.darned.cute.
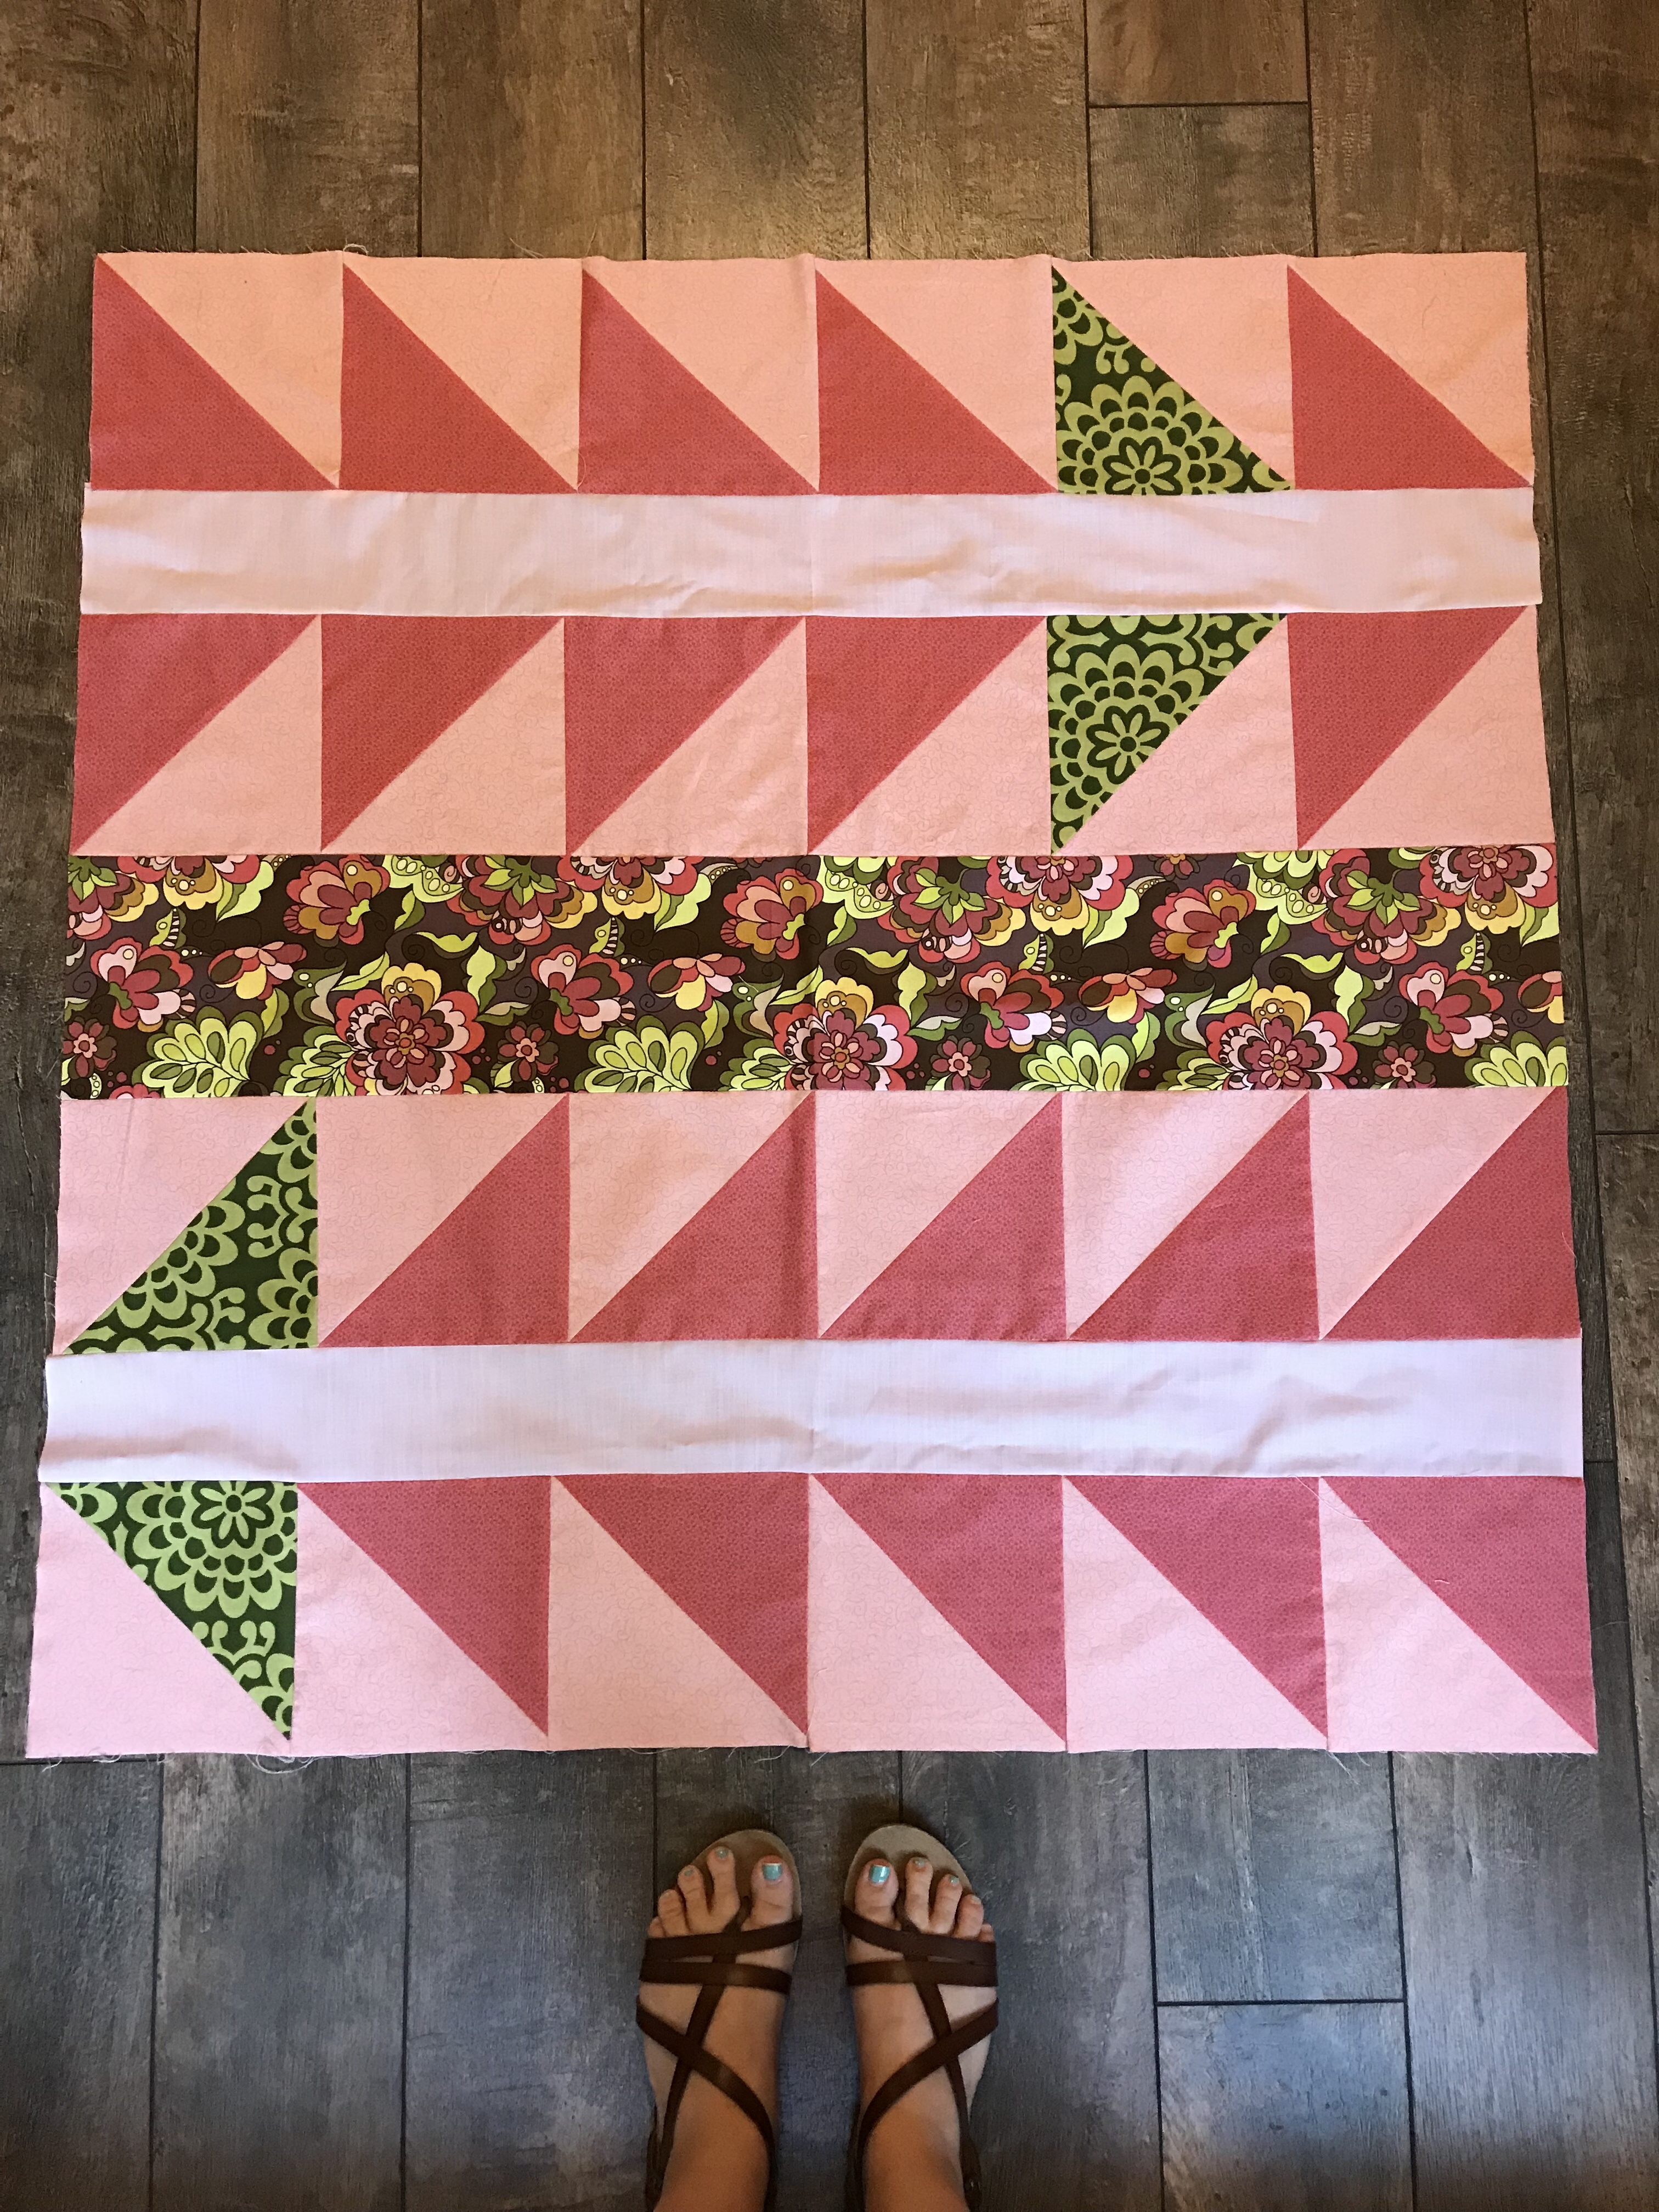

ABOUT EMILY

Thanks for stopping by to learn more about me! I am a young quilter who is passionate about teaching people to quilt and sew, and getting people connected to other quilters. My journey with sewing began when I was in middle school making costumes for plays, and my love for sewing grew in high school when I took a Fabrics & Fibers class. To this day, the sewing machine that I received for my 16th birthday is the best gift I’ve ever received.

At 19 years old, my grandmother taught me how to quilt. I showed up at her house one day with a photo from Pinterest and said “You can help me make this, right?!” Luckily she’s brilliant and we didn’t even need a pattern!

The relationship that my grandmother and I built through quilting has inspired me to want to teach others. My mission here is to build relationships and community through craft, and to help people learn new skills to use to express their own creativity.
 

Posted in Baby Quilt, Emily Jane, For Beginners in Sewing, Free Craft Projects, Free Quilt Patterns, Free Quilt Projects, Free Sewing Project, Fun Stuff, Patterns, Pillows, Quilt Throw, Quilting, Quilting & Embroidery, Tutorials, Uncategorized, Wall Hangings | Comments Off on EXPLORE Quilt Along – Homemade Emily Jane

Little Miss Sawtooth Quilt Along – #2 – Millie, Josephine and Sadie

This post is a part of the Little Miss Sawtooth quilt along that starts September 6, 2019 and ends January 10, 2020.

If this is the first time you are learning about this quilt along then please read this post to find out the intentions behind the quilt along and more details.

To view all the posts concerning this quilt along on my own blog, click here.

To view all of the posts that includes the patterns here at Havel’s Sewing, click here.

If you prefer a paper pattern, you’ll find it here.


-w


Time to make our stars!!  So as you know this quilt is all about the Sawtooth star, a star that most quilters for the past 100 years and maybe more have known.  It’s pretty common.  We are renewing that baby and adding sampler blocks to it’s center.  So the centers change, but the star is still there.  Every star is different and has a different name.

With every pattern release you’ll have an easier star and a more difficult star, but all are pretty beginner friendly.  Don’t forget to show off those fussy cutting skills!  There is plenty of places to shine and make it your own!


Product Spotlight


This Week’s Task

We are making three of our stars this round.  This is the only time we will do three stars in one round.  We are making:  Millie, Josephine and Sadie.  Don’t forget that we’ve already made our flying geese units that fit into these three blocks as star points.


Millie

She’s just your traditional sawtooth star.  No fanciness, but she’s your biggest opportunity for fussy cutting, so don’t waste your chance with her.  I chose to go with this lovely doe print.

Tips + Thoughts

  • There’s no fuss with Millie, so no tips for her either.
  • Millie’s video is the only video that shows you how to make the whole star beginning to end.  All other video tutorials only feature step by step for the inner units.
Click here for the Millie pattern.


Josephine

Josephine is a bit of a sawtooth star in a sawtooth star.  Kinda.  Instead of flying geese, it’s a bit of snowballing for points.  She’s one of my favorite blocks in this quilt.  She features a tiny center for tiny fussy cutting, but there’s other places too if you so dare.  For my center, I used a small snippet of Simple Living.

Tips + Thoughts

  • Starch is your friend.  I starch before I ever make the first cut, I think it helps whenever I have to snowball, which unless I move carefully, I always have trouble with them coming out wonky.  I use this recipe for my starch.
  • You could also use two different fabrics for Josephine’s star points and alternate them.
  • Her tiny corners could also have been fussy cut.
Click here for the Josephine pattern.


If you prefer to foundation paper piece Josephine instead of the way I’ve written the pattern, Nicole Buckley has generously provided us with a paper piecing pattern (you will need to already know how to paper piece).  Find the paper piecing pattern for Josephine here.


Sadie

Sadie is simple.  She’s just a 4-patch.  The pattern shows four different fabrics, but you can do anything here.  I chose to use two fabrics and alternate them.  I found these moths in my scraps and had to use them.

Tips + Thoughts

  • No real tips here.  Just basic quilting stuff.
  • I am using my fussy cut ruler set to get the moth placement just so.
Click here for the Sadie pattern.


If you prefer to foundation paper piece Sadie instead of the way I’ve written the pattern, Nicole Buckley has generously provided us with a paper piecing pattern (you will need to already know how to paper piece).  Find the paper piecing pattern for Sadie here.


Tools In Videos


Giveaway Details

Just a reminder, you can enter the giveaway by posting your progress on Instagram using the #littlemisssawtoothQAL.  Havel’s will be giving away random prizes to one winner each week.  Winners will be chosen and announced on Instagram @Havels_Sewing every Thursday after a pattern releases.  You don’t have to be completed with each pattern release to win, you only have to post progress.


Get a personalized Little Miss Sawtooth quilt along label for your quilt.

Get the label here.


I cannot wait to see what you do with these blocks!  This is fun, right?  As always, I am available to help you if you need it.  Email me or contact me through Instagram.  If you don’t want to do that, ask your question to a participant on Instagram.  Quilters are great helpers!  You can find most who are participating by browsing the #littlemisssawtoothqal.  Be sure that you are liking and commenting on other participants post, make the most of the social side of quilt alongs.  It only increases the fun!

I’ll see you in two weeks and we’ll get to the next two stars.  Hugs!


Let’s Connect

Blog / Email / Instagram / Newsletter / Fabrics


Posted in Melanie Traylor | Tagged | 5 Comments

Ombre Popsicle Quilt Tutorial

Ombré Popsicle Quilt Tutorial
Finished size: 50” x 62”
by Jessica Schunke of A Blue Sky Kind of Life

I don’t know about you, but I’m not quite ready for summer to end. While the stores are already starting to roll out pumpkin spice everything, I’m still dreaming of popsicles on the front porch. And since there’s a quilt for everything, a popsicle quilt seemed like the perfect way to commemorate these fading days of summer. I made the original Ombré Popsicle quilt several years ago, but now there’s finally a tutorial so you can make one of your own because the world can always use more popsicles. This easy quilt goes together in no time, so your family can be snuggling under popsicles long before the fall chill hits.

Note: While I chose to use solids to create an ombré effect, if you wanted a scrappier look, the popsicle part of this quilt is very jelly-roll friendly. Just add background fabric and a tan solid, and you’re set!

Supplies:
Popsicles
• (6) pink fabrics in a range of shades: ¼ yd. each
o Subcut each fabric as follows:
o (1) 2.5” x WOF strip of each fabric
o (1) 13.5” x 2.5” strip of each fabric
• (6) blue fabrics in a range of shades: 1/8 yd. each
o From each fabric, subcut (1) 2.5” x WOF strip of each fabric
• (1) tan fabric: ¼ yd.
o Subcut
o (3) 2.5” x WOF strips
o From WOF strips, subcut (14) 6.5” x 2.5” pieces
Background: 2 yd.
• Subcut as follows:
o (6) 6.5” x WOF strips
o From (2) WOF strips, subcut (6) 6.5” x 12.5” pieces
o From (1) WOF strip, subcut (1) 6.5” x 12.5” piece and (4) 6.5” squares
o From (1) WOF strip, subcut (3) 6.5” squares and (8) 6.5” x 2.5” pieces
o From (2) WOF strips, subcut (20) 6.5” x 2.5” pieces
o (6) 4.5” x WOF strips
o Sew strips together lengthwise using vertical seams. From pieced strips, subcut
• (2) 4.5” x 50.5” top and bottom border strips
• (2) 4.5” x 62.5” side border strips
• (8) 2” squares
o (1) 2” x WOF strip: sub-cut (20) 2” squares

Binding: ½ yd.
• Subcut (6) 2.25” x WOF strips
Backing: 3.25 yd.

**A ¼” seam allowance is assumed throughout.

Instructions:
(1) Arrange the WOF pink strips in your preferred color order. Sew together. Press seams.

(2) Repeat with the 13.5” pink strips, following the same color order.

(3) Repeat with the WOF blue strips.

(4) Subcut each of the WOF units into (6) 6.5” rectangles. Subcut the 13.5” pink unit into (2) 6.5” rectangles. The pink rectangles are Unit A; the blue rectangles are Unit B.

(5) Draw a diagonal line on the wrong side of each 2” background square. Place one 2” square right sides together in the top left corner of each pieced Unit A and B with the marked line oriented in the direction shown below. Sew along the line, then trim ¼” away from the line as shown. Press triangle open.

(6) Repeat Step 5, placing one of the remaining 2” background squares in the top right corner of each pieced Unit A and B. Make sure the marked line is oriented as shown below.

(7) Sew (1) 6.5” x 2.5” background piece on each side of the tan 6.5” x 2.5” pieces. Press seams. This is Unit C.

(8) Sew a 6.5” background square (Unit E) to the bottom of (7) of the C units. Press seams.

(9) Sew a 6.5” x 12.5” background piece (Unit D) to the bottom of (4) of the C units. Press seams. (Note: Three C units won’t have anything added to them.)

(10) Sew the (3) remaining C units to the bottom of (3) of the B units (pieced blue popsicles). Press seams.

(11) Arrange units in rows as shown below. Sew units into rows and then sew rows together. Press seams.

(12) Attach 4.5” x 50.5” border strips to the top and bottom of the quilt top. Press seams. Attach one 4.5” x 62.5” border strip to each side of the quilt top. Press seams.

(13) Baste, quilt, and bind as desired.

(14) Enjoy your beautiful new quilt! Be sure to post on Instagram using #ombrepopsiclequilt and #havelssewing so we can see what you made! Happy sewing!


[Bio: Hi! I’m Jessica, a sewing, baking, editing, mommying Texan transplanted to the Midwest. I’m a proud Havel’s brand ambassador and the president of the St. Louis Modern Quilt Guild. I’m most active on Instagram, where you can find me as @blueskycrafter.]

Posted in Free Quilt Patterns, Free Quilt Projects, Jessica Schunke, Patterns, Quilting, Quilting, Seasonal, Tutorials, Uncategorized | Comments Off on Ombre Popsicle Quilt Tutorial