How To Make A Quilt: Part 1 – Tools For Every Quilter

ESSENTIAL TOOLS NEEDED FOR EVERY QUILTER ~ By Terry White

You’ll thank me later….

If you are a beginner to quilting, the tools you need are few. There are, literally, thousands of tools for quilting available to the stitcher…it can be very confusing. So, to simplify, here is a list of the most essential things you will need to start quilting.

Marking Tools
You will use a marking tool for appliqué, marking fusible web, placement of appliqués on fabric, placement of embellishments on fabric and marking quilt lines.

Quilting Tools Image 1


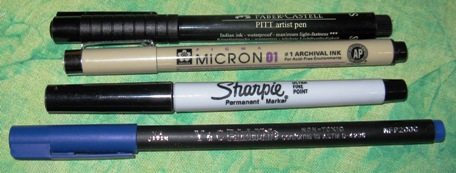
For Permanent Lines
Micron Pigma Pen: an archival acid free pen, like the pens for scrap booking.
Fine Point Sharpies: and when I take a hot iron to the marks they become permanent.
Color Pencils: can be used as they can be matched to the colors of fabric used. Then there isn’t a harsh black line to worry about.
Fabric Markers: are the best because they come in colors, are permanent and are made for fabric…however they can be expensive. So, if you buy just the primary colors individually from an art or hobby store you can save expense. Store all markers on their side to keep them from spilling ink or drying out.

Quilting Tools Image 2

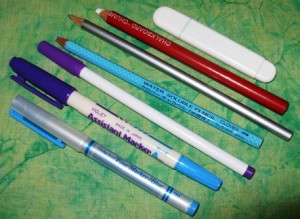
For Temporary Lines
Chalk Pencils: and markers are good.
Wash Away Pens: however, if you live in a very humid area, the marks may disappear before you want them to.

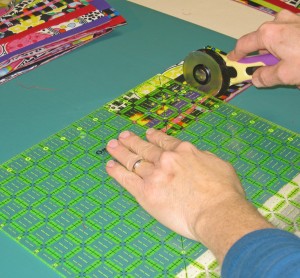
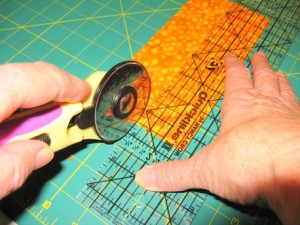
Rotary Cutter/Mat/Ruler
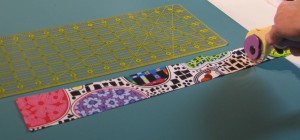
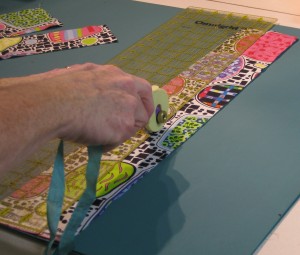
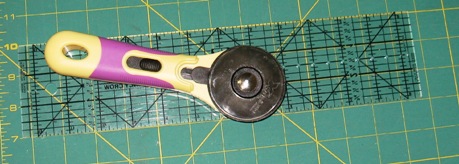
The single most important tool for the quilter has become the rotary cutter. In one step, you can measure and cut perfect straight strips for making patchwork. It has replaced the need for patchwork templates and the ability to cut perfectly straight lines with scissors.
The acrylic ruler is essential to the rotary cutter. Metal rulers ruin the blade and wooden rulers dull the blade. The acrylic rulers not only have measuring lines, but marks also for cutting various angles.
The cutting mat is very necessary – it holds the fabric still, protects table surfaces from the sharp blade and it prevents the blade from becoming dull.

Quilting Tools Image 3

Quilting Tools Image 4

How to Use a Rotary Cutter
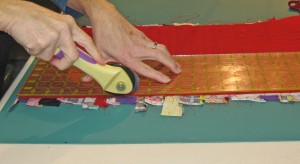
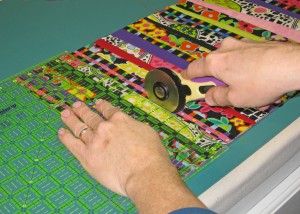
Lay your fabric on the mat, line up the edge of the fabric to the lines on the mat.
Place the ruler along the fabric where you will make your cut.
Place one hand flat on the ruler.
Hold the rotary cutter against the ruler at a bit of an angle and cut away from your body. You may have to reposition your hand holding the ruler down so that the ruler doesn’t slip on the fabric.
If this is your first time using a rotary cutter, practice on some junk fabric. It took me
several tries.

Quilting Tools Image 5

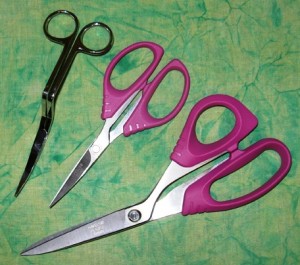
Best Quilting Scissors
Havel’s 8” Sewing/Quilting Scissors to cut fabric
Havel’s 5 ½” Curved Tip Sewing Scissors for appliqué
5 1/4” Ultimate Embroidery Scissors at the sewing machine

Quilting Tools Image 6
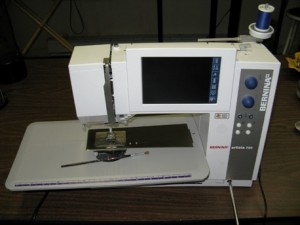
Sewing Machine
It should be in good working order. If it hasn’t been used in a while, it should probably be serviced.
Good working order means that the thread tensions work well. When you make a straight stitch on the machine, it is a smooth, even stitch with no puckers.
A clean machine is very important. Lint can build up in the bobbin area and wreck the timing of the machine and prevent good stitching.
Be sure to follow the instructions in your owner’s manual for the care and cleaning of your machine.
If you have a new machine, use the owner’s manual and become familiar with your machine before starting to quilt. When I acquire a new machine, I always do this. I will spend a day (or longer) learning all about my machine and go through every operation that my machine will perform so that I understand it.

If you are thinking of buying a new sewing machine:
Ask someone you know and admire and who sews beautifully – what does she suggest?
You want a good dealer. It is just like buying a car: you won’t be happy with your purchase if the sewing shop doesn’t support you with classes, service and supplies for your machine.
I use a Bernina.

Quilting Tools Image 7
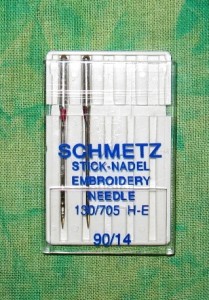
Machine Embroidery Needles
Be sure you buy the sewing machine needles that fit your machine. Believe it or not, sewing machine needles come in different lengths. The company that makes your machine will have the best advice for the needles for your machine. Don’t buy cheap needles – they are bad needles.

Quilting Tools Image 8

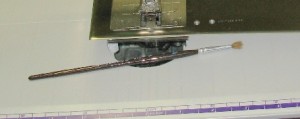
Paint Brush
Keep a soft bristle paint brush by your machine. Clean out the bobbin area and the needle area several times a day when you are doing a lot of stitching. The lint that builds up will affect the quality of your stitches.

Quilting Tools Image 9

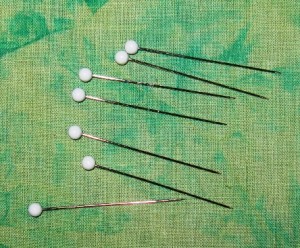
Quilt Pins
These are long pins with a plastic ball head. They are long to be able to go through several layers of fabric and the heads make them easy to pick up and to find.

Quilting Tools Image 10

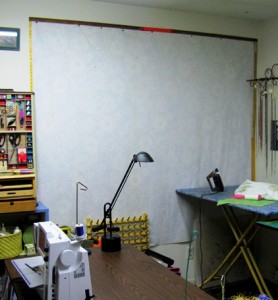
Design Wall or Layout Area
When I lived in a teeny tiny home with no room at all to lay out a quilt, I used my bed as a layout space. I would pin sections of my quilt to a sheet (which was spread out on the top of the bed) to help me see how the quilt would look. If I needed to see it hanging up, I would hang the sheet from the top of a window’s curtain rod.
There are many fancy solutions for this need. I use flannel backed vinyl (tablecloth material) tacked to a wall in my stitch studio with upholstery tacks.

Quilting Tools Image 11
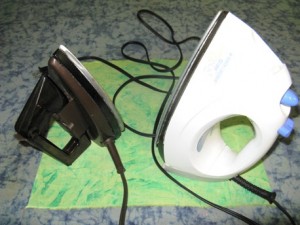
Iron
I use an inexpensive iron that gets very hot…unfortunately, I’m very clumsy and I drop my irons. I also use hobby irons and travel irons for small areas of pressing. I find that the small irons get very hot and are very easy to manipulate in small sections of work.
I don’t use steam for the most part in my work. Steam can distort the fabric.

Quilting Tools Image 12
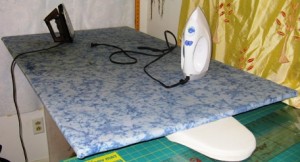
Ironing Surface
I made a large surface that I put onto my ironing board. I followed Sharon Schamber’s instructions: I started with a large section of OSB or MDF plywood board (your local home improvement place will know what this is and it isn’t expensive) cut to the size I wanted. Layer this with low loft cotton batting and cotton duck fabric. Then, pull the fabrics to the back and secure with a staple gun. This gives me a large and very flat surface which is perfect for pressing quilts.

Quilting Tools Image 13Pressing Cloth
Especially if you are using fusible webs, paints, or materials made with metal threads or nylon. Simply, a pressing cloth can be an old sheet or pillow case or a piece of muslin that will protect both the iron’s surface and the fabric’s surface.

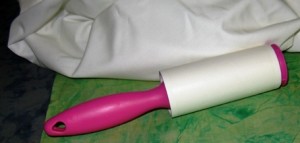
Lint roller
Can be used to clean my design wall, my ironing surface and even stray threads on my quilt.

Quilting Tools Image 14

Hand needles
Hand Needles called “Betweens” work well for burying threads, use in stitching binding and rod pockets to a quilt and doing any hand stitching that may be required.

Next: Essential Materials for the Beginning Quilter


CLick here for Part 2 of How to Make a Quilt
…and for a downloadable PDF of this blog, click here.

Posted in For Beginners in Sewing, Fun Stuff, Holiday Projects, How to Make a Quilt, How to Quilt, Quilting, Quilting Tools, Terry White, Tutorials, Uncategorized | Tagged , , , , , , , | 3 Comments

Craft Project: Kindle Cover by Jamie Fingal

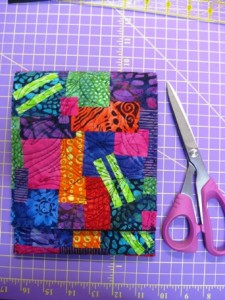
Matchbook Style Kindle Cover: A Free Craft Project
By Jamie Fingal

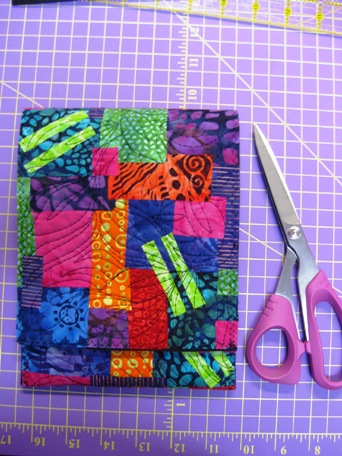
Free Quilt Project-Kindle Cover Image 20

You can make this project with fused scraps, or by selecting the fabrics that you desire from your own stash. I would suggest that you choose 6-8 different fabrics that are the same value, but have contrasting colors, so that when you make your design, the colors will pop when placed side by side.

Materials
• 1/2 yard of wool blended felt
• Fused scraps
• Mistyfuse
• Goddess sheet or parchment paper
• Thread for free motion machine quilting
• Adhesive Velcro
• 2 straight pins
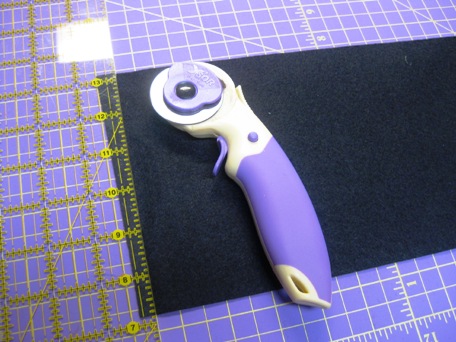
Comfort Rotary Cutter
8″ Havel’s Scissors for precision cutting

Free Quilt Project-Kindle Cover Image 1

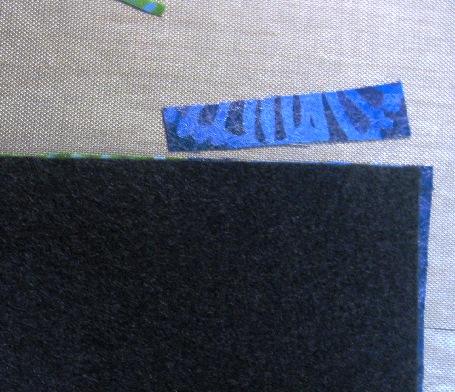
1. Cut 2 pieces of wool blended felt 17 1/2″ long by 6″ wide
with a rotary cutter on a mat with a ruler. Set aside.

Free Quilt Project-Kindle Cover Image 2

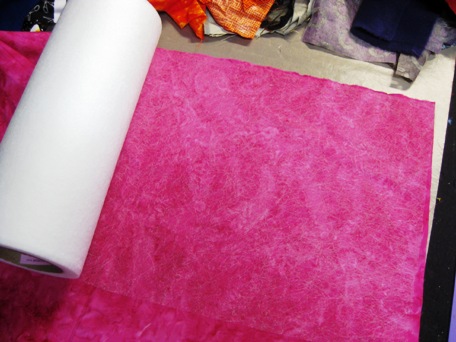
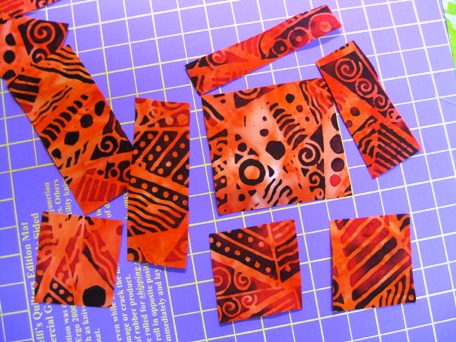
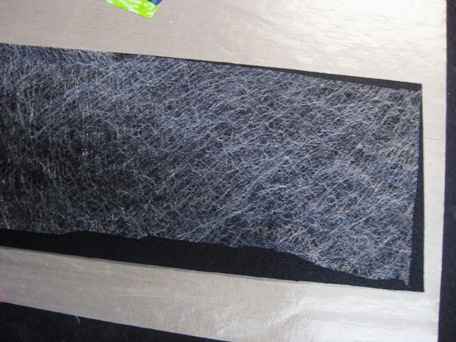
2. If you don’t have any fused fabrics, you can use Mistyfuse – lay the fusible web on the wrong side of the fabric, making sure none of it goes over the sides.

Free Quilt Project-Kindle Cover Image 3

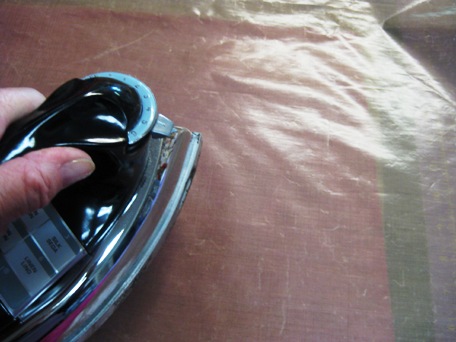
3. Cover with parchment paper or a Goddess sheet and press with a dry iron on the wool setting. Pull the parchment paper or Goddess sheet away immediately.
Let cool, and then trim the edges with a pair of Havel’s scissors
for precision cutting, so that the fusible goes to the edges.

Free Quilt Project-Kindle Cover Image 4

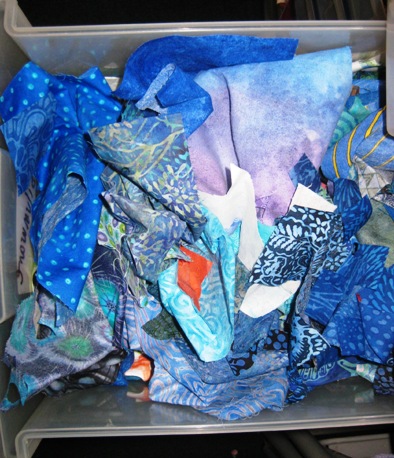
4. Scraps – I store all of my scraps by color in bin drawers.

Free Quilt Project-Kindle Cover Image 5

5. In looking at your fabric selection, find the one that stands out the most for the 2 sticks that you will use at the end. My selection was lime green fabric,
and they are cut 2” long by 1/4″ wide, cut 8 pieces.

Free Quilt Project-Kindle Cover Image 6

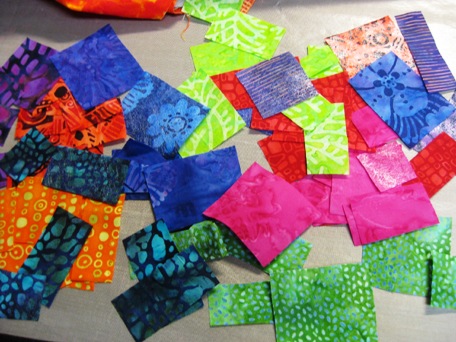
6. Proceed to cut your fabrics into a variety of squares and rectangles from 1” to 2”,
with either a rotary cutter or a pair of scissors.

Free Quilt Project-Kindle Cover Image 7

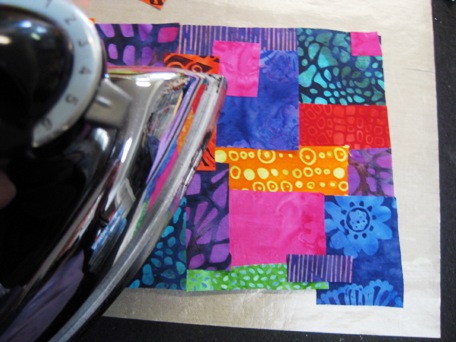
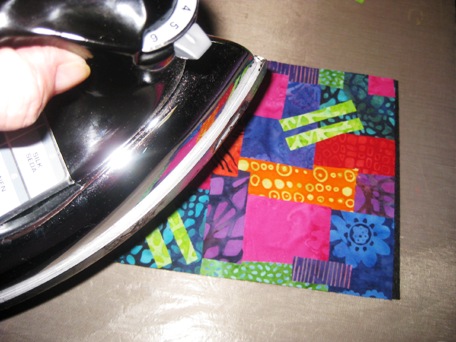
7. Begin placing the cut fabrics onto one piece of wool blended felt. You can overlap the edges with the fabrics. When you have the design that you like, iron them into place.

Free Quilt Project-Kindle Cover Image 8

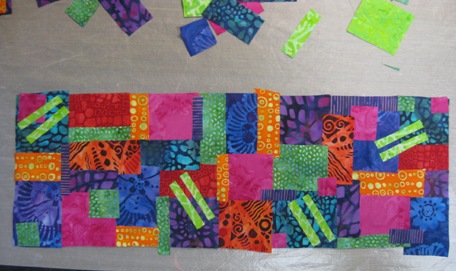
8. Add the fused sticks throughout the design.

Free Quilt Project-Kindle Cover Image 9

9. Flip the piece over and trim excess fabric from the edges with scissors.

Free Quilt Project-Kindle Cover Image 10

10. Cut a piece of Mistyfuse to put between the 2 pieces of wool blended felt and iron into place, like a sandwich. Iron both sides to keep it from separating.

Free Quilt Project-Kindle Cover Image 11

11. Press the fused fabric side with your iron, so it remains flat.

Free Quilt Project-Kindle Cover Image 12

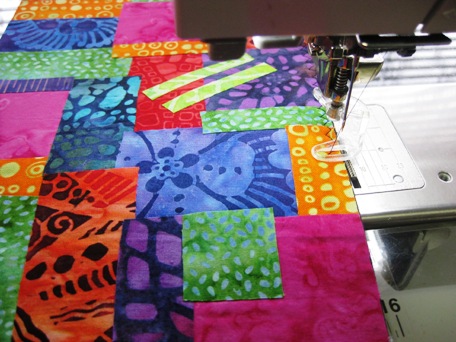
12. Thread your sewing machine with your thread selection. I used black thread for this project. Lay the fused piece under the foot, and anchor your first stitches into place,
and then proceed to zig-zag all around the piece to secure the edges.

Free Quilt Project-Kindle Cover Image 13

13. With a free motion foot, anchor your starting stitch by sewing it into place,
backwards and forwards. For free motion quilting, I sewed free flowing stitches
of leaves and stems, over the entire piece.

Free Quilt Project-Kindle Cover Image 14

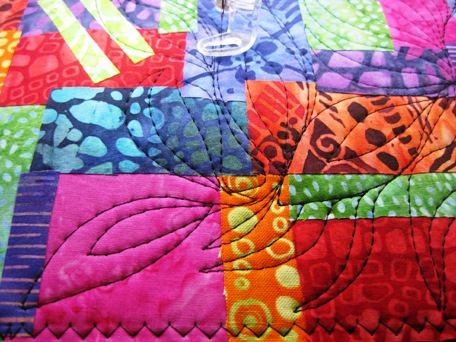
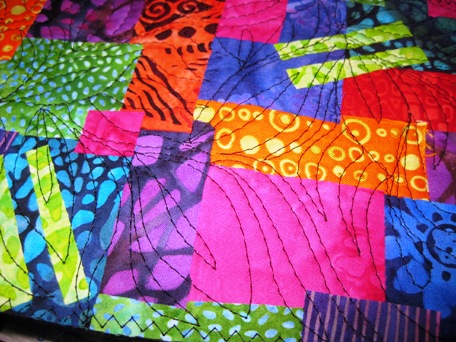
14. See the detail stitching on the fabric side.

Free Quilt Project-Kindle Cover Image 15

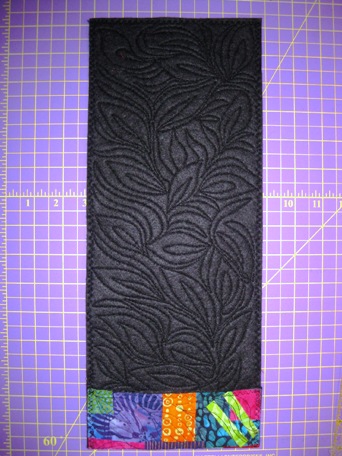
15. See detail stitching from the felt side.

Free Quilt Project-Kindle Cover Image 16

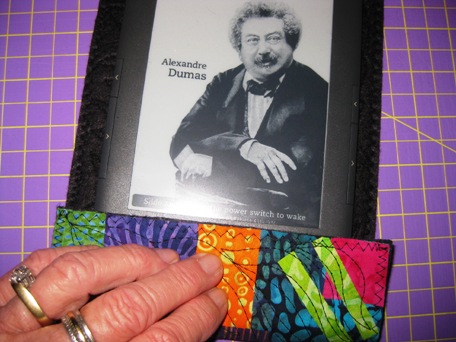
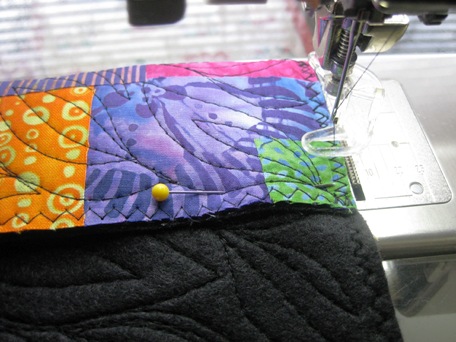
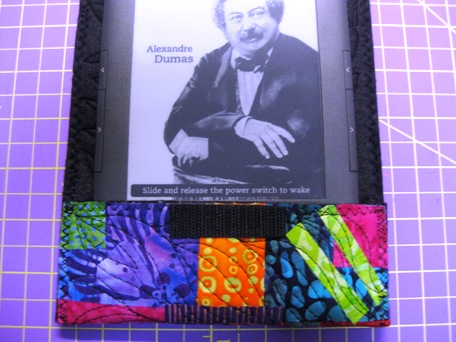
16. Get your Kindle out, and place it on the inside (the felt side),
and measure the flap, it should fit just over the keyboard, about 2”.

Free Quilt Project-Kindle Cover Image 17

17. Pin into place, remove Kindle, and sew the sides using the zig-zag stitch
on your sewing machine.

Free Quilt Project-Kindle Cover Image 18

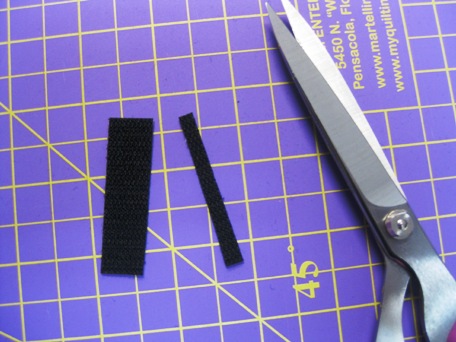
18. Cut the adhesive Velcro 2” long, and trim it just slightly lengthwise.

Free Quilt Project-Kindle Cover Image 19

19. Flip the cover down towards the tab to measure where the Velcro
will meet up, and adhere into place.

Free Quilt Project-Kindle Cover Image 20

20. Let each Velcro piece cure separately to the fabric for a bit, by pressing it
under a book for about 30 minutes before closing them onto each other.

Free Quilt Project-Kindle Cover Image 21

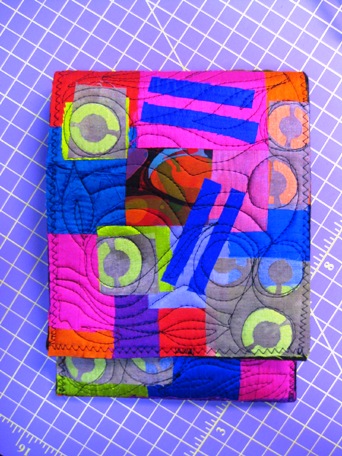
Now you have a great cover for your Kindle or to give as a gift.
Here is another one that I made using silk scraps.  I hope you enjoy this free craft project!

Jamie Fingal is an award winning artist Jamie Fingal~Mixed Media Fiber Artist & Authorwho lives in Orange, California and the author of “Embellished Mini Quilts”. Her whimsical and abstract work has been juried into International quilt exhibitions and featured in many books. She has written articles for Quilting Arts, Cloth Paper Scissors, Gifts, and Studios magazines, and she has two instructional DVD’s. She’s been a guest on Quilting Arts TV in Series 200, 400, 700, 900, and is most known for her playful approach to quilt making with zippers, houses, abstract and faces. Her work is in private, public and corporate collections. She is also a grown up Girl Scout and her artwork is featured on an Ecco-Bag for ABC Bakers for the 2010 Cookie Sales. Her piece “Soul Sisters” won the grand prize in the contest for the Alliance for American Quilts in 2011. Jamie says, “I believe in giving back, and coordinate the “Welcome Home” house quilt project with Furnishing Hope. I also co-curate art quilt exhibits and teach at the National level with Leslie Tucker Jenison for Dinner at Eight Artists.”

Be sure to check out Jamie’s blog jamiefingaldesigns.blogspot.com,
and if you’d like to contact her, you may email her at jamie.fingal@gmail.com
or snail mail: 960 N. Tustin Street #253, Orange, CA 92867

To see more free quilt projects click here.

For a printable PDF of this project, click here.

Posted in Free Craft Projects, Free Quilt Patterns, Free Quilt Projects, Jamie Fingal, Quilting, Quilting & Embroidery, Tutorials, Uncategorized | Tagged , , , , , | 1 Comment

Quilt Binding with Terry White ©2012

The Big Finish – Fun Binding Techniques 

Once in awhile I make something and it goes into what Scot (my husband) calls “The Under Bed Museum”. It may be that I haven’t figured out what to do with a project or how to finish it. Here are some ways I’ve learned to finish things and get them into the light and out from under the bed.

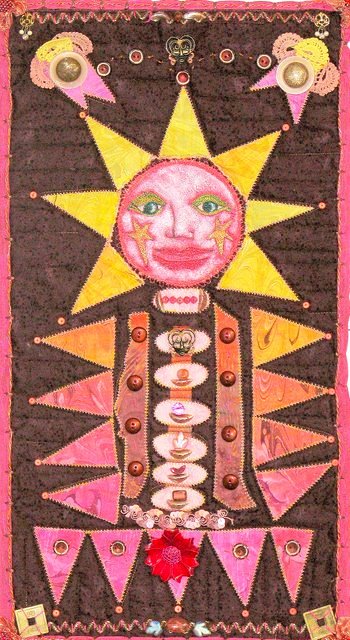
sun-a-pillar-350x640

Sun-A-Pillar.

I wrote a book called, “Enhance Your Quilt – Embellish”. Apparently, I had written too much and tried to do too many things. Here are some of the edge finishes or binding techniques I want to share that did not fit into the book!

We know how to do traditional binding techniques. If a textile isn’t traditional anyway, a creative finishing approach is appropriate. I especially like to use these techniques on small quilts. One has to get in close to look at a small piece and having little extras in the edge adds delight! Let’s explore some special edging finishes just for the fun of it!

Scalloped Ribbon Binding

This is the quilt, Sun-A-Pillar.

I quilted this piece all the way to the edges. After the quilting is done, I like to trim and stitch the edges before binding. This will draw up the edges and keep them nice while applying a binding or edge finish. This also helps to prevent a gather or pucker at the binding seam.
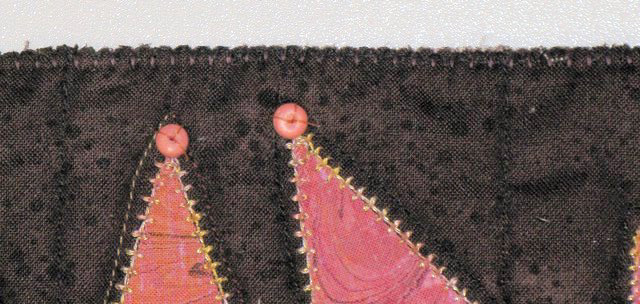
blanket-stitch-with-brown-thread-306x640

Blanket stitch with brown thread.

For this quilt I used a blanket stitch with brown thread to prepare the edge
of the quilt for the finishing technique. 

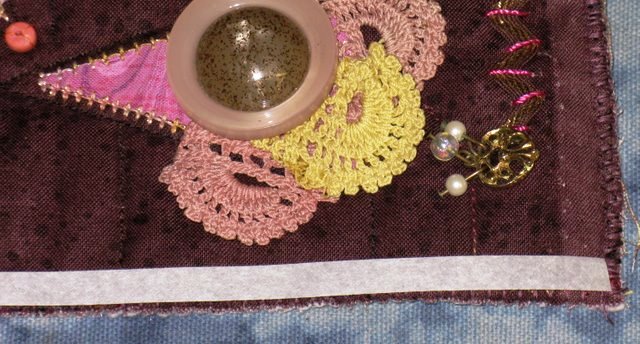
fused-paper-backed-fusible-web-on-edges-640x344

Fused paper backed fusible web on the edges.

Then, I fused a strip of paper backed fusible web on the edges.
You can buy this on a roll or cut strips from fusible web. 

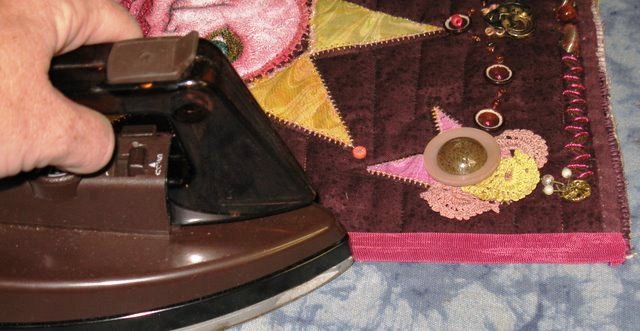
ironed-rose-colored-hem-tape-640x331

Removed paper and ironed rose colored hem tape to the quilt.

After removing the paper, I ironed rose colored hem tape to the quilt.

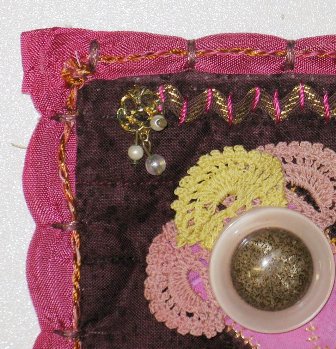
twisted-cord-on-hem-tape-336x349

A twisted cord on top of hem tape, and bar tacked
for a scalloped look.


I laid a twisted cord on top of the hem tape as I bar tacked the hem tape to the quilt. You can see that the bar tack draws up the tape for a scalloped look.

corners-finished-with-yoyo-640x461

Corners are finished with a yo-yo, with a raspberry bead in the center.

The corners are finished with the addition of a yo-yo with a raspberry bead in the center. 

Decorative Stitch Edge

decorative-stitch-edge-219x640

Use a decorative stitch to finish the edge.

Instead of using a separate binding, the edge of the quilt border is folded under ½ inch and pressed. Then, the edge of the quilt back is folded under ½ inch and pressed. You can pin the edges together or use fused hem tape to iron and fuse the edges together. Then, use a decorative stitch to finish the edge. 

Stacked trims

stacked-trims-640x239

Stacking various trims makes each trim more special.

After binding a quilt in the traditional way, I stacked and glued several trims to the edge and then bar-tacked over a cording, stitching the trims to the edge at the same time. Stacking various trims makes each trim more special. 

Novelty Yarn

edge-of-quilt-decorated-with-fuzzy-yarn-640x270

The edge of this quilt is decorated with a fuzzy yarn.

The edge of this quilt is decorated with a fuzzy yarn. The small quilt was first finished with the decorative stitch edge using a blanket stitch. Then, the yarn was stitched to the edge with a large blanket stitch. After stitching, the fuzzy yarn can be picked out of the stitches with a knitting needle to release the fibers. I used a pretty light green thread that matched the yarn. The yarn appears to float on the edge of the quilt.

For more articles by Terry White, click here.
Do you use a special decorative trim on your quilts?
Share them here, we’d love to hear from you.

Posted in Guest Writers, How To, Quilt Binding, Terry White, Uncategorized | Tagged , , , | 2 Comments

How to Make a Quilt

Nine-Patch Quilt
by Terry White

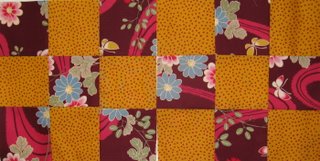
Patchwork refers to the technique of cutting pieces of fabric and then stitching them together to make a quilt top. The cut pieces of fabric are called patches.

When the pieces are stitched together into a single unit, the unit is called a quilt block.

When quilt blocks are stitched together, this is called the quilt top.

When the quilt top is layered with the batting and the backing and quilted together, this is called a quilt.

Today’s quilter uses “strip piecing” to cut and stitch patchwork together. The “strip piecing” technique can be described as cutting strips of fabric, stitching them together, cutting them again and stitching them back together. Many complex designs can be created in this manner. The wonderful thing is that one only needs to know how to sew a straight line on the sewing machine.

So, I will start with the simplest block, and that is called a Nine-Patch
because it has nine patches in it.

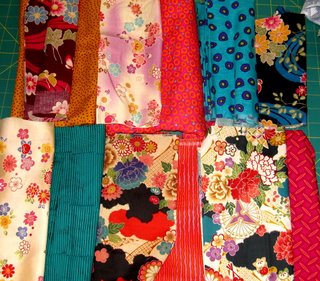
I start with laying out fabrics, here is the Japanese design group shown in an earlier blog. I laid them out making sets of two with contrasting colors. There are six sets of two.

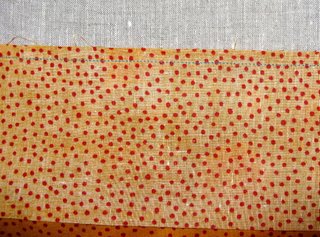
Before cutting my strips, I cut off the woven edge of the fabric, this is called the “selvedge”. It is more tightly woven than the rest of the fabric. You see little holes in it; this is where the fabric is held by machines as it is processed.

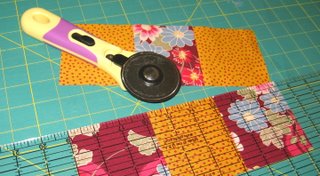
In a previous blog, I show how to use a rotary cutter.
We also have a video tutorial on this website.

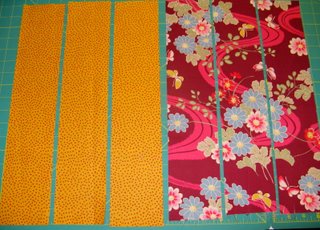
Starting with one set, I cut three 3 1/2″ wide strips with my rotary cutter of each fabric.

I arrange the fabrics into two sets.

Now, the strips will be sewn together with a 1/4″ seam. Quilters have proven that this is the best seam allowance for patchwork. The key here is to stitch very carefully so that the seam is 1/4″ exactly all the length of each strip. To have a good seam will take practice.

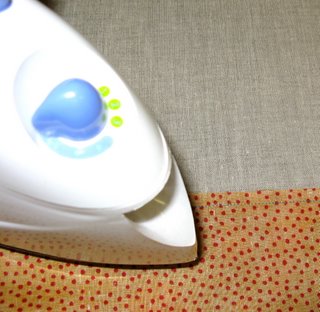
Press the seams together with a hot iron. Don’t use steam, it may distort the blocks.

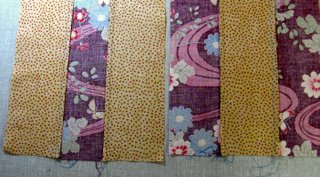
Now, press the seams together to the darker fabric side.

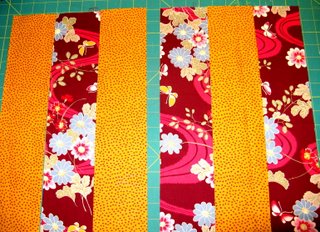
See, the strip set on the left has the seams pressed inward
and the set on the right has the seams pressed outward.

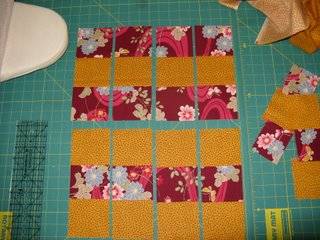
Now, cut the strip sets 3 1/2″ wide to create a strip of three patches.

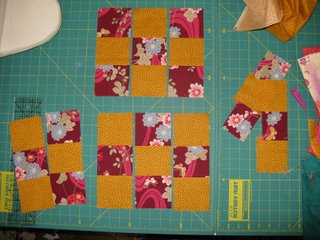
Arrange the sets into two nine-patch blocks. The blocks are reversed!
You will have extra patch sets and pieces; we will use those, too.

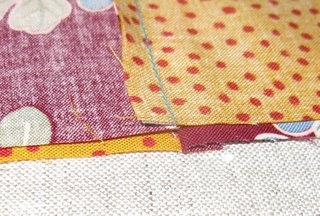
Sew the patch sets together with a 1/4″ seam. Now, you can see that by pressing the seams the way we did, the seams snug into each other making it easy
to have matching points at the corners.

Click HERE to see more articles by Terry.

Posted in Guest Writers, How To, Quilting, Terry White, Tutorials, Uncategorized | Tagged , , , | 1 Comment

Quilt Project Tips: How to End Uneven Seams

By Holly Hanover

In any sewing project, uneven seams can make or break the final product. In quilting, uneven seams result in a sloppy looking mess. When sewing blocks of fabric together, your entire pattern can be made moot due to uneven seams. There are many factors that affect the evenness of seams, and once you’re aware of them creating even and professional looking seams will be a breeze.

If uneven seams are threatening to become the bane of your existence by ruining all of your quilting projects, then follow these quilting instruction tips to end them forever:

  • Learn to keep your eye on the raw edges of your fabric–and your stitch guide–as you sew. This is probably the most important aspect in sewing straight seams. Most seams should be ¼ inch from the needle. If you’re machine doesn’t have a stitch guide, create your own by measuring a piece of masking tape ¼’’ from the needle. Don’t use the edge of your presser foot as a guide as the widths of these vary.
  • If your needle breaks while sewing, be sure to replace it with the same size needle. The difference may seem miniscule, but changing up the needle size in the middle of a project can result in uneven seams.
  • When stitching two slightly uneven pieces of fabric, place the longer piece on the bottom and the shorter on top. The longer, bottom one should ease into the shorter piece as you sew.
  • Make sure that your fabric is cut correctly. Using a rotary cutter, mat, and ruler is the best way to ensure uniform quilting pieces. Remember a golden rule of quilting instruction: measure twice and cut once!
  • Backstitch all your seams so they stay together. Forgetting to do this could result in uneven seams at the corners.
  • Thoroughly press all your seams using the proper temperature setting for your fabric. Press and do not iron, or push, the fabric. This could stretch it and result in uneven seam allowances.
  • During the quilting process, the weight of the quilt itself can manipulate the fabric and cause uneven edges. This unsightly result can be kept at bay by either bunching up all your fabric on the table or surrounding your workspace with something, such as your ironing board, to bear the weight of the quilt as you sew.
  • Lastly, always bear in mind that fabric is a fickle medium. It shrinks, stretches, or may have been made unevenly from the start. A basic lesson in quilting instruction is to always practice on scrap pieces so you’re prepared for however your machine may affect the fabric. Remember to sew slowly and observe the nature of the fabric you’re working with before attempting anything too complex.

Let us know what quilt project you are working on.

Posted in Fabric Rotary Cutters, Quilting, Uncategorized | Tagged , | 1 Comment