Sew it All TV: Behind the Scenes

Or…behind the seams, if you will.

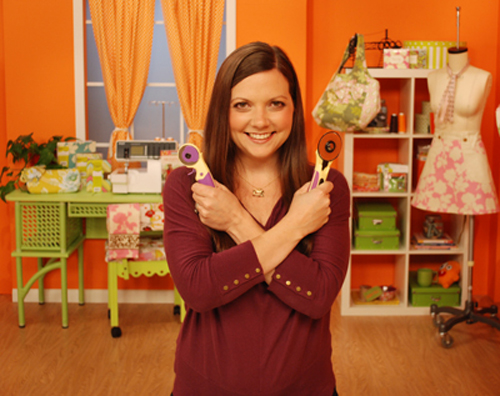
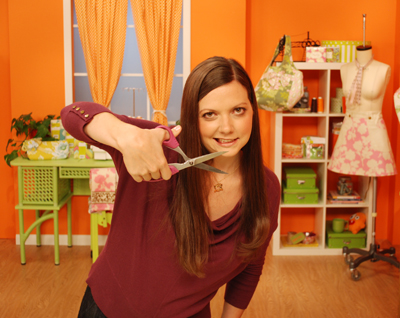
ellen-wolverine-esque-500x396

Vaguely Wolverine-esque, no?


While organizing photos from the new season (YAY Season 5 goes live March 2nd!!) for our website, sewitalltv.com (where you can find instructions for all episodes) I came across some lovely gems I thought a shame to keep to myself.


ellen-loves-her-havels-400x326

The lady loves her Havel’s.


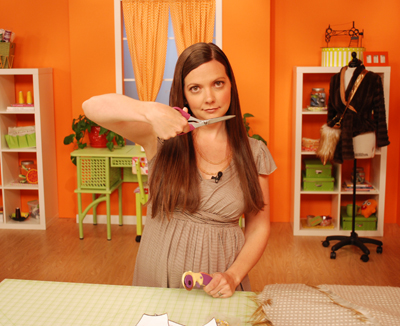
ellen-cant-be-serious-all-day-400x318

She’s in front of the camera all day, she can’t be
serious the whole time


Our fearless leader, Ellen March, and her sharp-object wielding shenanigans.


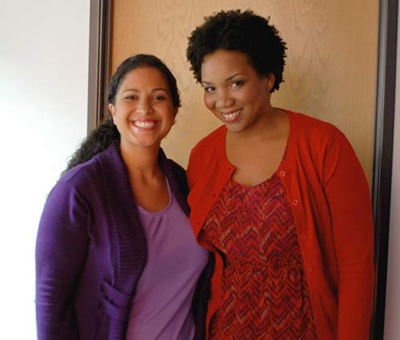
guests-vanessa-and-rashida-400x340

Two of our guests, Vanessa Wilson and Rashida Coleman-Hale, met up on set and hit it off!


Season 5 begins airing March 2nd on PBS stations nationwide! Guests include Mary Fons, Sue Hausmann, Vanessa Wilson, Cheryl Kuczek and more sewing stars! Visit pbs.org to find your local PBS schedule for air times, or to request that they carry Sew it All TV!


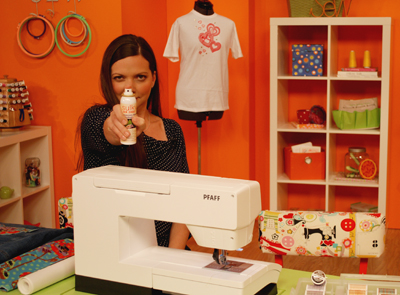
freeze-temp-spray-adhesive-400x295

Freeze! (Get it?…temporary spray adhesive!…)


Check out info on the Sew it All TV Casting Call, held at the Sewing & Stitchery Expo on March 3rd, where YOU help choose from our 5 contestant who will become the next Sew it All TV guest!


wendy-and-kim-on-set-400x268

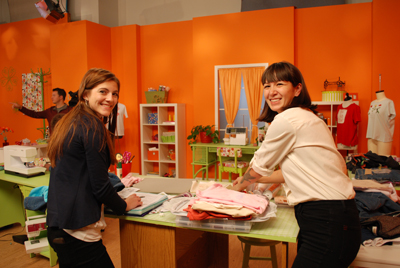
Floor Manager Kim Saba (right) and I, working hard while Ellen tries to distract us with the camera.


PS: Stay tuned for 13 Days of Giveaways, beginning tomorrow, February 13th, where we’ll be giving away a prize from a past guest every day leading up to the airing of Season 5!


We have a great time making the show and hope you enjoy watching it!

HUGE thank you to our sponsors for making it all possible: Arrow Sewing Cabinets, Elna, Havel’s, Original Sewing & Quilt Expo, Pfaff and Sulky!

Wendy

To read more blogs by Sew It All TV, click here

Posted in Sew It All TV, Uncategorized | Tagged , , | 2 Comments

Quilting Inspirations by Dinner at Eight Artists

Rituals~Featured at International Quilt Market/Festival

Havel’s Scissors is proud to be a sponsor of Rituals by Curators, Jamie Fingal and Leslie Tucker Jenison.  Jamie and Leslie, along with forty artists, have come together to reveal the art that can be found in everyday life.  I had the privilege to see the exhibit at the International Quilt Festival in Houston this year.  The ingenuity of the artwork in the exhibit is nothing short of spectacular!  Each artist tells a story through the threads of the fabric.  And the stories that are woven through each piece will inspire you to live life to the fullest and appreciate each and every opportunity we are given to share with loved ones.

Barb Forrister, Austin, Texas-Wife, mother, full time artist, designer, teacher, painter, dyer, sculpter, photographer, website maintenance, blogger, avid recycler, nature lover and friend.

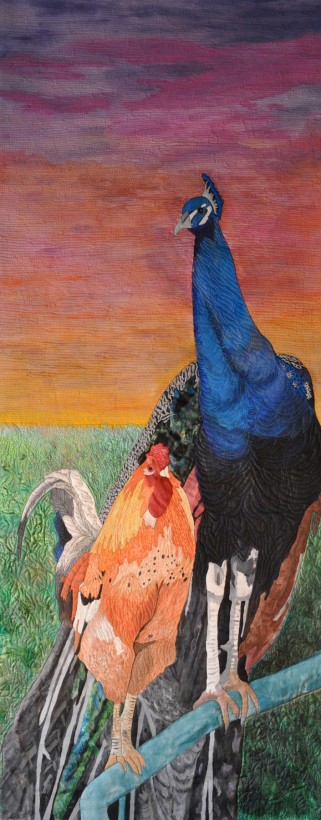
“Sunrise Serenade” was a daily ritual that I observed when I was visiting Israel. Each morning, this very unlikely pair would greet the morning with their Sunrise Serenade. So exquisite, they were, I knew I had to try and capture their beauty and memory. Additional Hobbies include photography, nature walks, travel, swimming and billiards. I also love an occasional opera when I get the chance!

Sunrise Serenade- Two feathered friends welcoming a new day by Barb Forrister

Sunrise Serenade- Two feathered friends welcoming a new day by Barb Forrister

Terry Grant, Portland, Oregon-Artist, wife, grandmother, blogger

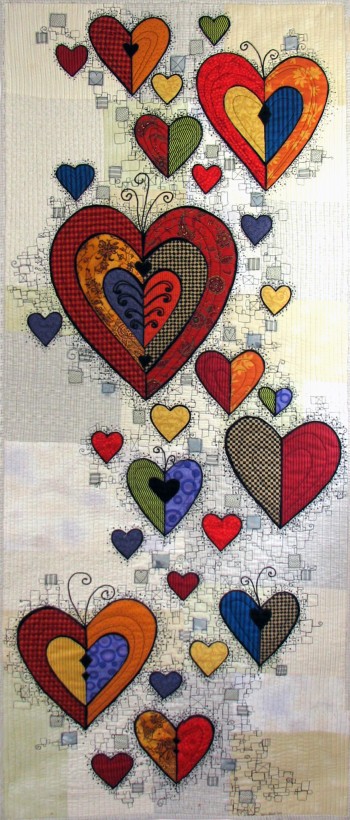
“Valentines: Ritual of Friendship” was inspired by my ritual of sending handmade valentines every year. It started when I became too busy to send Christmas cards and continues because  my friends seem to love the valentines and I love thinking of why I love each of them as I make the valentines. Lacy, frilly valentines are not my style because my friends are not lacy or frilly. They are vibrant and quirky and totally individual! Besides art, I love reading, writing, typography and old houses.

Friendship Ritual Sending handmade Valentines

Friendship Ritual Sending handmade Valentines

Desiree Habicht, Riverside, California-Artist, pastelist, watercolorist, mixed-media artist, designer, fabric designer, fiber artist, quilt pattern designer,entrepreneur, gardener, photographer, naturalist, mother, wife, nana, caregiver, lover of life!

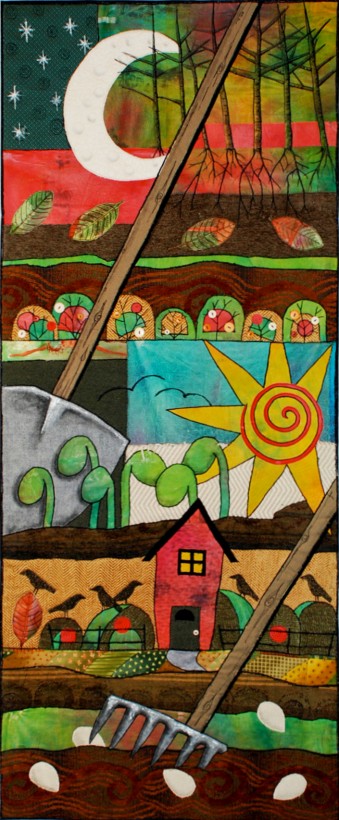
“A Gardeners Life”  was inspired by my love of gardening and a challenge to incorporate upholstery fabrics which helped me to achieve some very interesting textures as seen in nature. Living in southern California, we are lucky enough to be able to garden all year long which creates a seasonal ritual of taking out the old garden and putting in the new.

A Gardener's Life by Desiree Habicht

A Gardener’s Life by Desiree Habicht

Diane Hock, Healdsburg, California-Lawyer, home-schooling mom, artist

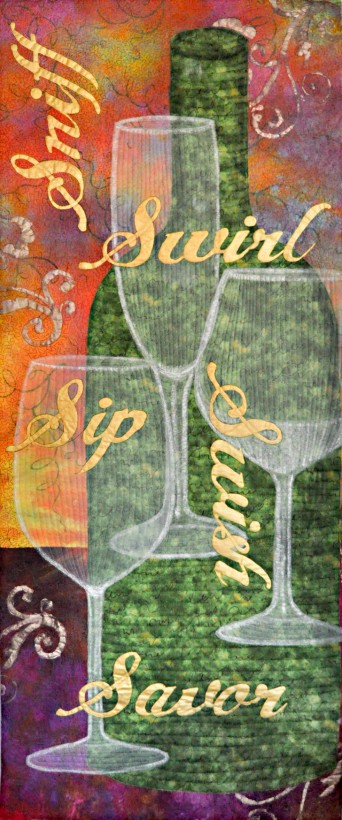
“Swirl, Sniff, Sip” was inspired by life in the Sonoma County wine country, where the ritual of wine tasting is a regular part of life. Other passions:  reading, sketching and painting.

Swirl, Sniff, Sip by Diane Hock

Swirl, Sniff, Sip by Diane Hock

 Click here for more information on Dinner at Eight Artist

Posted in Jamie Fingal, Uncategorized, Wall Hangings | Tagged , , , , | Comments Off on Quilting Inspirations by Dinner at Eight Artists

Quilt Binding: 5 Mistakes to Avoid

by Holly Hanover

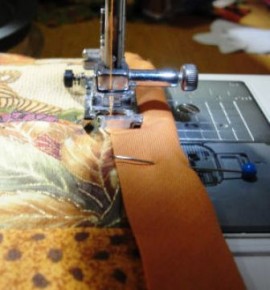
quilt binding picture


All that work! And yet your project isn’t complete until you bind the edges. The binding has to look just-right, or it can detract from your quilt’s ultimate beauty.


Here are five common mistakes you should definitely avoid:

1. Oops, not quite enough.

Failure to correctly calculate the total length of binding you’ll need – and therefore the amount of fabric – could be disastrous. You could run out of fabric, or run short of binding. Remember that making bias binding requires more fabric than straight-grain, especially if you need longer runs and don’t want too many seams.

2. Binding looks uneven.

Cut and fold binding strips carefully to ensure they’re uniform. Bias-cut binding needs to be exactly 45 degrees, or it will pull out of shape and be hard to handle. Trim the quilt edges all around to be sure they’re perfectly straight – use a yardstick or ruler if you need guidance. And be sure all layers are evenly thick right to the edge so the binding is uniformly thick.

3. Corners don’t look sharp.

It can be easy to fold mitered corners backward, so the fold winds up on the visible side rather than inside. Practicing on some scraps before you start stitching the quilt will help you get the fold right-side-out and perfectly square.

4. Stitching problems.

Decorative stitches can be pretty, and they can help cover up mistakes such as uneven machine stitching on the reverse side. But stitches have to match the scale of your binding. A fancy stitch that might look great on a wide binding can overpower a narrow one.

Unless you’re deliberately going for a decorative look with the stitching itself, thread should match the binding so it’s unobtrusive. After all, binding is supposed to frame the piece and give it a finished look, not draw attention from your beautiful quilting!

Sometimes the sheer bulk of your quilt makes it want to bunch up or pull while you’re stitching. Set a chair, table or your ironing board next to the sewing machine to support the quilt’s weight.

5. The binding wears out.

Edges receive the most wear-and-tear, so binding has to be strong. If your quilt will be used often, as opposed to a strictly decorative piece, avoid using self-binding. And note that bias binding is stronger than straight-grain.

Here’s to your next beautifully-bound quilt!

Click here for more instructions on Quilt Binding. 


Posted in Quilt Binding | Tagged | 1 Comment

Quilting Inspirations by Dinner at Eight Artists

Rituals~Featured at International Quilt Market/Festival

Havel’s Scissors is proud to be a sponsor of Rituals by Curators, Jamie Fingal and Leslie Tucker Jenison.  Jamie and Leslie, along with forty artists, have come together to reveal the art that can be found in everyday life.  I had the privilege to see the exhibit at the International Quilt Festival in Houston this year.  The ingenuity of the artwork in the exhibit is nothing short of spectacular!  Each artist tells a story through the threads of the fabric.  And the stories that are woven through each piece will inspire you to live life to the fullest and appreciate each and every opportunity we are given to share with loved ones.

Cindy Cooksey, Irvine, California- Artist, quilter, seamstress, wife, mother, grandmother, sister, daughter, friend, dog walker, knitwit.

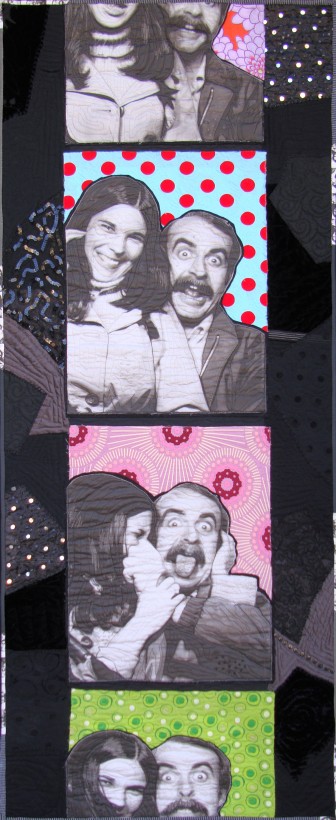
“Photo Booth Hijinks” – I was inspired by a strip of photos taken in a photo booth circa 1970, of me and my now husband. The playfulness makes me smile. It was the first time I ordered from Spoonflower.

Photo Booth Fun by Cindy Cooksey

Photo Booth Fun by Cindy Cooksey

Jane Davila, Ridgefield, CT- Artist, author, editor, designer, educator, inspirer.

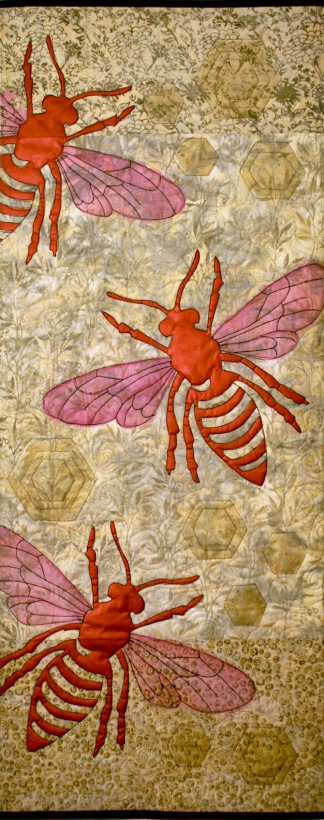
“Intention” is something that I try to keep foremost in my mind when working on my art and when living my life. Living (and creating) with intention to me means that everything decision or choice or action needs to be taken in a thoughtful way and have purpose behind it. I love to use bee imagery in my work because they are excellent community members, diligent workers, and create beautiful homes with perfect symmetry. They are highly intentional creatures!

One of my other passions is decorating and remodeling. I love to DIY furniture, accessories, and storage solutions for my home and studio. Power tools are just as fun to use as sewing machines!

Intention by Jane Davila

Intention by Jane Davila

Jamie Fingal, Orange, California- Artist, author, designer, teacher, organizer, curator, wife, mother, sister, friend, goofball, reader, cook, gardener, blogger.

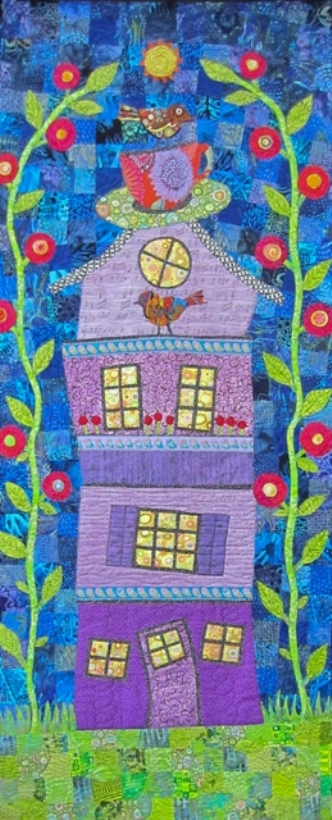
When my daughter was young, we would drive to school each morning and Make a Wish on the Purple House, that we passed every morning.  A purple house in the midst of brown and gray houses, was pretty special.  We made it part of our morning ritual for three years. Other passions include furniture painting, photography, family history.

Make a Wish on the Purple House

Make a Wish on the Purple House

Click here for more information on Dinner at Eight Artists


Posted in Jamie Fingal, Mixed Media | Tagged , , , , , , | Comments Off on Quilting Inspirations by Dinner at Eight Artists

Binding a Quilt with Terry White

Binding by Machine
By Terry White

This is my method for binding a quilt by machine. I’ve used this method for about 15 years. I figure, if the whole quilt is made with the machine, why should I spend hours hand stitching the binding to the back of the quilt? My hands can’t deal with it, either! This technique is great for most quilts, clothing and quilted accessories…if, however, you are putting your quilt in certain competitions, you may want to use a more traditional method.

After I quilt a quilt, I trim the edges of my quilt and then use a ¼ inch zigzag stitch all around the edges of the quilt. This draws in the edge of the quilt so there are no puckers when the binding is attached. In this case, my friend Pam Mayo quilted my quilt on her big machine. She basted around the quilt, so I didn’t have to zigzag. Yay!

Cut binding fabric into strips 2 1/8” wide. Cut the fabric on the cross of the grain, which is across the 45 inch width of the fabric. The cross of the grain has some “give” which is a slight elastic quality, but not so much as the bias of the fabric. I like to use the cross grain because bias makes a very stretchy wavy binding and not necessary for a straight edged quilt. (Bias binding is good for scalloped edge quilts)Cut enough so that you can have at about 12 inches more than the length required to bind your quilt.

Join the fabric strips to make the length required to finish the quilt. The strips should be joined at a 45 degree angle.

This spreads out the seam allowance so there isn’t a big bulge in the binding at the seams.

The first three photos illustrate the set up to join fabric strips with a 45 degree angle. Fold and finger press the corner down on the second strip, set it on top of the first strip and stitch on the pressed line.

Use the center needle position and guide it right on the pressed line. Use the same needle, thread and stitching that you would when piecing a quilt. Cut the seam allowance to ¼ inch.
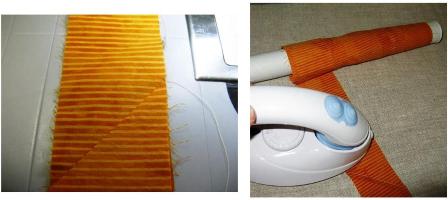
This is what the angled seam looks like. The next photo shows the pressing. You can press the seam open or to one side. This quilt is a “picnic quilt” and I want a sturdy seam, so I pressed the seams together to one side. I use a cardboard tube to roll my binding…it keeps it nice and neat.
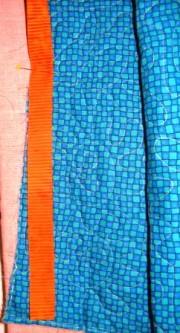
I fold the binding as I go along stitching. This gives me great control. The pin is where I will start stitching. I placed the pin about 12 inches down from a corner of the quilt. I will start stitching where the pin is. I will need the extra binding and 12 inches of room to join the binding strips at the end.
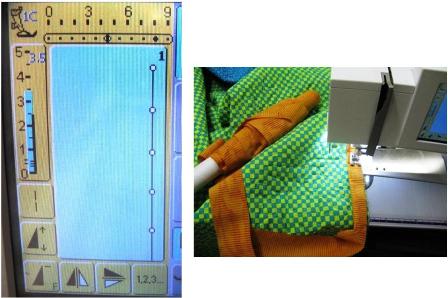
Fold binding in half along the length and stitch to the back of the quilt using a straight stitch with 3 ½ stitch length and a ¼” seam allowance. My machine has lots of needle positions. I like to position the needle at the inside edge of the presser foot. This way the quilt can be moved by both feed teeth on the machine. I can also use a guide on the stitch plate to keep my seam consistent. It makes it easier to stitch. Use a 90/14 machine embroidery needle…this strong needle is required…a smaller needle will bend or break.

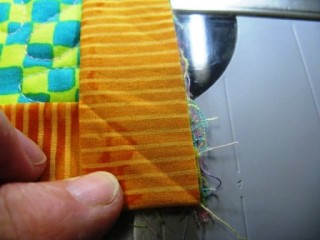
Miter the edges of the binding. I like to use a mitered edge and many quilters do. It makes a nice flat corner and it is surprisingly easy with a little practice. The following 5 photos show the simple steps to miter the corner of a quilt. I think the photos teach much better than words how to fold the edges to make the miter and finger press to give you a good 45 degree angle.
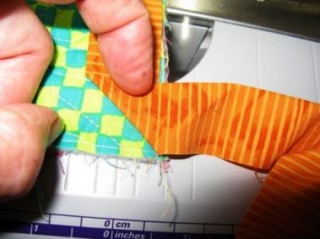
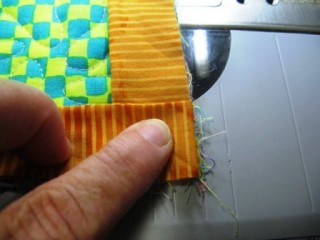
The photo above illustrates the point to stitch to, which is ¼ inch from the end. The next photo shows to turn the quilt, flip the corner and begin stitching ¼ inch from the corner.
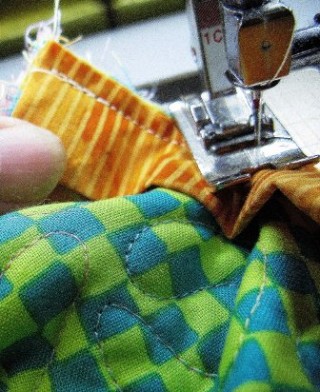
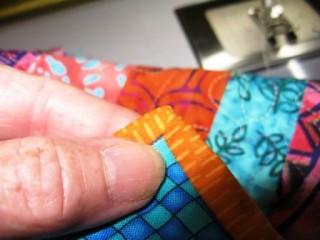
Here is the quilt back mitered edge when folded to the front of the quilt.
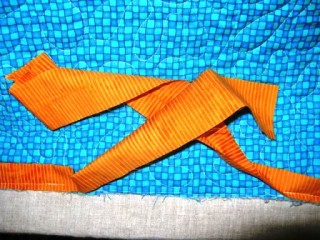
Most of the binding is stitched to the quilt back. Here is where the extra binding makes joining the ends much easier. Leave about ten inches unstitched.
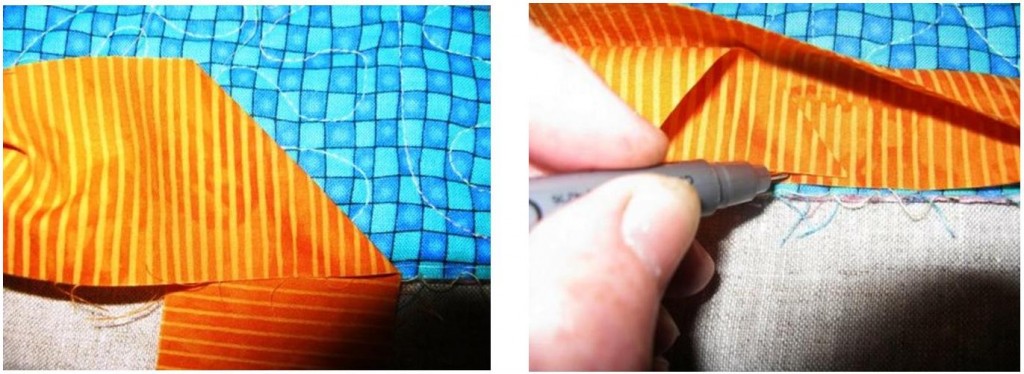
Cut a 45 degree angle on one of the binding ends. Cut it with about four inches of fabric from the end of the stitching. Fold this end and tuck it into the other end. Make a mark ½ inch in from the angled cut. Make another mark on the other edge of the binding strip.
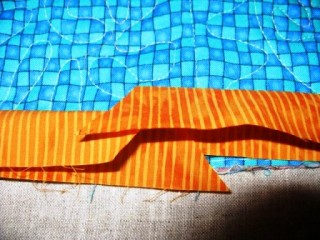
You will have the edges overlapping ½ inch. This is so that you can stitch ¼ inch angled seam at the ends of the binding.
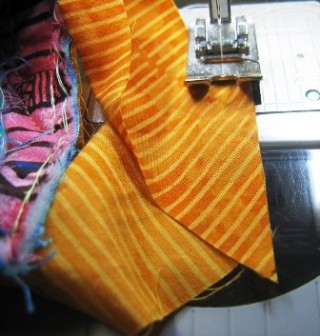
Sew the ends of the binding with right sides together.
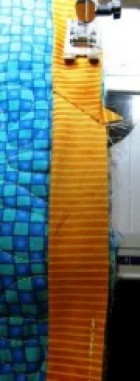
Here is the last angled seam stretched out and the last stitching is finished.
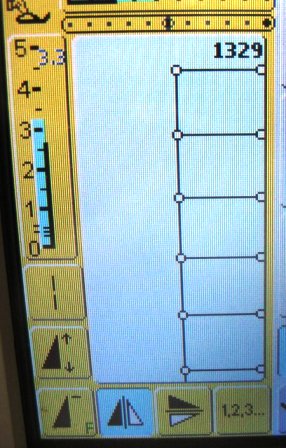
Choose a big blanket stitch with open side of the stitches towards outside of quilt.
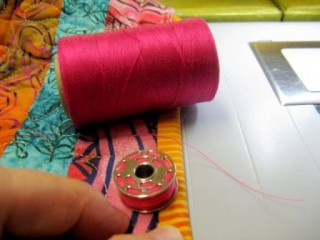
I like to use a thread that compliments the binding. This is one extra decorative touch to your quilt. I use the same thread in the top and the bobbin.
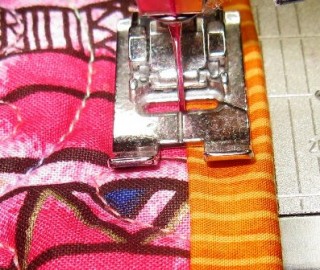
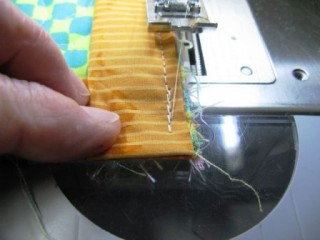
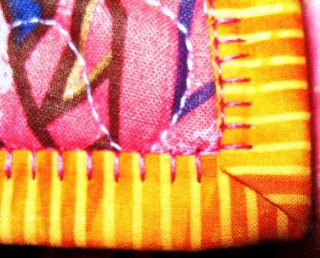
Fold binding to the front. Fold it over as you stitch around the quilt. Notice that the needle is positioned right on the edge of the binding.
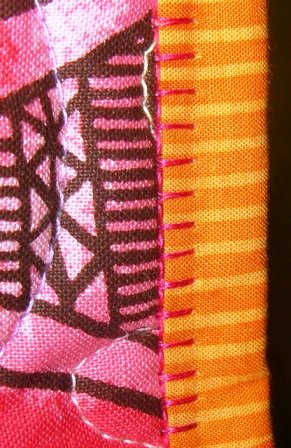
Here is a section of the stitched binding.

Here is how to fold the mitered edge before stitching.
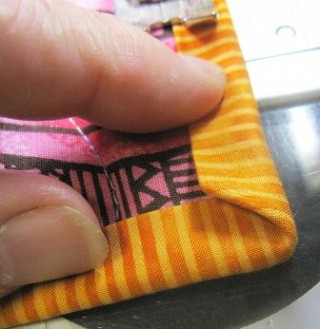
Here is the stitched mitered edge.
 

Let us know your techniques on Quilt Binding

Click here to read more techniques by Terry White


Posted in Quilt Binding, Quilting, Terry White, Uncategorized | Tagged , , , , , , , , , , | 2 Comments