Free Christmas Quilt Pattern Part 6 ~ by Terry White

On The Sixth Day Of Havel’s Holiday Project,
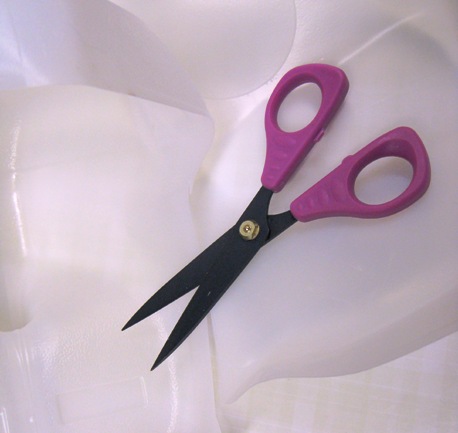
My True Love Is The Snip-Eze Blunt Tips

Part 6 Will Explain How To Make the Garland:

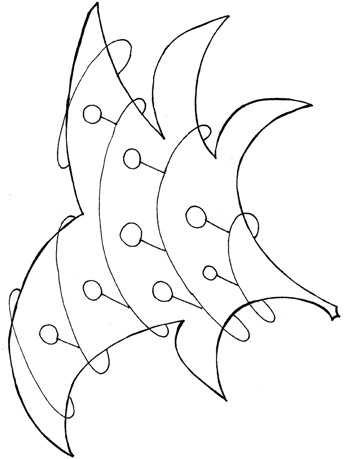
1. Trace the design of the garland onto the tree.
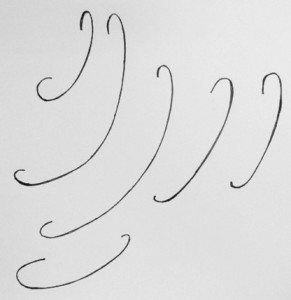
Tracing Holiday Project Tree Lines

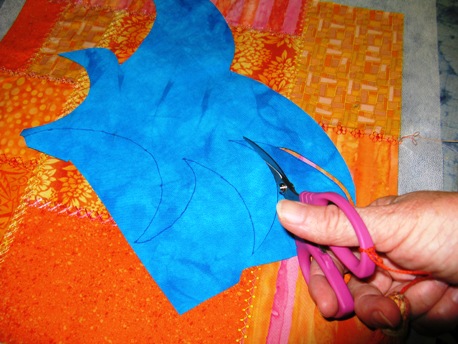
When I want to trace a line from a pattern, I trace the lines onto a piece of paper. I cut away along the line I want. Trace the line, and then cut the next outline and so on.


Teflon Scissors used to cut out trees.

I use Havel’s Teflon Coated Scissors to cut out the paper pattern.


Free Christmas Quilt Project-Day 6 (3)

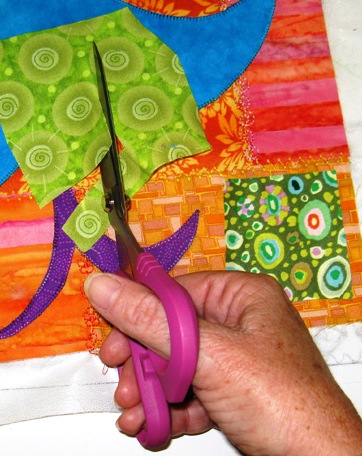
2. Use Havel’s Snip-Eze to cut purple metallic ribbon pieces.
Each ribbon section should be cut 4 inches longer than the design.

Free Christmas Quilt Project-Day 6 (4)

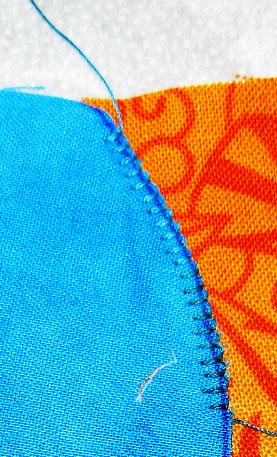
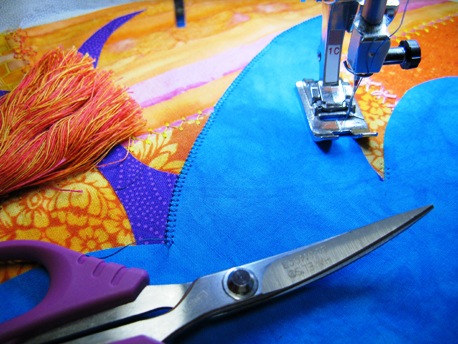
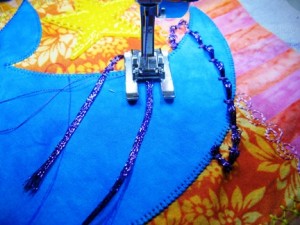
3. Use the bar-tack on your sewing machine to stitch the garland down.

Stitching the garland down.

I used a purple rayon thread to stitch the garland down.

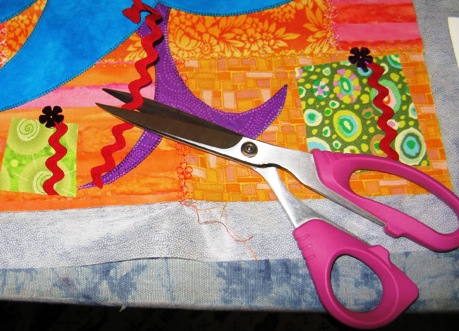
4. Use the closed Snip-Eze to pull up a little ribbon between
each bar-tack to make it look loopy.

v


Free Christmas Quilt Project-Day 6 (7)

5. Lastly, use a tapestry needle to secure the ribbons to the back of the work.

Next: On The Seventh Day Of Havel’s Holiday Project,
My True Love Is The 4 3/4″ Dura-Snips On A Neck Strap


For a printable PDF, please click here.

Posted in For Beginners in Sewing, Free Craft Projects, Free Quilt Patterns, Free Quilt Projects, Fun Stuff, Guest Writers, Holiday Projects, Patterns, Quilting, Quilting & Embroidery, Terry White, Tutorials, Uncategorized | Tagged , , , , , , , , , , , , , | Comments Off on Free Christmas Quilt Pattern Part 6 ~ by Terry White

Free Christmas Quilt Pattern Part 5 ~ by Terry White

On The Fifth Day Of Havel’s Holiday Project,
My True Love Is 6 1/2″ Teflon Coated Serrated Scissors

Next We Will Need to Start Making the Stars:

Free Christmas Quilt Project-Day 5 (1)

1. Make templates of the stars from cardstock or template plastic.  I like to use the plastic from empty milk containers for templates.

Free Christmas Quilt Project-Day 5 (2)

Cut flat sections from the carton with Havel’s 6 1/2″ Teflon Coated Serrated Scissors. Use a fine point Sharpie to trace the star shapes on the plastic. Cut the stars out of the plastic.

Free Christmas Quilt Project-Day 5 (3)

2. Trace star shapes onto yellow felt with an orange marker.

Free Christmas Quilt Project-Day 5 (4)

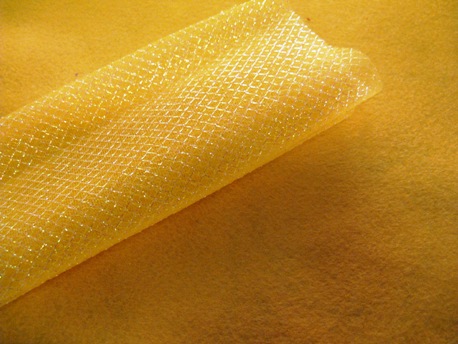
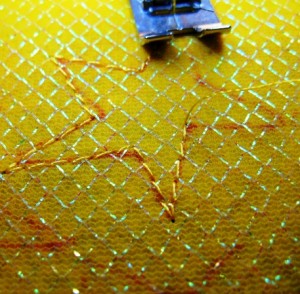
This yellow tulle has a rainbow metallic thread woven in a diamond pattern.
This will add extra shiny color to this project.

Free Christmas Quilt Project-Day 5 (5)

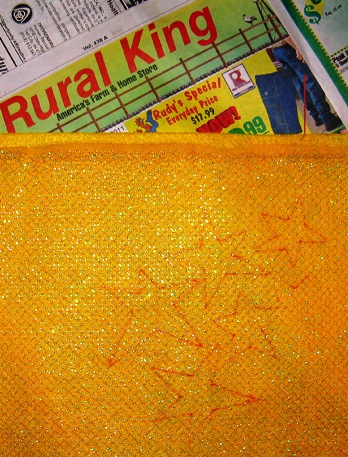
3. Use a light spray of spray adhesive on the felt and adhere some glittery tulle to the felt.
Use newspaper to protect surfaces from the sticky spray.

Free Christmas Quilt Project-Day 5 (6)

4. Stitch the tulle to the felt. Use a marigold rayon thread to outline the shape three times.
You can use a long straight stitch or you can do free-motion stitching.

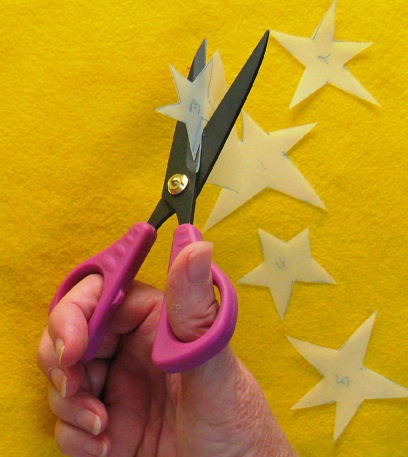
5. Cut out star shapes a scant 1/8″ outside of the stitched lines with Havel’s Teflon Scissors. Teflon scissors are great when working with sticky glues or paints. There are several sizes of these scissors which are great tools for the mixed media artist.

Free Christmas Quilt Project-Day 5 (7)

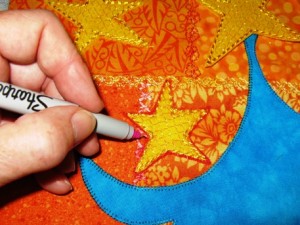
6. Glue the stars in position on the design. Put a book on the stars to press them flat
as they dry. Outline the stars with a deep pink fine point marker.

I didn’t glue the treetop star onto the design until after putting the border on
because I made it a little too big for the space.

Next: On The Sixth Day Of Havel’s Holiday Project,
My True Love Is Snip-Eze Blunt Tips


For a printable PDF, please click here.

Posted in For Beginners in Sewing, Free Craft Projects, Free Quilt Patterns, Free Quilt Projects, Fun Stuff, Guest Writers, Holiday Projects, Patterns, Quilting, Quilting & Embroidery, Terry White, Tutorials, Uncategorized | Tagged , , , , , , , , , , , | 2 Comments

Free Christmas Quilt Pattern Part 4 ~ by Terry White

On The Fourth Day Of Havel’s Holiday Project,
My True Love Is The 8″ Sewing/Quilting Scissors

How to Start Making the Christmas Presents

1. Choose fabric scraps that you love and feel will aid in livening up the design.

Free Christmas Quilt Project 1

I chose four green prints. Green is a great contrasting color and it will show up very well against the orange background.

2. Apply fusible web to the back of the fabric scraps.

Then, take the paper off of the fusible. This leaves it as just the fabric with the iron-on web.

Free Christmas Quilt Project 2

Free hand cutting the boxes will create a feeling of whimsical appeal to the design since they won’t be perfectly square with straight lines.


3. Use Havel’s 8″ Sewing/Quilting Scissors and free hand cut the present boxes.

Free Christmas Quilt Project 3

4. Fuse into place.

Free Christmas Quilt Project 4

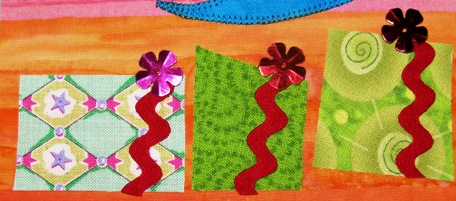
5. Cut sections of 1/2″ red rick rack and glue in place as the package ribbons.

Free Christmas Quilt Project 5

6. Glue a flower sequin to the top of each present.

Next: On The Fifth Day Of Havel’s Holiday Project,
My True Love Is The 6 1/2″ Teflon Coated Serrated Scissors


For a printable PDF, please click here.

Posted in Embroidery Scissors, Fabric, Fabric Scissors, For Beginners in Sewing, Free Craft Projects, Free Quilt Patterns, Free Quilt Projects, Fun Stuff, Guest Writers, Holiday Projects, Patterns, Quilting, Quilting & Embroidery, Terry White, Tutorials, Uncategorized | Tagged , , , , , , , , , , , | Comments Off on Free Christmas Quilt Pattern Part 4 ~ by Terry White

Free Christmas Quilt Pattern Part 3 ~ by Terry White

On The Third Day Of Havel’s Holiday Project, My True Love Is The 5 1/2″ Curved Scissors

Now, if you have been following along with the previous parts of this project you can start
making the Christmas Tree Appliques!

Free Christmas Quilt Pattern

1. Trace tree and tree trunk shapes onto fusible web. Follow the manufacturer’s directions when fusing fabrics to make the appliqués.

Free Christmas Quilt Pattern 2

Free Christmas Quilt Pattern 3

2. Cut into the fabric with Havel’s 5 1/2″ Curve Tip scissors  to cut out the shapes effortlessly.

Free Christmas Quilt Pattern 4

3. Next, use a small buttonhole stitch to appliqué the shapes onto the background.

Free Christmas Quilt Pattern 5

Here is a test sample that was created to ensure the thread and stitch were right.

Using a test sample can help determine where the fabric should be positioned under the needle so that the buttonhole stitch is right on the edge of the appliqué. This will also help keep the appliqué lined up with the inside right toe of the presser foot.

Free Christmas Quilt Pattern 6

The curved tip scissors are also great for cutting threads on the surface of my quilt top. The curve prevents cutting into the fabric.

Next: On The Fourth Day Of Havel’s Holiday Project,
My True Love Is The. . .


For a printable PDF, please click here.

Posted in Embroidery Scissors, Fabric Scissors, For Beginners in Sewing, Free Craft Projects, Free Quilt Patterns, Free Quilt Projects, Fun Stuff, Guest Writers, Holiday Projects, Patterns, Quilting & Embroidery, Terry White, Tutorials, Uncategorized | Tagged , , , , , , , , , | 2 Comments

Free Christmas Quilt Pattern Part 2 ~ by Terry White

On The Second Day Of Havel’s Holiday Project,
My True Love Is The 5 1/4″ Ultimate Embroidery Scissors

Decorative Stitching

Decorative Stitches 1

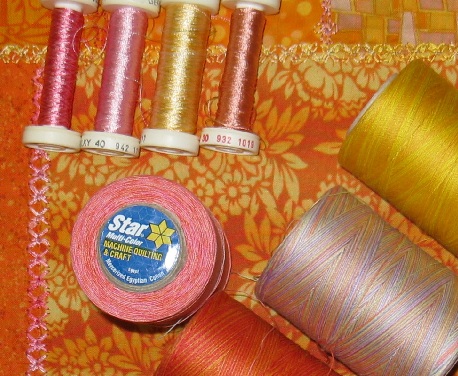
1. Choose yellow, orange and pink threads in cotton and rayon for decorative stitches.

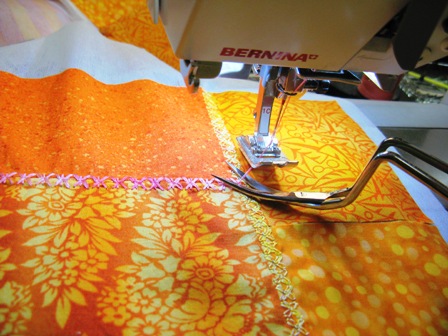
2. Use the decorative stitches on your sewing machine to join the patches and to stitch them to the interfacing. The interfacing is a good stabilizer for machine embroidery. The brand doesn’t matter, the weight matters.

3. Lower the top tension on your machine so that the decorative stitches are fuller and are raised up on the surface of the fabric. I like to use two threads through the eye of the needle (a rayon and a cotton) to add thickness to the stitch and to create a more interesting colorful stitch. Use a 90/14 machine embroidery needle. Thread your machine as if you are using a twin needle, but thread both threads through the eye of the needle. Your sewing machine manual will tell you how to thread your machine for a twin needle.

TIP: I like to make samples of my stitches before I work on my project, this way I can test the threads and stitches and adjust the tension on my machine.

4. Use Havel’s bent embroidery scissors to cut the small threads. The bent form is easy to use and avoids cutting your fabric.

Decorative Stitches 2

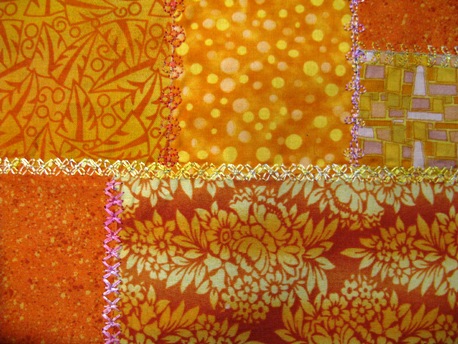
5. Stitch over the raw edges of adjoining fabrics. Cover every edge with stitching.

Decorative Stitches 3

6. Press when finished.

Next: On The Third Day Of Havel’s Holiday Project,
My True Love Is The. . .


For a printable PDF, please click here.
Posted in Embroidery Scissors, Fabric, Free Craft Projects, Free Quilt Patterns, Free Quilt Projects, Fun Stuff, Guest Writers, Holiday Projects, Patterns, Quilting, Quilting & Embroidery, Terry White, Tutorials, Uncategorized | Tagged , , , , , , , , , , , | Comments Off on Free Christmas Quilt Pattern Part 2 ~ by Terry White