Meet our New Ambassador, Stephanie Kendron!

by Luv2Sew,

Modern Sewciety_Day One Instagram

It is with great delight that Havel’s Sewing introduces one of our newest ambassadors, Stephanie Kendron of Modern Sewciety! We are excited to sponsor her weekly newsletter, The Stych and have already begun working together on some fun giveaways. If you haven’t had a chance to listen to the Modern Sewciety podcast, do yourself a favor and start tuning in! Not only is Stephanie a fountain of knowledge on quilting and crafting, she is also very entertaining and regularly invites other experts in the field to join her. We know you’ll love it!

We hope you’ll enjoy our Q&A with Stephanie as well as some snippets and photos from her recent Havel’s Sewing Instagram take over!

STEPHANIE KENDRON

A passion for the makers in our community, Stephanie Kendron, mom of two and sewist brings us the stories of some of the industry’s popular makers through her popular podcast, Modern Sewciety. When not recording, Stephanie enjoys spending time with her family and a glass of wine, making quilts that can be seen in magazines such as Love Patchwork and Quilting, Modern Quilts Unlimited and more.

Modern Sewciety_Day Two Instagram
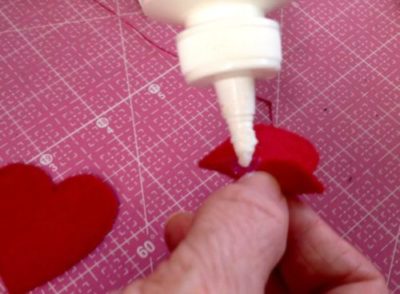
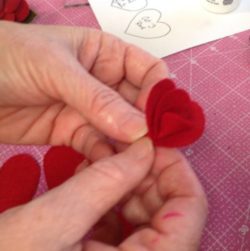
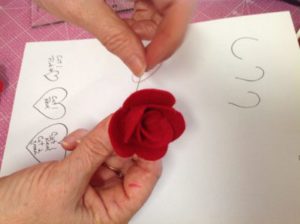
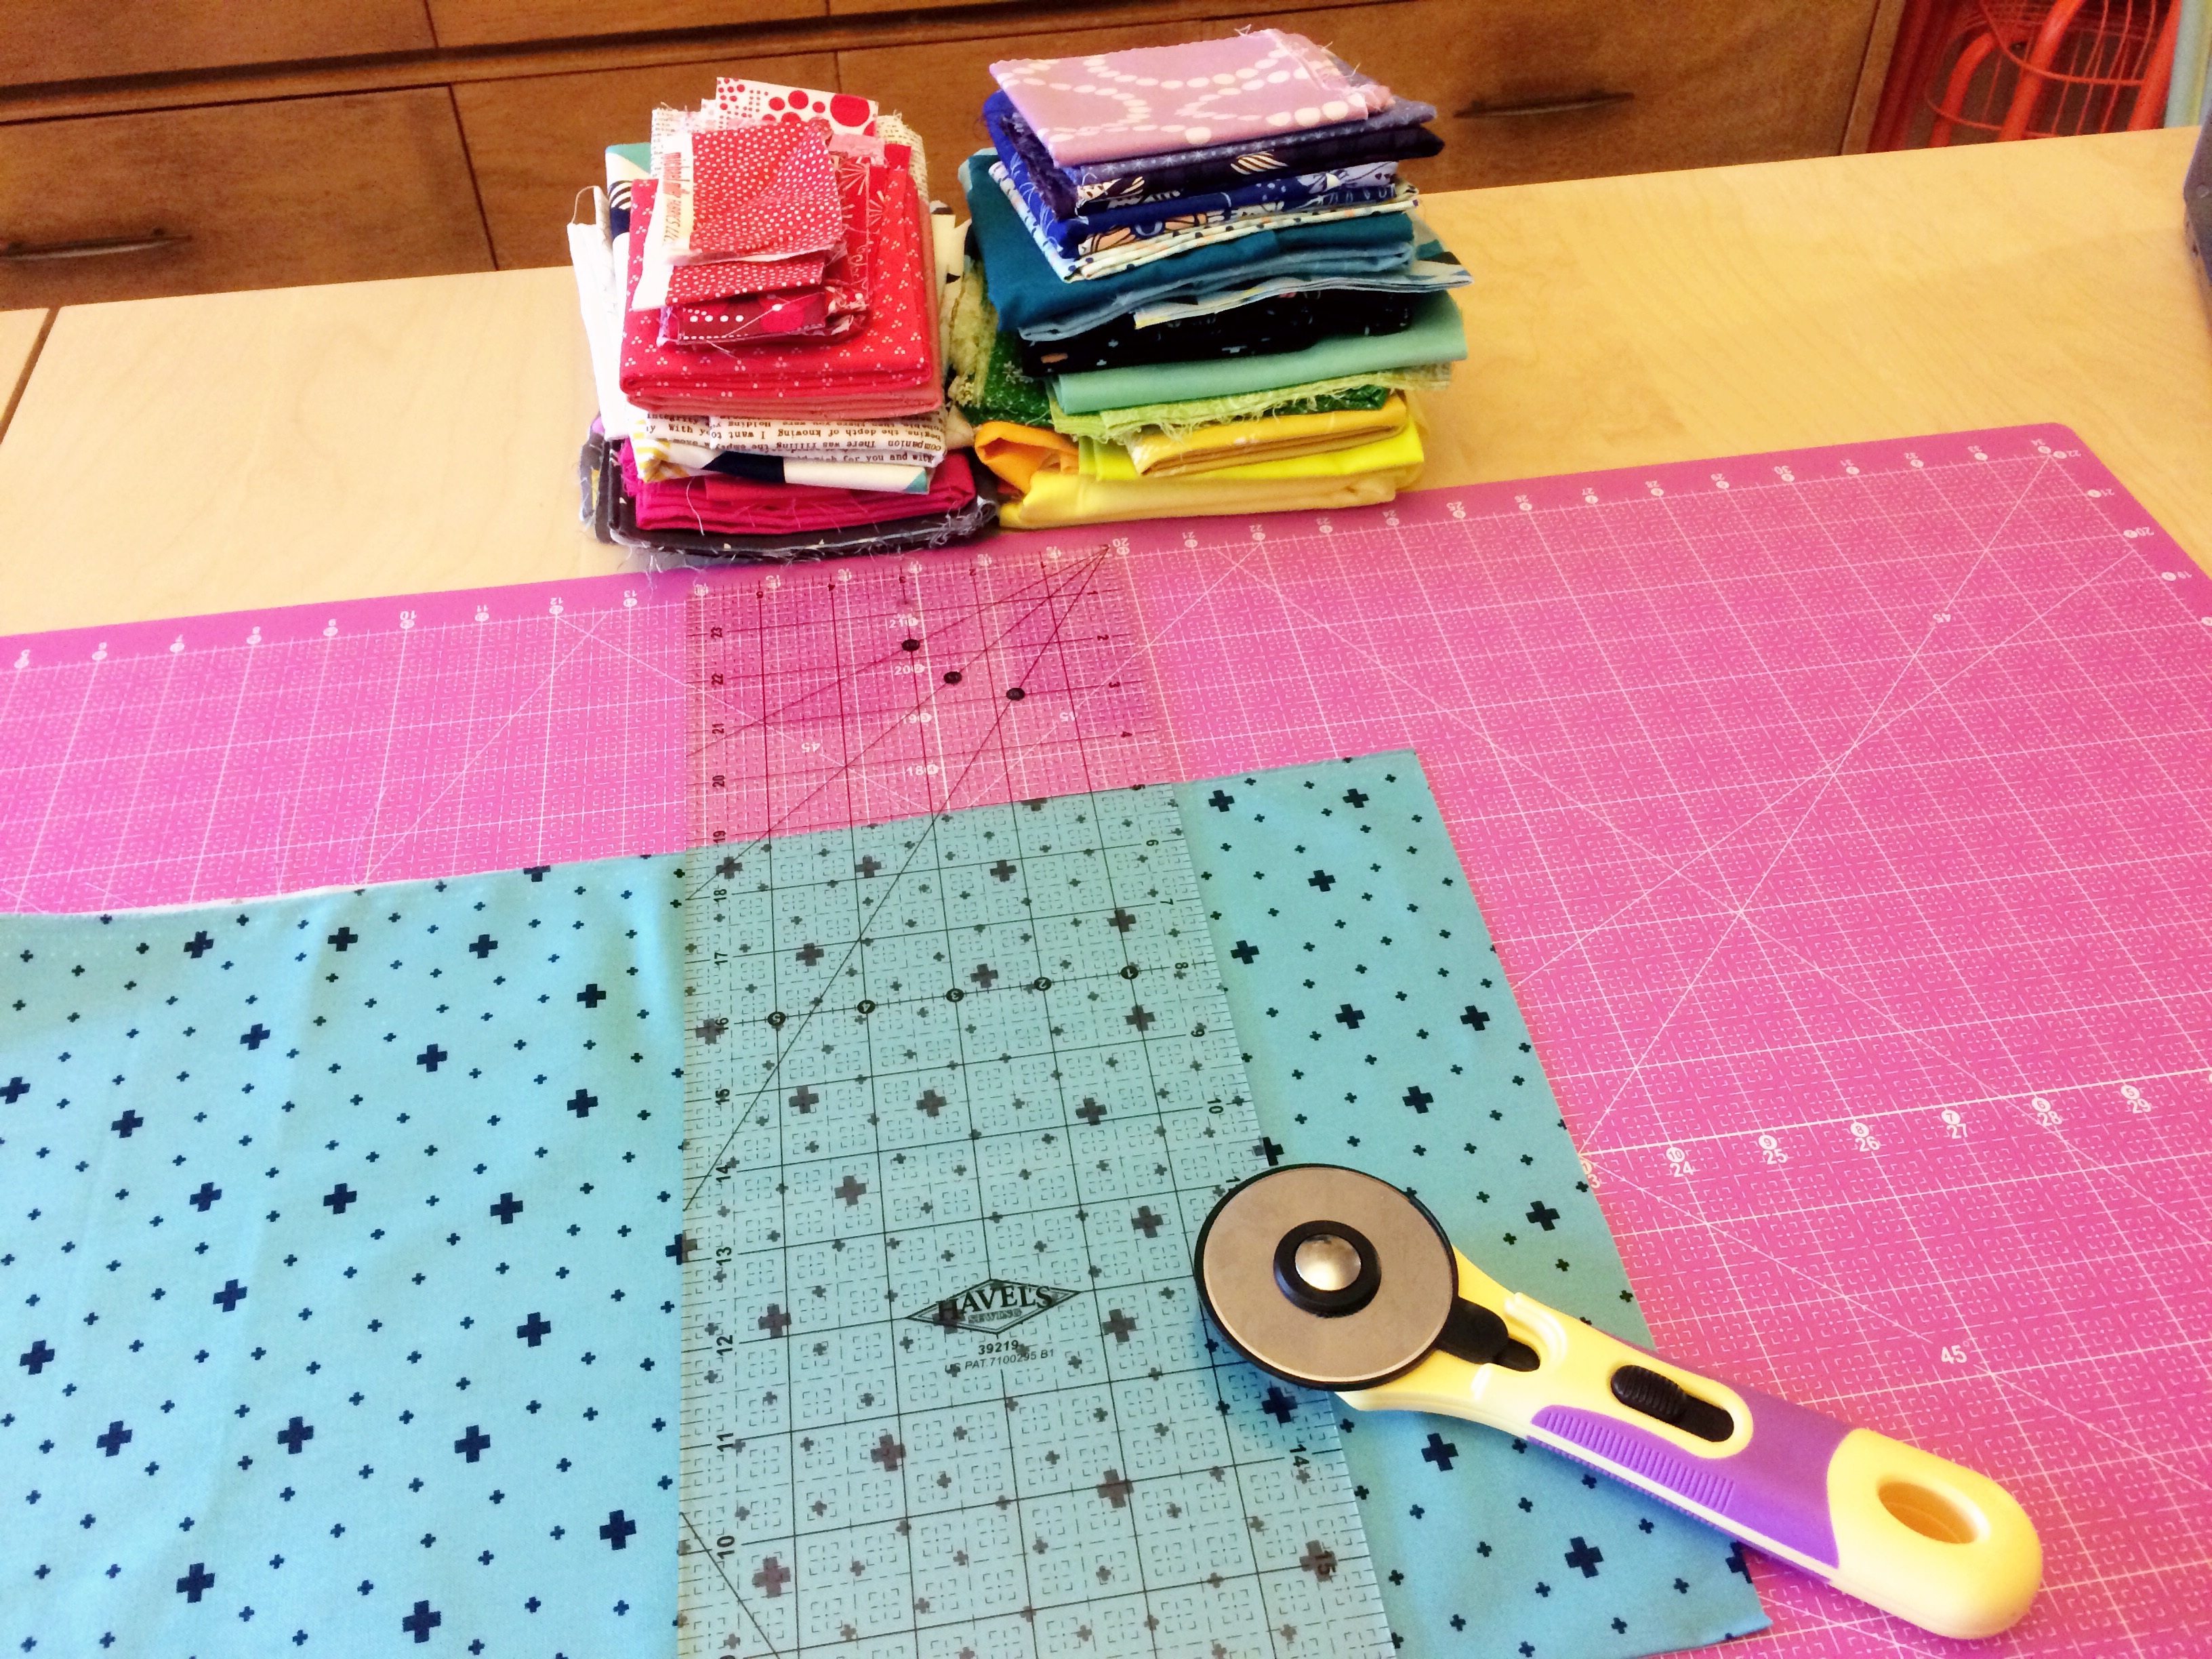
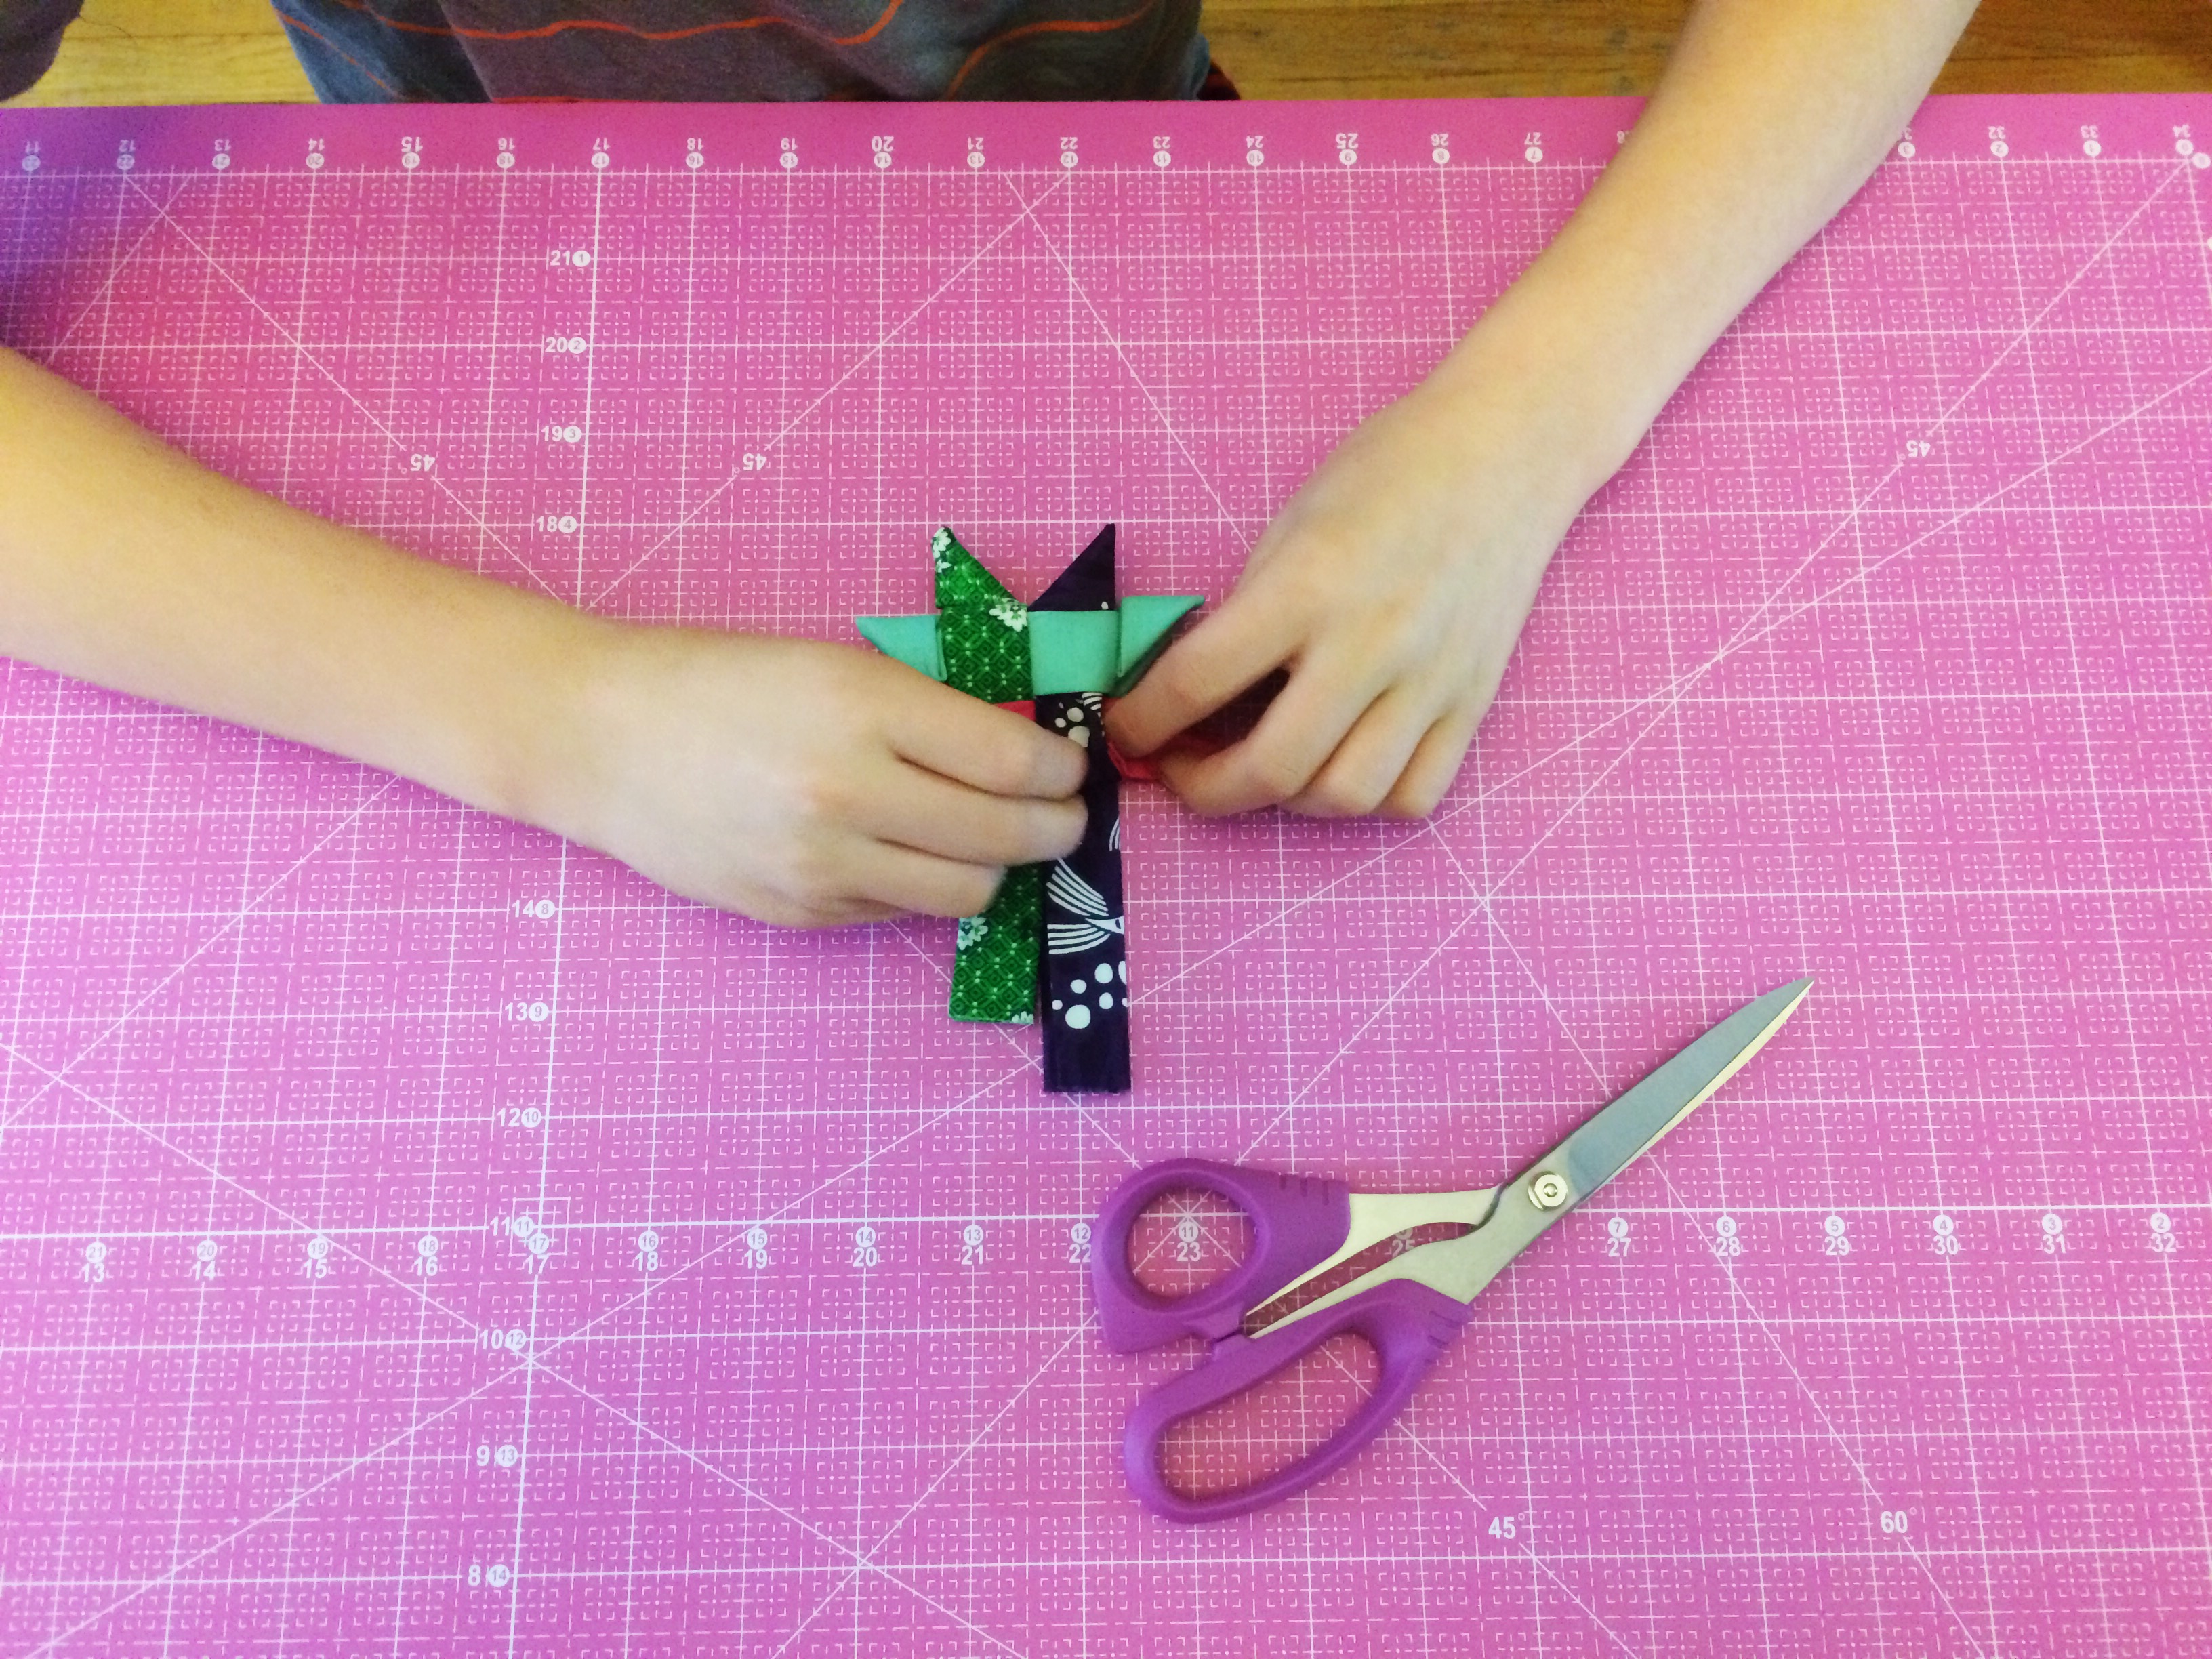
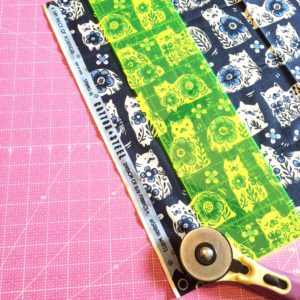
“I always stack my fabrics on my cutting mat when making multiple cuts for a pattern. It saves me so much time and Havel’s blades are so sharp they cut through layers easily.” – SK

I asked Stephanie to answer some random questions about herself to give us a little bit more insight into her personality:

1. Do you consider yourself a cat or dog person?

Both- We have a 120 lb Cane Corso and a chunky cat named Boots (they are not friends)

2. How long have you been sewing/quilting?

My whole life but seriously since my oldest was born in 2007

Modern Sewciety _Day Four Instagram
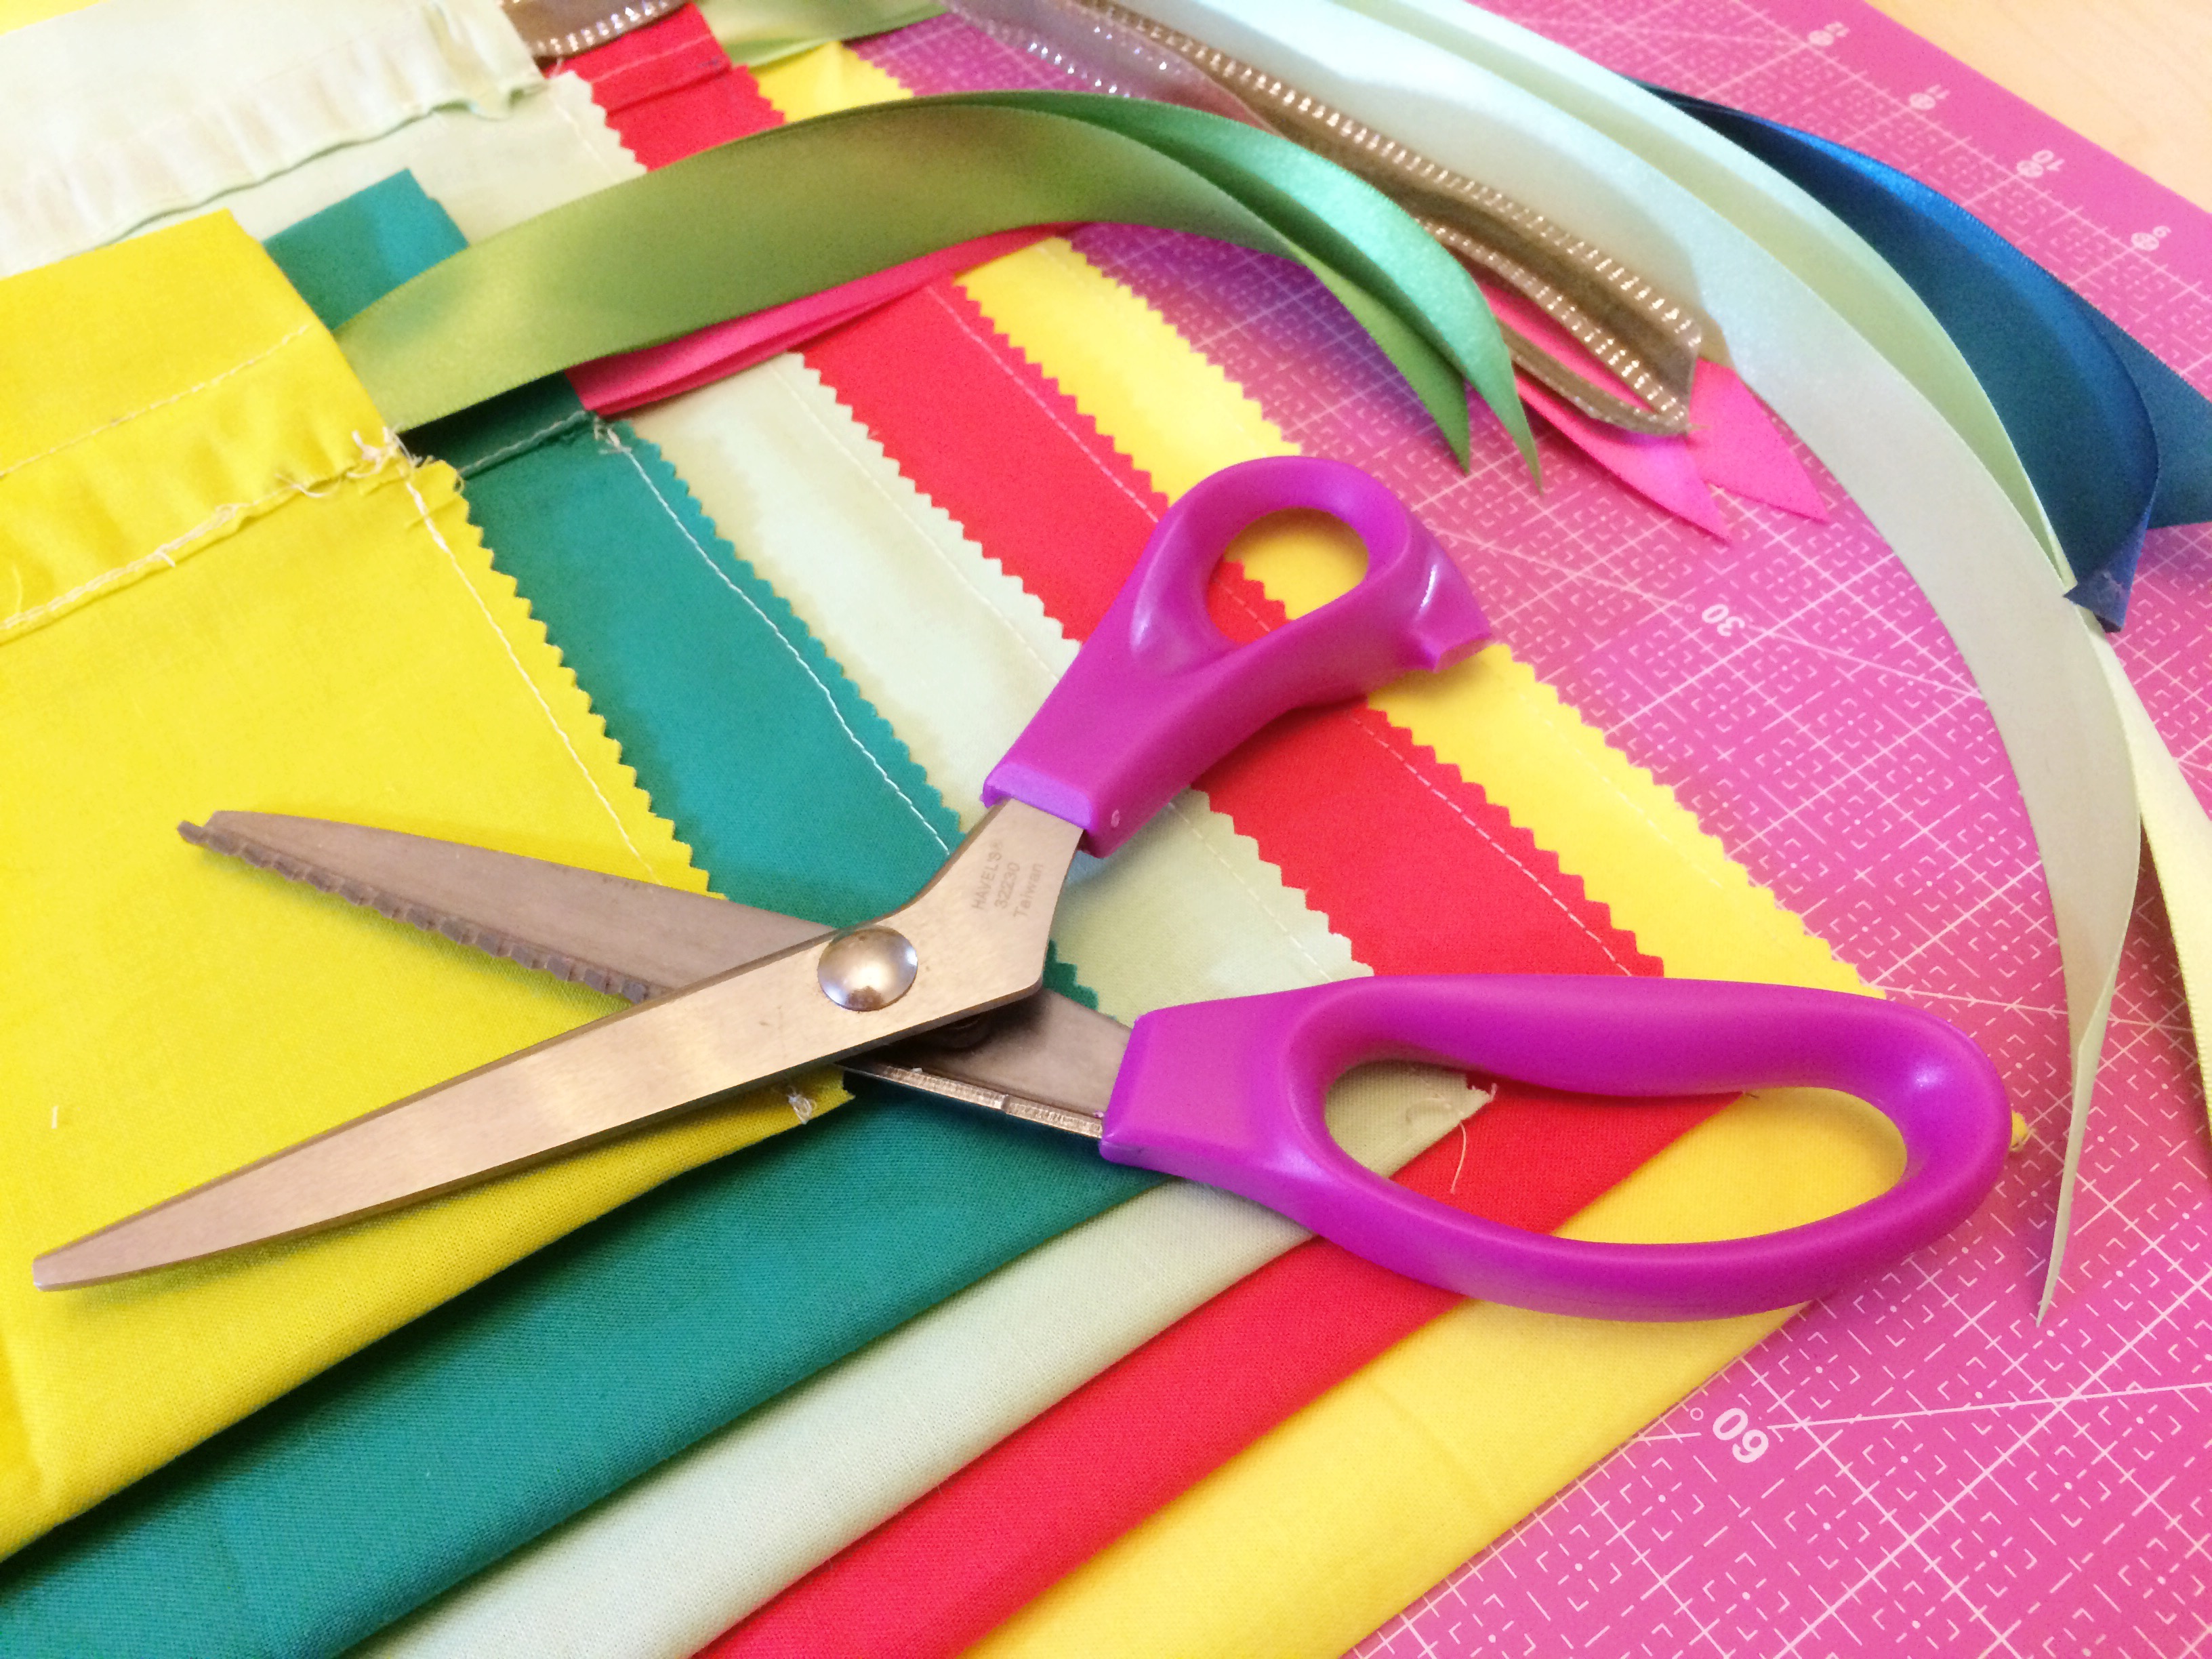
“I have been saving selvages of all of the fabrics I have been using. It is almost like a trip down my sewing memory lane when I see them all together.” – SK

3. What is your favorite color?

Anything green

4. What inspires your creativity?

My daily life and of course instagram


Modern Sewciety_Day Five Instagram
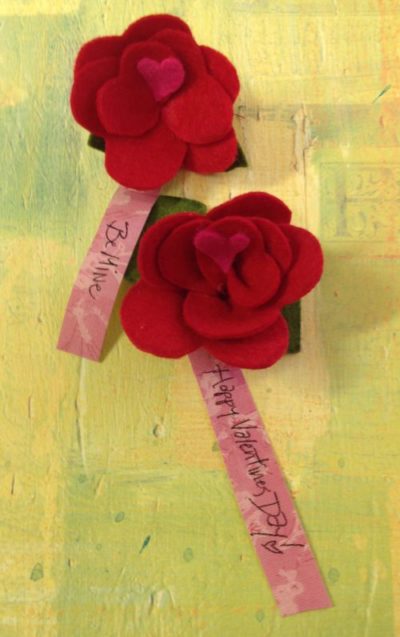
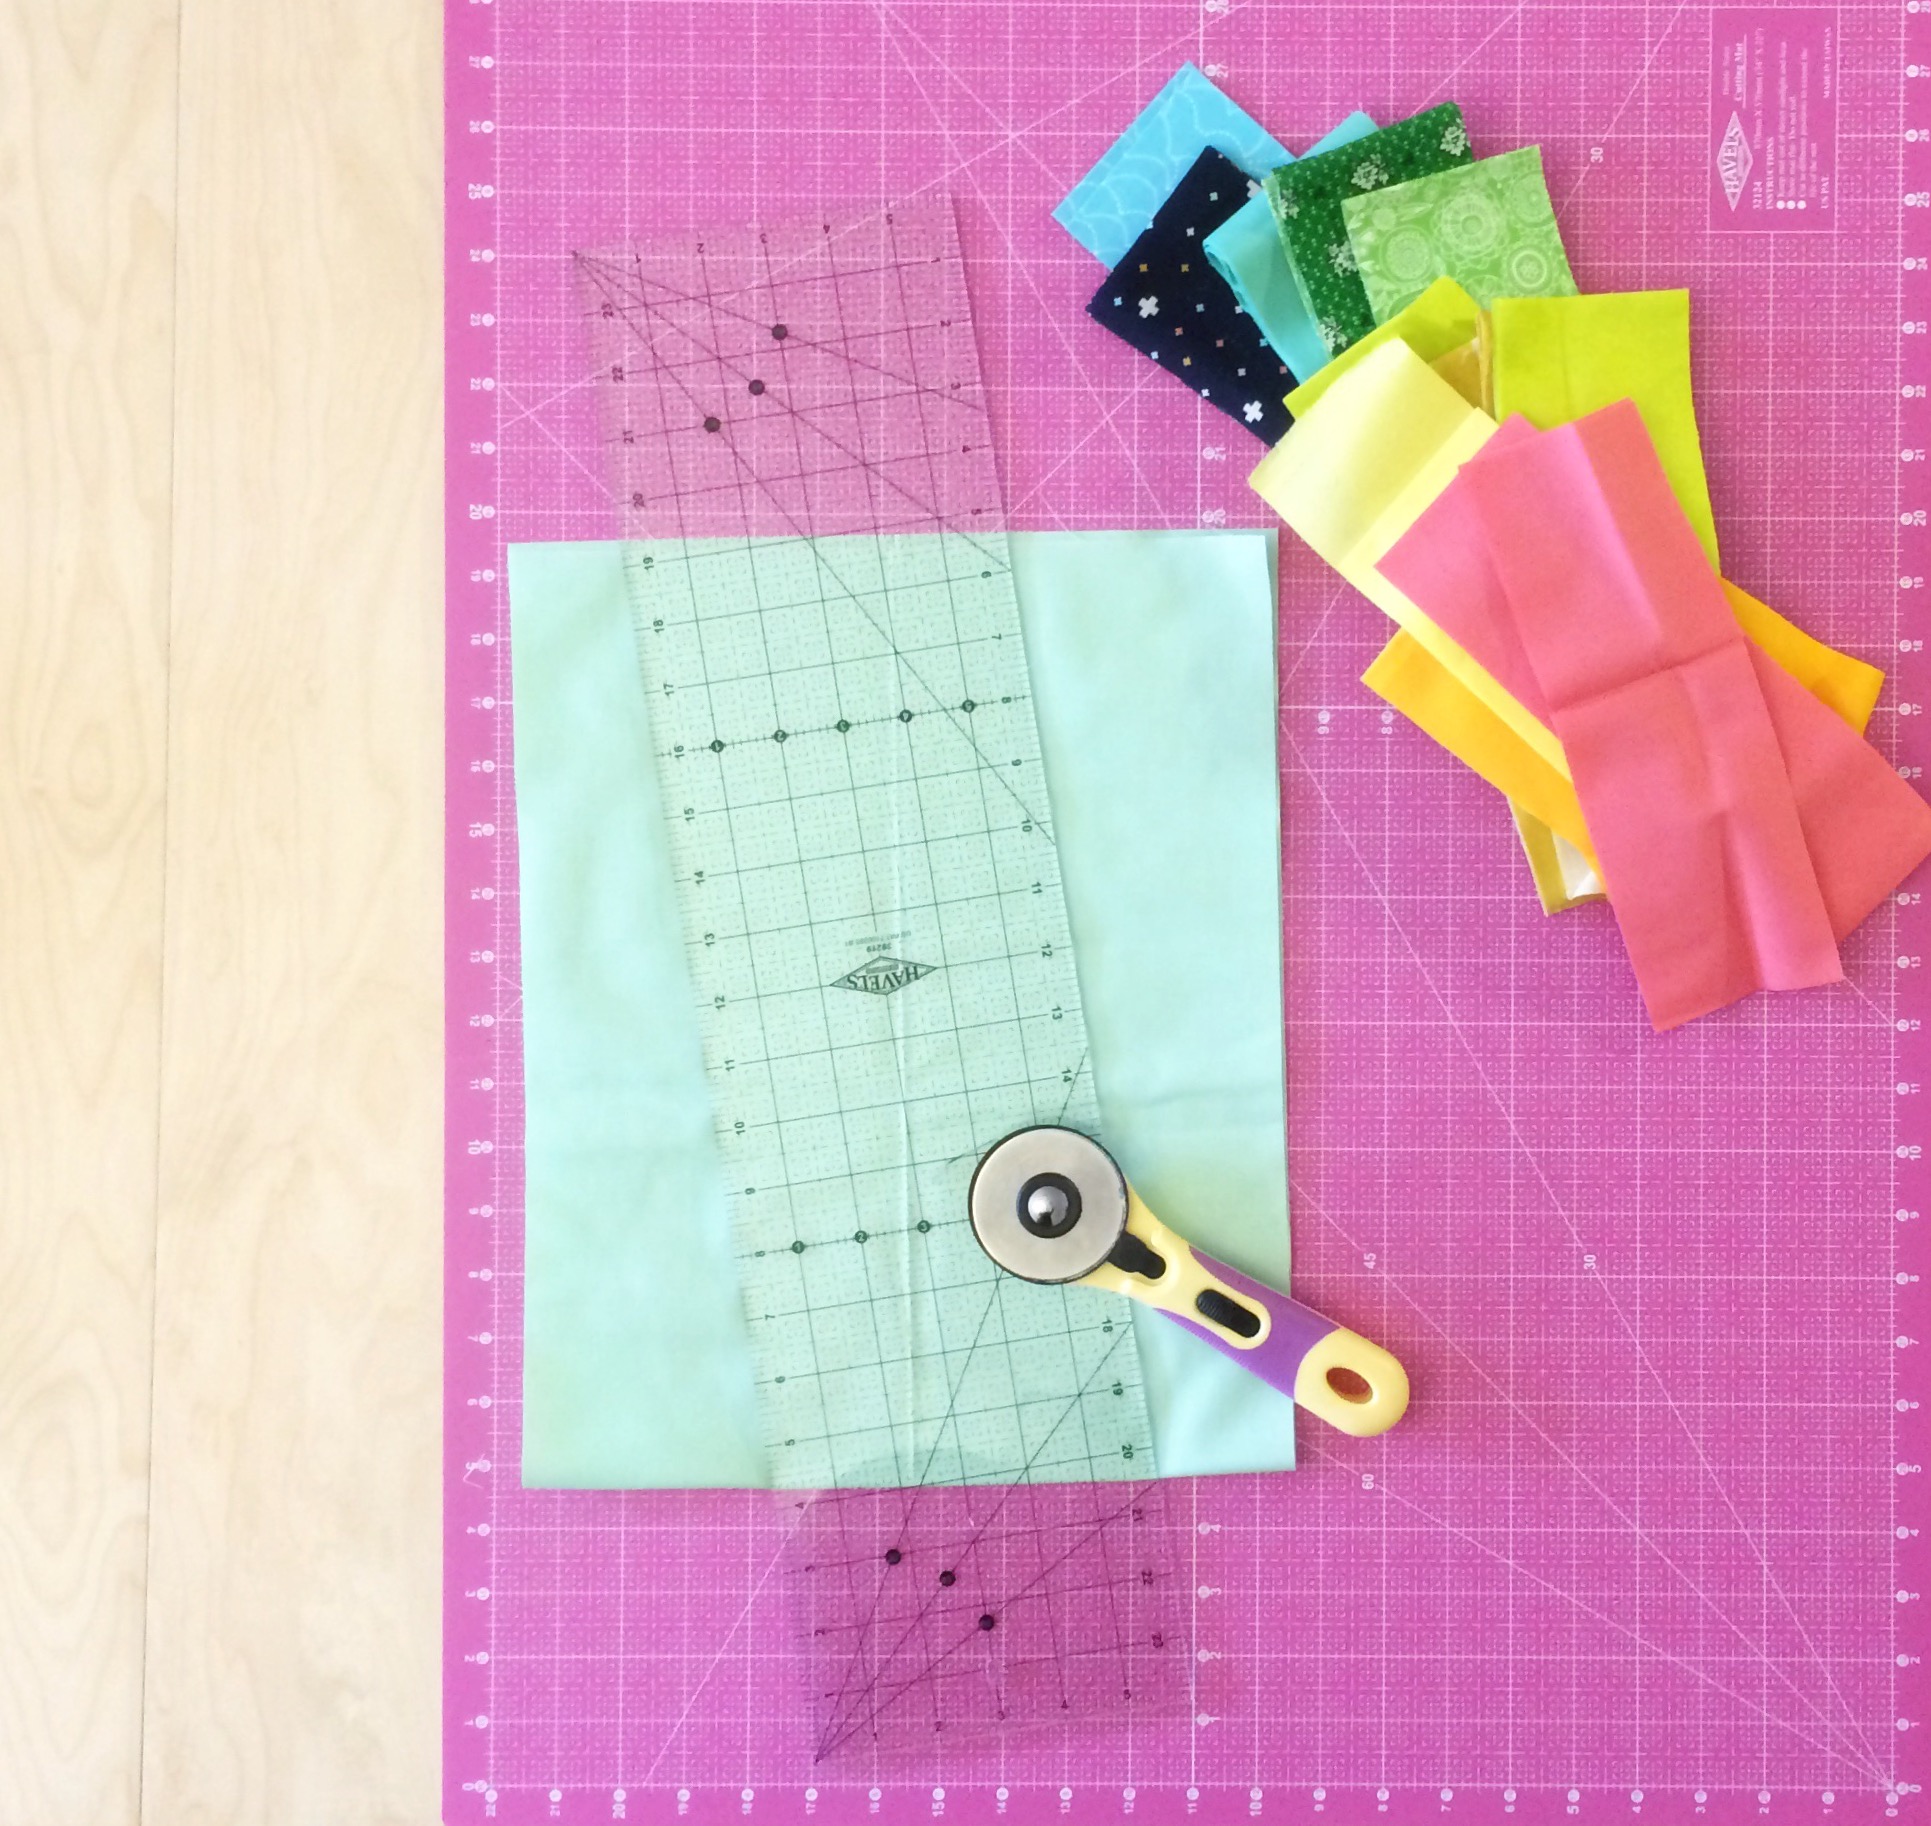
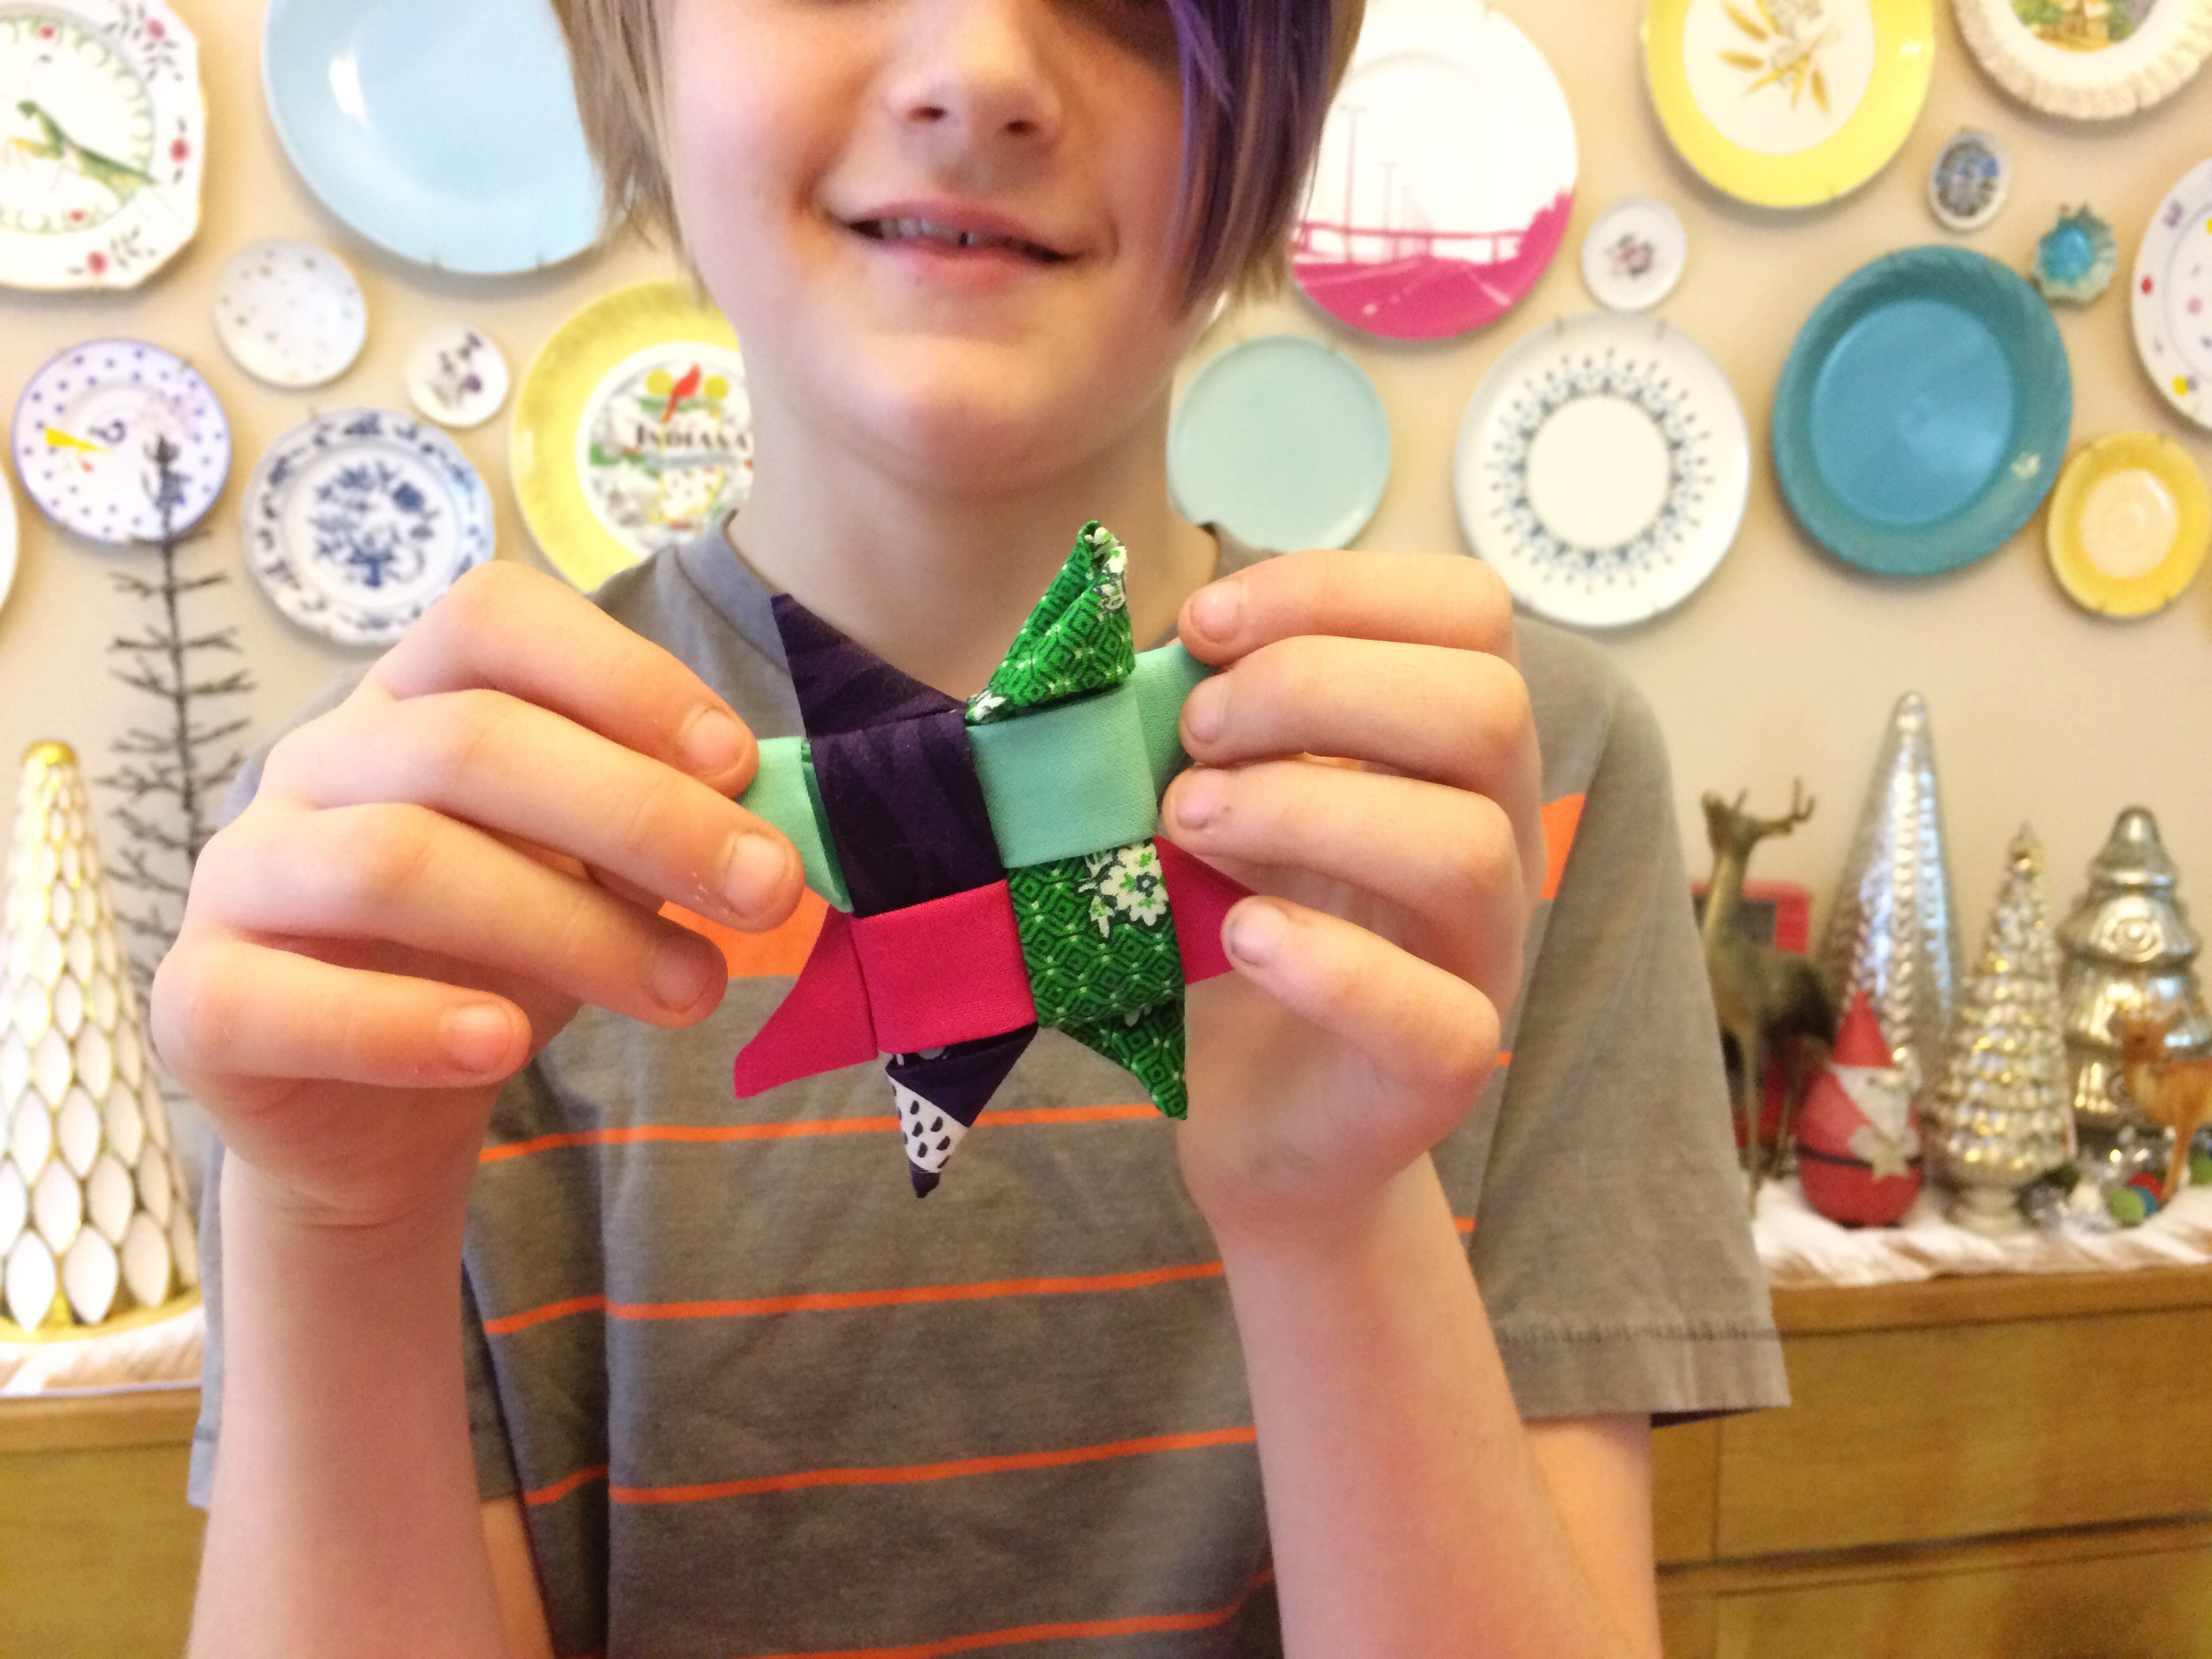
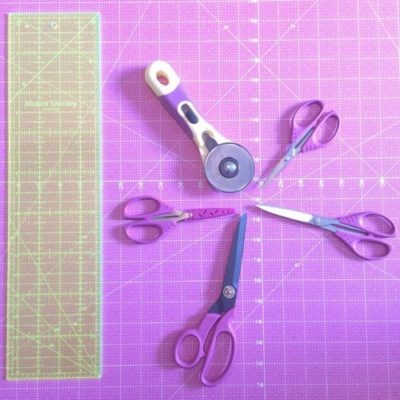
“I don’t think I can pick a favorite Havel’s product. I love them all and use them so much in my sewing space. Small snips for chain piecing, medium scissors for quickly clamping those pesky, bulky seams, large scissors are perfect for garment sewing, large rotary cutter for easily cutting fabrics with my favorite modern sewciety ruler, and curved small snips for embroidery and binding projects. I can’t forget the workhorse pink DOUBLE SIDED cutting mat that makes me smile so much because of the color and how amazing it is. It doesn’t groove like my old mat so less mistakes with the rotary cutter.” – SK

5. If you could have dinner with anyone (dead or alive) who would it be?

My grandma whom I lost right after having my first child. I want to ask her so many things about being a mom and creative.

6. What is your guilty pleasure (tv/music and/or food)?

I am a HUGE foodie but I do love some TV too.

7. What do you do to make sure no one uses your sewing tools?

Well, I have lectured my whole household several times but my husband is the worst offender. I need a better strategy with him. Lol!

Once again we’d like to welcome Stephanie to Havel’s Sewing! She may be new to the team but her laid-back, Southern style makes her feel like an old friend. We look forward to getting to know her even better and forging a great partnership in 2017. Remember to check out her podcast, Modern Sewciety at www.modernsewciety.com and subscribe to her newsletter, The Stych. And don’t be surprised if you see her popping up to give away some great prizes this year!

Thanks Stephanie! 

60mm-rotary-and-cutting-mat-set_cta

Posted in Guest Writers, Stephanie Kendron | Comments Off on Meet our New Ambassador, Stephanie Kendron!

Valentine Rose

Valentine Rose By Terry White

Valentine Rose - Terry White

This little Valentine Rose is made from 8 hearts cut from felt. It works up quickly and would be a great project for kids as well as creative grown-ups! It can be made into a pin or attached to a gift or card.

Valentine Rose 2 - Terry White

Materials needed:
10 inch x 3 inch red felt 2 inch x 4 inch green felt 1 inch square of pink felt

8 inch x 3 inch piece of Card Stock for making the heart templates Red sewing thread and hand needle
Fabric glue

Pink and Green markers to trace the shapes onto the felt….these can be any kind of markers like Sharpies, Crayola or Prismacolor….anything that works on the felt which shows up and matches the colors of felt.

Lovely little scissors….I like Havel’s 5 inch curved scissors for cutting out the felt hearts….
….and, I like Havel’s Teflon scissors for cutting the heart templates from card stock.

Begin by tracing the heart shapes onto the card stock and cut out the hearts for templates. Trace the heart shapes onto the felt and cut them out.

Valentine Rose 3 - Terry White

Valentine Rose 4 - Terry White

Start with the smallest red heart, put a dab of glue at the base and curl it around on itself.

Valentine Rose 5 - Terry White

Continue by putting a dab of glue at the base of all the red hearts, curl the medium size heart around, then the 3 large hearts.

Valentine Rose 6 - Terry White

Valentine Rose 7 - Terry White


Using red sewing thread, tack the hearts together at the base.

Valentine Rose 8 - Terry White

Pinch the green heart shape to make a leaf….tack each leaf to the base of the flower……tada!

I am making these with my grandchildren for valentines…. Enjoy the process,

Terry
p.s. Click on the link below to watch my instructional video!

Valentine Rose 9 - Terry White


30140_terry-white-cta

Posted in Applique Scissors, art ideas, craft, Craft to make, Crafting, Cutting Mat, Fabric, Fabric Scissors, For Beginners in Sewing, Free Craft Projects, Fun Stuff, Holiday Projects, How To, Sewing Supplies, Terry White, Tutorials, Uncategorized, Valentine's Day | Comments Off on Valentine Rose

The Delicate Art of Tatting

By Holly Hanover
Vintage Teacup on Crochet Tablecloth
If you are already a keen needleworker, there’s a good chance that you are constantly on the lookout for new threadwork skills to add to your repertoire.  Although you may have tried lace-making in the past, or even shuttle tatting, one technique that you may not have come across – and which, once mastered, is one of the most portable thread crafts to carry around with you  – is needle tatting.

What is Tatting?  Even from an experienced craft hobbyist, it’s not unusual to get the response “what is tatting?” when the skill is mentioned.  Highly rewarding to learn, if intricate detail is your thing, this is for you.  Originating in the early twentieth century, but not really gaining in popularity until relatively recently, needle tatting is a form of lace making using specialist thread and needles, readily available online.  In basic terms, if you can knit and crochet, you have a head start on learning this complex and beautiful art.  You need:

  • A tatting needle – these are available in various sizes.  They resemble a large tapestry needle, with an eye to take the thread, and a blunt end
  • Crochet thread, or similar

As with other thread-based activities, the size of the needle and the thickness of the thread will affect the finished result.  Your stitches – double and single – will make up the chain and ring effects that are the basis of all needle tatting.

The basics:

The knots and ties are created by using the needle in one hand, and your fingers on the other hand. These knots wrap around the needle until you push them off, and tie them into ring or loop arrangements.

Next steps:

Many needle tatting sites have video tutorials that you can follow, as well as graded patterns, and inspiration for freestyle designs when you become more proficient.  Offline, you may wish to find a teacher that can set you on the right path – although needle tatting is growing in popularity all the time, these can be few and far between.  However, don’t be discouraged; like all crafts, there’s nothing like trial and error, and learning as you go, to give you real confidence and fluency in your work.

Share your Tatting stories and projects in comments.

cta-2b

Posted in art ideas, craft, Crafting, Uncategorized | Comments Off on The Delicate Art of Tatting

Holiday Crafting with Havel’s!

Holiday Crafting with my Trusty Havel’s Tools
By Laura Sliger-Hartrich

December is here and, for me, it always inspires some crafting. Even though it’s such a busy time of year, with the shopping and card-writing and parties and baking, I always find time to make something around the holidays. Even if it comes at the expense of sleep. Or laundry.

Homemade ornaments are always top of my list. They make great little gifts for grandparents, teachers, and friends. And I love hanging our collection on the tree year after year. This year I wanted to try these Scandinavian folded fabric stars.

9-stars-holiday-crafting-laura-hartrich

cutting-fabric-1-holiday-crafting-laura-hartrich

cutting-fabric-2-holiday-crafting-laura-hartrich

I used the tutorial from Crafting a Rainbow. Once I got the hang of it, I didn’t want to stop. These are so fun to fold up, and a great way to use up scraps of favorite fabrics. I used my Havel’s cutting mat, ruler, and rotary cutter to prep the fabrics. And I adore my Havel’s 8” fabric scissors for any project. They were perfect for trimming up my stars as I went along.

scandinavian-stars-tutorial

My 10 year old got in on the action, too. We just need to add strings to these and they’ll be ready to go.

star-making-holiday-crafting-laura-hartrich

theo-star-holiday-crafting-laura-hartrich

The other project I’ve been working on is sewing fabric gift bags. I’ve always wanted to make some of these, to save myself time and money on gift wrapping. This year I finally got around to it! I used this tutorial for the simple drawstring bags, solid fabrics from my stash, and a variety of ribbons from Paper Source. Since my sewing machine only has a straight stitch (no zig zag), I finished the inside edges of my bags with my Havels’s pinking shears. I think they’ll look fantastic under the tree for years to come.

Drawstring Gift Bags Craft {Sew}

pinking-shears-holiday-crafting-laura-hartrich

finished-gift-bags-holiday-crafting-laura-hartrich

What about you? What are your must-do holiday crafting projects this year?


60mm-rotary-and-cutting-mat-set_cta

Posted in art ideas, Christmas, craft, Craft to make, Crafting, Cutting Mat, Fabric, Fabric Cutter, Fabric Rotary Cutters, Fabric Scissors, For Beginners in Sewing, Free Craft Projects, Free Sewing Project, Fun Stuff, Guest Writers, Holiday Projects, How To, Laura Sliger-Hartrich, Seasonal, Tutorials, Uncategorized | Comments Off on Holiday Crafting with Havel’s!

Fabric Christmas Cards: A Holiday How-To!

Fabric Christmas Cards: A Holiday How-To!

A Free Craft Project By Liz Kettle

snowflake postcard

I love sending fabric postcards to friends and family but I have gotten out of the habit in the last year as I spend more time communicating virtually. A friend posted a challenge on her blog to send out some actual physical mail and I thought I would take up that challenge and challenge all of you to consider it as well. We all love getting real mail!

snowflake postcard 2

Snow season is just getting started in earnest here in Colorado so I thought some snowflake postcards would be perfect. These snowflakes are created by combining and manipulating the decorative stitches on your machine. Even if you don’t have a lot of fancy stitches I know you will find a couple that can be combined to make a pretty snowflake.

stitch outs

Look at your programmed decorative stitches for patterns that are geometric in form; triangles, diamonds, circles, points. Consider creating a program stitch dictionary as in the photo above that shows what all those stitches you have actually look like…you will be so glad you did this! How do these stitches change when you alter the length or width? What pattern do they create when stitched back to back in mirror image? It can take a bit of play and experimentation to find ones that work well together so be sure to make some notes about the ones you like and the adjustments you make for future reference.

These snowflakes look great on winter and holiday themed quilts as well as make great postcards. Have fun playing with your different stitches!

snowflake supplies

Supplies:
Rotary cutter, ruler and mat
Embroidery scissor with double curve
Light and dark blue fabric
Firm stabilizer (I used Pellon Peltex #72-fusible on both sides)
Threads: White rayon, silver or white metallic or hologram and a lightweight polyester bobbin thread.
Embroidery or metallic machine needle 90/14
Chalk or marking pencil in white
Ruler with a 60degree line
Ribbon for text

In nature snowflakes are created around six fold symmetry. A ruler with a 60degree line makes creating a snowflake guide easy. The 2” length described here is the length I used for the Vintage German Snowflake. To create smaller or larger flakes simply draw a shorter or longer line. Sorry about the dye on my hands in the photos…just having too much fun around here!

snowflake 60d 1

1. Use a ruler to draw a line 2 inches long. Place a small dot in the center.

snowflake 60d 2

2. Place the 60degree line on your ruler on the drawn line with the edge of the ruler at the center dot. Draw a line approximately 2” long

snowflake 60d 3

3. Move the 60degree line on the ruler to the new line. Place it at the intersection of the two previous lines. Draw a line approximately 2” long.

Making the snowflake postcard:

1. Use the rotary cutter, mat and ruler to cut your fabrics and stabilizer 4”x6”. The 60mm rotary cutter makes cutting through heavy stabilizers a dream!
2. Fuse the dark blue fabric to one side of the stabilizer. If you don’t have Peltex 72, use a fusible web such as Misty Fuse to adhere the fabric to the stabilizer.
3. Pick one of the snowflake designs I have given you below or experiment with your stitches to come up with new patterns. Determine the best method of stitching your chosen design. Does it look better stitched from the outside to the center, from the center out, or can it be stitched across the length of the snowflake.
4. Use a marking pencil to mark the 60degree lines on the dark blue fabric as shown above.

5. Stitch the snowflakes on the dark blue fabric and stabilizer using the directions below.

snowflake postcard text

6. For the text, I printed on ribbon using my inkjet printer. This technique is in both of my books and I have a tutorial on my web site in the group forum section. Alternative methods would be to use rubber stamps or a fabric marker to write by hand. Use fusible web to secure the ribbon and stitch around the edge as desired.

snowflake postcard fuse back

7. Fuse the light blue fabric to the back of the postcard.

snowflake postcard edge

8. Stitch around the perimeter of the postcard. I used a zigzag stitch in silver metallic thread. I like to stitch around the perimeter twice for a full but not quite satin stitch. Straight and decorative stitches are great options as well.
9. Use a Sharpie or fabric marker to write your message and address your card. I apply a 1st class stamp rather than a postcard stamp and send it on its way.

VINTAGE GERMAN SNOWFLAKE

I used a silver metallic thread to give a vintage mercury glass feel to this snowflake. The stitches for this snowflake are two that are on my 22 year old machine that only has a total of 12 stitches. Havel’s 5” double curved scissors are the perfect tool for clipping threads during machine embroidery. They get super close to the fabric to give you a clean cut but the curve prevents that horrid moment when you realize you just cut your fabric. The double curve is great when you are using an embroidery hoop and the finger holes are the perfect size. You are going to love these scissors!!

snowflake vintage first

You can see how closely the curved embroidery scissors trim the thread. No whispy fray bits of thread in sight!

You can see how closely the curved embroidery scissors trim the thread. No whispy fray bits of thread in sight!

1. An eyelet stitch was stitched to provide an open center. If you don’t have an eyelet stitch, simply draw a small circle and begin your stitching at the edge of the circle.

snowflake vintage german 1

2. Next an oval satin stitch at a slightly reduced width was stitched from the edge of the eyelet stitch out for two repeats.

snowflake vintage german 2

3. A flower chain stitch was inserted between each of the previous stitch lines to create this vintage look snowflake.

FEATHER SNOWFLAKE

This delicate snowflake uses a programmed feather stitch that looks best stitched from the outside into the center. I drew my lines 1 1/5” long.

snowflake feather 2

Begin the stitch at the outer edge of the circle then stitch towards the center. Stitch on all 6 radiating lines.


POINSETTIA SNOWFLAKE
To create this snowflake the stitch is made by slightly lengthening the stitch length on a satin stitch triangle stitch. My length setting was .80

snowflake poinsettia 1

1. Stitch the design in one direction for one repeat, pivot 180degrees and stitch back to the center.

snowflake poinsettia 2

2. Pivot again and repeat along each snowflake guide line.

snowflake poinsettia circle

3. Finally, one repeat of a circle satin stitch and a couple straight stitches are added to the tip of each point.

I have a dear friend who is leaving her frigid climate for the warm breezes of Florida next week…I will be sending her one of these so she doesn’t forget the pleasure of snow! She will be jealous of all our snow don’t you think?

Liz Kettle is a mixed media and textile artist living in snowy Colorado. She is co-author of 2 books, Fabric Embellishing: The Basics and Beyond and Threads: The Basics and Beyond. Liz loves teaching and sharing the joy of making stuff in her articles, classes and at her fabulous retreat, Textile Evolution. Visit her blog and website, www.TextileEvolution.com


60mm-rotary-and-cutting-mat-set_cta

Posted in art ideas, Christmas, craft, Craft to make, Crafting, Embroidery, Fabric, Free Craft Projects, Free Sewing Project, Fun Stuff, Holiday Projects, How To, Liz Kettle, Seasonal | 1 Comment