Fabric Collage Holiday Cards Liz Kettle
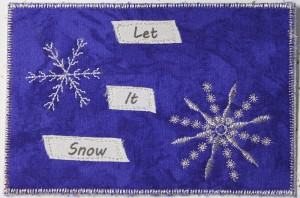
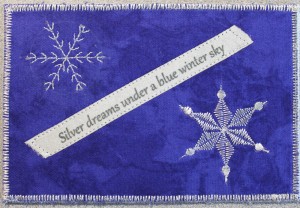
Whip up these delightful collage art cards this Holiday season. They are fun and easy enough to make it a family project. These cards can be adapted to any holiday and if you have a motif cutting machine they would be a snap to make.
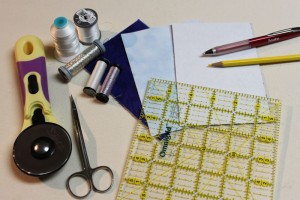
Supplies:
Purchased card blanks
Fabric scraps to fit your theme
Mardi Gras Faux Suede (or white fabric) for the snow-women 4″ x 7″
Orange embroidery floss or pearl cotton and chenille needle
Fusible web such as Misty Fuse
Craft weight stabilizer such as Craft Fuse or tear away stabilizer
A circle template in multiple sizes-easily found at office supply stores or use a compass
Sewing machine, assorted threads, and sharp scissors
Wooden printing block and printing mat
Opaque textile paint in white and iridescent paint, glitter paint pen or sparkle gel pen
Small sponge
Resources:
Wooden Printing Blocks, printing mat, and textile paint- artisticartifacts.com
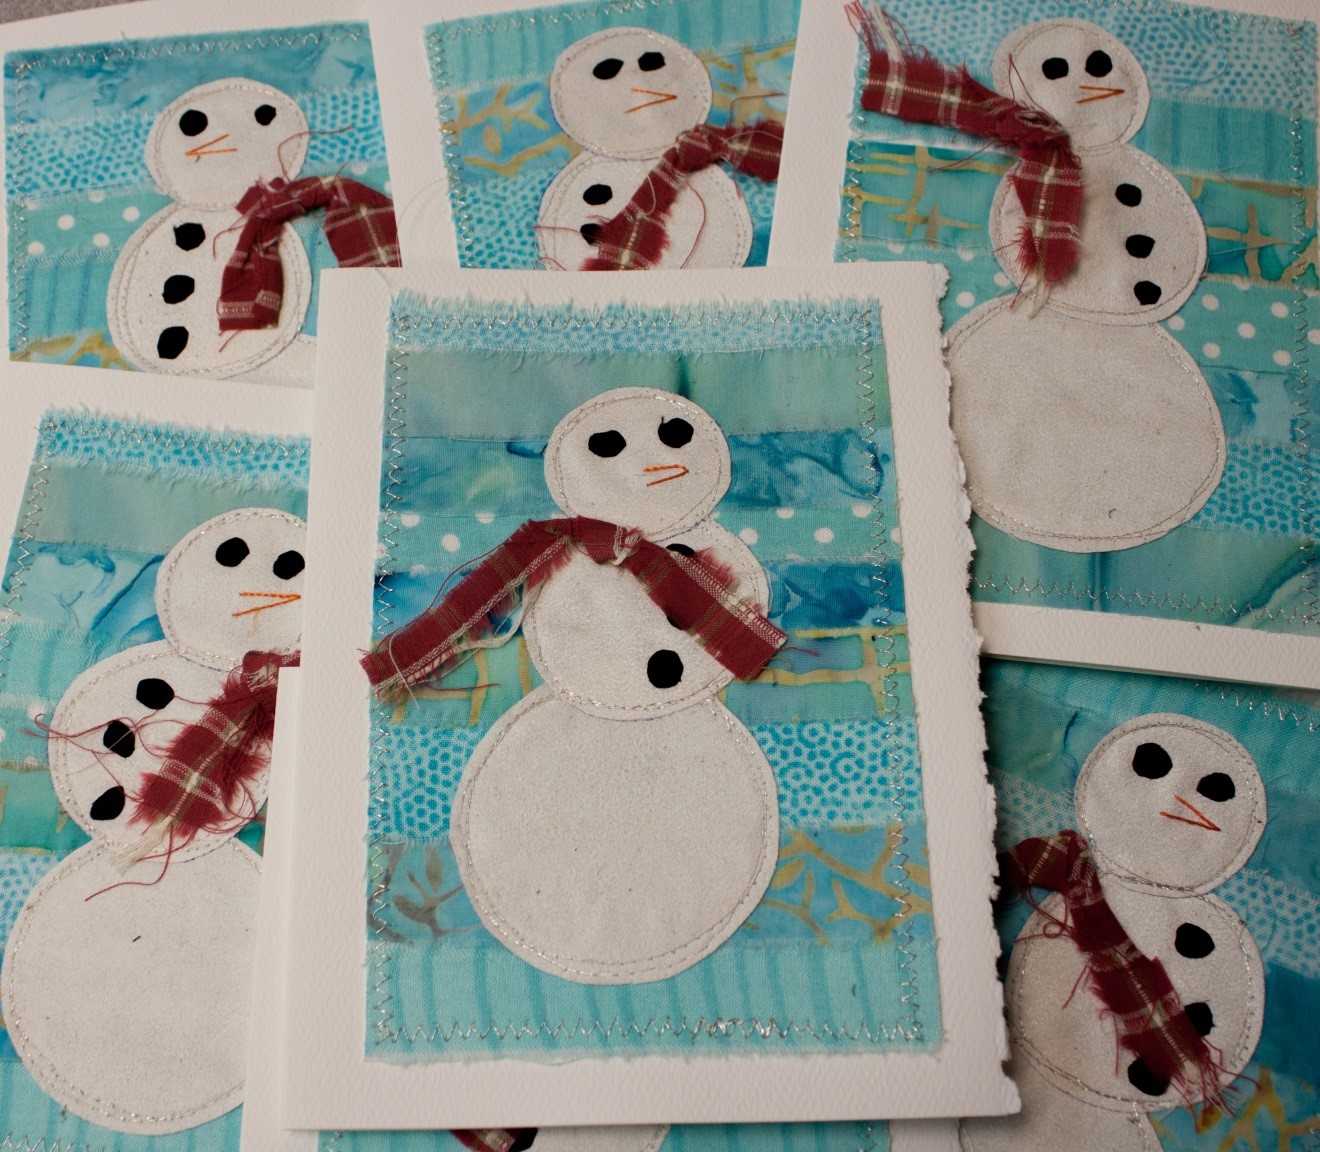
Directions for Sassy Snow Women Cards
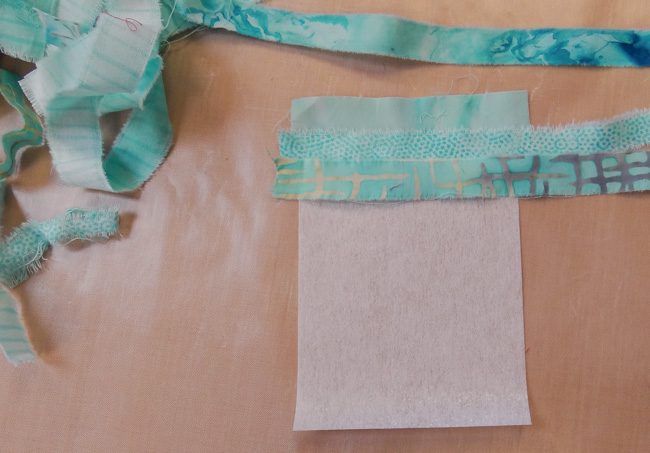
1. Cut stabilizer the finished size of your card design. Allow about a ½” border around the edge of the card. If the stabilizer does not have a fusible side, apply Misty Fuse fusible web to one side of the stabilizer.
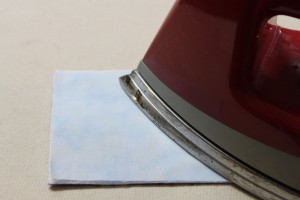
2. For the stripped background, rip strips of fabric about ½” – 3/4” wide and as long as needed to cover the width of your stabilizer. Place strips on top of the fusible side of the stabilizer. Allow the ripped edges to overlap slightly. Iron to fuse the strips to the stabilizer.
3. Apply fusible web to the wrong side of the faux suede and a small piece of black cotton for the eyes and buttons.
4. Mark and cut three circles from the Mardi Gras faux suede 1 3/8″, 1 ¾”, 2 ¼”. Free hand cut 5 small circles (about ¼” dia) from the black fabric. Rip narrow strips from a scrap of plaid fabric.
5. Fuse the faux suede circles to the background stripped fabric. The faux suede is heavy enough that the background fabrics don’t show through.
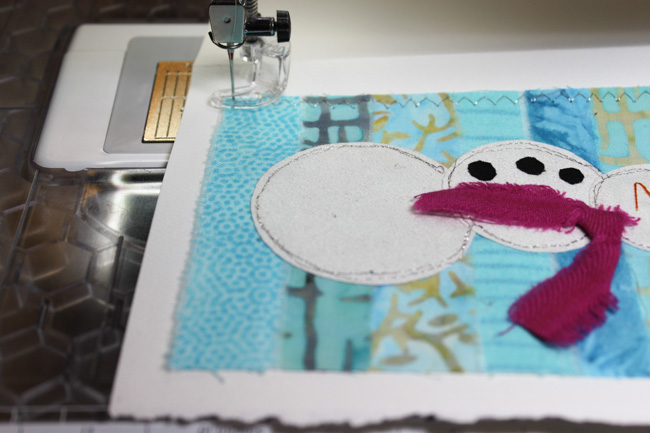
6. Using a free motion foot and a metallic thread (my favorite is WonderFil Spotlight) stitch around the body circles of the snow-women.
7. Create a nose for the snow-woman with the orange thread and a single open detached chain stitch.
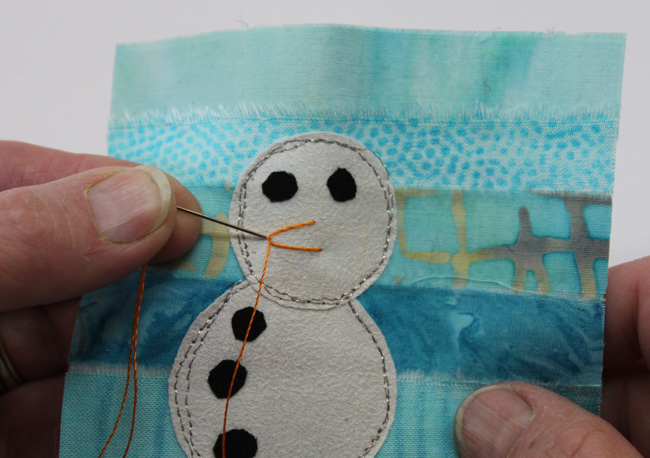
8. Fuse the artwork to your purchased card base and finish with a zigzag stich around the fabric edge.
Directions for block printed card:
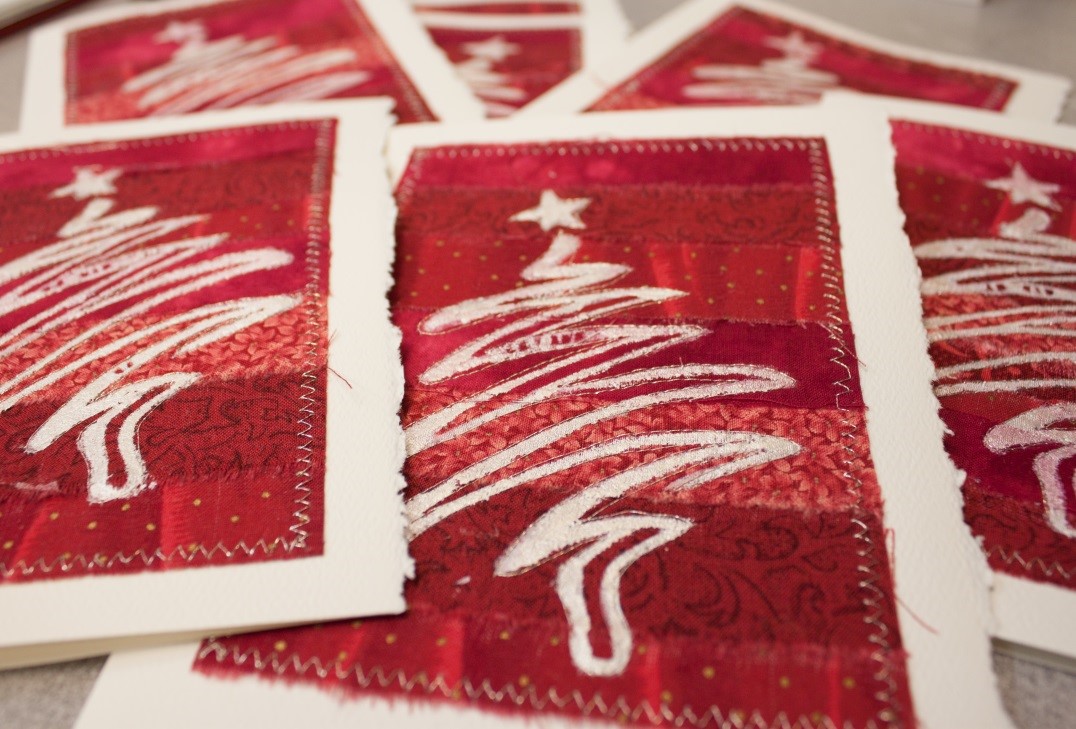
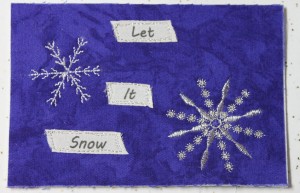
1. Create a fabric background following steps 1 and 2 above2. Place the foam block printing mat on a firm surface. Place the stripped background on top of the mat. Use a sponge to apply the white paint to the wood block.
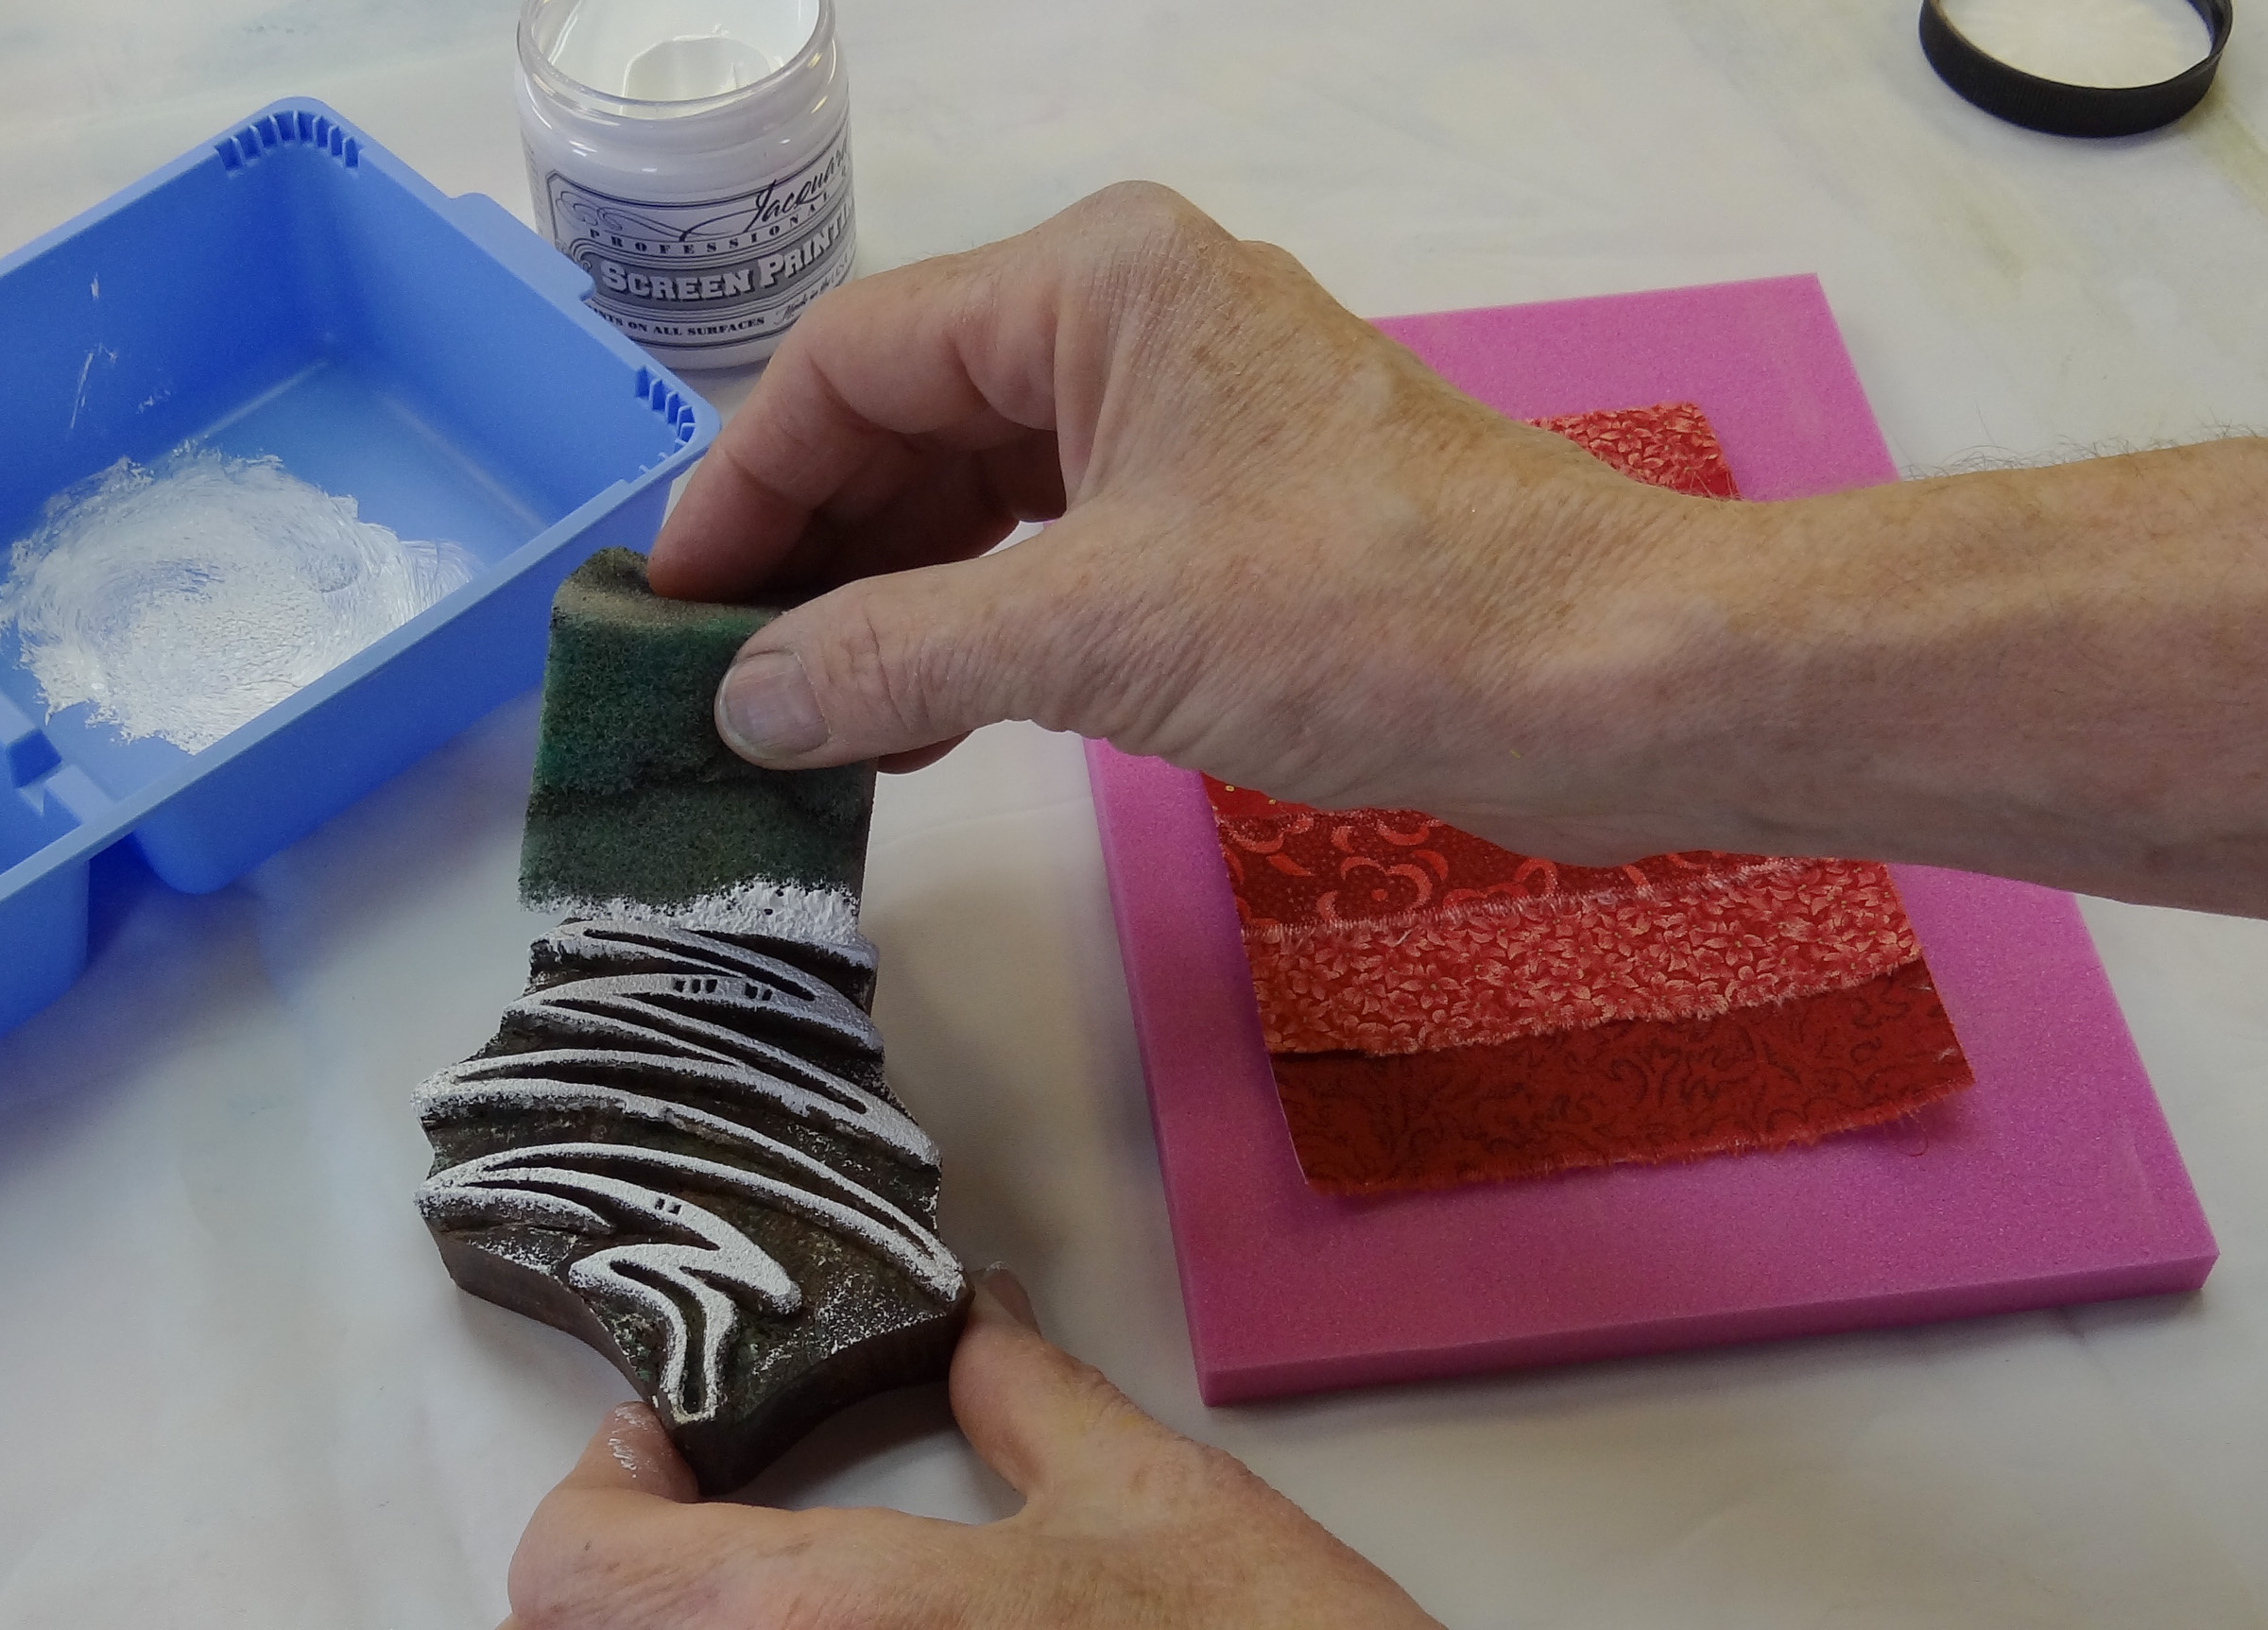
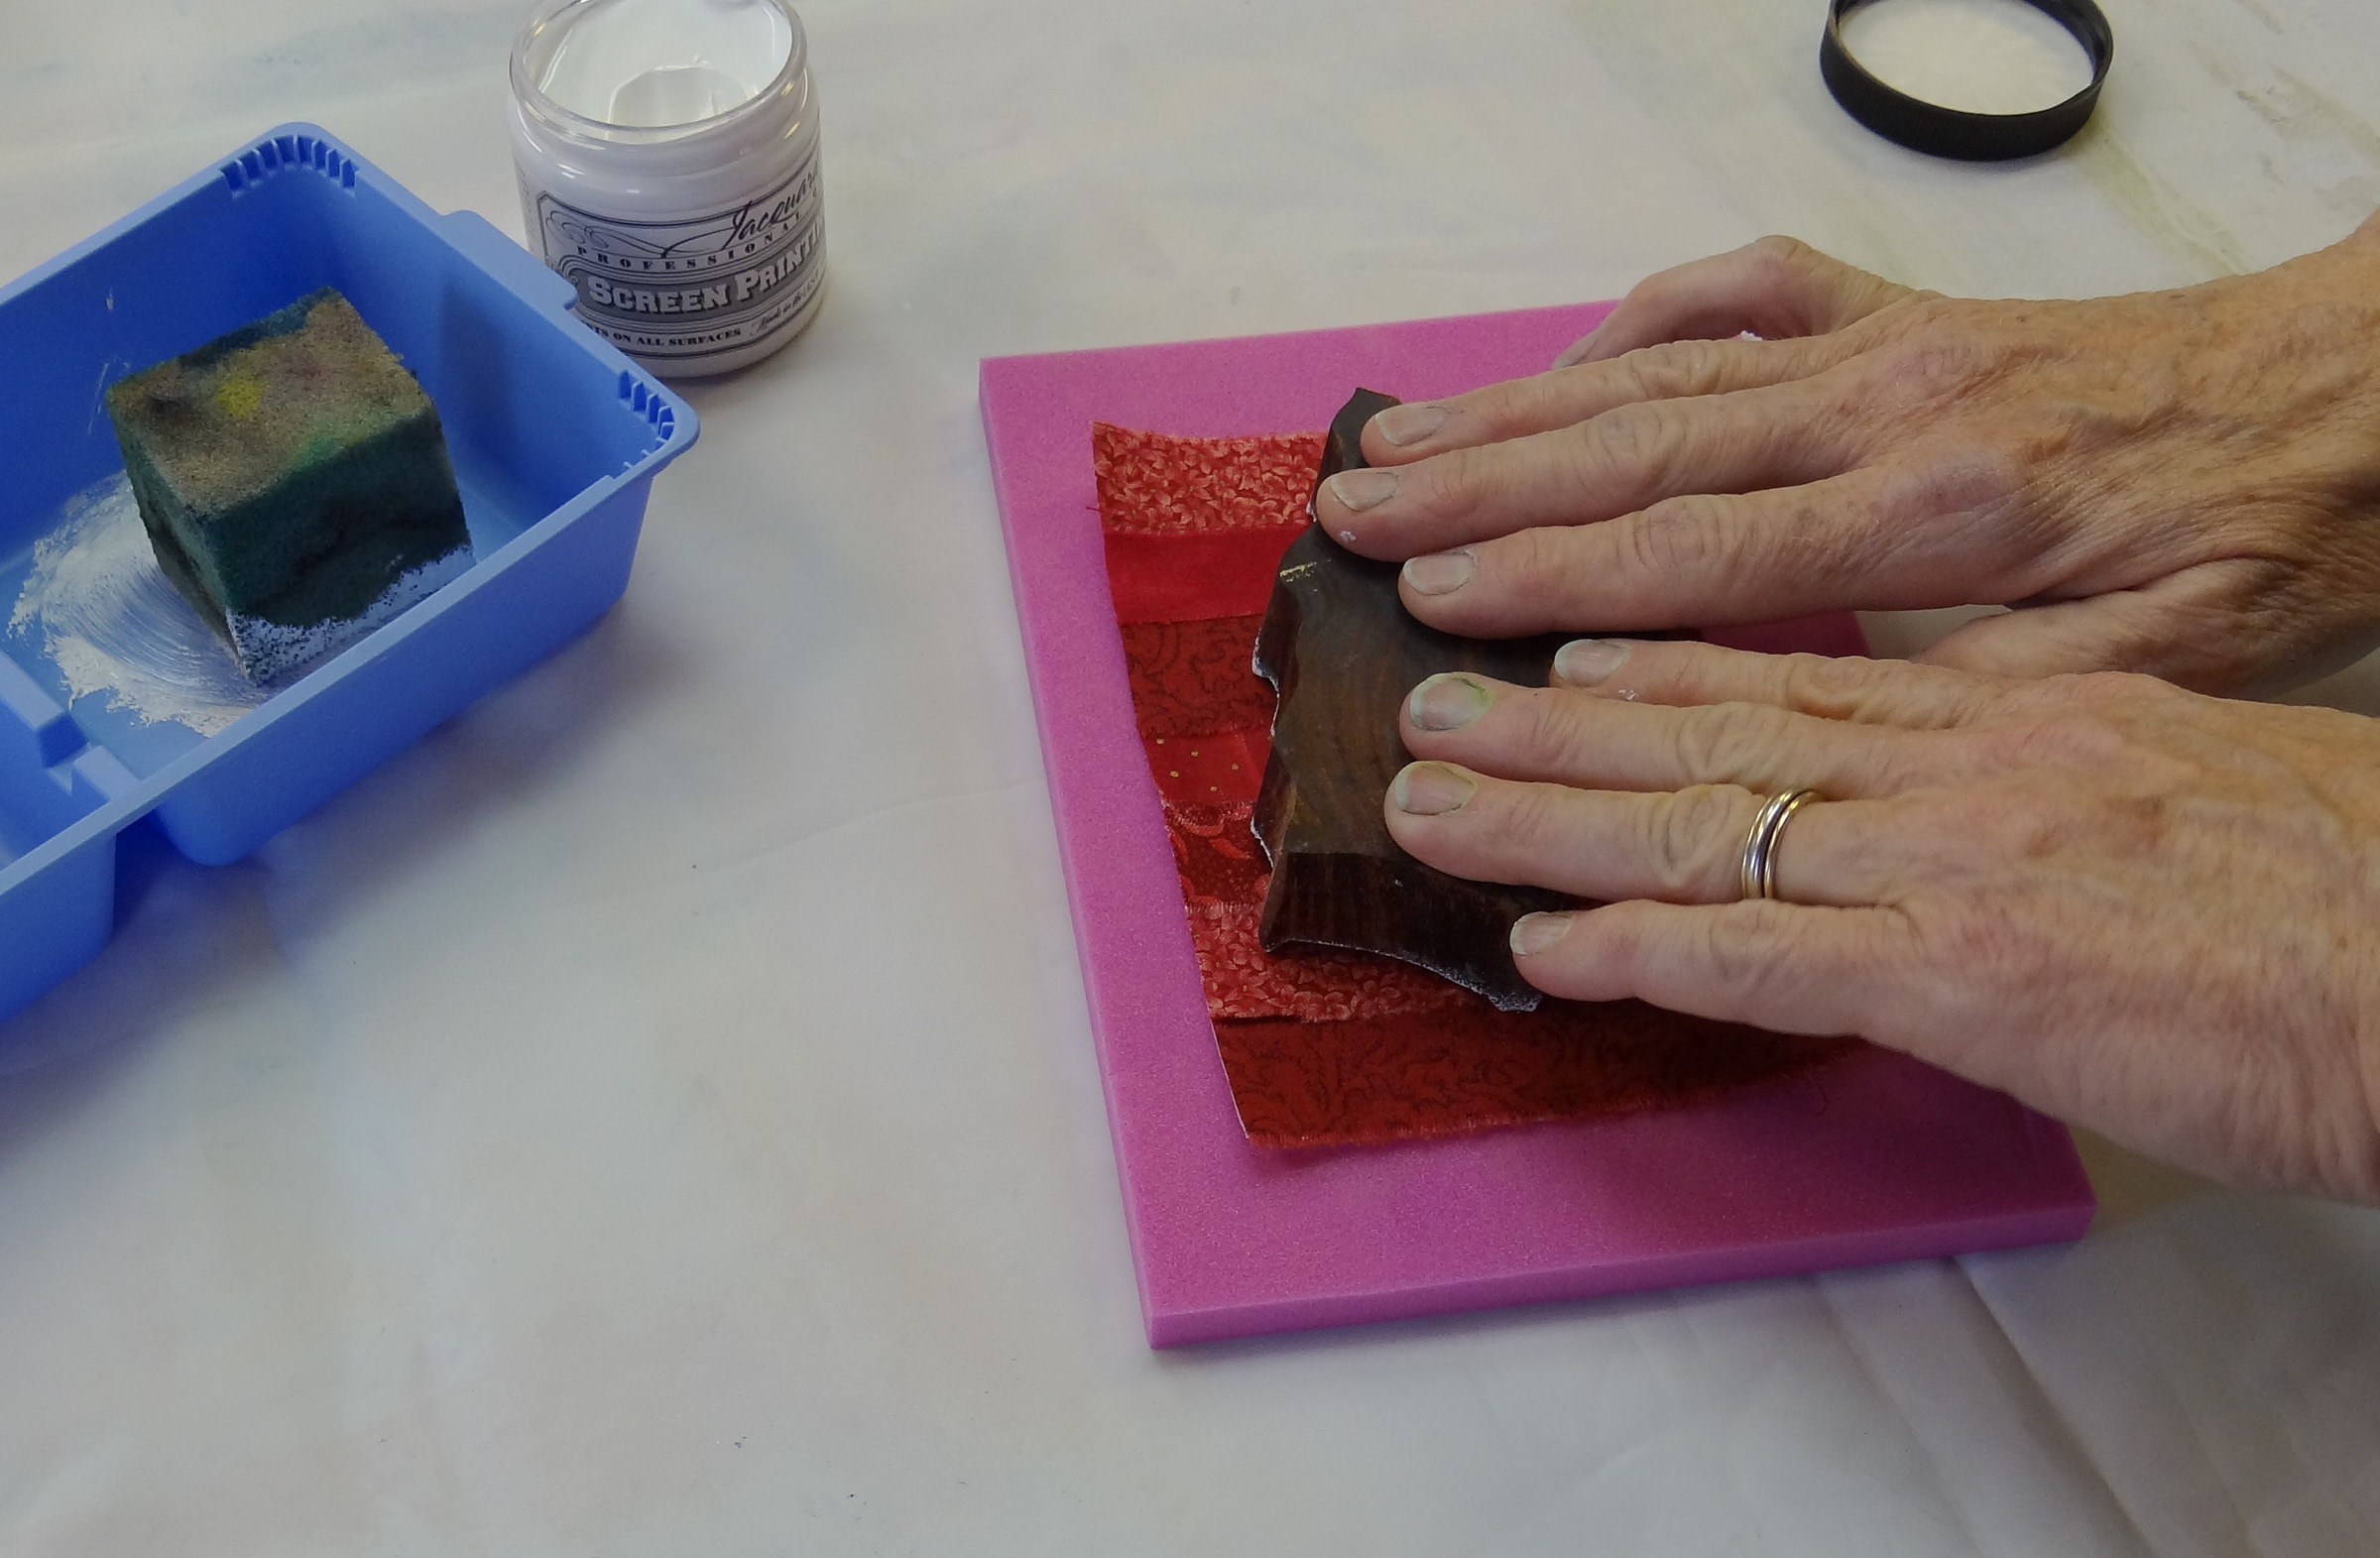
3. Place wood printing block down on the fabric and press gently to create a clean image. If needed, use a small brush to add more paint to an unpainted area. Let paint dry.
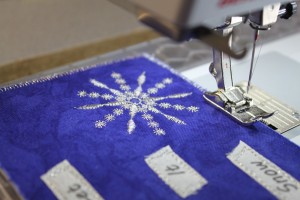
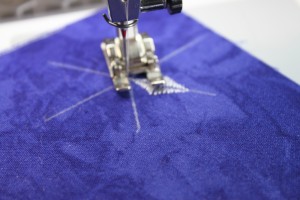
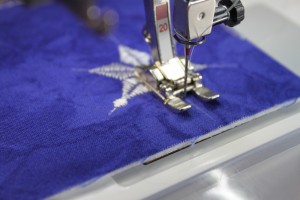
4. Using a free motion foot and metallic or your preferred thread outline the block printed image. Add highlights with iridescent paint, glitter paint pen or sparkle gel pen.
5. Fuse the artwork to your purchased card base and finish with a zigzag stich around the fabric edge.
Embellishing option: Lightly sprinkle BoNash 007 powdered glue on the fabric and cover with foil. Use a warm iron to apply foil following package directions.
TIP
Applying paint to wooden printing blocks
Car Wash sponges work perfectly for applying paint to wooden printing blocks. Use scissors to cut the large sponges into smaller squares. Put paint on a palette or paper plate, dab the sponge in the paint and then dab on a clean spot on the plate to reduce any gloppy paint spots on the sponge. Dab the paint on the block using a gentle up and down motion.

Liz Kettle is a fabric and mixed media artist with a passion for teaching others the joy of making art and fascination in the creative process.

