This post is a part of the I am Enough quilt along that starts September 28, 2018 and ends February 1, 2019.
If this is the first time you are learning about this quilt along then please read this post to find out the intentions behind the quilt along and more details.
To view all the posts concerning this quilt along, click here.
To view the email archives of this quilt along, click here.

I hope you are ready! We are at pattern 3 and in my mind this is the main event. There are three blocks to do this round and these three blocks were the very beginning for me when I was designing the quilt. They are what started the whole idea of this quilt and the quilt along. I designed a pinterest board when musing for I am Enough. If you scroll all the way to the bottom you can really get a look at the beginning of my inspiration. It all began with that hand.
We will be declaring in thread that we are ENOUGH.
You are Enough
I was reading this article about hobbies recently. It spoke about us worrying too much about how good we are at something instead of just enjoying the hobby itself. I felt that it really was on point for the theme of our quilt along. It doesn’t matter how good you are at quilting or how good you are not. The whole purpose is the doing. It’s nice to have a pretty quilt to gift someone, but the work itself is the best part. At the risk of sounding cliche, it’s the journey. Ugh. Isn’t that overused? Life’s a journey, not a destination. But truly think about it. When we are done with a quilt, we fold it up or put it on a bed or give it away and then we are on to the next quilt. So it really is about the making of the quilt that is the most special part of it. That’s why you are here with me now. You enjoy making quilts. You are looking for a way to unwind, to flex your creative side, to just have something nice to do after all the work you do to take care of yourself and your families. You deserve this time, and should do it without criticizing yourself.
So I invite you now to enjoy this week’s blocks whether you have ever embroidered or not. They are slow and meant to be. I’m hoping that you will embrace the handwork. If you end up with wonky letters and clumsy fingers, so what? Get yourself somewhere comfy, you can embroider anywhere, and enjoy the stitching. Don’t give up, don’t get frustrated, just stay with it, and let whatever you make “be”.
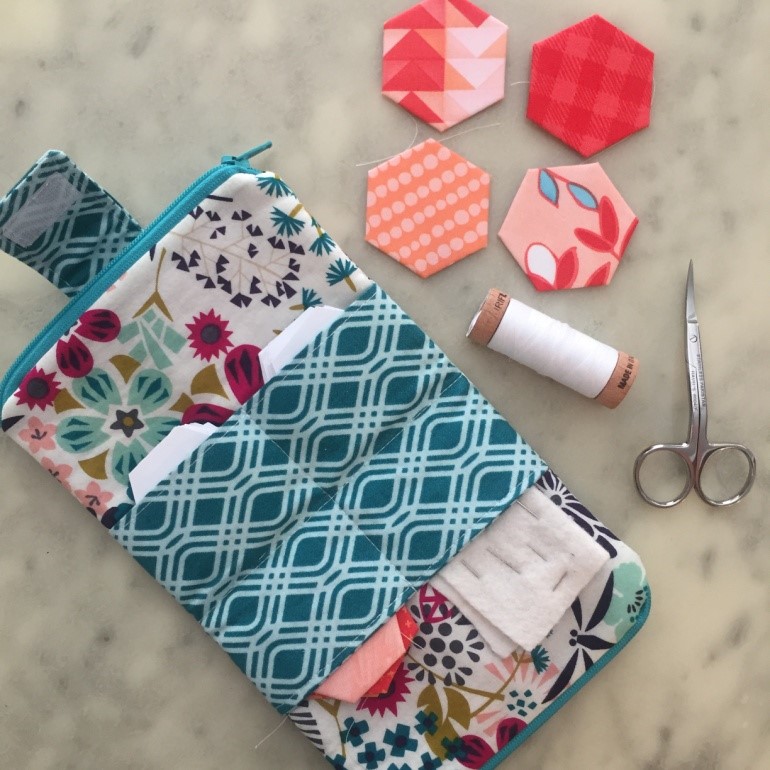
Product Spotlight

7″ Serrated Fabric Scissors
● Blades “grip” the fabric to cut slippery fabrics
and multiple layers
● Silky smooth, precise fabric cutting
● Cuts straight to the tip
● Never go dull
Shop Here

Today’s Lesson
We are making three blocks today: embroidered I am Enough, the Maker’s Hand, and the Monogram.
Embroidery
Yes, embroidery does belong on quilts. It adds lovely details that can embellish your block or quilt. It’s pretty, but it can also make a bold statement, saying something that you need to say. It adds texture and interest and is incredibly satisfying to touch, to gaze at, to complete. It’s historically considered women’s work (that’s changing) and we have been doing it for generations upon generations. You can do this too, and if you want you can even do it with sas.
- Are you bored sitting at the doctor’s office? You could be embroidering.
- Are you trucking the kids all over the place for their activities and want something for yourself? You could be embroidering.
- Are you angry and just want something to stab away at? Well, guess what? Stabbing a needle in and out of thread is exactly what embroidery is.
Fabric Choosing
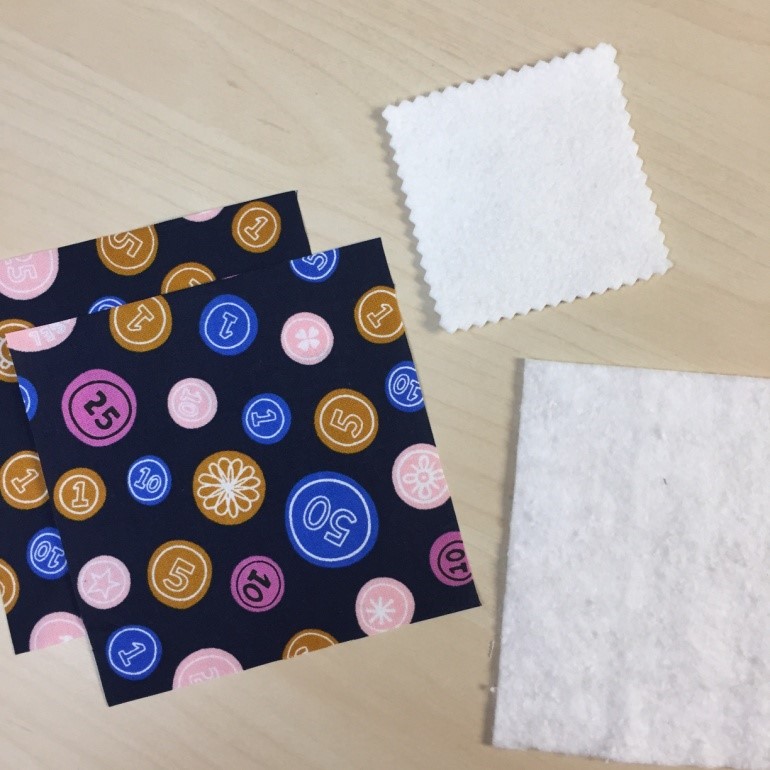
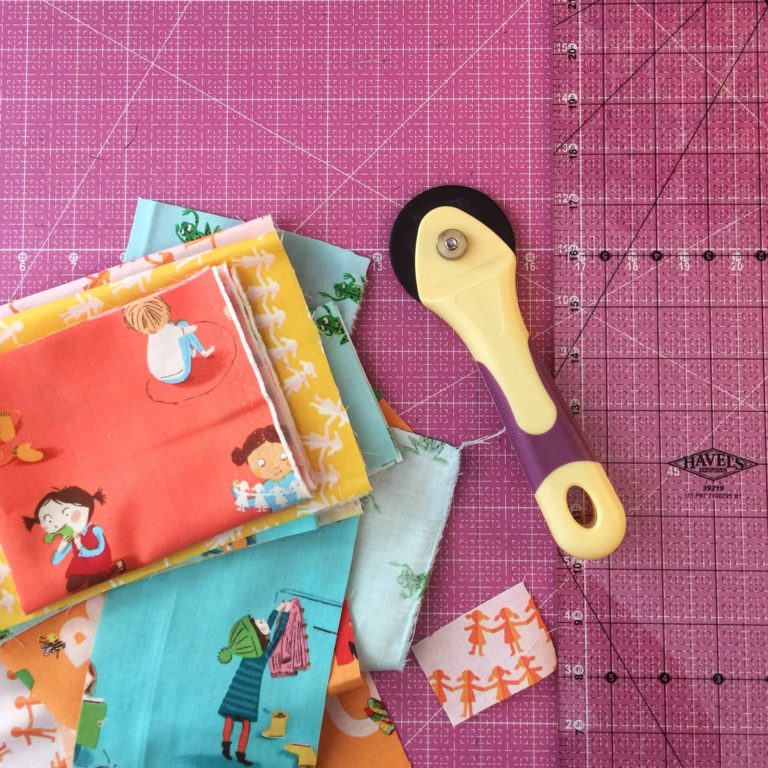
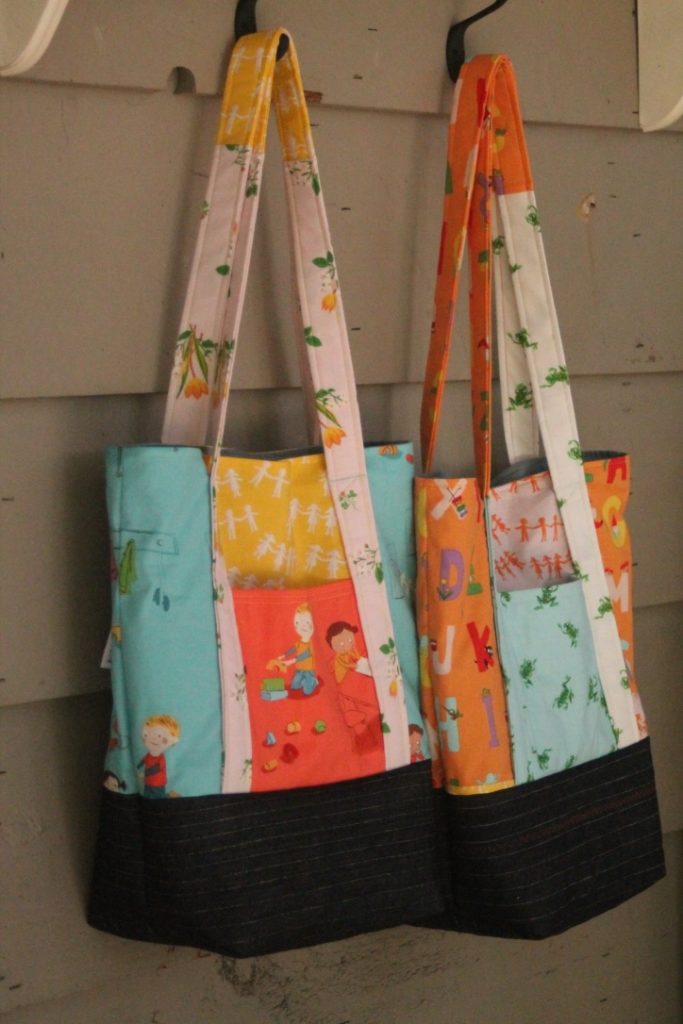
Think about your fabric choices for these three blocks, audition multiple choices. On the Maker’s Hand and the Monogram, consider a tonal or solid for one of the fabrics used within each of these two blocks. If you put a floral for the monogram and a floral for the background, your monogram could get lost. You want each to pop on the quilt. On the I am Enough embroidery block, consider choosing the same for the background: tonal, solid or low volume, or at the very least something with minimal business. I chose black for my lettering to again make the words pop off my quilt.
Encouragement
If you can work a sewing machine, you can do this. It’s much more simpler and you are in total control. It may feel foreign at first if you’ve never held needle and thread. Here are some tips:
- Take a moment and make a plan before just beginning OR jump in head first and see where the thread takes you.
- Use a thimble or your fingers will hurt after a while.
- Stay at it. Don’t give up on yourself. You will never be good at something the first time you do it, expect that. The more you do, the better you get.
- Relax and go slow. This is not a race. You are here to enjoy the making. Savor every one of your stitches.

Pattern 3 – I am Enough + Maker’s Hand + Monogram
Insert the Fleetwood Mac song, “Go Your Own Way” right about here. Just like our last two patterns, there are no rules! Be yourself. If you don’t want to follow the instructions, DON’T. You have permission to completely make this your own and do it your own way. There’s no quilt police here. You can add as much or as little embroidery or even none at all and completely change this up to suit your own tastes.
Onto the pattern!
Click the tab below to download the pattern and get started. I cannot wait to see what you make!
Click here to download the pattern.
Video Tutorial
Click here if the video does not load properly.

I am Enough Quilt Along Schedule
- Pattern 1 – September 28 – YOUR Color Wheel
- Pattern 2 – October 12 – French Braid
- Pattern 3 – October 26 – Maker’s Hand, I am Enough + Monogram
- Pattern 4 – November 9 – Hourglasses
- Pattern 5 – November 23 – Trip Around the World
- Pattern 6 – December 7 – Scallop Border
- Pattern 7 – December 21 – Courthouse Steps
- Pattern 8 – January 4 – New York Beauties
- Pattern 9 – January 18 – Half Rectangle Triangles + Half Square Triangles
- Pattern 10 – February 1 – Finished Quilt Top

Helpful Links
- This week’s fabrics and supply details
- Introduction PDF
- Pattern #3 PDF
- I am Enough, Maker’s Hand, and Monogram video tutorial
- Sign up for the I am Enough newsletter
- Personalized I am Enough quilt label
Havel’s Tools I use in the video
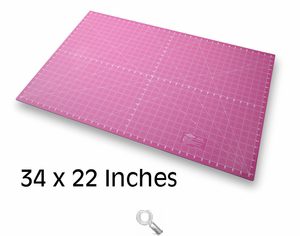
- X-Large reversible cutting mat
- 7″ Serrated Fabric Scissors
- Snip-Eze Scissors
- 5.5″ Curved Tip Embroidery Scissors
Prizes

Be sure to post your progress on this week’s blocks on Instagram to be eligible for the bi-weekly prize from Havel’s Sewing. Havel’s will announce the winner on Instagram on the Thursday before the next pattern releases.
To enter to win the fabric scissors (single best scissors I’ve ever used):
- Use the #IamEnoughQuiltAlong on a progress pic of any of this week’s blocks.
- Follow @Havels_Sewing and tag them in the post.
- Follow @SouthernCharmQuilts and tag me in the post.
- If your account is set to private, you will not be entered.
- Prizes open to US residents only.

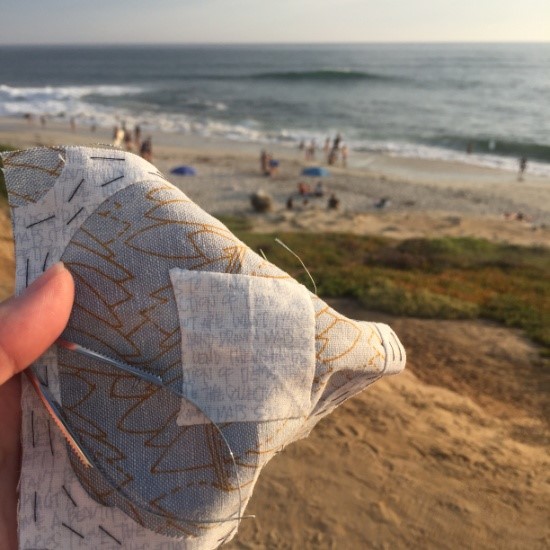
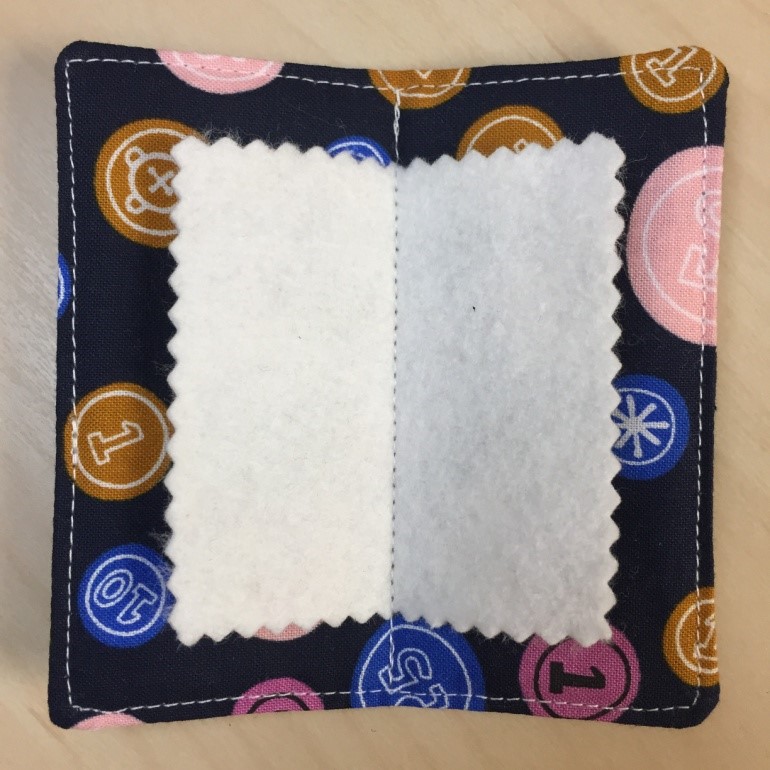
Saying something out loud always helps me not only remember better, but truly feel the power of the words. The above picture is a close up of my thread proclaimed, “I am Enough”. You can really see the mediocrity of my stitches and you know what? I couldn’t be happier with it.
Hugs,
Melanie
 Let’s Connect
Blog / Email / Instagram / Newsletter

 45mm Rotary Cutter