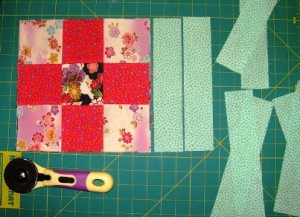
1 1/2″ wide. I cut my first lattice strips the length of a block which is 9 inches long.
Cut eight of these strips.
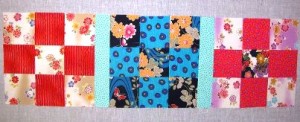
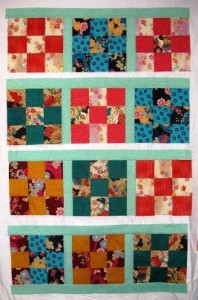
This is the “Sewing Sequence” in photos. I find that showing the sequence in photos will teach a lot better than words alone. Sew a lattice strip to two sides of a block. Then, sew a block on each side of the block. This is the first row; it is a “three block strip”.
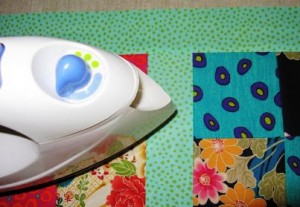
Press each seam with a hot iron. I don’t use steam because it can distort straight seams.
Repeat this for all your rows. Now you have four “three block strips”.
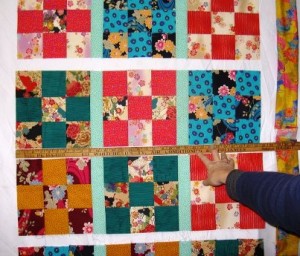
Measure the length of the “three block strip” to determine how long to cut your next lattice strips. Cut five lattice strips approximately 28″ long. However, measure to be sure.
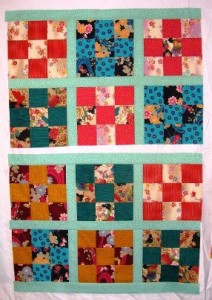
Sew the “three block strips” together to the next “three block strip”
with a lattice strip in between.
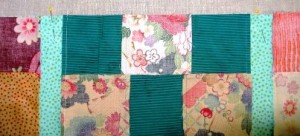
Pin the lattice strip to the edge of the block strip before stitching.
Anytime I work with long strips like this, I think that pinning is so helpful.
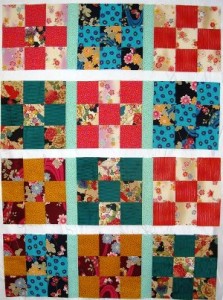
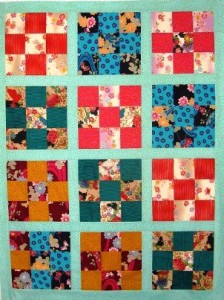
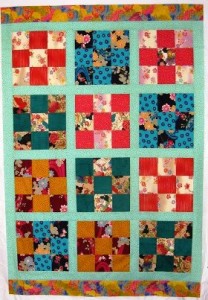
Here is the continuing sequence of stitching the quilt top together.
Then, sew the lattice strips around the edge to create the effect
of the blocks floating in the green fabric.
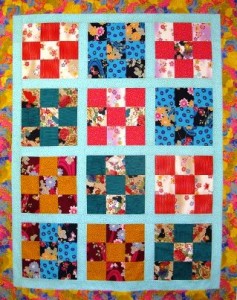
The final; outside border is a strong floral. I figured I would use a floral
that had all the colors of the other fabrics.
I cut the border the same width as one of the nine-patch blocks 3″ wide. Sew the top and the bottom borders on. Then, sew the two side borders on to finish the quilt top.
Click HERE to see more articles by Terry.

