Make This Easy Holly Jolly Christmas Pillow
By Terry White ©2012
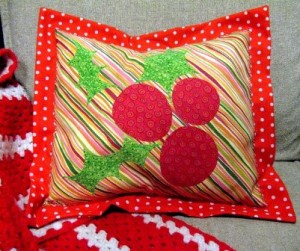
Here is a cheery bright modern holiday pillow pattern. This simple construction includes a flange edge and a sham back…so no fooling with trying to stuff and hand stitch an edge…yay!
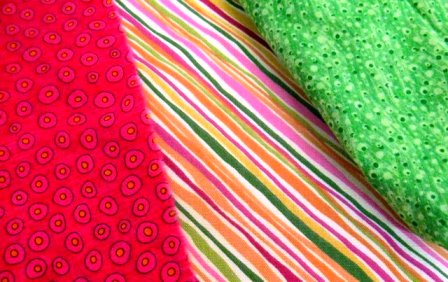
It really is the fabrics that make this a great pillow. For the background of the design, I chose a heavy canvas decorator fabric (it was a remnant). Cut the stripe fabric 15” x 13”. For the holly berries and leaves, I chose single color on color print fabrics that “read” as solids in contrast to the multicolored stripe. After trying out a few fabrics for the flange edge, the red polka dot really seemed to compliment the whimsy of the other fabric choices. The red and green fabrics are sort of polka dotty.
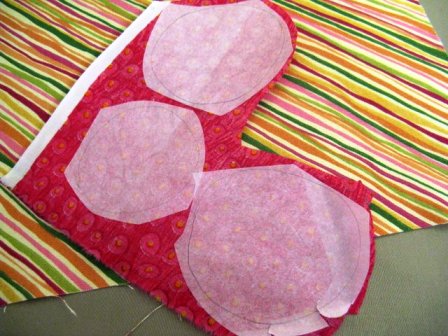
Trace the berry and leaf shapes onto the fusible web. Rough cut and press them onto the fabrics according to the manufacturer’s directions. Then, I do a little pre-pull of the paper back so that when I cut out the shapes with the fabric it will be easy to take that pre-pulled paper and peel it off.
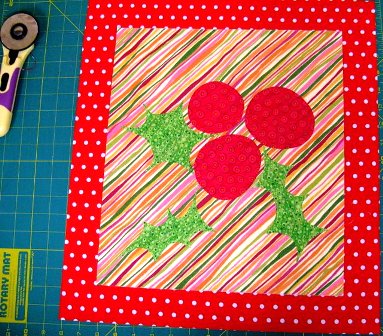
Cut out the shapes and lay them onto the background stripe. You can arrange these shapes in a variety of ways. In fact, I think it would be neat to make three pillows with each arranged in a different manner.
Fuse shapes. If you want, you may stitch around the edges of the shapes – I didn’t.
Cut the polka dot fabric 2 inches wider than the striped background on each side. So, I cut my fabric 17” x 19”. This will add body to the pillow and be the border flange.
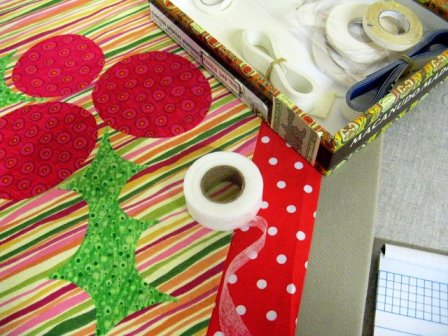
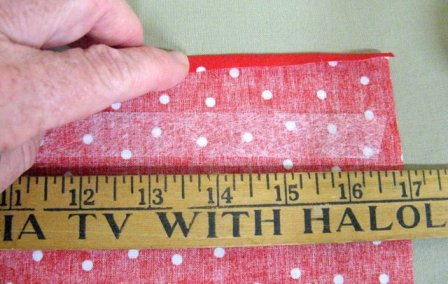
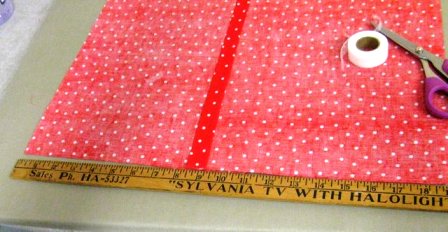
I keep different widths of hem tape. This is fusible web cut in a ribbon with or without paper backing. The one I used here is ¾ inch wide. I used it to fuse baste the
panel onto the polka dot fabric.
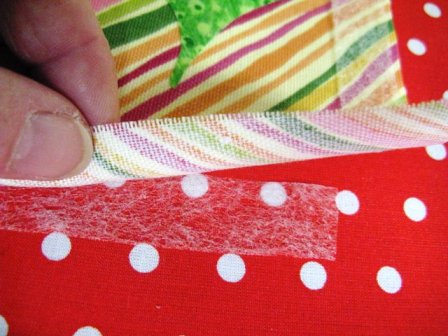
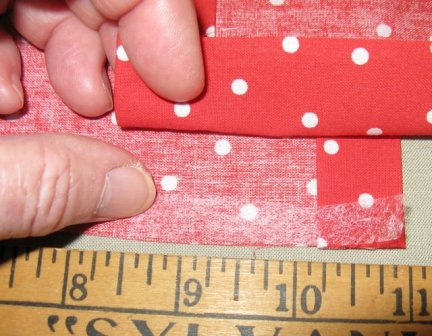
I cut my hem tape shorter than each edge of the fabric, placed it, then fused
the edge of the fabric to the polka dot.
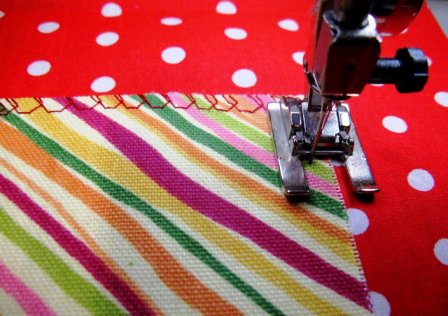
Next – to stitch the top fabric to the polka dot, I chose an edge stitch. The fuse basting helps me to have a nice flat surface on which to stitch…no pins on this step.
I used a 30 weight cotton thread to stitch along the edge. Use a 90/14 machine embroidery needle on this step. The needle works with the thread and the heavy combination of fabrics. I also loosened the top tension on the embroidery stitch for a fuller look. I used the open toe appliqué foot so that I could see to stitch right along the edge of the design panel.
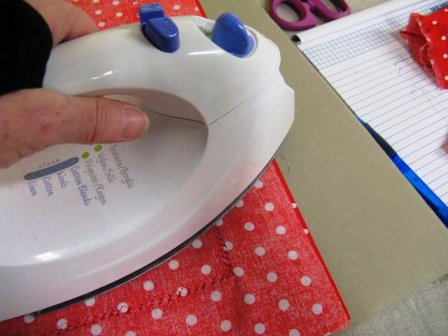
This completes the pillow top…give it a press.
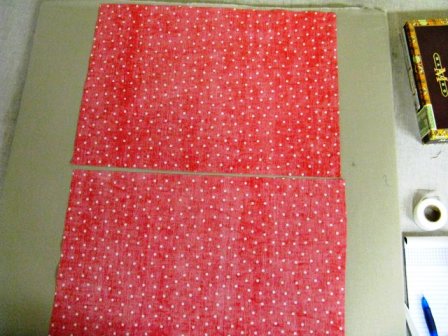
The next step is to make the pillow sham back. Cut two pieces of fabric 13” x 17”, I chose to use a different red polka dot fabric. Why did I do this?…because I used scraps
for the whole project, that’s why.
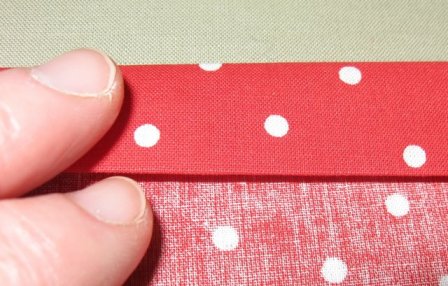
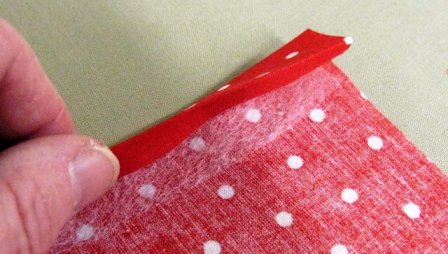
Fold and press ¼ inch along one long side of each fabric piece. Notice that I have
a piece of ¾ inch hem tape which I will use along the edge.
Fold and press 3/4 inch hem.
With the hem tape in between, fuse the hem and do the same for the other piece of fabric.
Overlap the two hemmed pieces of fabric, so that they measure 17” x 19”. I used to stitch baste these pieces together, but now I fuse baste them.
Cut a piece of hem tape the length of the overlap. I also cut it so it would
only be ¼ inch wide. Fuse.
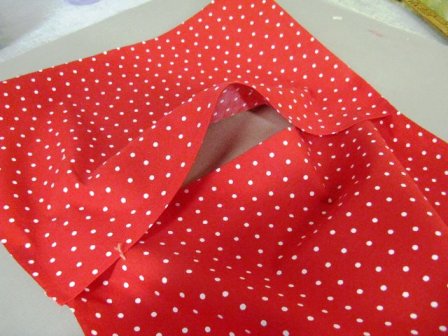
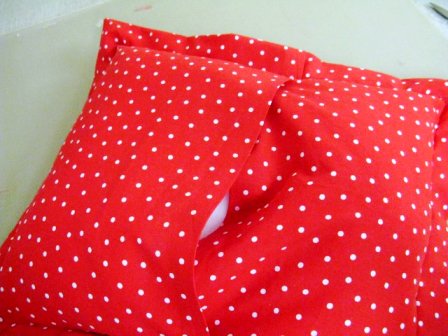
This is what the sham back looks like. It is the same size as the pillow top
with a hemmed overlap.
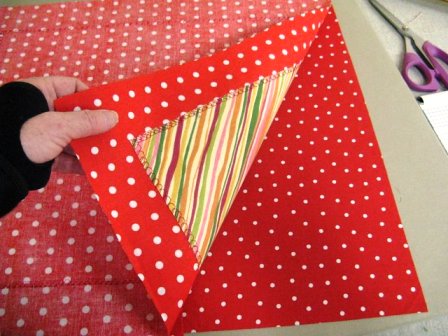
Place pillow top and backing right sides together.
Give it a little press.
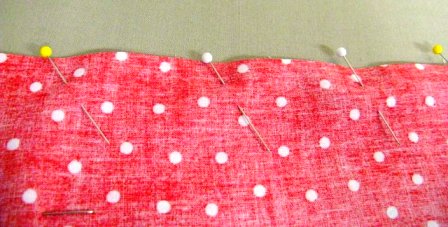
Pin, Pin, Pin.
Stitch around the whole pillow with a ¼ inch seam allowance.
Press the seam.
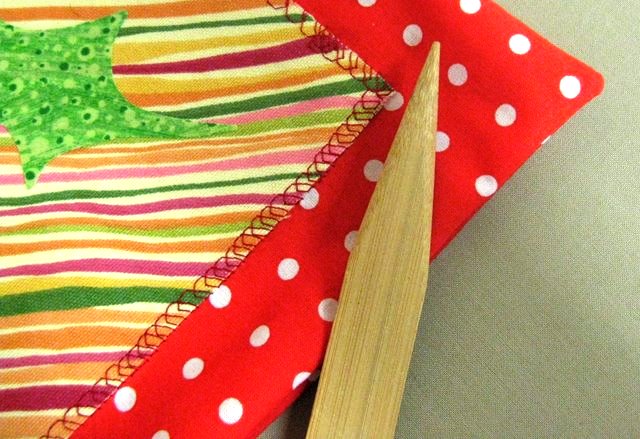
Turn right side out. I like to use this little wooden point to poke out the corners
and edges of the pillow.
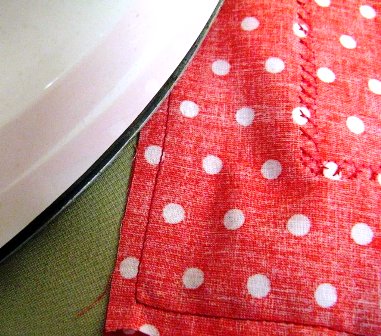
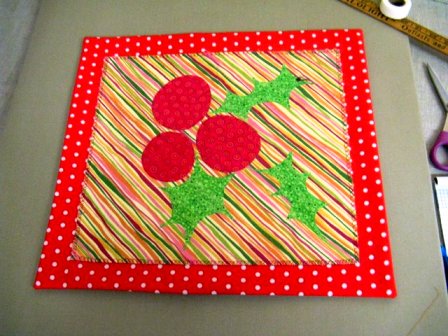
This is the pillow at this point. Give it a press.
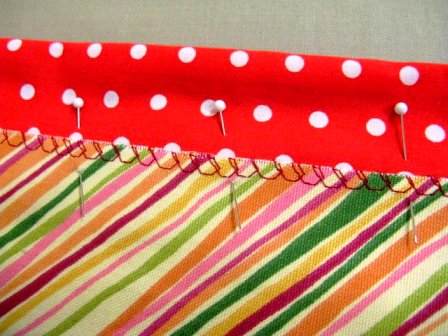
Pin along the edge of the design panel, pinning the back and front together.
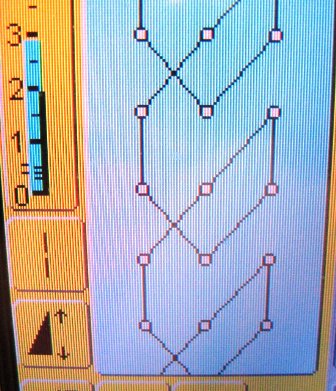
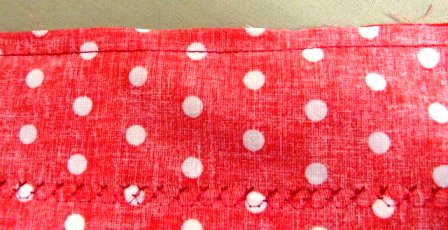
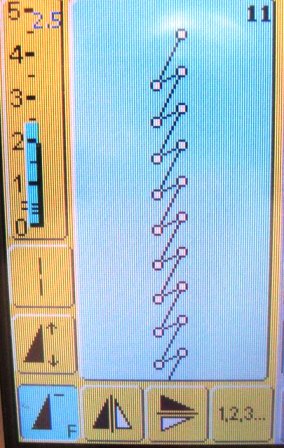
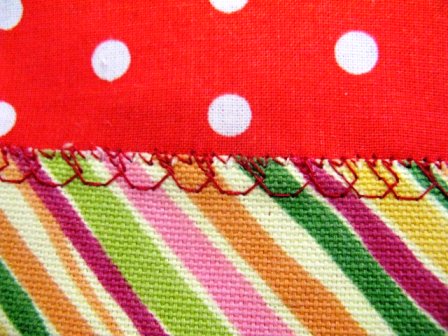
This is a picture of the stitch I chose to stitch the pillow front and back together at the border flange. It is called a lightning stitch. I think it is more fun than a regular zig zag or satin stitch. I used the same machine settings and set up as the first stitching.
Edge stitch the along the design panel. This stitch complements the first stitch.
It is also a sturdy stitch as it is the pillow edge.
Stuff the pillow or add a pillow insert into the back of the pillow.
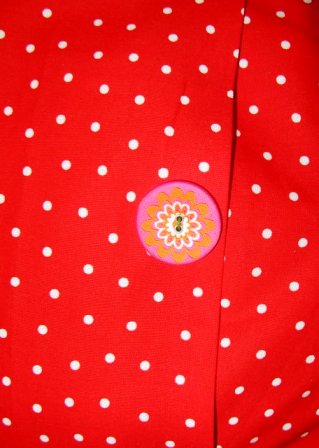
Add a button to the back if you like – and you’re done!
For more free Christmas patterns, click here.
And click here, for the best quilting/embroidery scissors.
 Terry White is a studio fiber artist. She has been doing this work since 1996, and she discovered the techniques she uses (threadpaint, machine appliqué, piece, quilt, embellish with beads, fibers and minutiae with sewing machine techniques) through experimentation and self-study. Terry teaches these techniques through classes and videos. Over the years Terry has been published in over 50 articles in magazines and books, including McCall’s Needlework, Quilter’s Newsletter, Machine Embroidery and Textile Arts, CMA trade magazine, Stitch n Sew Quilts, Quick n Easy Quilts, Quilt World magazine and Calendar, Quilting Arts Calendar 2003, America from the Heart, America’s Best and America Sews. She is a wife, stitcher, artist, sister, mother, friend, nana, gardener, baker, writer, student, teacher and American. See more of Terry’s work at www.threadpaint.com.

