By Beth Novak

Use colorful fabrics, and textured fabrics for your pillows. How about monochromatic pillows? Your only limit is your imagination!
*Editor’s Note: We are well into spring and summer is just around the corner. Getting an itch to freshen up your rooms or patio? Need to add a pop of color to a drab room? MAKE PILLOWS! You can create a multitude of pillows using various colors and fabrics, add texture and whimsy using your own unique embellishments. Pillows are an easy way to freshen up your rooms depending on the season or holiday. So while this article describes how to make a Halloween pillow, put your imagination to the test, the possibilities are endless!
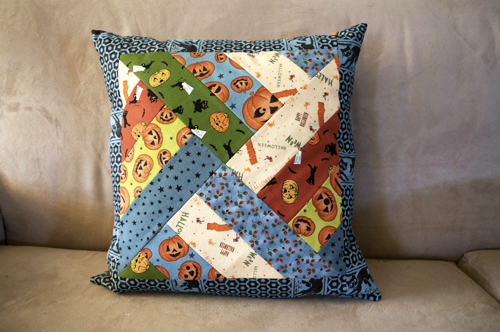
After the heat we’ve had in the Midwest this summer, the lower temperatures we’re currently enjoying have me thinking of apple cider and hayrides. And, naturally, that makes me want to break out the Halloween decorations!
Of course, you don’t need to dig into your stash of Halloween fabrics if you’re not quite ready. These basket weave pillows would look great in your favorite coordinating line of fabrics! Or, if it’s more your thing, as scrappy as you want to make them!
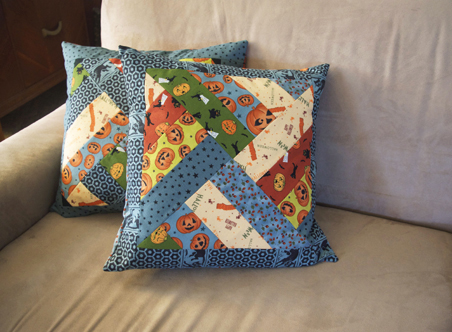
Basket Weave Pillows
Supplies:
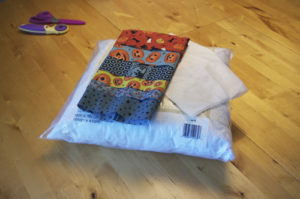
- At least five coordinating fat quarters (The more fat quarters you use, the scrappier your finished pillow. By using six fat quarters you can make two complete pillows!)
- Lightweight fusible interfacing
- Thread
- 16” x 16” pillow form
- Rotary cutter, fabric ruler, cutting mat, sewing machine, & iron
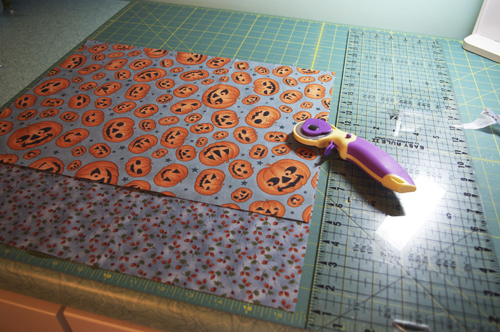
1. Select four of your fat quarters (we will use the fifth for your sashing) and cut two 2.5” x (app) 22” strips from each. If you have more than five fat quarters, cut a total of
eight strips.
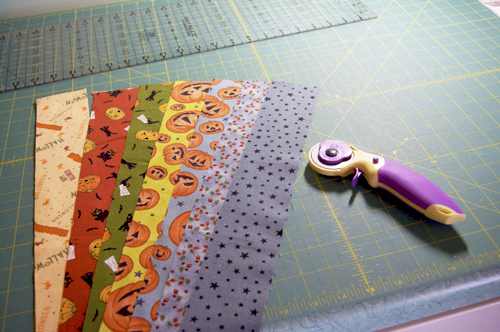
2. Take two strips and place right side together. Sew a 1/4” seam on the long edge.
3. Press your seams open or to the darker side, whichever your preference.
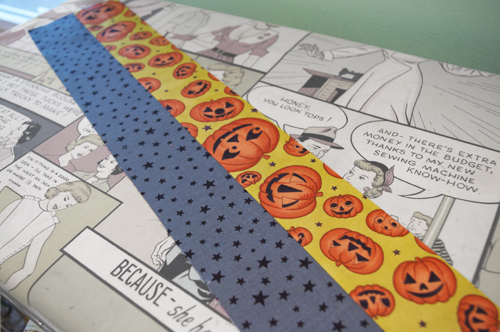
4. Repeat, adding a third and fourth strip.
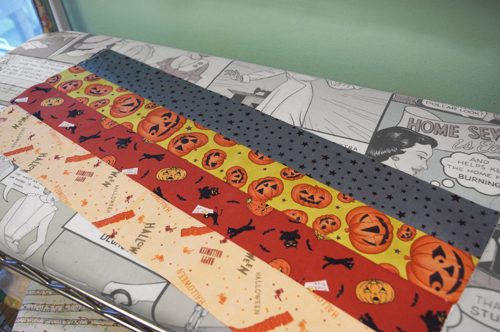
5. Repeat steps 2 through 4 to complete a second set of four strips.
6. Each set of four strips should be 8.25” wide by approximately 22” long. From each set, cut two squares 8.25” x 8.25” for a total of four squares. If your seam allowance is slightly off, your strips might not be quite 8.25”. It’s not the end of the world. Simply cut your squares down so they are square (8” x 8” or whatever gets you a square). You can make up the difference in the sashing.
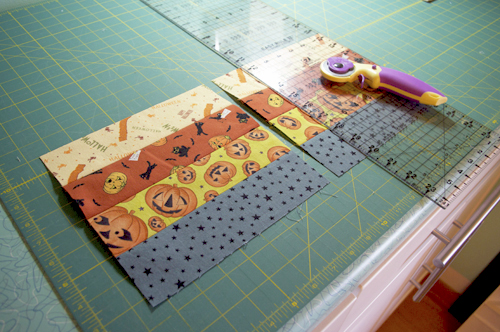
7. Arrange your four squares in a basket weave pattern, first row: one horizontal, one vertical; second row: one vertical, one horizontal.
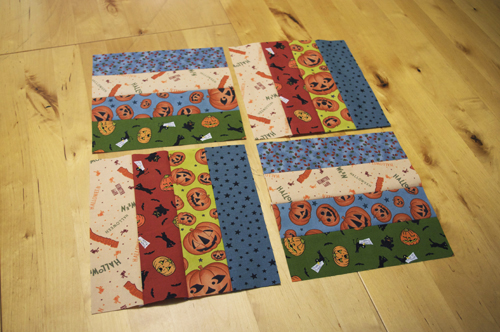
8. Starting with the first row of two squares, stack squares right sides together. Using 1/4″ seam, sew together squares. Repeat with the bottom row of two squares. Press.
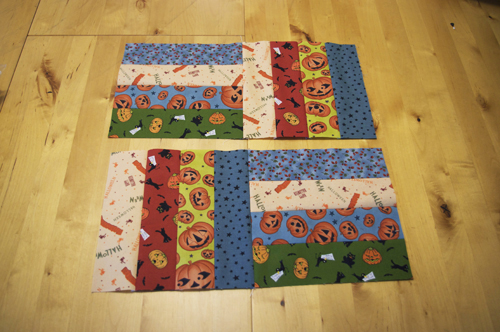
9. Rights sides together, place the top row on the bottom row. Pin well (or at least where they meet at the center seam). Sew together with a 1/4″ seam. Press.
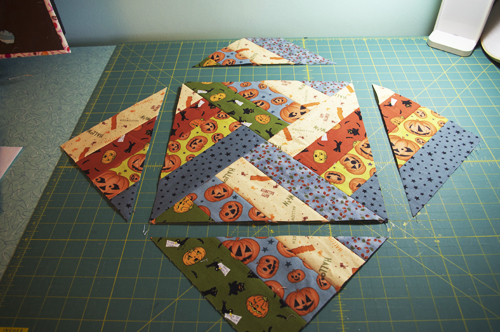
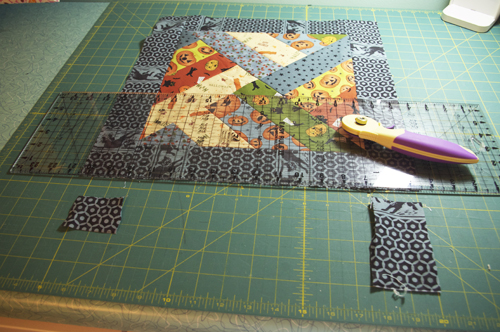
10. Place your basket weave square on your cutting mat, with each point along the vertical
or horizontal 12” line on your mat.
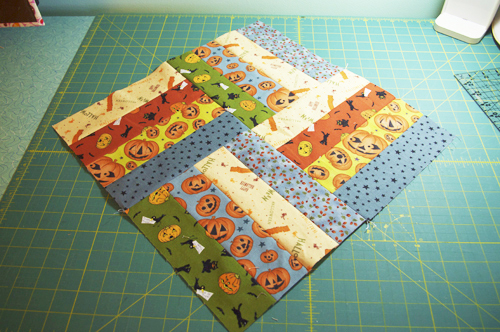
11. Cut your basket weave into a smaller 12” square along the vertical 6” and 18” lines and the horizontal 6” and 18” lines. Save your triangle scraps for another purpose and set aside your square.
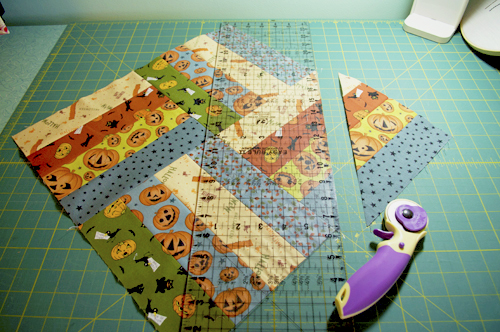
12. From your fifth (unused) fat quarter, cut four strips 2.5” x 22” (if your basket weave square is less than 12”, cut your strips 3” instead of 2.5”).
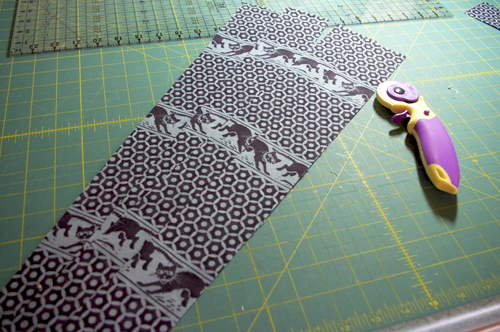
13. Place one strip along the top edge of your basket weave square right sides together. Sew together with a 1/4″ seam. Press and trim 2.5” strip to the length of the basket
weave square.
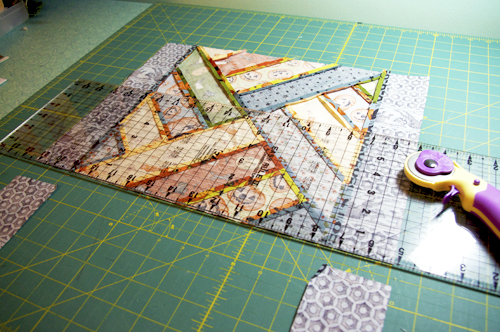
14. Repeat step 13 along the bottom of the basket weave, and then the left and the right. Now you have a basket weave block!
I like to change out my decorative pillow covers seasonally. Let’s reinforce the pillow’s seams and create an envelope back for easy in-and-out.
15. Cut your fusible interfacing to about 15” squares, and apply it to the center back of your pillow block. This will keep your seams stress free when you change your
pillow cover.
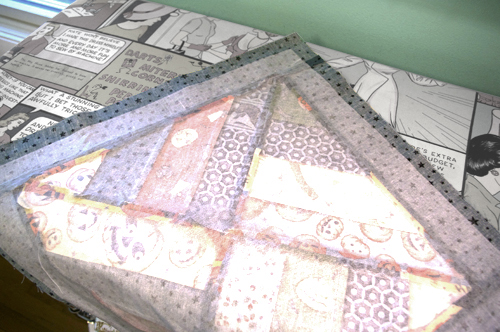
16. Choose two of your remaining fat quarter pieces. Each piece should now be about
13“ x 22”. Trim to 13” x 16”.
17. On each 13” x 16” piece, fold over one long edge about 3/8” and press, then fold over another 3/8” and press again.
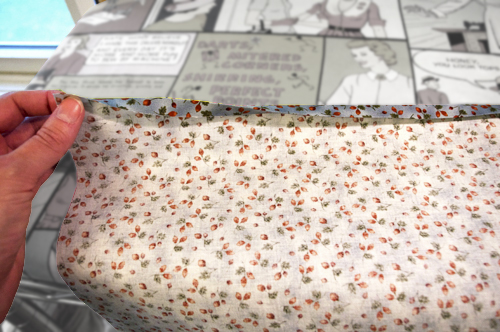
18. Sew a 1/4” seam along the folded edge to finish it. Repeat with second piece. These will form your envelope back.
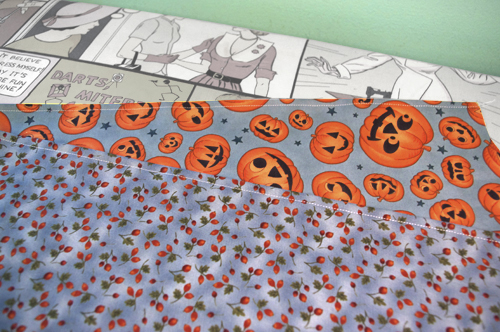
19. Lay your pillow block face up, then layer one envelope back piece on top, matching the unfinished sides and bottom. The finished edge should lie across the pillow block.
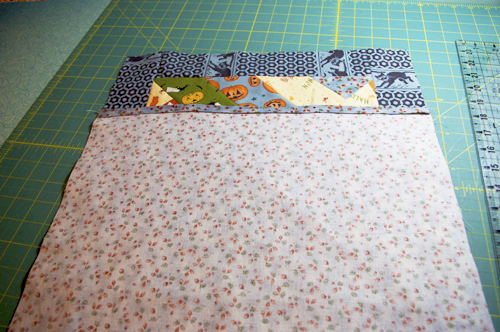
20. Repeat step 19 with your other envelope back piece, matching the unfinished sides and top. Again, the finished edge should lie across the pillow block. Pin in place.
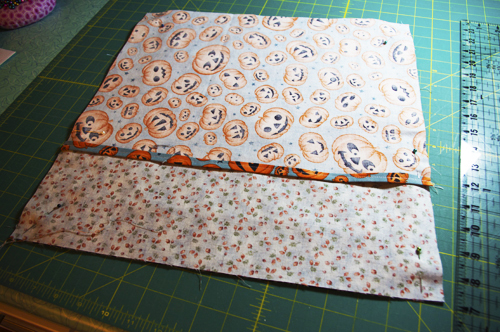
21. Sew a 1/4″ seam along all four edges of your pillow cover. I like to go over the seam again for strength.
22. Turn pillow cover right side out, poking corners out. Insert your pillow, and enjoy!

Beth Novak is a mother, wife, sewist, blogger, and comedienne (in her own mind) living in southeast Ohio. She also finds time to work full time as a professor of digital media. Contact her at modernJax@gmail.com, or find her on Flickr, Twitter, and Pinterest, too!


Pingback: Books Making Decorative Pillows
Pingback: 116 Homemade Pillows DIY | Rilane - We Aspire to Inspire