by Leslie Tucker Jenison
Leslie here..I love manipulating traditional block patterns into something different. This tutorial will show you how to “deconstruct” the 9-patch block and make it into something modern.
Keep in mind as you are doing this that any pieced blocks will work for this, such as larger blocks, just as long as the number is “squared” (9 x 9, 12 x 12… etc.)
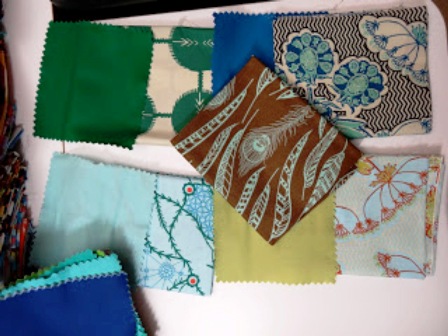
Select a set of fabrics to cut into blocks. This step-out will show a range of solids and prints. After creating this block I have to admit that I like tone-on-tone a bit better. This set of fabrics will show you how the pieces look, so I think it is a good “demo model”. Try to select your colors and patterns knowing that they are going to be mixed together a lot!
First, select your fabrics.
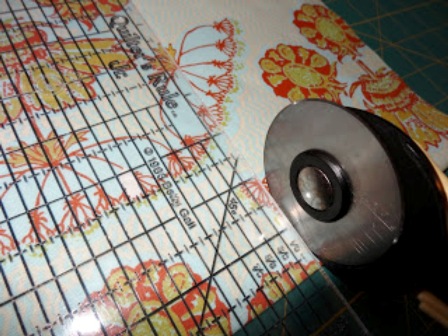
With your rotary cutter, cut squares of 9 different fabrics. These blocks are 5 x 5 inches square. Keep that in mind, because you will be cutting and re-piecing these blocks many times, the end-result will be much smaller than a traditionally pieced 9-patch!
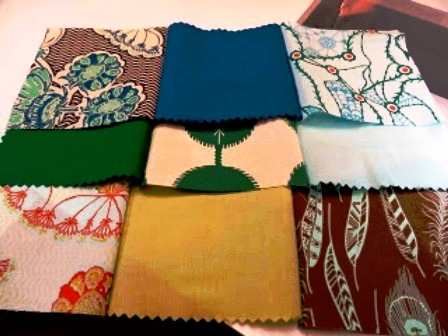
 Decide on how to position the fabrics.
To begin, it is good to have a nice balance of color and print scale.
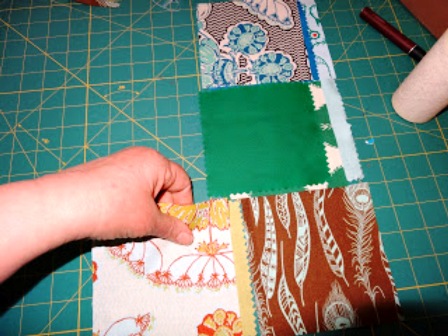
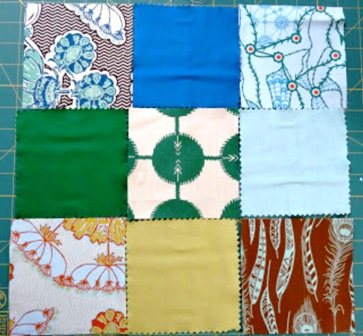 Once the blocks are cut and positioned, stack your “rows” of blocks in an orderly fashion to take to the sewing machine. My habit is to stack from the left to right, then top to bottom (for ease in transporting).
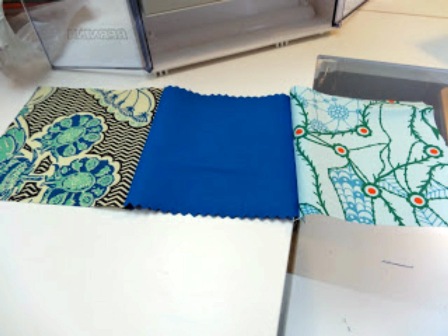
Use a ¼ inch seam allowance to stitch fabrics together.
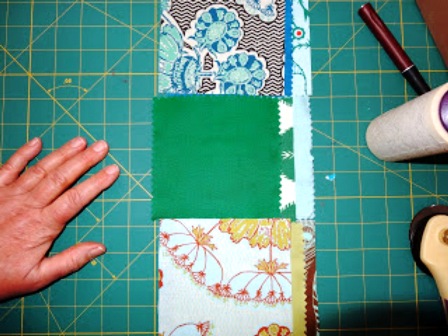 Set aside rows, top to bottom.
Take them to the ironing board and press. Press seams to one side in alternating directions for ease in piecing rows to each other.
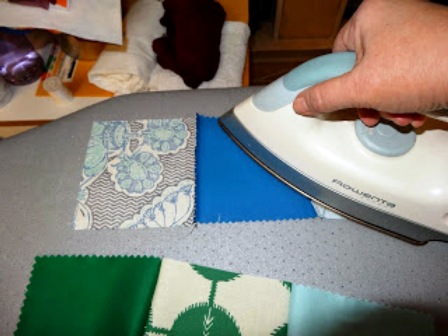 See how the top and bottom rows are pressed to the left and the center row to the right?
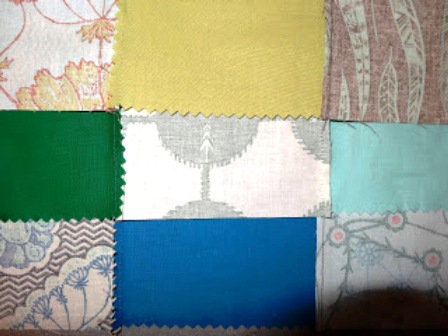 Stitch rows together and press.
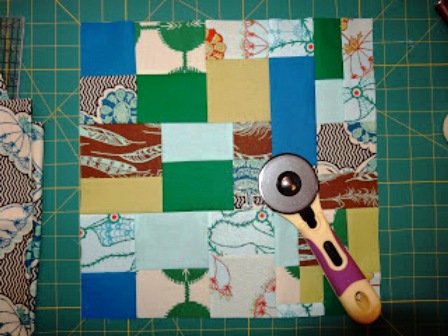
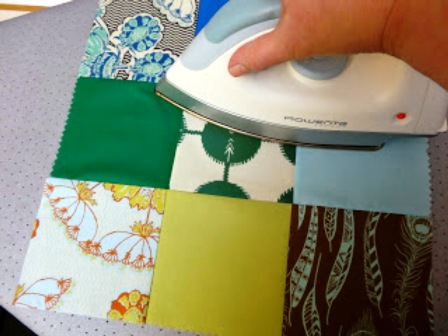 Position the pieced block on the cutting mat and choose a place to cut through the block using your rotary cutter.
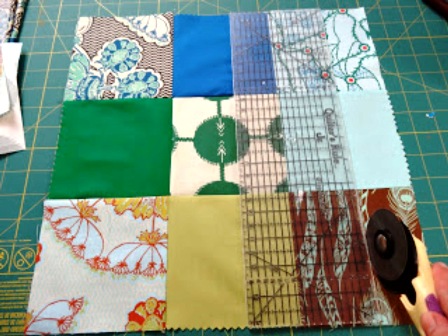
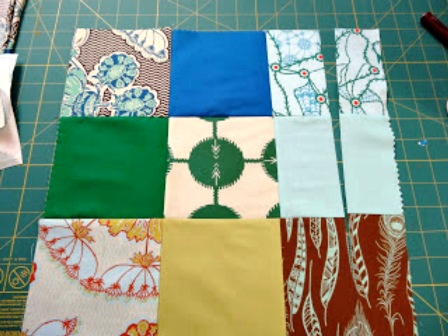 Take the cut strip, turn it upside down and move it to the other edge of the block.
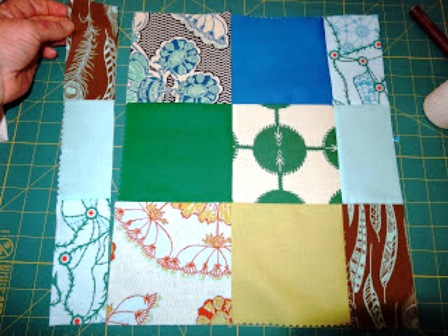 Stitch the newly cut strip in place.
Now, turn the block 90 degrees. Cut through a different area of the block. Turn one of the cut portions and piece it together.
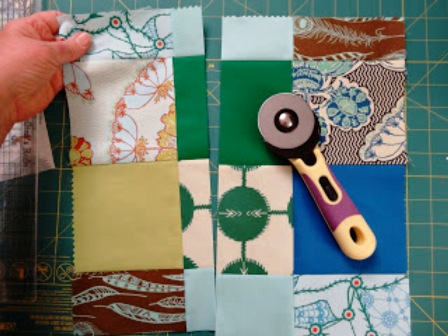 Continue this process until you have successfully deconstructed your 9-patch block. How many times you choose to cut and re-piece your block is a matter of personal choice.
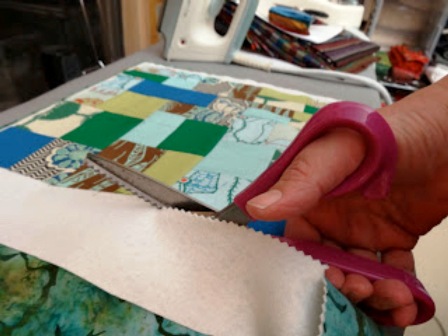
 Position the pieced block over batting and fabric back. I like to trim most of my excess batting/backing with Havel’s pinking shears to avoid bulk and raveling.
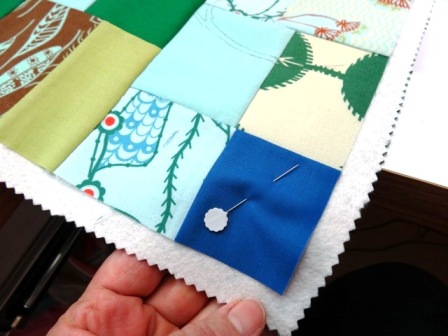
 Corners are pinned for stability during quilting.
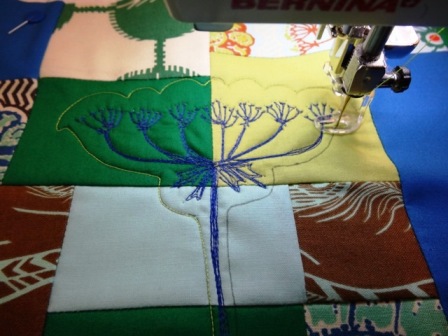
 Free motion quilting outlines an area of free motion embroidery.
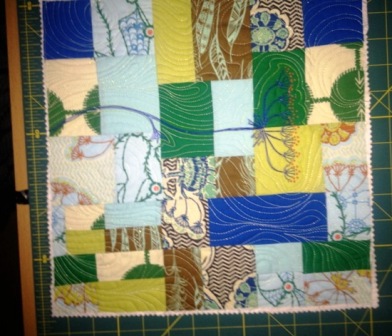
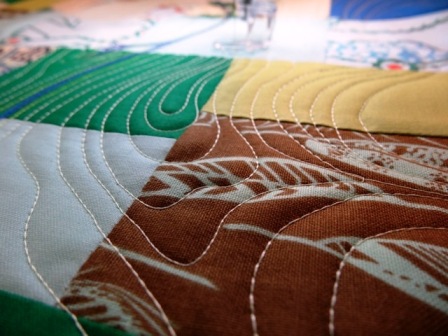 The quilting is done. Now, for the finishing, but that is another blog post…!
Thanks for stopping by and checking out my deconstructed nine-patch, all made easier by using all my awesome Havel’s Sewing tools!
For a printable download, just click here.
***
About Leslie Tucker Jenison
 Leslie has been a quilter for over 30 years, and has been dabbling in mixed media for about ten years, and more intensively in the last 3-5. She loves combining cloth and paper, and it seems that unconventional objects and materials frequently find their way into her work. Be sure to check out Leslie’s blog www.leslietuckerjenison.blogspot.com.
[hs_action id=”6875″]

