A Holiday House Free and Easy Quilt Project
by Jamie Fingal
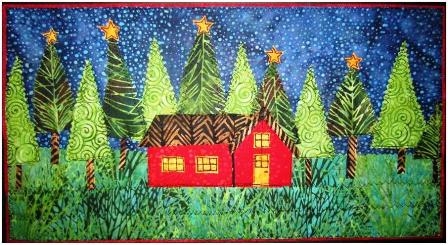
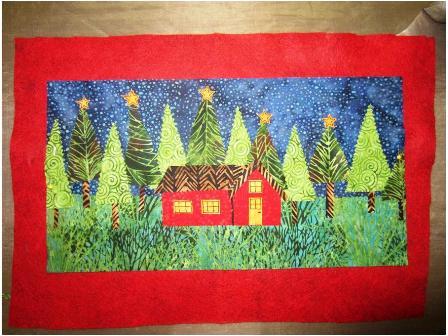
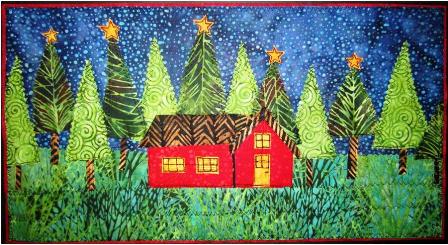
Here’s a fun and easy holiday quilt project that you make for your home or for a gift. It measures 8″ high by 15″ wide. It can be made with fused scraps or the fabrics of your own choosing. The entire piece is fused to a foundation of wool-blended felt in black, and backed with wool-blended felt in red and then free motion machine quilted and there is no binding. Rebel Quilting that is fast, fun and not perfect!
Supply List:
- 2 pieces of wool blended felt – one in black and one in red
- Mistyfuse or other fusible web
- Goddess Sheet or Parchment paper for fusing
- 2 greens for the trees
- 1 green for the landscaping
- 1 blue for the sky
- 1 yellow for the windows, doors and stars
- 1 red for the house
- 1 brown for the roof
- 1 fabric pen for the windows, door and stars
- Sewing machine
- Thread
- Pinking Shears
- Scissors for Fussing Cutting
- Sewing Scissors
- Rotary Cutter, ruler and mat
- Iron
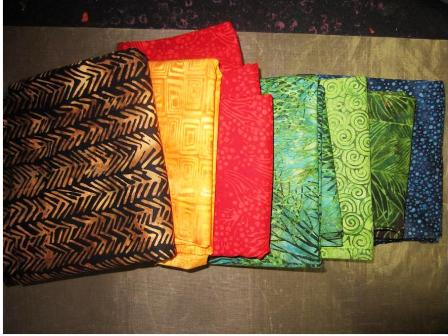
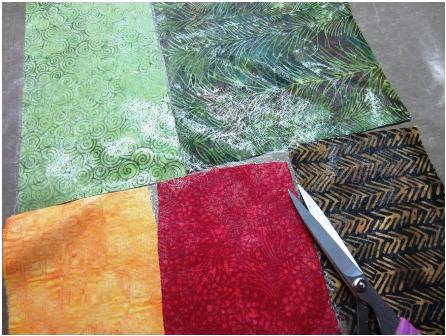
My palette of Batik fabrics that I used, are all the same value. I use all kinds of fabrics in my work, but Batiks remain my most favorite to work with, because they have such saturated color, beautiful designs, and are easy to fuse and sew through, with less fraying.
The greens, one for the landscape, with an obvious print direction that can work, because it resembles grass. The greens for the trees should be somewhat contrasting, so that you can clearly see the difference, in lining them up in your landscape. I think it’s important to really look at the colors, and see if they work together. You can look for fabrics with designs in them, that work for what you want. Like the roof fabric, it really looks like it could be a thatched roof. This part of trying out fabric is an important part of quilt design.
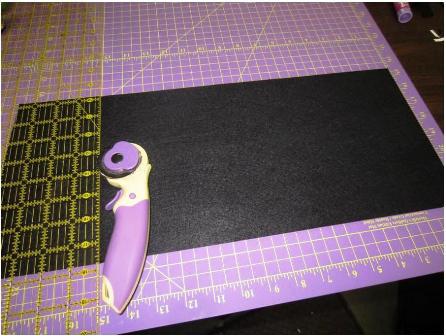
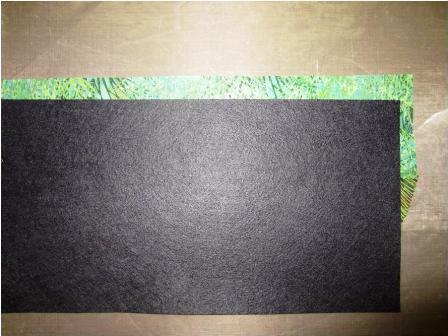
To begin, cut a piece of wool-blended felt in black – 8″ wide by 15″ wide, and set aside. I used Havel’s Comfort Rotary Cutter.
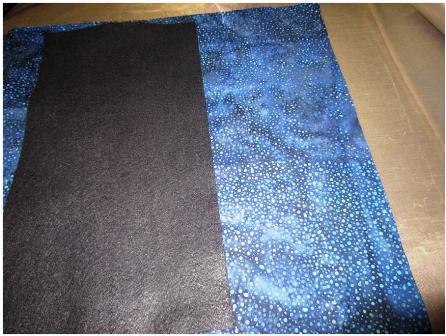
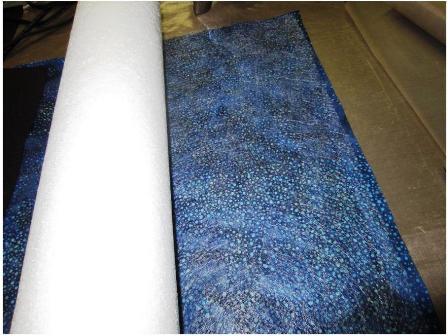
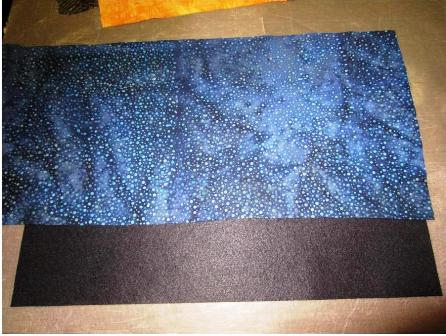
Fusing fabric with Mistyfuse. Lay out your blue sky fabric with the foundation felt to see how much you will need, allowing for more room than needed. Cut and trim.
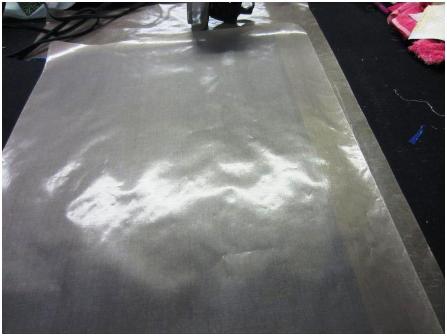
Lay the Mistyfuse on the back side of your fabric (this is a bolt, but you can use a package of Mistyfuse for this project). Cut it and make sure that it is laying flat, and that there are no strings under the web.
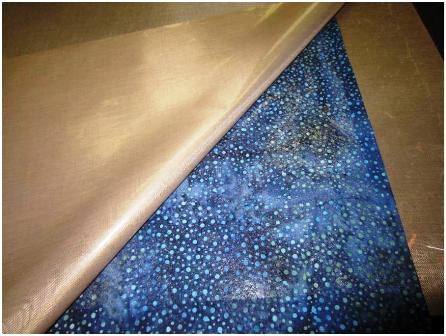
I have a Goddess Sheet under my fabric and I use another one when I fuse Mistyfuse onto fabric, to protect my iron. You can also use Parchment Paper. With a dry iron, in a circular motion, glide it over the protective sheet, making sure that the heat of the iron covers every part of the fabric, especially the edges.
You will be able to clearly see the Mistyfuse on the fabric, because it will be shiny, so there will be no mistaking it for the front of the fabric.
Follow the same method for the green landscape, that will be in the lower portion of the wall hanging. Cut more than you need.
Continue on with the coordinating fabrics. You can line them all up and then cover them with one sheet of Mistyfuse, cover with parchment or a Goddess Sheet and iron into place. Simply cut with your sewing scissors, in between each piece of fabric.
After fusing it is important to trim the edges that are not fused and any residual Mistyfuse that is over the edges, so it doesn’t get on your iron.
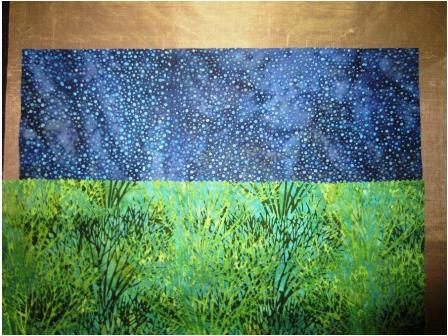
Lay the sky fabric over the top of the black felt foundation and it should cover 2/3 of the upper portion of the quilt. Iron into place.
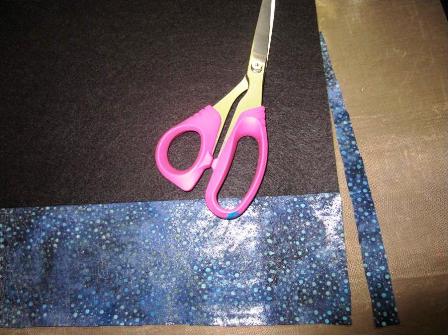
Flip it over and trim excess fabric from the back, so it is flush with the felt. My favorite scissors for cutting fabric are Havel’s 8″ Sewing/Quilting Scissors.
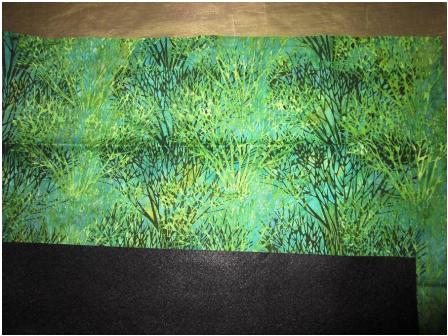
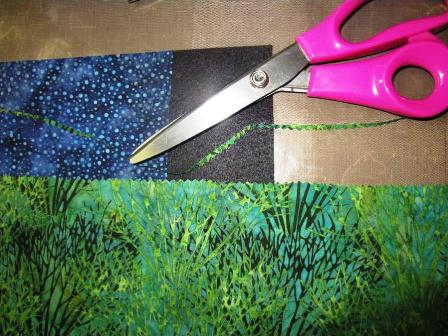
Next, is the landscape. I used a fabric with an obvious design, so I wanted to make sure it was going the right direction for this piece. Using Havel’s Pinking Shears, cut the edges of the horizontal side of the fabric, which will meet up with the sky.
Line up the landscape fabric, so that it overlaps the sky and the pinking cut should be on the top of the green fabric. Iron into place.
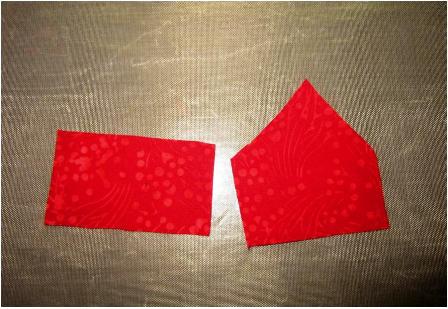
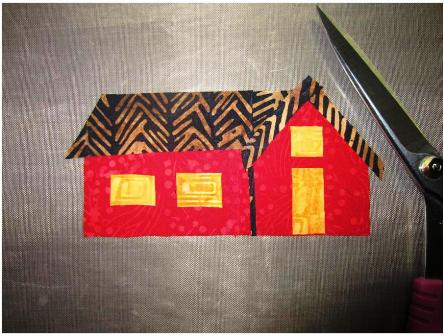
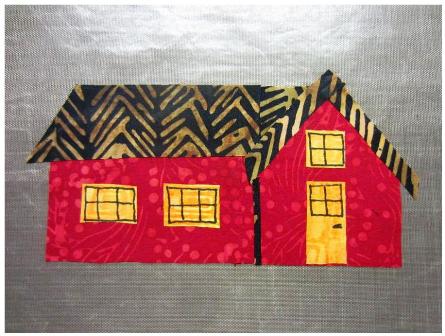
Now we are ready for the elements that bring the quilt to life! The house. There is a main section with the triangle roof and a side portion. The side portion is about 2” tall by 3” wide, and that will help in creating the main section, as far as scale goes. It doesn’t have to be perfect. I think that funky sometimes adds a lot of charm to a piece.
You can build your house on top of a Goddess Sheet or on parchment paper. Yellow fabric to make the windows and door, brown fabric for the roof. I added a small stick of the brown between the two houses.
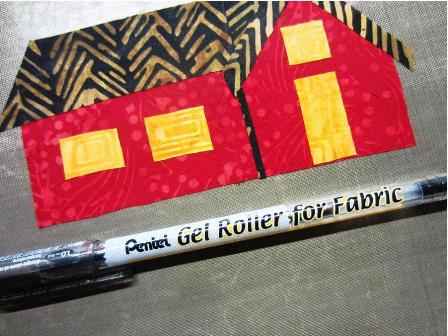
I used a Pentel Gel Roller for Fabric to draw the window frames, panes and door window and knob. It draws like butter on fabric.
Just draw your designs directly onto the fabric. Bring the iron over and press the entire house, sealing in the hand drawn portions.
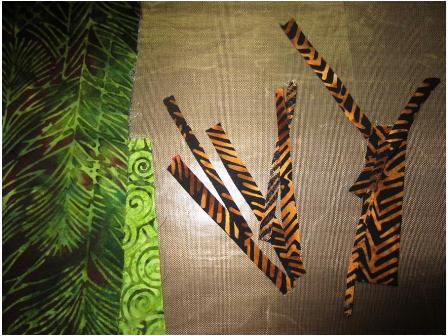
Landscaping! Using the brown from the roof fabric, cut small sticks that will be used for the trunks of the trees.
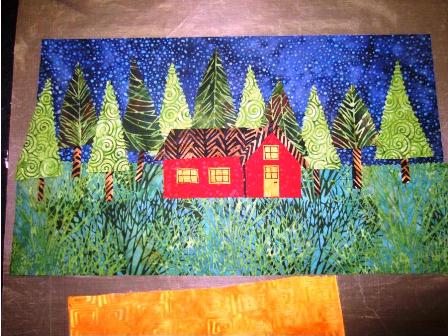
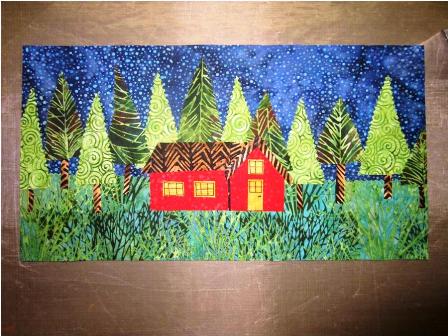
Cut the trees using Pinking Shears to create a zig zag look on the sides of the trees, which are basically long-ish (new word) triangles. With the house on the background, not fused yet, place the trees, alternating the two different colors. And make sure that you have one on each side that goes off the edge, to create more depth in your scene. You can move things around to get the look that you want.
How is it shaping up? Are you liking the way the trees are displayed? Alternating the colors. Iron into place, making sure that the iron presses all of the pieces to the foundation.
Trim the excess green from the back.
Now we’re cooking! It needs something to bring it all together!
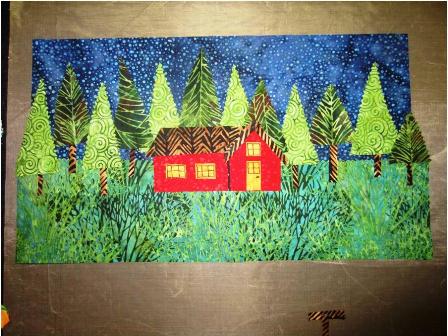
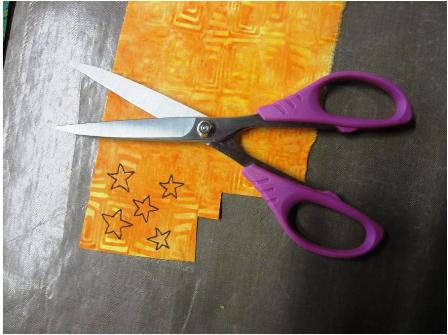
What would holiday quilt project be without stars? Using sewing scissors that are excellent for fussy cutting, I would recommend the Havel’s 7’ Serrated Scissors, because they hug the fabric, especially when cutting small objects. Draw the stars, using the Pentel pen and cut out, by first separating all of the stars, and carefully cut, not right on the black, but beyond it, just a tad.
Place the stars on the darker green trees, so there is more of a contrast. Iron into place. It’s looking great!
Now for the backing, which will set the entire holiday scene off! Using the same kind of felt as the foundation, only in red. Cut a piece that is larger than the quilt. Pin it into place – one pin at each end. You will remove these when you need to sew those sections.
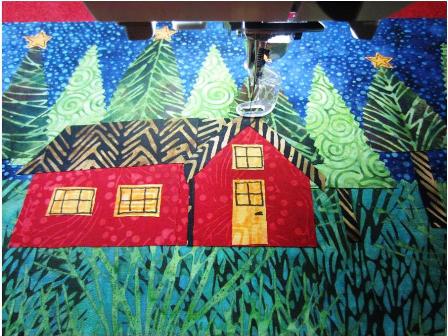
Free motion machine quilting. Using a free motion foot on your machine, and the thread color of your choice. I only use black thread, because it reminds me of a line drawing. Begin in the middle, by just outlining the house. Note: This is very simple quilting, not dense, but just to give you a hang of free motion quilting. You may decide to do more, and perhaps some thread painting – they skies the limit!
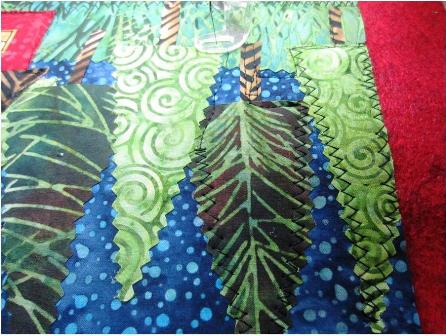
With the needle, travel onto the trees. I alternated between the straight stitch and the zig zag stitch. Zig zag for the sides of the trees, so it follows the design from the Pinking Sheers. If you try to keep it going in one continuous line of free motion machine quilting, switching back and forth, to do the tree trunks along the way.
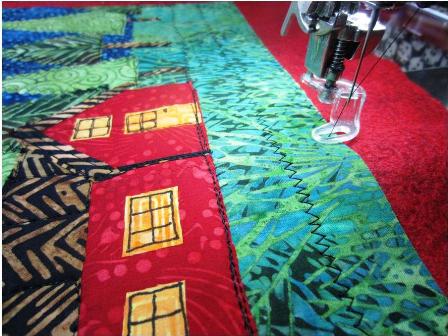
Before you begin the stitching of the edges, press the entire piece with your iron to make it flat. Using the zig zag stitch, along the horizontal line of the bottom of the house, from side to side, then in the middle of the landscape, between the lower portion of the house and the edge. Then with the zig zag stitch, sew all around the edges, all of the way around.
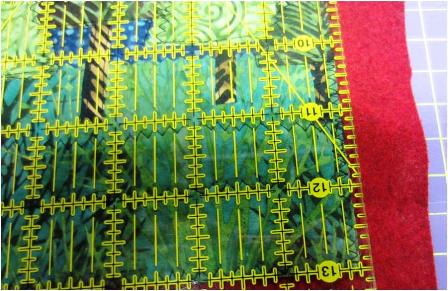
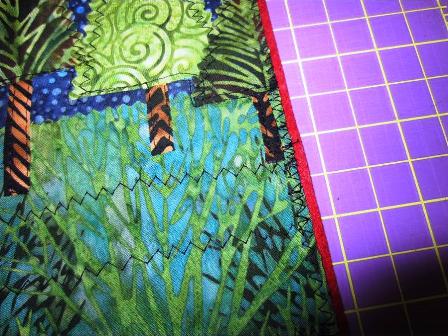
Trimming the background. So, you want the edge of the red to show through to the front. On my ruler, using the longest yellow line on the sides, probably about 1/8” of an inch, tiny, but subtle. Trim the piece on all sides.
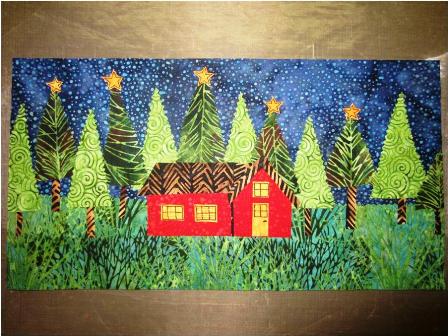
This is how you want it too look.
And here we have our Holiday House! Please remember to make a label with your name, city, state, blog address, the title, when you made it, so your story will be recorded. I always add the phrase “do not wash’ on all of my quilts, because they are made for the wall.
I hope you enjoyed the journey of making this quilted piece of art!
For finishing, you could sew pop tops on the back to make it easy to hang on the wall. Or you could sew loops on the top to hang it from a rod or tree branch. Happy Holidays to you!
Jamie Fingal
Orange, California
JamieFingalDesigns.blogspot.com
Click here for more Christmas ideas.
Click here to see the best scissors & shears for sewing!

