By Beth Novak
We now live in an age of e-readers, whether it be a Kindle, a Nook, an iPad, or some other device, but I still find nothing more relaxing than an old-fashion page turner at the beach! As you’re reading this I’m soaking up the sun on my favorite island in North Carolina (okay, really I’m hiding under an umbrella, but you get the idea). I have a stack of library books to work through – and the only thing I have to worry about is losing my bookmark to the stiff ocean breeze.
Even if you’re not outside, it’s handy to have a bookmark that stays put. Little fingers love to pull my bookmarks out of my books, and as long as I make one of these for my son as well, I get to keep my page marked.
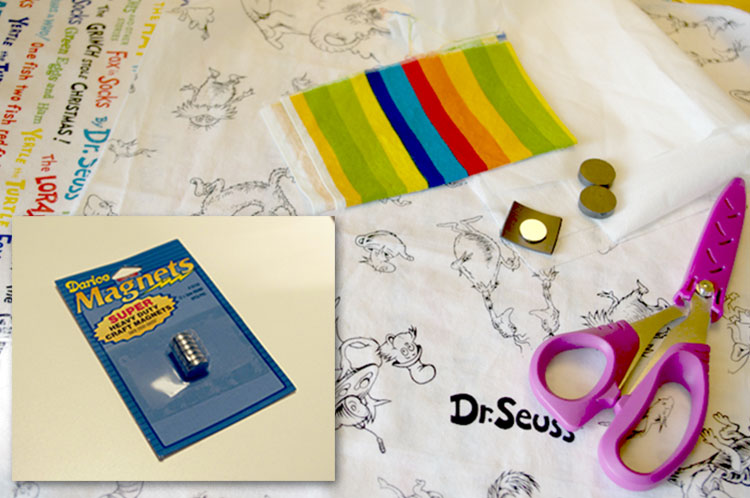
Magnetic Bookmark Supplies:
- Your favorite book-related fabric
- Lightweight fusible interfacing
- Two craft magnets*
- Thread
- Rotary cutter, fabric ruler, cutting mat, sewing machine, & iron
*A note about the magnets: They need to be strong enough to hold through two layers of fabric and two layers of interfacing, as well as your book’s page. The black ones you see in the photo below ended up being too thick, and two pieces of adhesive magnet strip were too weak. I ended up using smaller “super strong” magnets (inset) I found at the local craft shop. They were perfect.
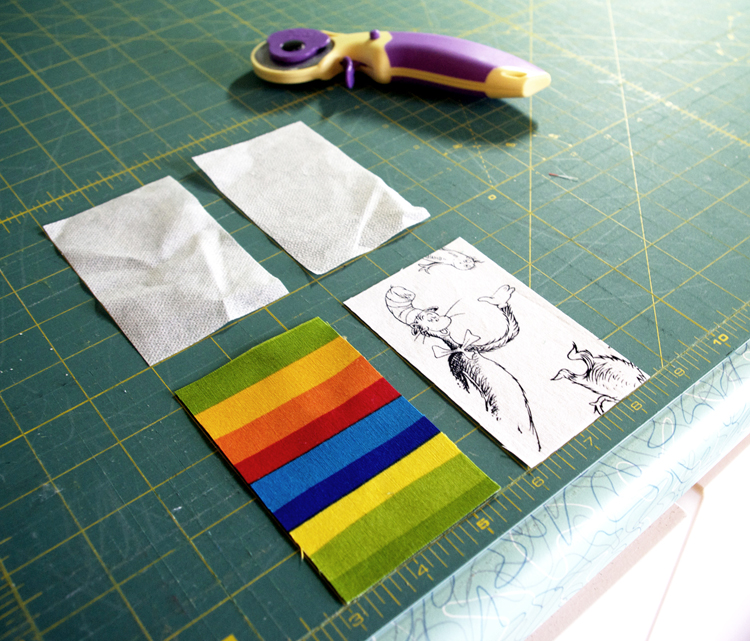
- Cut two pieces of fabric 4.25” x 2.5”. Repeat with interfacing.
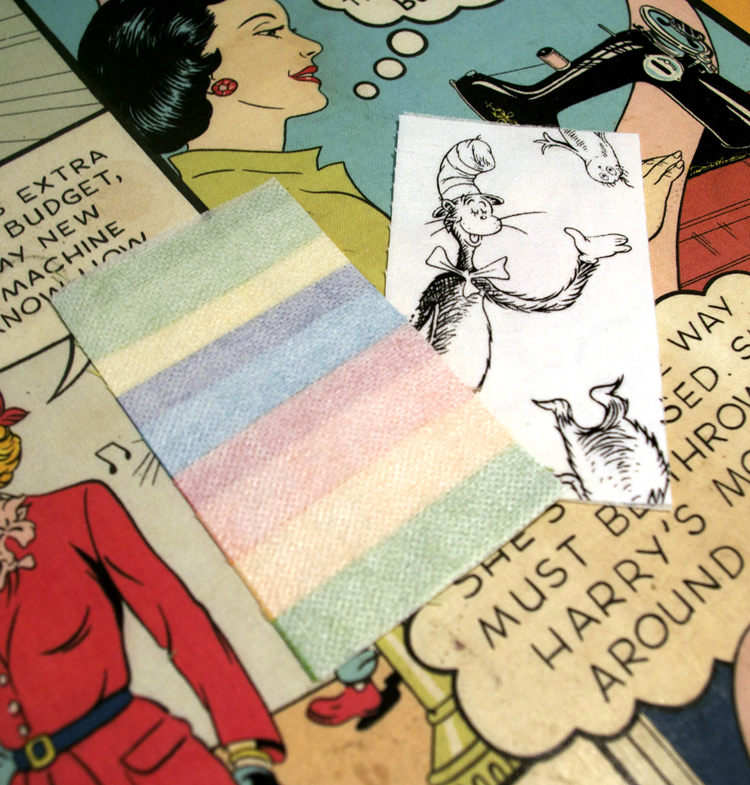
- Iron the interfacing to the wrong sides of the fabric. If you haven’t used fusible interfacing before, the most important thing to remember is that the shiny side of the interfacing has the glue on it. Simply line it up with your fabric and iron. If the shiny side is up, you will get a mess stuck to your iron!
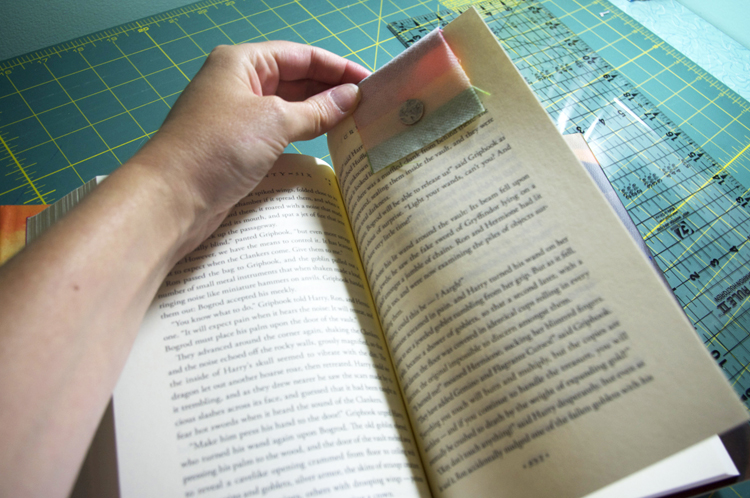
- Now is a good time to check the strength of your magnets. Take one of your fabric/interfacing pieces and fold it over a page of a book. Put a magnet on either side. If they hold you’re set. If they slide off, you’ll need stronger magnets.
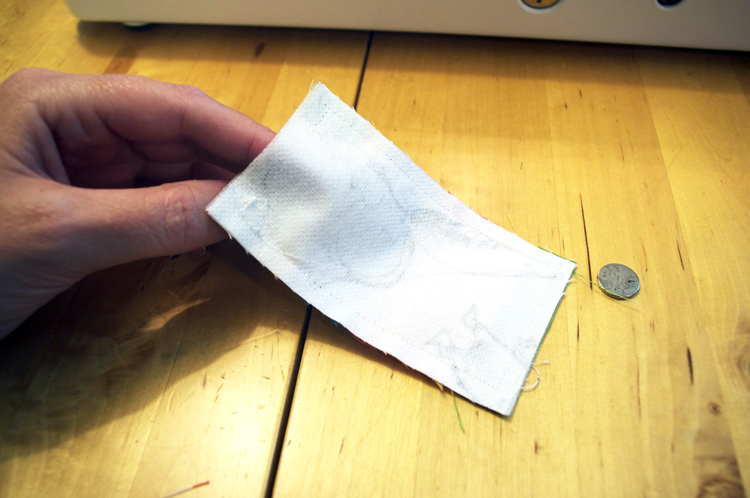
- Place fabric right sides together (you should see your interfacing) and sew 1/4” seam around the edges, leaving a turning hole. Backstitch or lock stitch at your starting and stopping points.
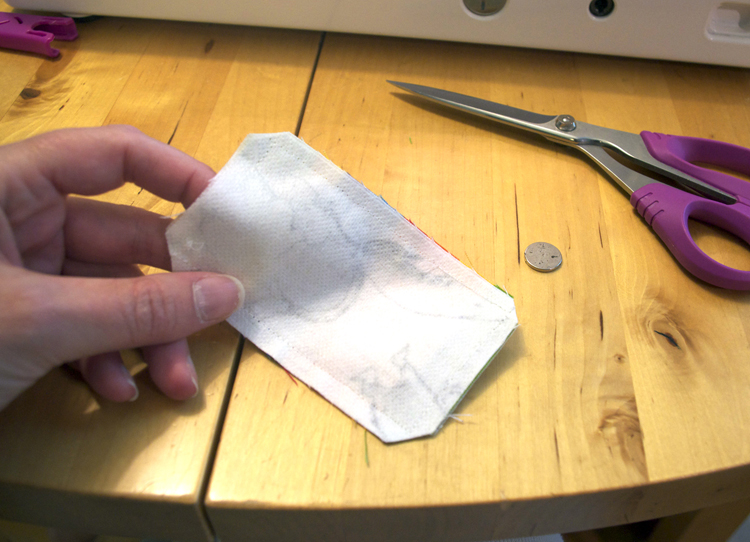
- Clip the corners, being careful not to cut into the thread.
- Turn your bookmark right side out. Gently poke out the corners either with scissors (this can be dangerous so be careful not to poke through your seams!), or a laying tool.
- Now it’s time to add those magnets. You want to create “pockets” to keep the magnets in place, and you want to make sure that the polarity of each magnet is correct so they attract each other rather than repulse.
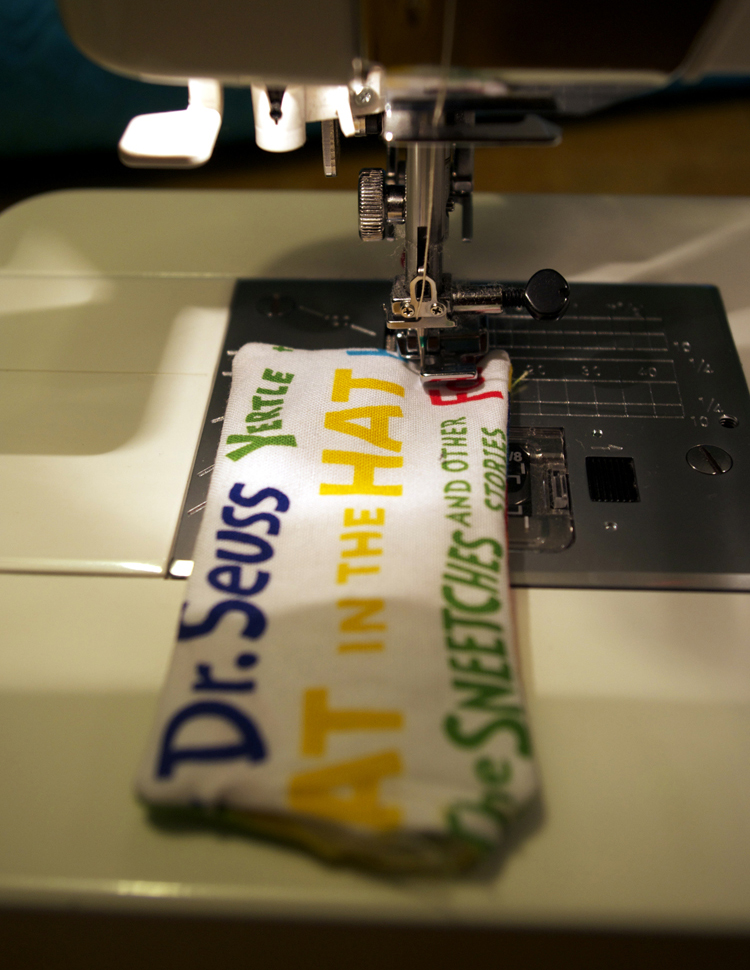
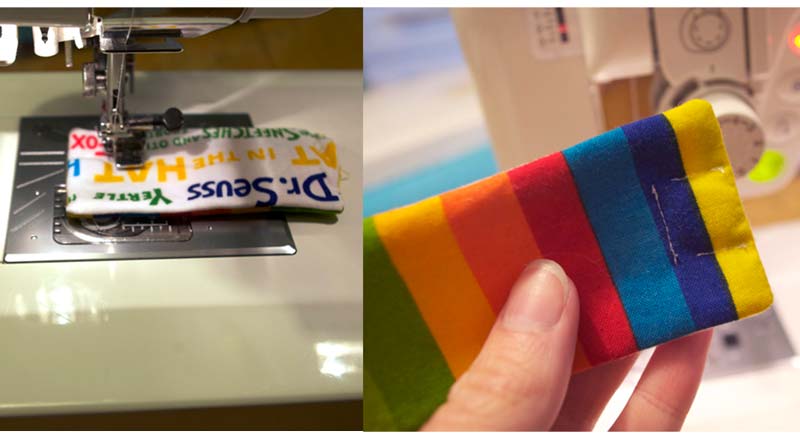
Start by sliding one of your magnets through the hole in your bookmark to the bottom. With a zipper foot on your machine, hold the magnet in place with your finger and sew a square around it so it stays in place.
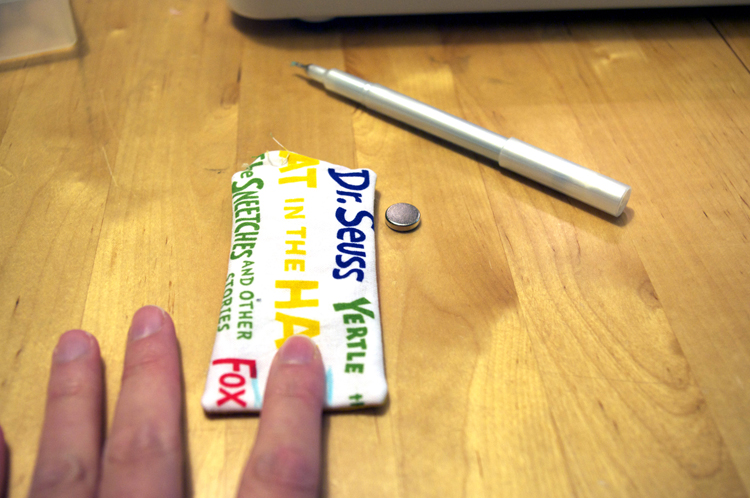
If, like me, your sewing machine is made of metal, this might be difficult. That magnet is strong! What I did instead, while holding the magnet in place, draw (with a water soluble pen or chalk) on either edge of the magnet.
Slide the magnet back out and sew on either line. Slide the magnet back in and then sew a seam across the “top,” locking the magnet in place.
Repeat with the other magnet at the other end, making sure you leave enough room to close the seam, and when the bookmark is folded in half, the magnets attract each other.
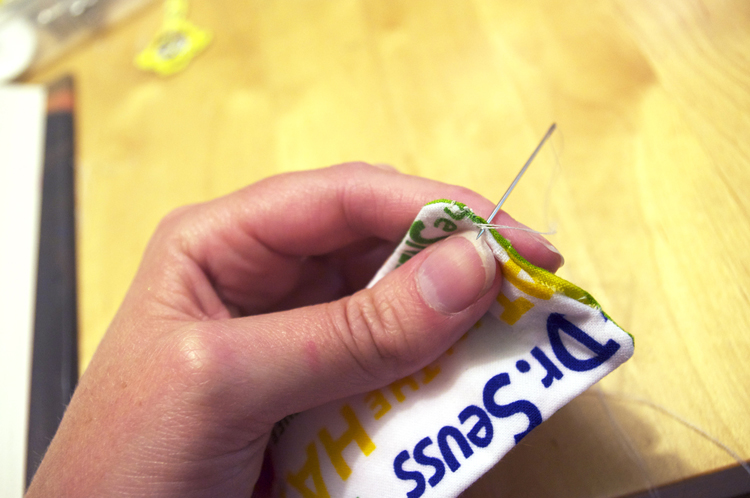
- Sew the hole closed, either by edge stitching around all four sides of the bookmark, or by whip stitching with a needle and thread.
Relax and enjoy!
Beth Novak is a mother, wife, sewist, blogger, and comedienne (in her own mind) living in southeast Ohio. She also finds time to work full time as a professor of digital media. Contact her at modernJax@gmail.com, or find her on Flickr, Twitter, and Pinterest, too!

