Fly Your Own Flag this Spring
By Jamie Fingal
I am excited to tell all of you that I am a new fabric designer and my very first line is titled Home is Where Your Story Begins ,by Hoffman California Fabrics. So naturally, when Jackie Marsal, the account executive for Havel’s Sewing, asked me to design a “Spring Fling” themed project incorporating my new fabric line (just for fun!) I was obviously more than willing to get to work making these fabric flags for you all to create!
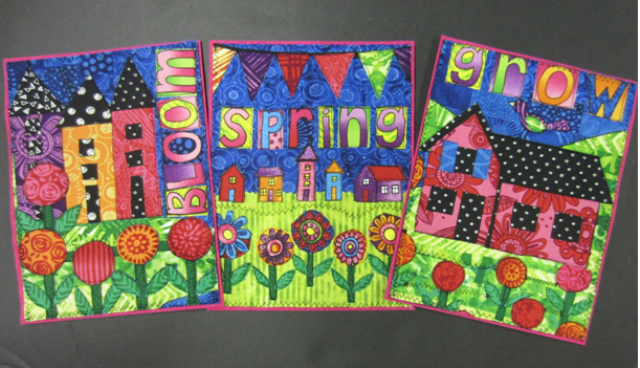
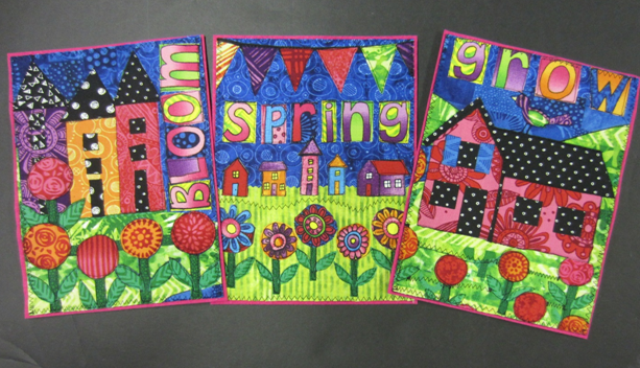
Bloom, Spring and Grow! Vibrant & fun these fabric flags are certain to cheer up anyone that is stuck experiencing cold weather!
These festive and fun flags are not only great for a variety of fabric artists, but they are also easy enough to make just in time for the upcoming Spring season.
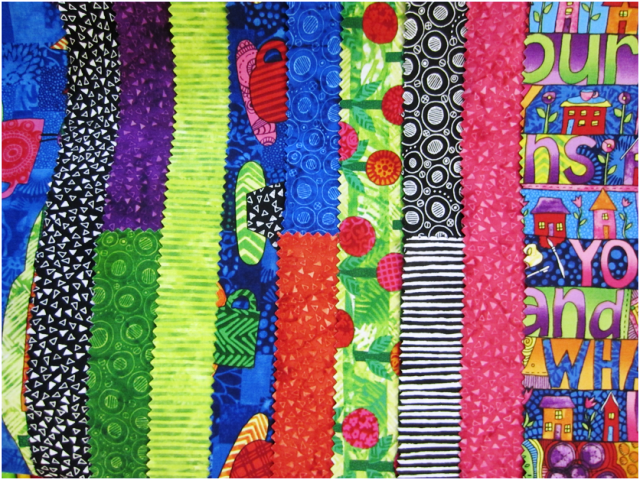
To give everyone an idea of what Jamie’s new fabric line consists of, here is a visual of the sample card.
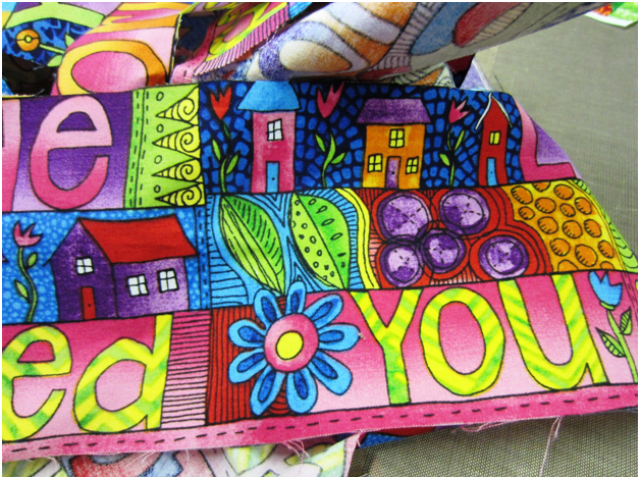
The fabric pictured below is hands down one of my favorites. It is covered completely with words, and based on my watercolors. The best part is that you can use the words available or you can easily cut out individual letters in order to create your own words, which is what we will be doing for this project. It only comes in this colorway – bright and fun!
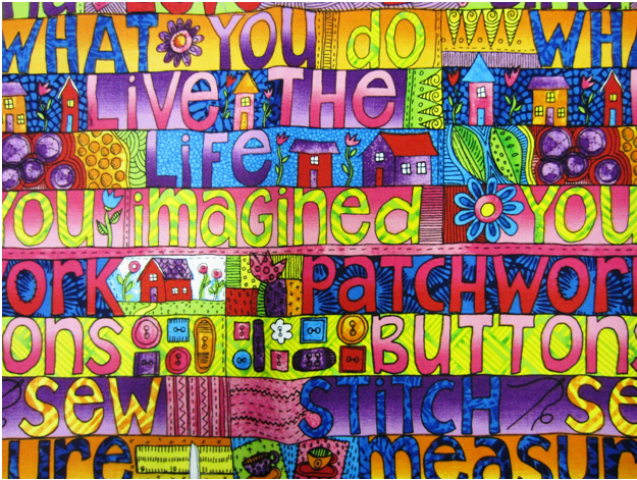
One of Jamie’s favorite from her new fabric line- It is covered completely with words, and based on her watercolors.
This project will break down how to create three fabric flags inspired by the Spring season. (Each flag will measure 6×8 inches, vertical format.)
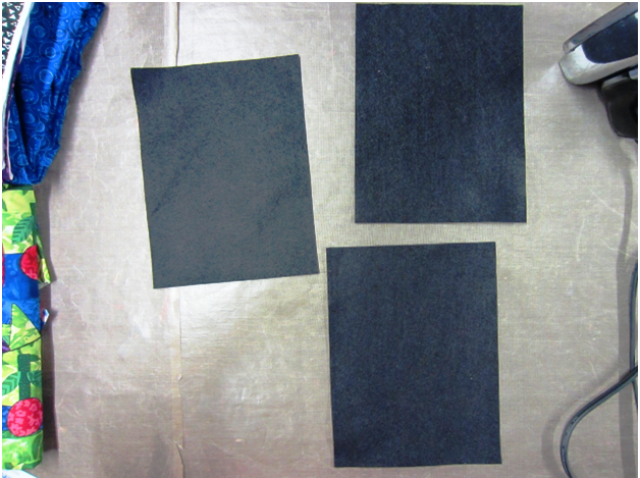
We are going to start this project off with 3 pieces of black wool blended felt -cut 6” x 8”- as the foundation. This is made by National Nonwovens TOY 002.
I also fused all of my fabrics with Mistyfuse to prepare for this project.
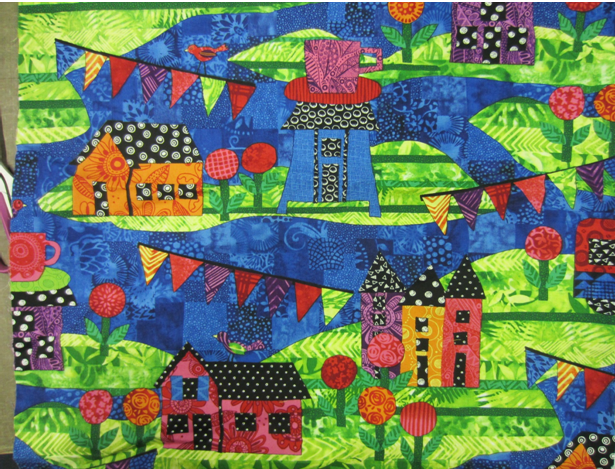
The next fabric that we need is the house patterned fabric. This is a a colorful fabric which can be used in a variety of ways.
This particular fabric- covered in different styles of houses of various shapes, colors, sizes- is the perfect focus point for two of the flags we will create.
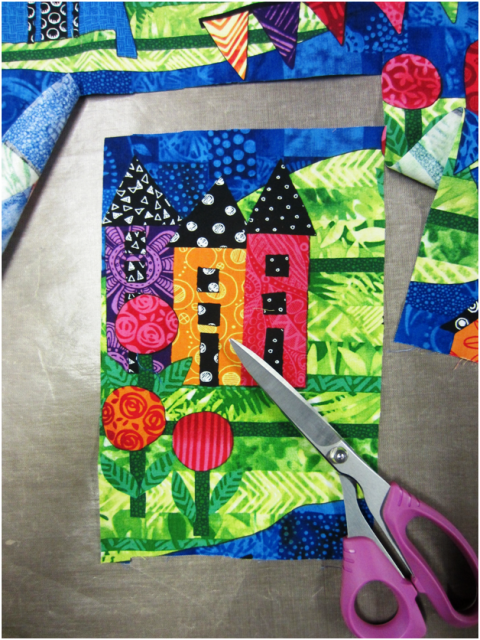
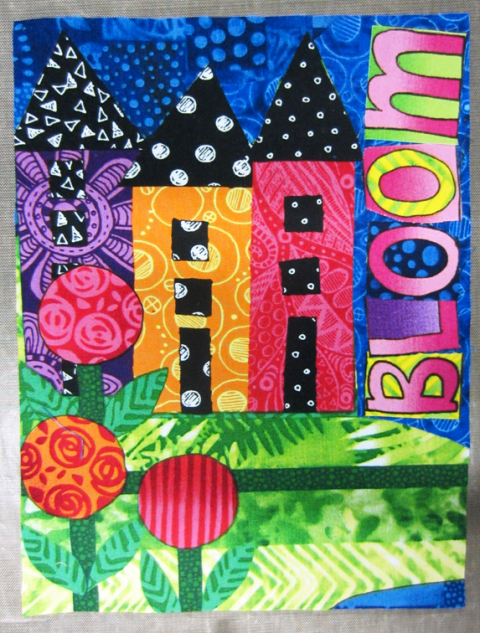
Next, simply cut out a house out from the fabric, which is near the size of the flag, or slightly larger.
Fuse this to the felt.
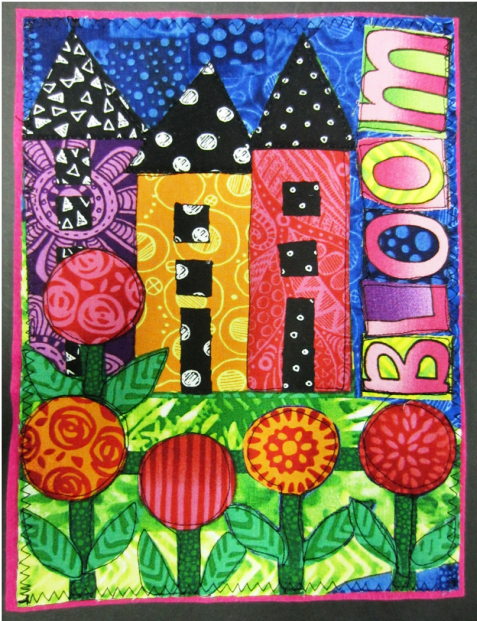
If you turn it over, you can cut the excess from the back, which will make it easier to get it straight. Find the letters B-L-O-O-M and set them aside.
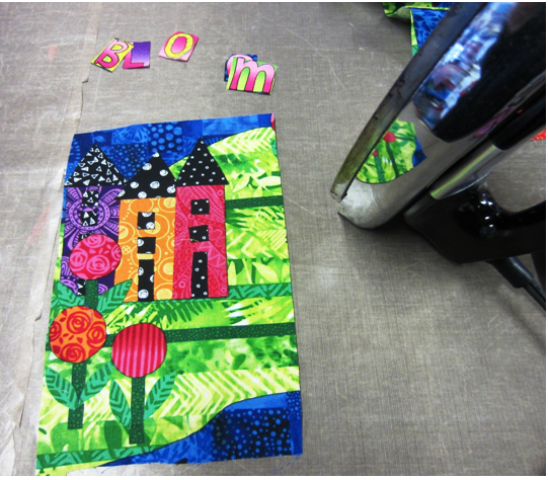
Place the letters on the side and iron into place.
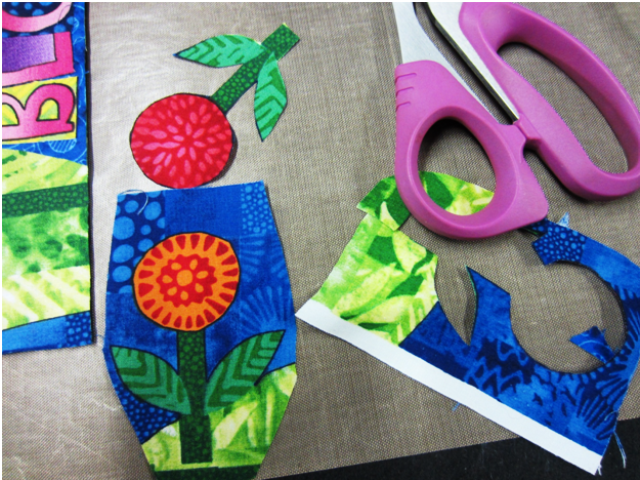
Using your favorite fussy cut scissors, cut out some flowers from the house fabric.
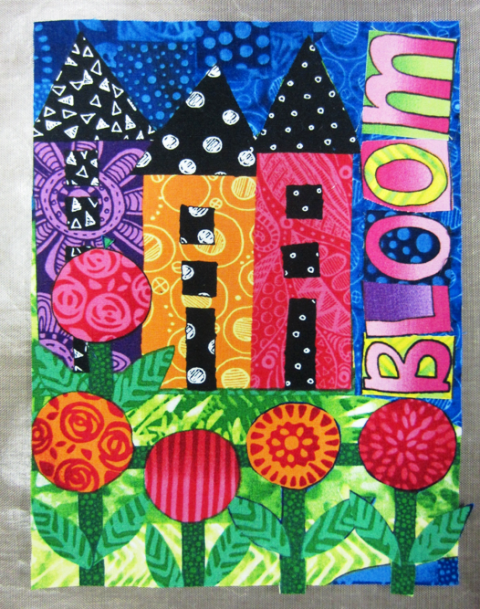
Place the flowers on the lower portion of the flag and iron into place. Trim any areas that overlap from the back. Set aside.
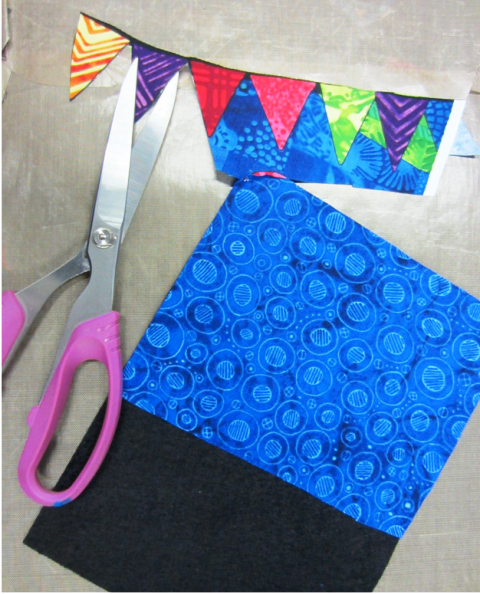
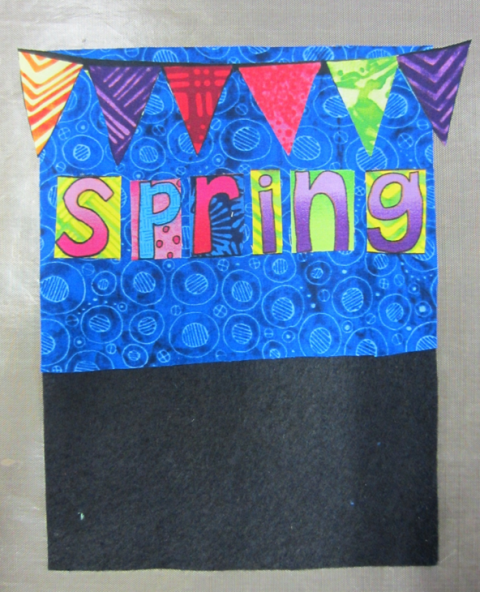
For the second flag, using the blue circle fabric, cover one of the felt foundations, to cover about 2/3 of the felt from the top down.This will be used to create a sky effect.
Turn the flag over and cut from the back.
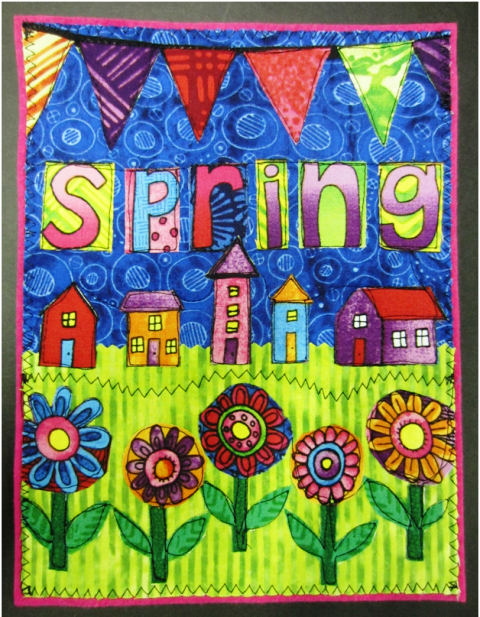
It would be fun to use some of the bunting flags in this one. So, from the landscape fabric, find a row that would work for your flag.
Fussy cut out.
Place the flags in the upper portion.
Find the letters for the word SPRING, and place them just below the bunting flags.
Iron into place, and cut the extras from the back.
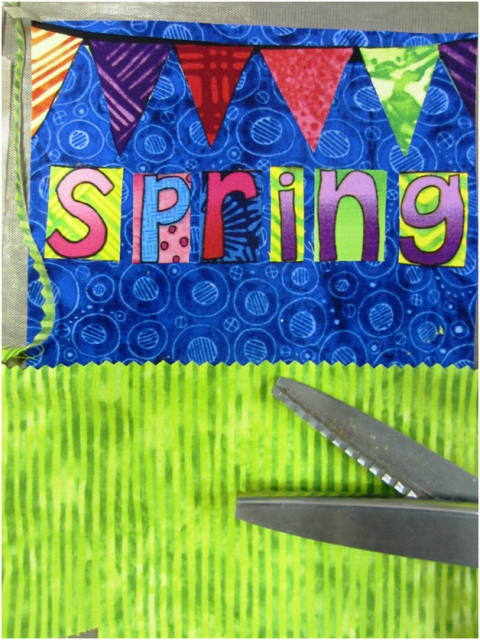
Using lime green striped fabric, cut the top with pinking shears.
It makes a great little detail, and it’s fun!
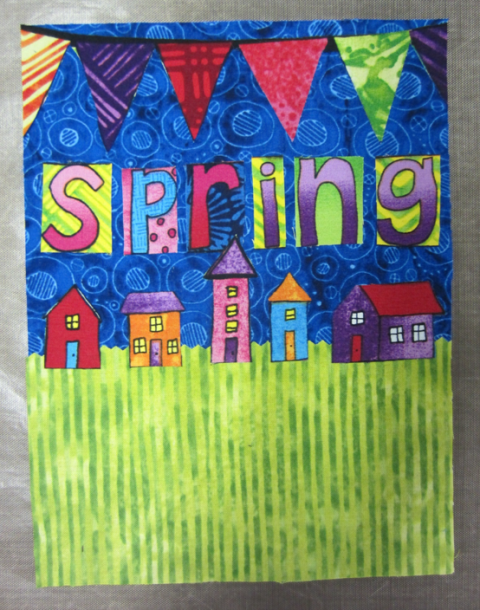
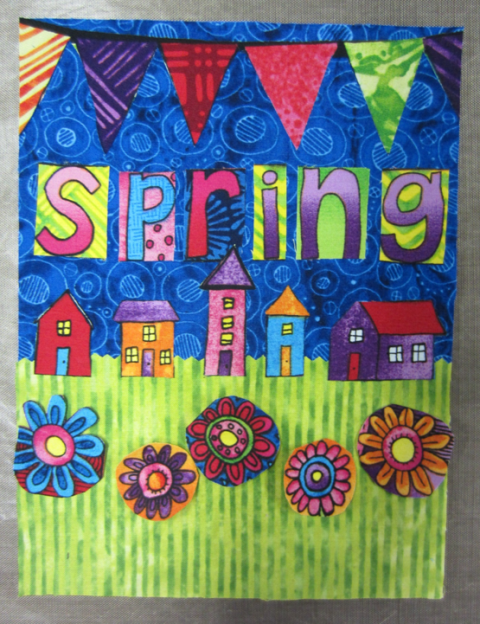
Fussy cut out a row of houses, and the larger flowers, like this blue and pink one below.
Place the houses in place, just below the pinking line.
Once the house is set, iron the fabric in place.
Next, cut out the flowers and place them on the flag. DO NOT iron this down yet.
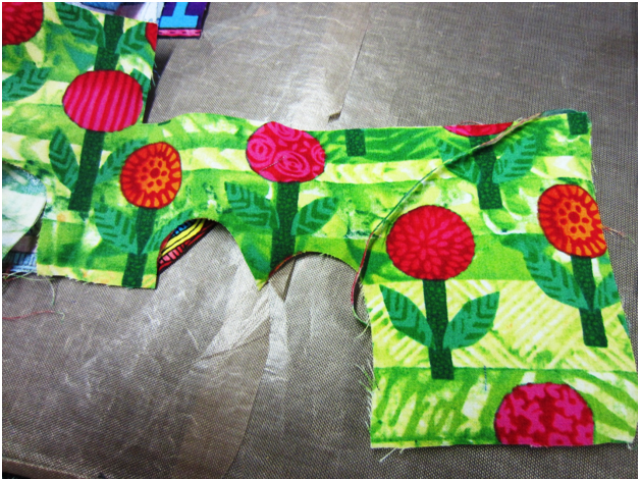
Using the landscape fabric, fussy cut out the stems and leaves. (So that basically you are cutting off the top of the flowers.)
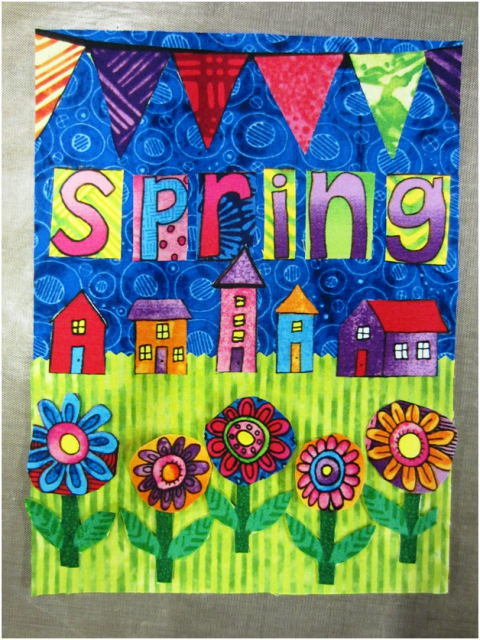
After you decide where you want everything – flower-wise, iron them to the background.
Set this flag aside, and now we are onto Flag number 3.
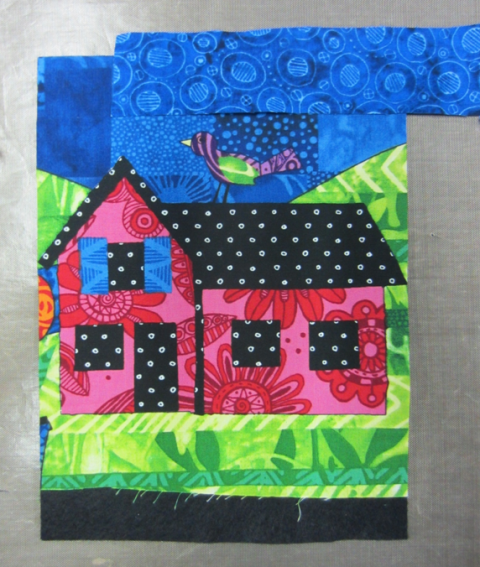
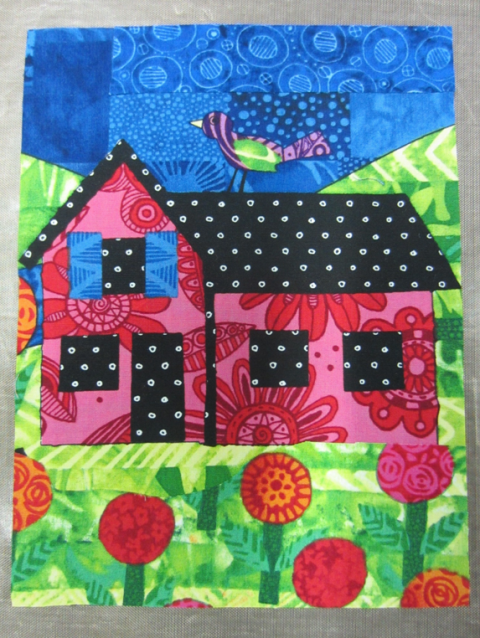
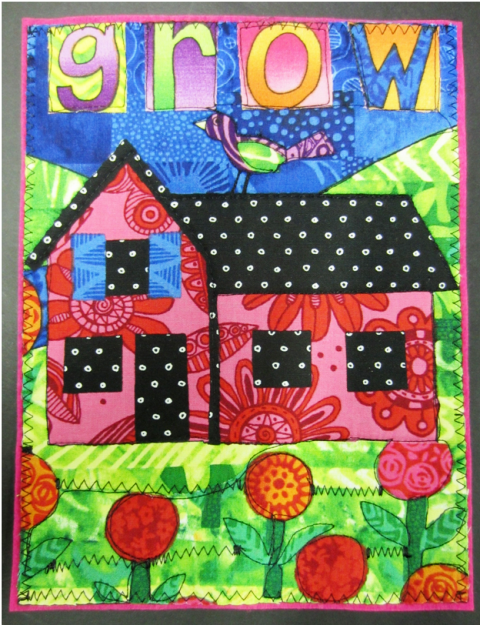
This house is larger, so you need to allow for that.
We will add the blue circles to the sky, to make up for the empty space.
You can see where I have a strip of blue on the top.
Then you can see where I have added some floral landscaping to the bottom portion of the 3rd flag in order to fill in the green.
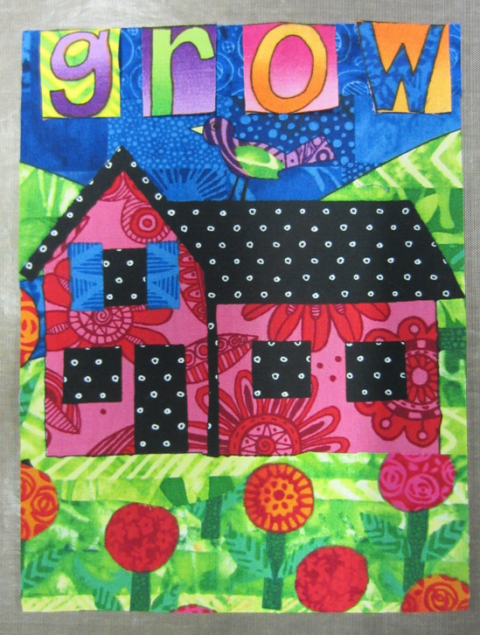
Next, find and cut out the letters for the word G-R-O-W.
Place the letters on the top and iron them into place.
Back each flag with a coordinating color of wool blended felt.
Now they are ready to be free motion machine quilted.
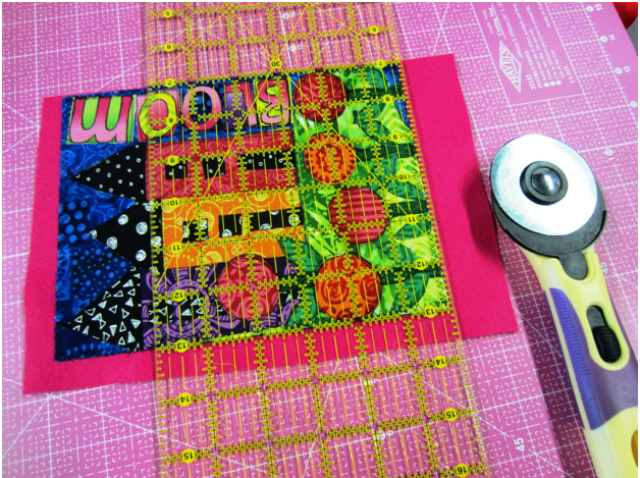
After they are quilted, press with an iron, then trim the backing.
You want the backing to show just a tad- this helps to bring out the colors in the flag.
Using the free motion foot, zig zag the edges of each flag into place.
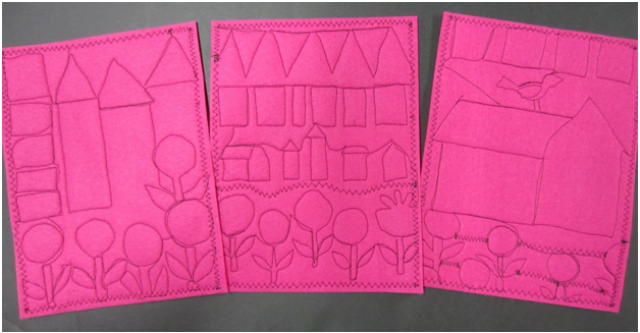
Example of how the backs were easy to free motion machine quilt. You can see where Jamie went around the houses, objects and lettering with ease.
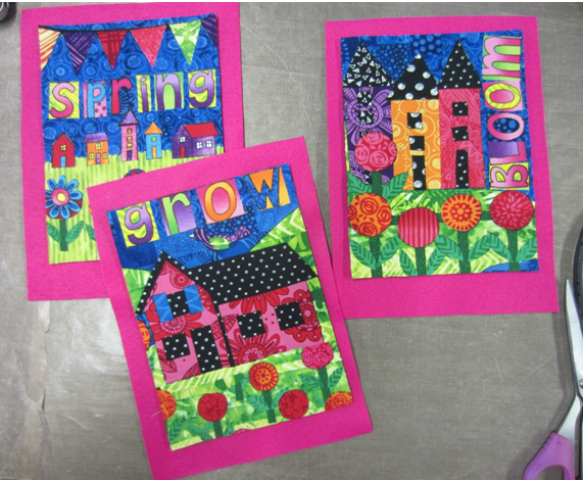
Here are the three finished flags:
And individually:
I hope that you have enjoyed making this Spring Fling fabric flag project as much as I did!
…
About Jamie Fingal:
Jamie is a an award winning artist & fabric designer from Orange, CA. You can contact her and order fabric at http://JamieFingalDesigns.com/.
For more of Jamie’s inspiring and creative projects, click here.
[hs_action id=”6875″]


35 Responses to Free and Easy Craft Project to Create This Spring: