By Terry White
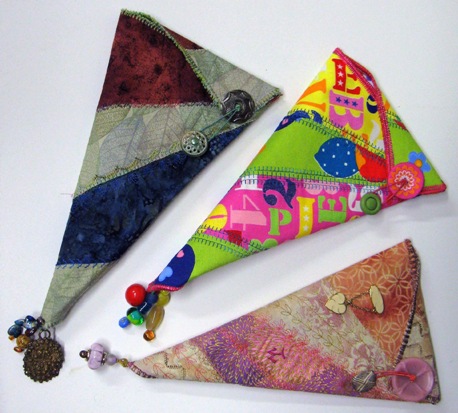
This project was so much fun that I kept making more in different styles. The first one received enough ooohs and ahhhs from friends that I knew this would have to become presents for my girls … all my girls!! AND, each one will suit the personality of the friend.
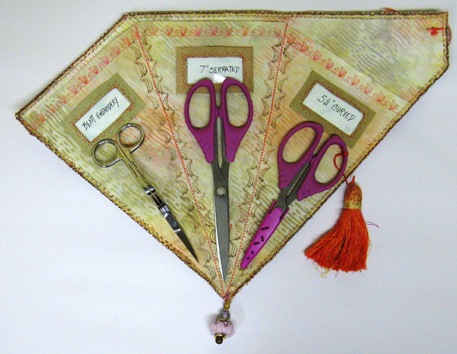
When you open up the wrap, there are three pockets for three different scissors. The pockets will hold scissors eight inches and smaller. This is my personal fan scissors wrap and such a fun craft to make!
The three scissors I use the most are:
1. Havel’s Bent Embroidery Scissors when I thread paint and use the decorative embroidery stitches on my Bernina.
2. Havel’s 7″ Serrated Scissors when I cut most fabrics and slippy trims.
3. Havel’s 5 1/2″ Curved Scissors when I cut appliqué shapes.
Supplies:
- Four fabrics — I used cotton, but you can use anything you want!
- 6”x12” scraps of three, and 17”x24” piece for the lining and pocket
- Fusible interfacing — one piece 12”x17”
- Fusible web — one piece 20”x20”
- Beautiful threads for embroidery — I used Star Cottons, multi-colors (from the group which I designed). Choose threads and colors which will enhance your fabrics.
- Shank button
- Large two hole button
- Elastic cord — 5” length
- Beads and baubles for decoration
- Permanent fabric markers — to color the elastic and (optional) to color the edge before or after edge stitching all around the wrap.
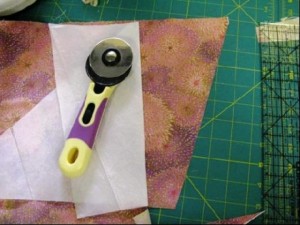
- Havel’s Jumbo Rotary Cutter
- Havel’s Bent Embroidery Scissors
- Havel’s 7” Serrated Scissors
- Felt or ultrasuede scraps — for labels
- Clear plastic scraps — for label windows
- Cardstock for ID’s
There are three main pieces to this project: the decorated cover, lining and scissor pocket.
The Decorated Cover
1. Use pattern piece A: Trace the shape onto fusible interfacing and cut out.
2. Use pattern pieces B, C, D, E, F: Trace each shape onto desired fabric and cut out.
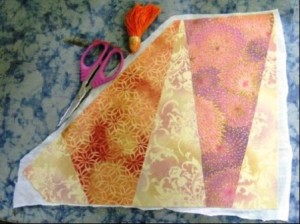
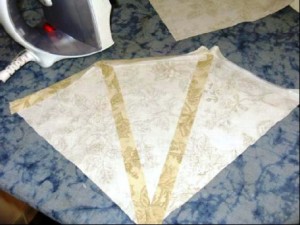
3. Lay the fabric shapes side by side onto the fusible interfacing and press.
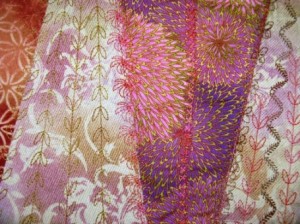
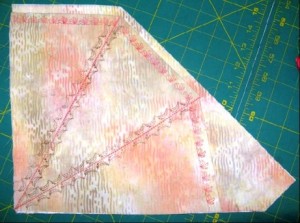
4. Decorate with decorative stitching and beautiful threads.
*Tip: Because this is a project that will get a lot of use, I don’t add too many delicate
details. This will be different for different styles, but add what you like!
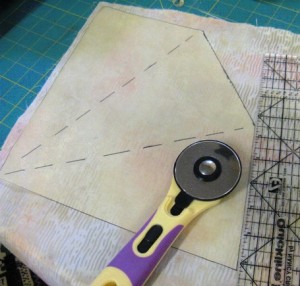
5. Trim the excess interfacing and rough edges of decorative cover. Use this as a pattern and cut out your lining piece and a piece of fusible web. Set aside.
Scissor Pocket
6.Use pattern piece G: Trace shape onto lining fabric. This is the scissor pocket.
7. Fold the top edge of the pocket piece 1/2 inch and press. Use a piece of fusible web to tack it down.
8. Add fusible web to extra strips of lining fabric. Iron them to the wrong side
of the pocket along the fold lines. This adds stability to the pockets.
9. Decorate the top edge with decorative stitching.
10. Decorate the two sides of each scissor pocket fold with a row of decorative stitches.
11. Lay the pocket onto the lining fabric. Stitch the pocket to the lining with a
lightening stitch along the fold lines.
Final Construction
12. Apply fusible web to the back of the decorative cover according to manufacturer’s directions.
13. Press the pocket and liner to the back of the decorative cover.
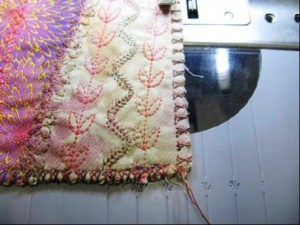
14. Finish edge all around. I used two threads through a 90/14 needle with an overcast stitch. This is a great place to use a serger.
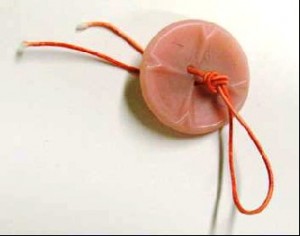
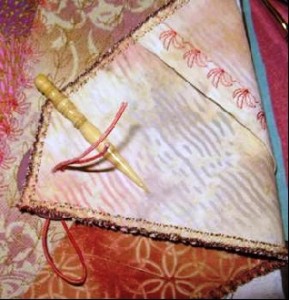
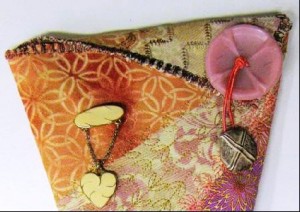
15. Attach a two hole button to the cover with colored elastic cord. Use a permanent marking pen to color the elastic. Make a loop and knot it.
Pull the two ends of the elastic through the back of the button. Use an awl to make two holes large enough for the elastic to go through the cover. Knot the elastic on the back.
16. Sew a shank button on the cover to finish the closure.
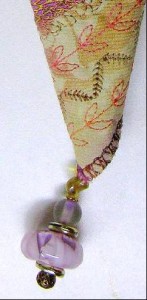
17. Add a bead drop to the bottom.
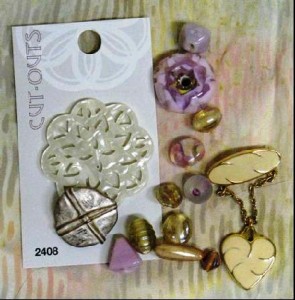
18. The bead drop was made from parts of old jewelry and lovely one-of-a-kind glass beads. The heart pin is from a box of costume jewelry I bought years ago. The big pink button I used is vintage, but one I considered using is from Blumenthal called “Cut Outs” which I picked up in the Green Room at a Quilting Arts TV shoot!
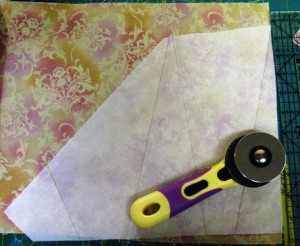
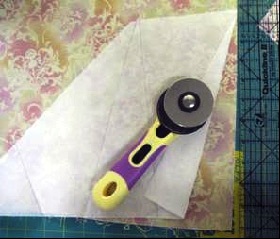
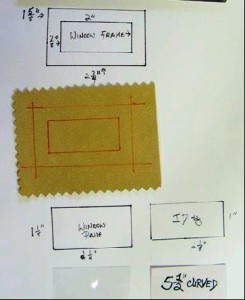
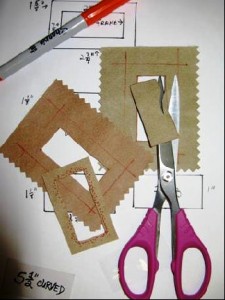
19. Follow the photos to make the label windows and ID’s.
The plastic window is glued to the inside of the suede frame. The frame is glued to the scissor pockets on the sides and the bottom — this way, the cardboard ID label slides right in.
Click here for a printable PDF version of Terry’s Fan Scissors Wrap.
About Terry White:
 Terry White is a studio fiber artist. She has been doing this work since 1996, and she discovered the techniques she uses (threadpaint, machine appliqué, piece, quilt, embellish with beads, fibers and minutiae with sewing machine techniques) through experimentation and self-study. Terry teaches these techniques through classes and videos. Over the years Terry has been published in over 50 articles in magazines and books, including McCall’s Needlework, Quilter’s Newsletter, Machine Embroidery and Textile Arts, CMA trade magazine, Stitch n Sew Quilts, Quick n Easy Quilts, Quilt World magazine and Calendar, Quilting Arts Calendar 2003, America from the Heart, America’s Best and America Sews. She is a wife, stitcher, artist, sister, mother, friend, nana, gardener, baker, writer, student, teacher and American. See more of Terry’s work at www.threadpaint.com.



10 Responses to Craft Project: Fan Scissor Wrap