On The Fifth Day Of Havel’s Holiday Project,
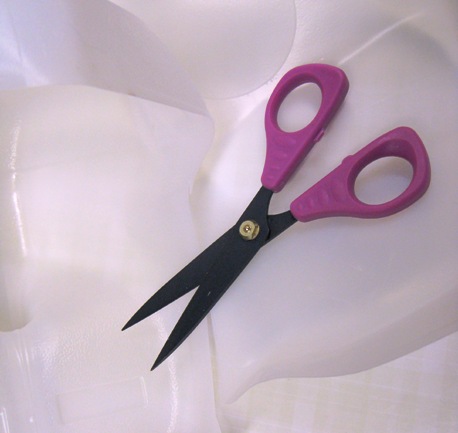
My True Love Is 6 1/2″ Teflon Coated Serrated Scissors
Next We Will Need to Start Making the Stars:
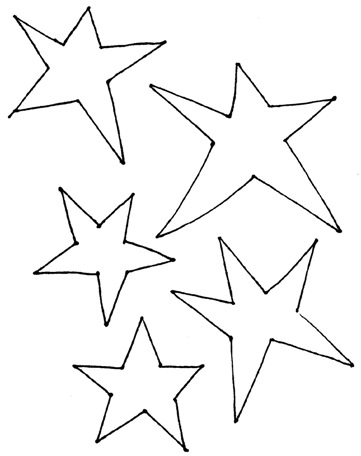
1. Make templates of the stars from cardstock or template plastic. I like to use the plastic from empty milk containers for templates.
Cut flat sections from the carton with Havel’s 6 1/2″ Teflon Coated Serrated Scissors. Use a fine point Sharpie to trace the star shapes on the plastic. Cut the stars out of the plastic.
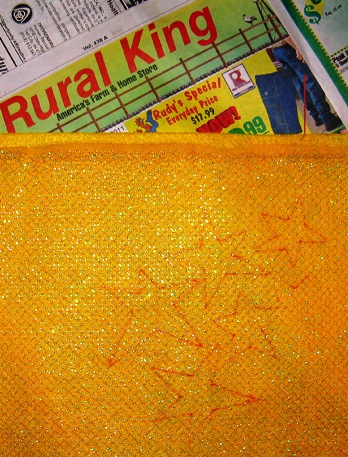
2. Trace star shapes onto yellow felt with an orange marker.
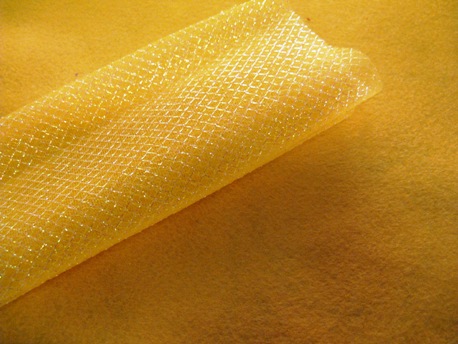
This yellow tulle has a rainbow metallic thread woven in a diamond pattern.
This will add extra shiny color to this project.
3. Use a light spray of spray adhesive on the felt and adhere some glittery tulle to the felt.
Use newspaper to protect surfaces from the sticky spray.
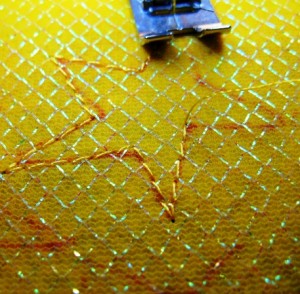
4. Stitch the tulle to the felt. Use a marigold rayon thread to outline the shape three times.
You can use a long straight stitch or you can do free-motion stitching.
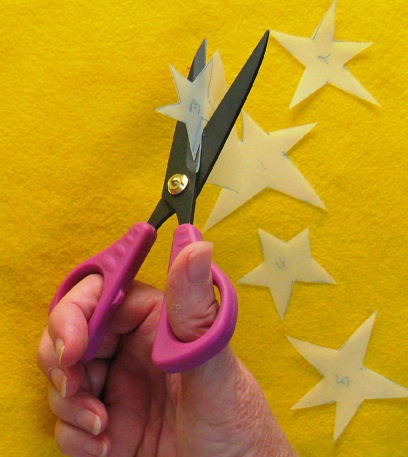
5. Cut out star shapes a scant 1/8″ outside of the stitched lines with Havel’s Teflon Scissors. Teflon scissors are great when working with sticky glues or paints. There are several sizes of these scissors which are great tools for the mixed media artist.
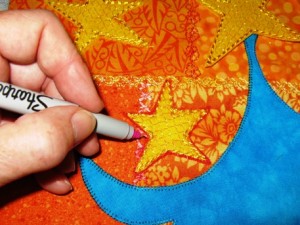
6. Glue the stars in position on the design. Put a book on the stars to press them flat
as they dry. Outline the stars with a deep pink fine point marker.
I didn’t glue the treetop star onto the design until after putting the border on
because I made it a little too big for the space.
Next: On The Sixth Day Of Havel’s Holiday Project,
My True Love Is Snip-Eze Blunt Tips
For a printable PDF, please click here.

2 Responses to Free Christmas Quilt Pattern Part 5 ~ by Terry White