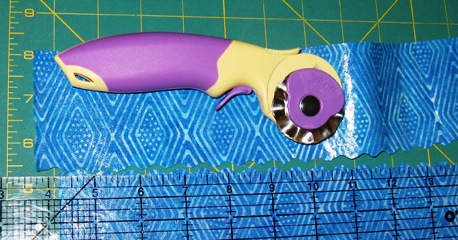
On The Ninth Day Of Havel’s Holiday Project, My True Love Is The Rotary Wave Blade
Now, Let’s Continue And Start Creating the Border:
1. Choose your border fabric.

The color you choose will be what frames the project. So, it can either be subdued, or as I chose, something that’s bright!
The color you choose will frame the project,
so it can be subdued, or as I chose, something that would be bright!
2. Measure the size of your borders and add 1/2″ for overlap.
The wavy edge will overlap your design area.
3. Apply fusible web to your border fabric and tear off the backing paper before cutting.
This way you will avoid fraying.
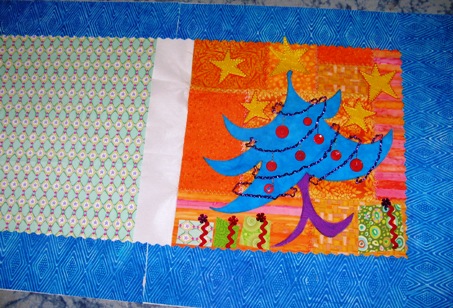
4. You only need the wave design on the inside of each border. Cut the outside edge with Havel’s Jumbo Rotary Cutter for a straight finish. For the center area, cut both edges out with the Wave Blade. Press the borders to the lining and the overlap of the design areas.
*Make sure that you keep following along so you can see what other products Terry loves to use while creating all of her favorite projects!*
On The Tenth Day Of Havel’s Holiday Project,
My True Love Is The Rotary Pinking Blade
For a printable PDF, please click here.


