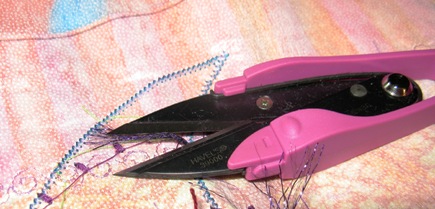
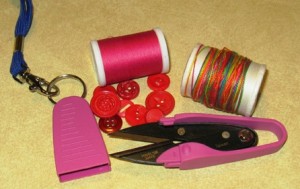
On The Seventh Day Of Havel’s Holiday Project, My True Love Is The 4 3/4″ Dura-Snips
On A Neck Strap
Now We Can Start Making the Ornaments in Part 7:
1. Use a fine line marker and start drawing little lines off of the garland we made in Part 6. You want them to look like wire hooks used for hanging ornaments on your own Christmas tree.

Leave the buttons on top of your tree pattern so you can to remember how you wanted them positioned. You don’t want to forget where you wanted the button ornaments to go as you start to stitch them on!
2. Position buttons on the tree to see how you want the different sizes and shapes to look.
3. Hand stitch each button into place with red thread.

Dura-Snips fit perfectly with your portable hand work tools.
You can use them to snip all types of yarn and threads.
4. Use a multi-colored pearl cotton thread to simply stitch a straight line for each ornament’s wire hook you drew in Step 1.
I used three or four stitches for each one.
…
Next: On The Eighth Day Of Havel’s Holiday Project, My True Love Is The 7″ Serrated Sewing/Quilting Scissors
For a printable PDF, please click here.


