By Jamie Fingal
Easy, fun and whimsical flags —
No batting, no binding, let’s get started!
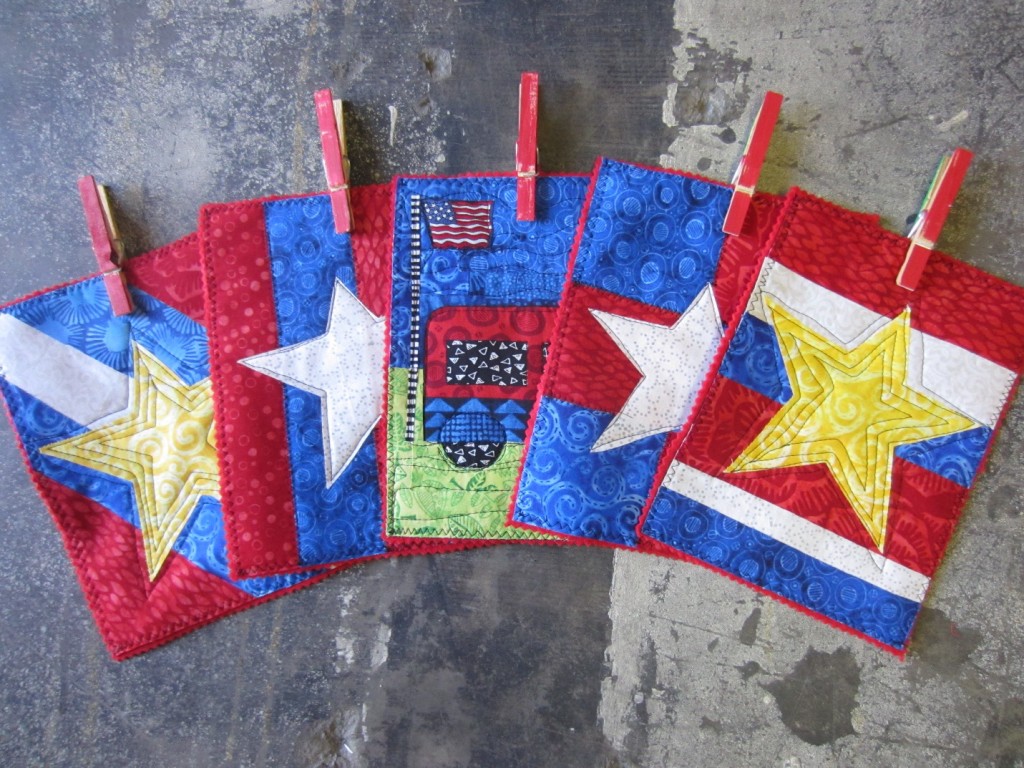 Five easy-to-make flags, measuring 6 x 8 inches. Black wool blended felt for the foundation and red wool blended felt for the back. Probably about a 1/4 of a yard of each, making sure that you have at least eight inches of fabric. You can get all five flags in a row with this cut. National Nonwovens brand #TOY002.
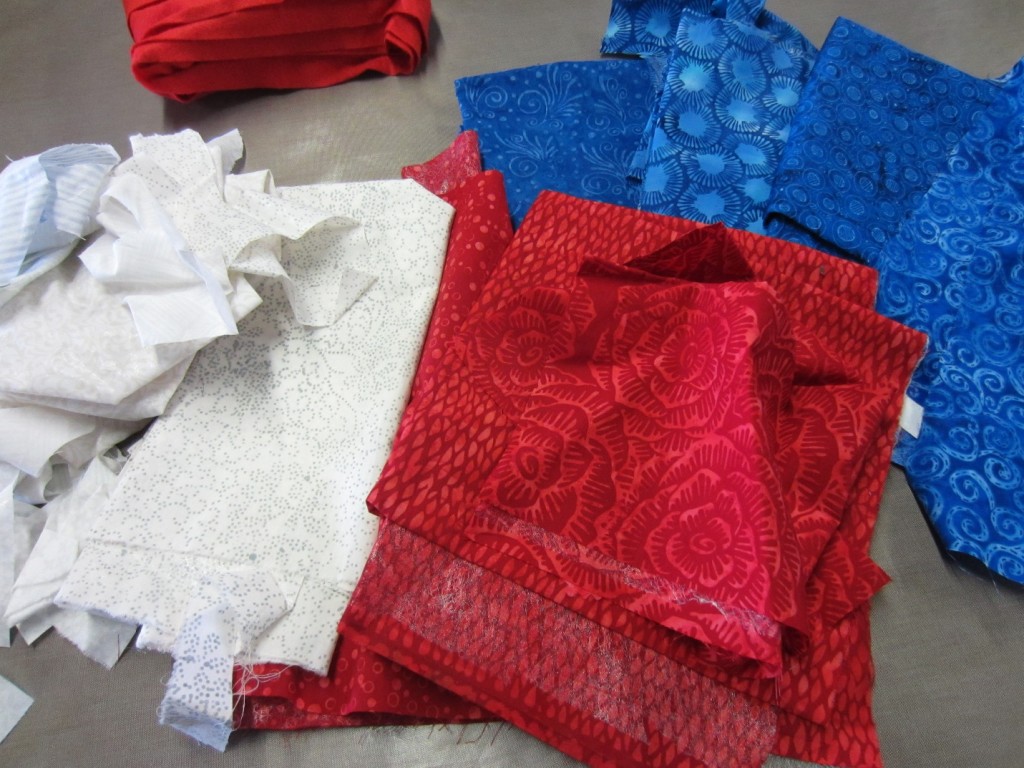 These are scraps from another project, already fused with Mistyfuse. I added a small amount of yellow for two stars, some green, an American flag and a trailer. If you need to see a tutorial about how to use Mistyfuse, there are several other projects on this blog to help you. Just search my name.
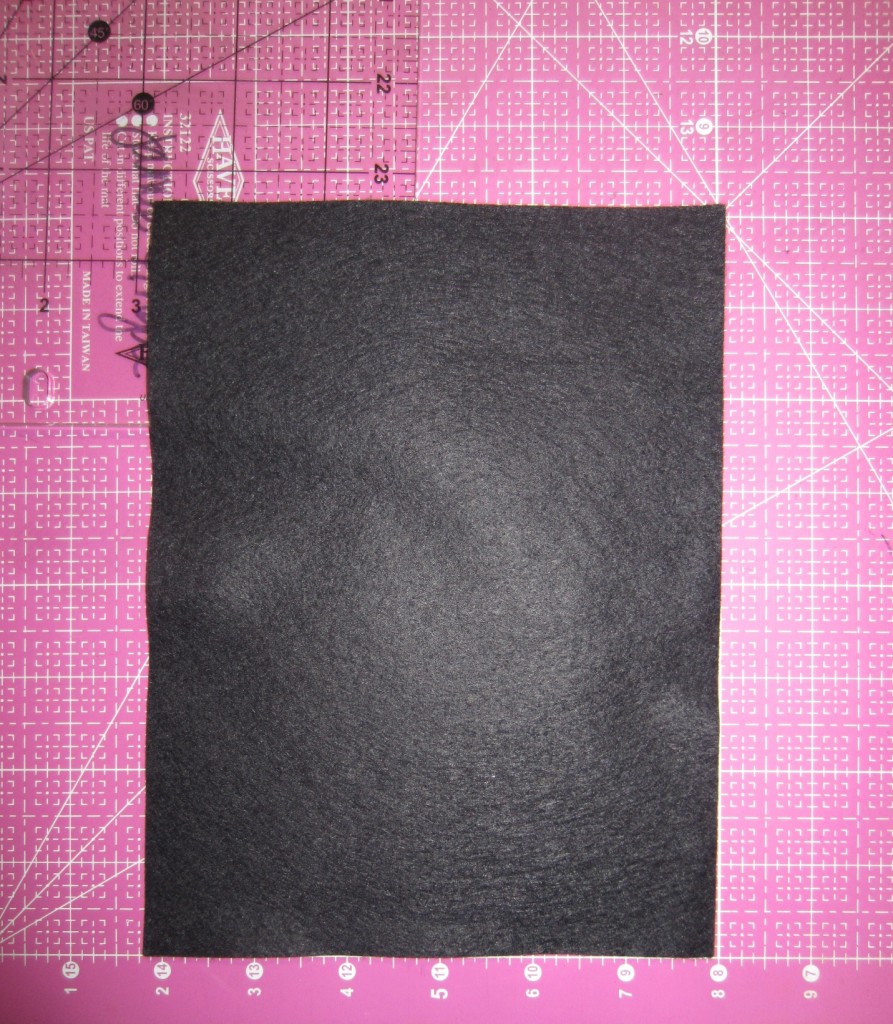 Cut five each 6 x 8 inches of the black wool blended felt. This is what you will use for your foundation.
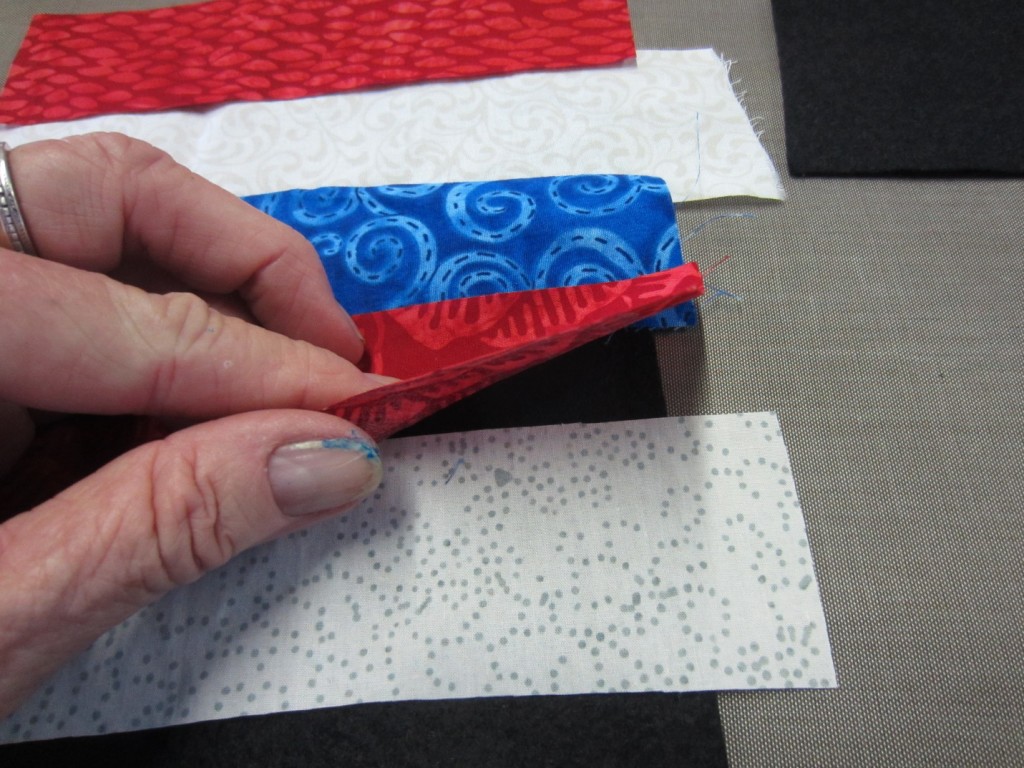 I am layering the strips, cut with scissors (you can cut them with a rotary cutter if you prefer). I wanted them to be a bit wonky because I like that look, but you can make them straighter if you want. Each strip overlaps onto the next strip, so you have a really good bond with the Mistyfuse and the foundation.
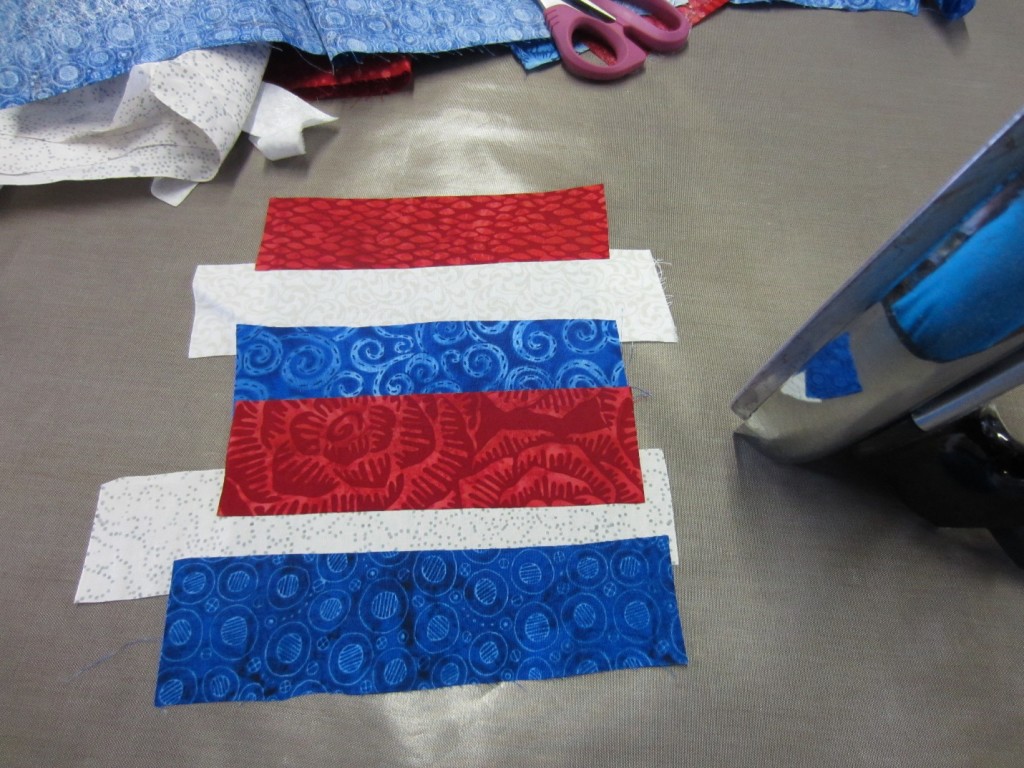 Just layer the strips and iron into place with a hot dry iron on the cotton setting. You may want to protect the surface of your table with either parchment paper or a Mistyfuse Goddess Sheet. Then you can just peel it off. Here are my wonky stripes.
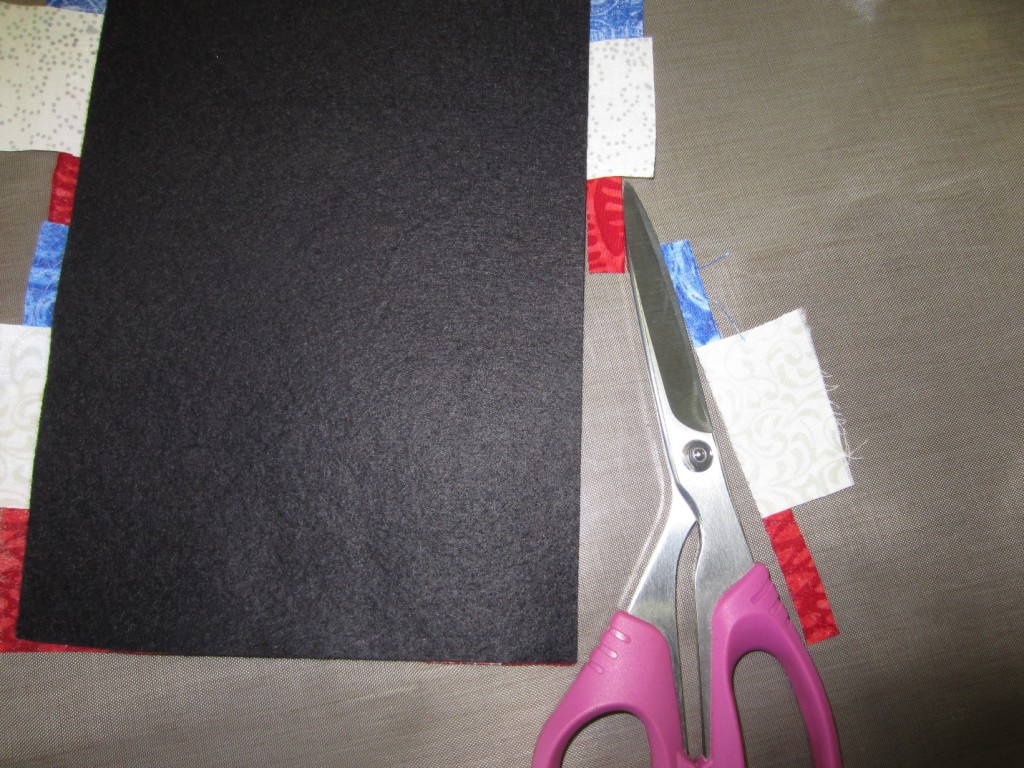 Flip the flag over and cut from the back, using the felt as your guide with a pair of scissors. You will do this for every flag you make.
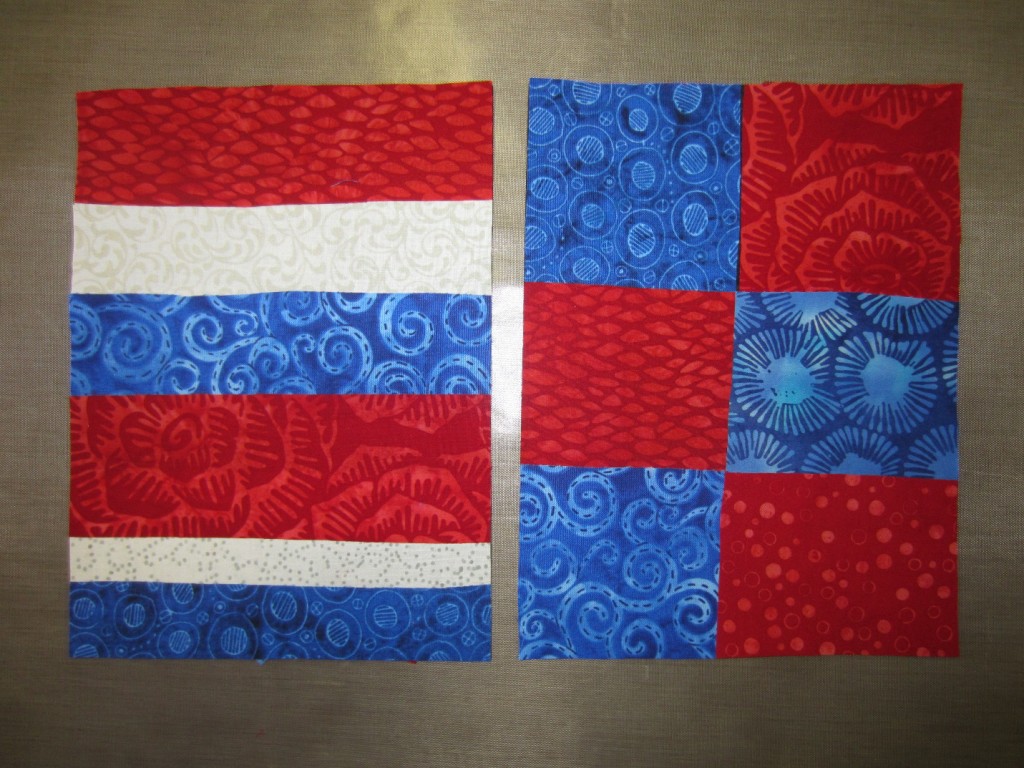 We just made the background for the one on the left, now make a background of squares. You can see that my squares are very wonky, so I am achieving the look that I originally envisioned. Overlap the squares, and iron into place and cut from the back.
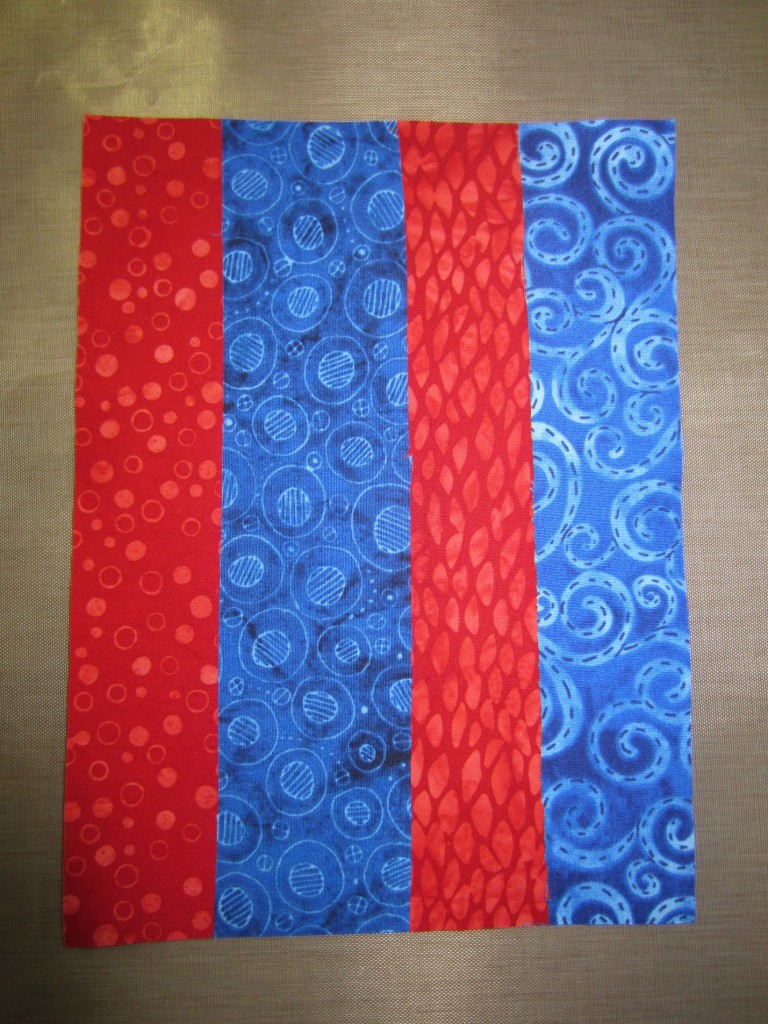 Long strips. Overlapping, ironed and trimmed.
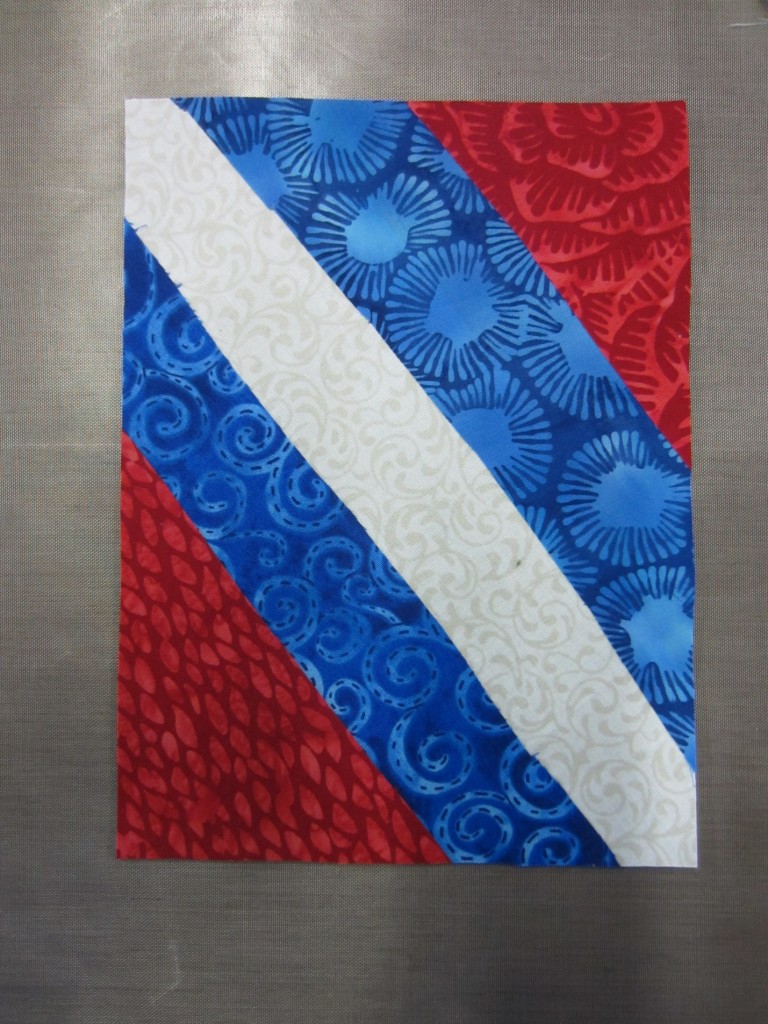
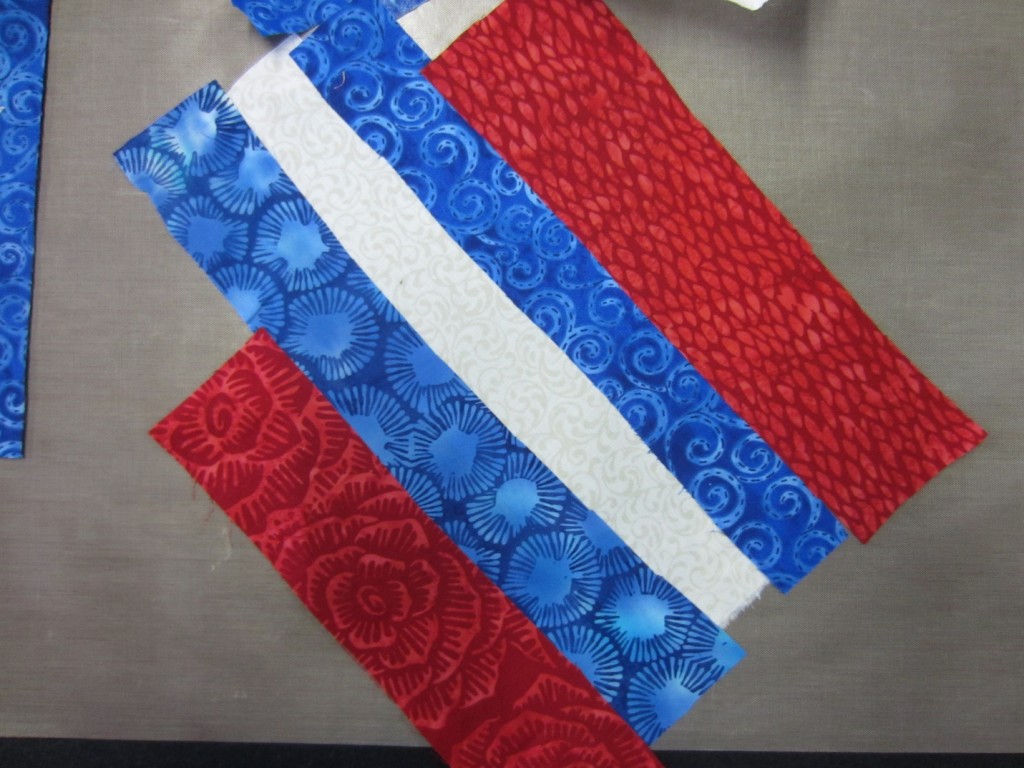 The next flag has diagonal lines, which is fun. Just lay the strips across the felt at an angle. Press into place and cut from the back.
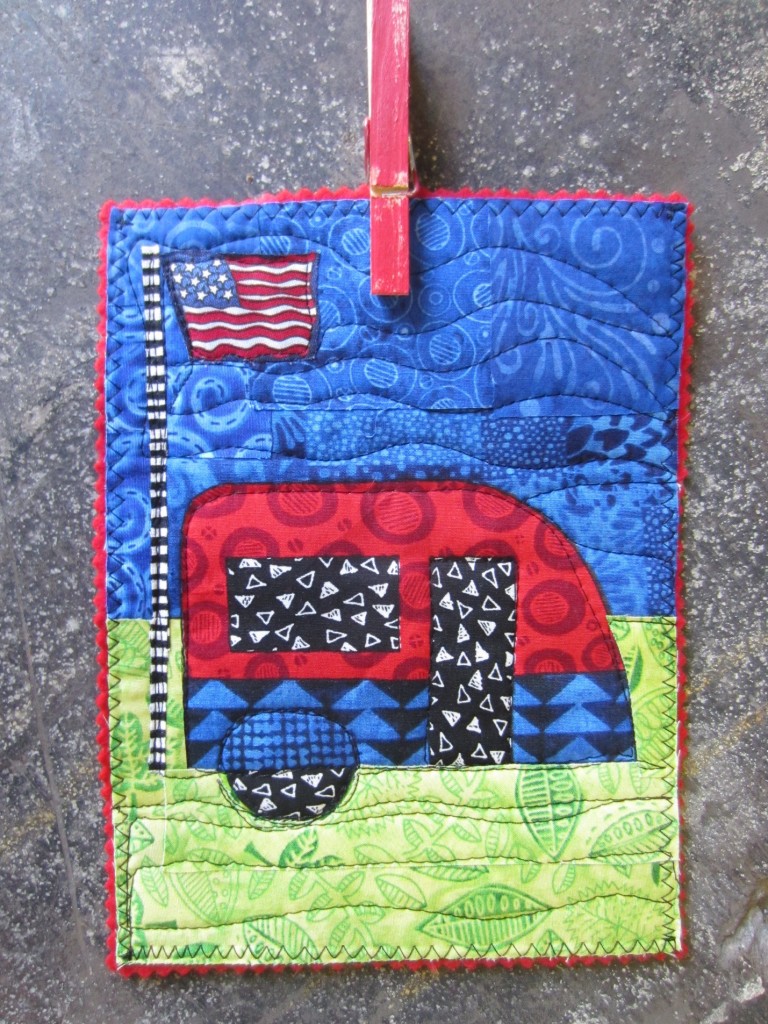
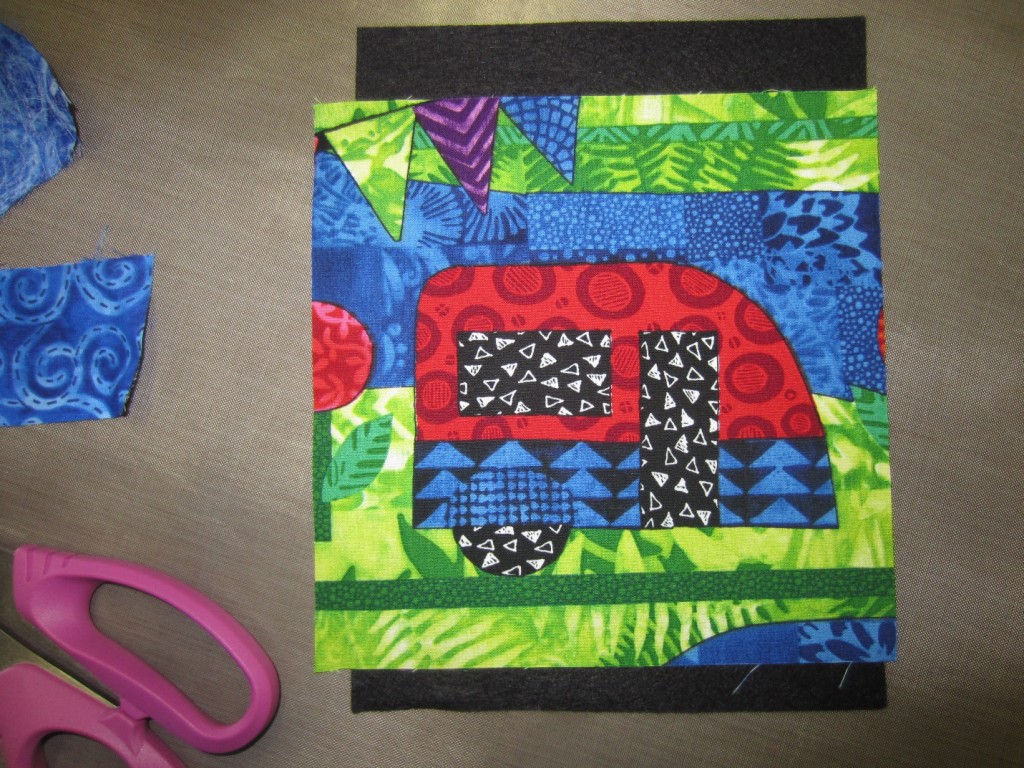 The bonus piece. You can use any fabric that has a house on it or a trailer, or a tent — some sort of dwelling. Or you can make it yourself. I am using a trailer from my fabric line “Home is Where Your Story Begins.”
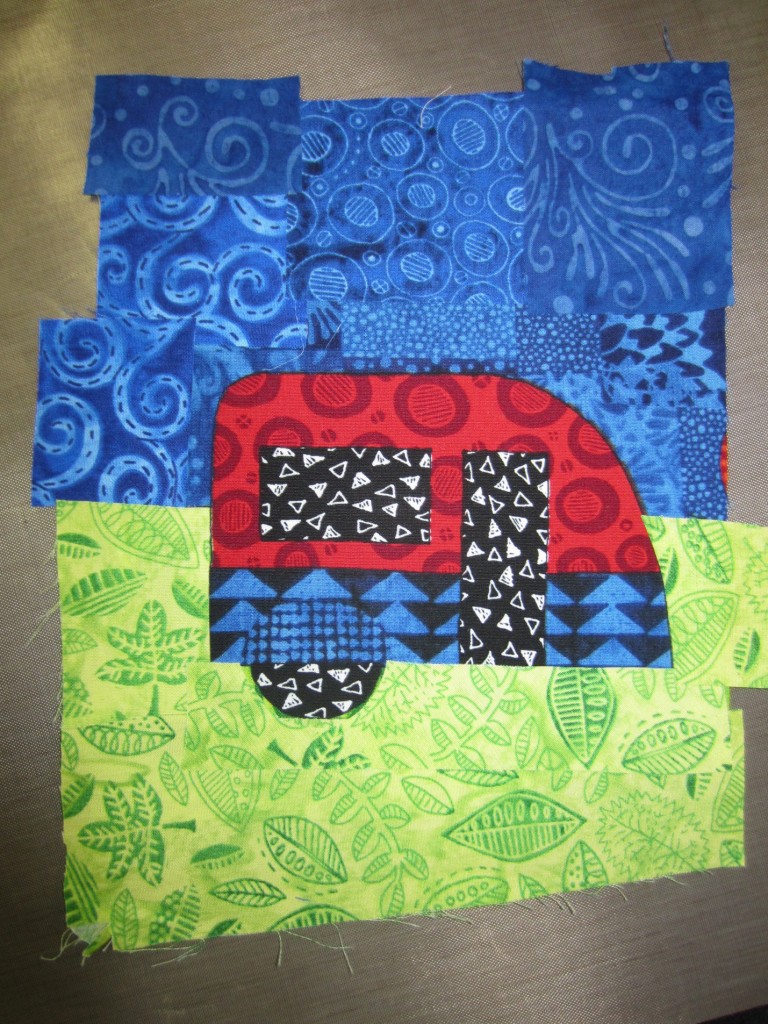 I am going to collage this into the design that I need for this project. I added some blue for the sky and green for a consistent landscape.
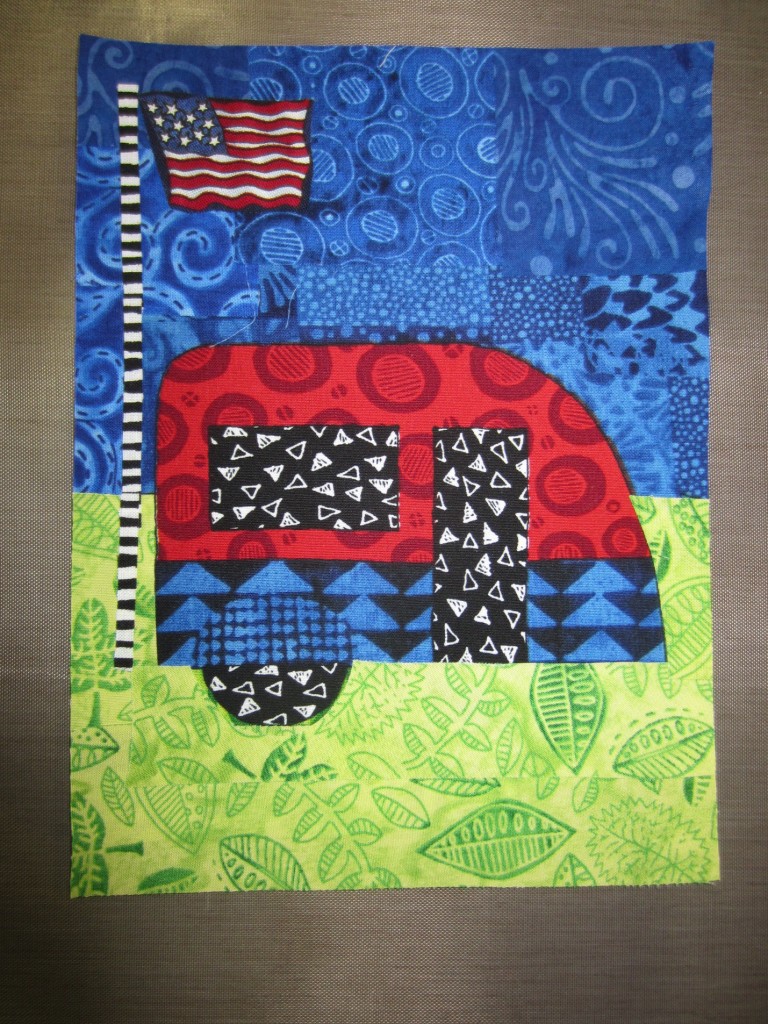 Then I added an American flag on a pole. Trimmed from the back and this one is ready to go!
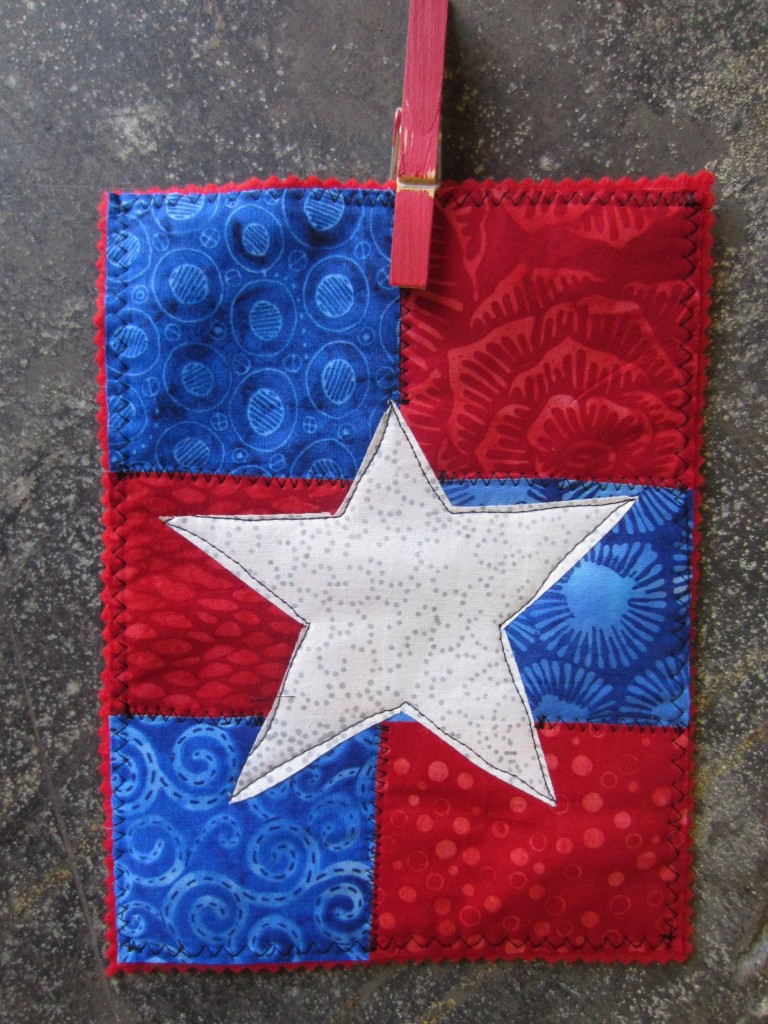
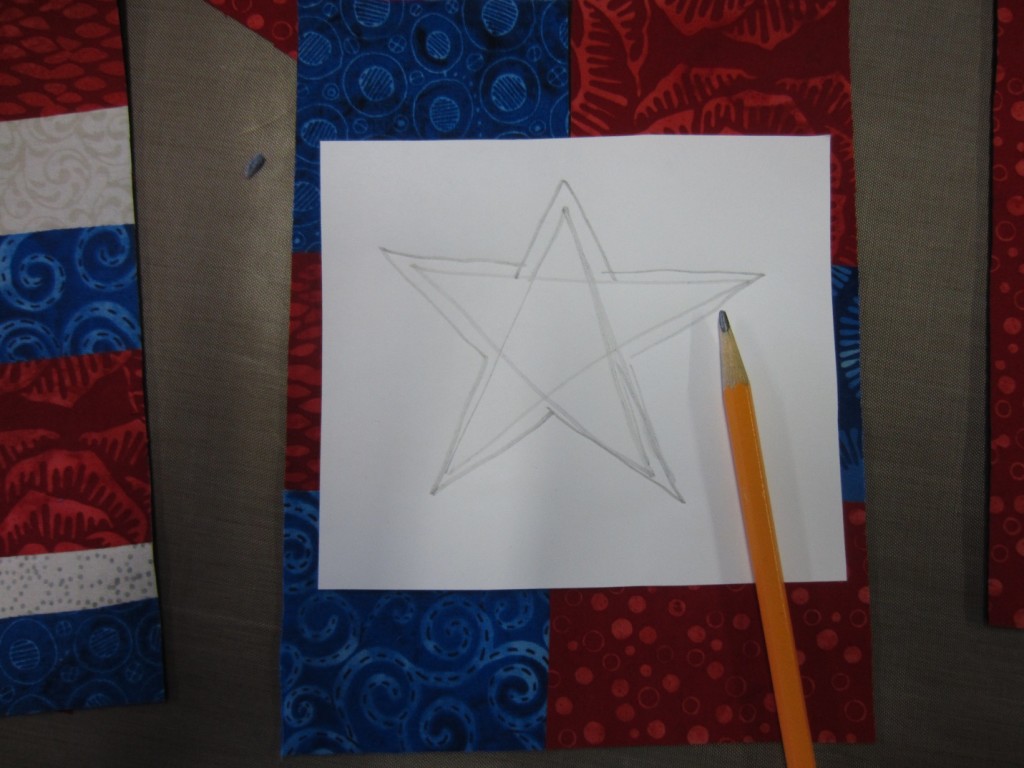 Now onto making some stars. On a white piece of paper, draw a star — just a basic five point star, you can see how I drew it. I added an outline around it because after laying the paper over the flag I realized that my start was too small.
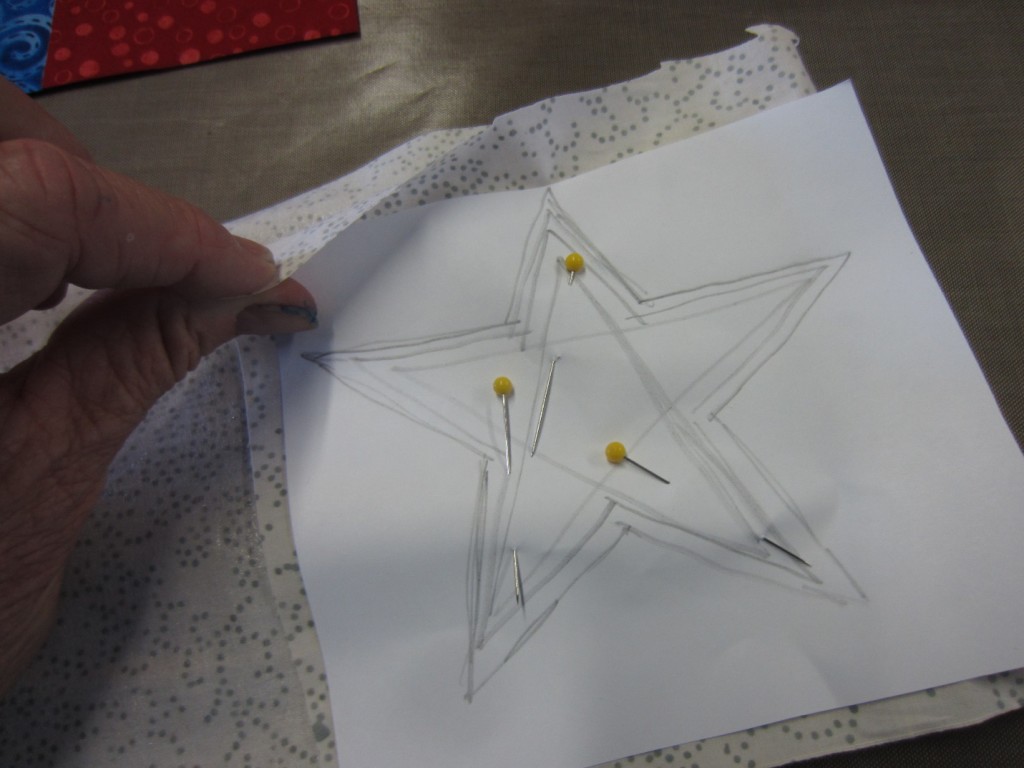 I put two layers of fabrics together and pinned the pattern to them. Cut them out with a pair of scissors.
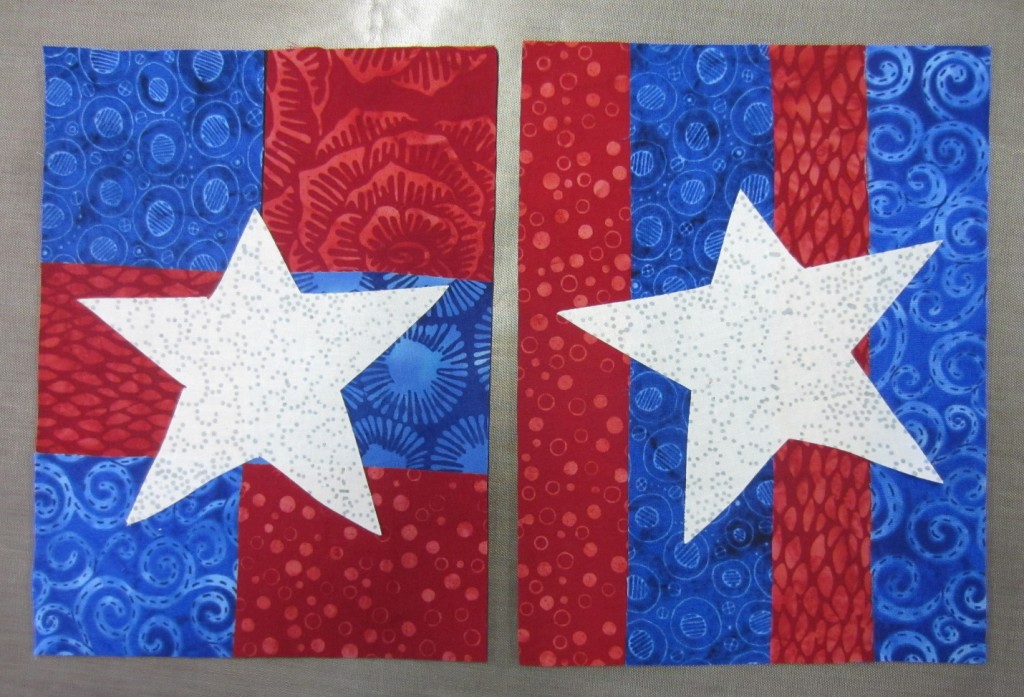 Place the white stars on the backgrounds of your choice.
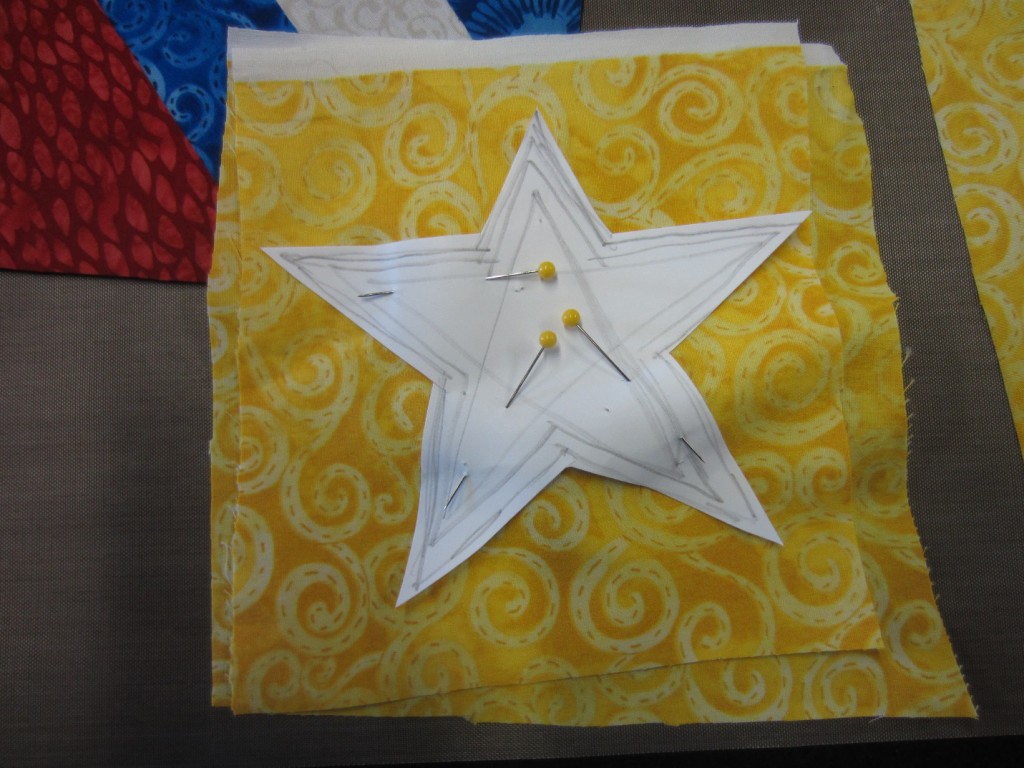 With your same pattern, pin to two pieces of yellow fabric. Cut with a pair of scissors. You could throw caution to the wind and cut these a little larger if you desire.
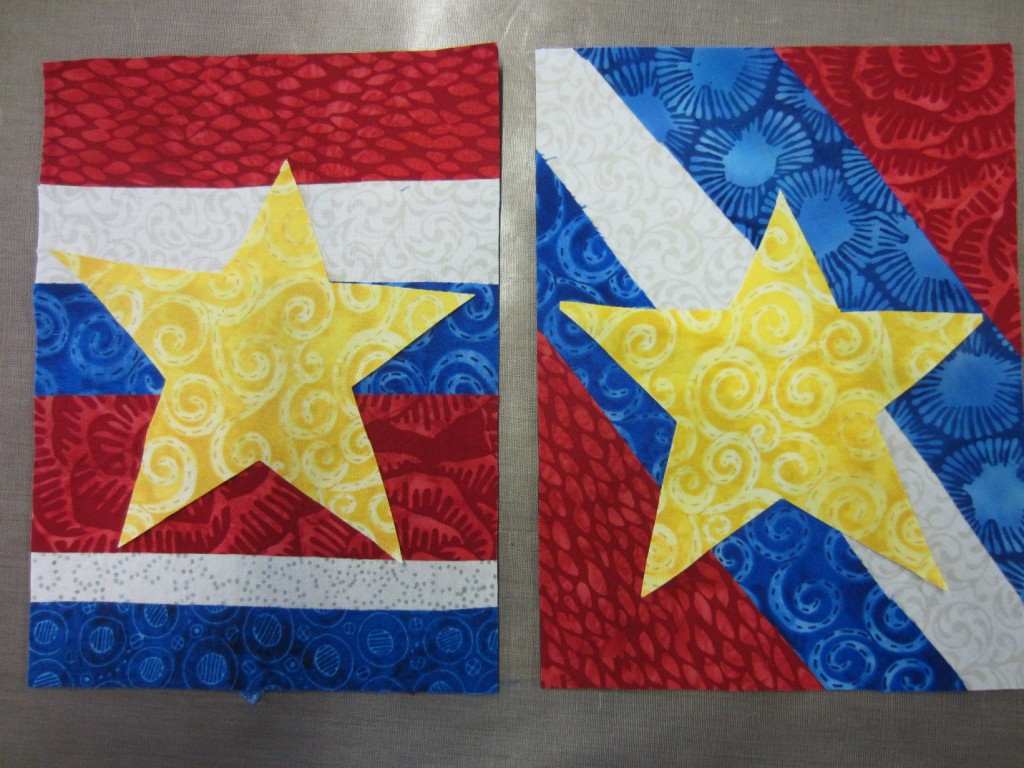 Place on the two remaining backgrounds and press into place.
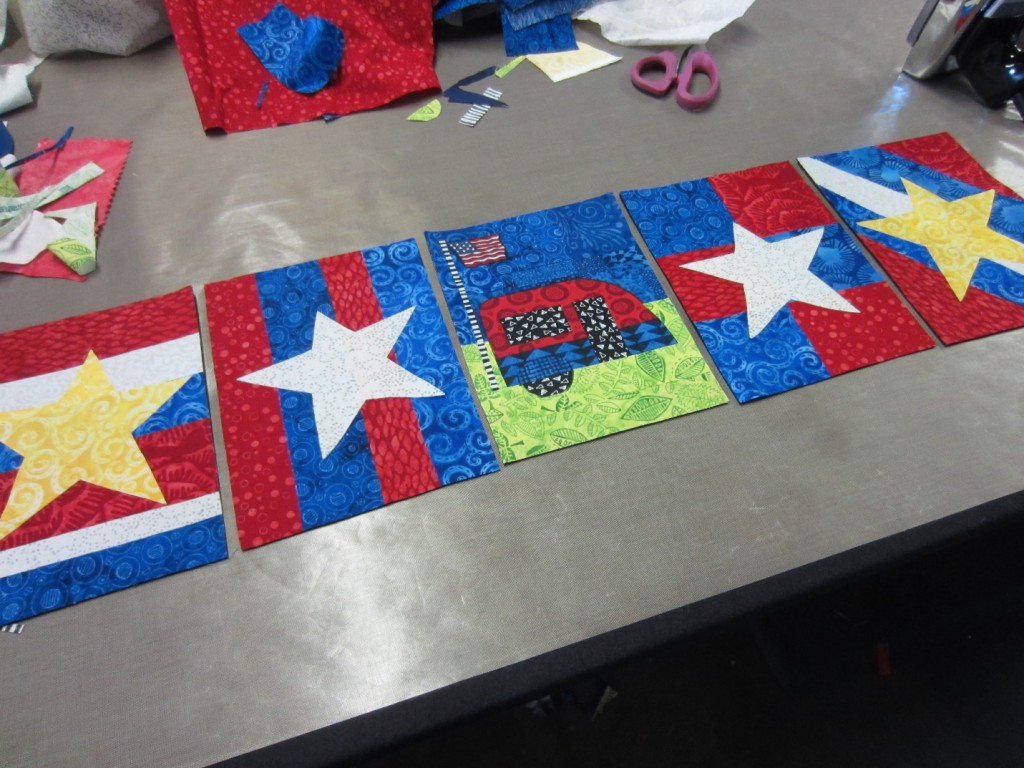 Now you have five flags. Next step is the backing, which is the red layer of wool blended felt.
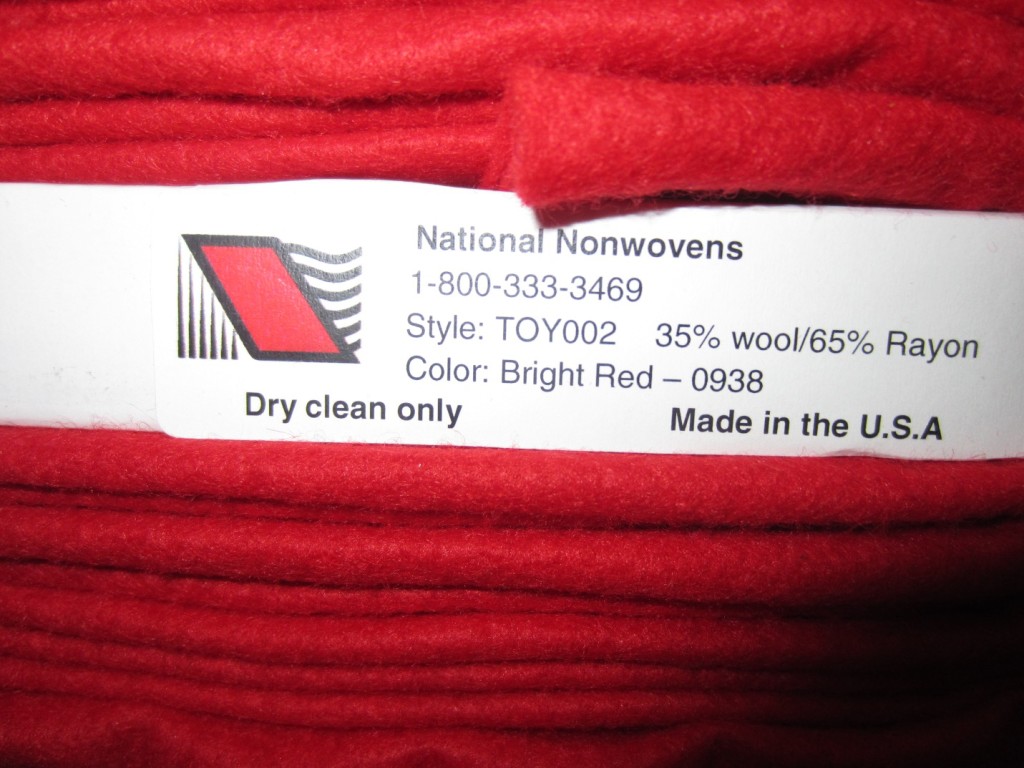 Here is the info on the bolt so you can see what kind of felt I use. This is Bright Red, the perfect backing for this project!
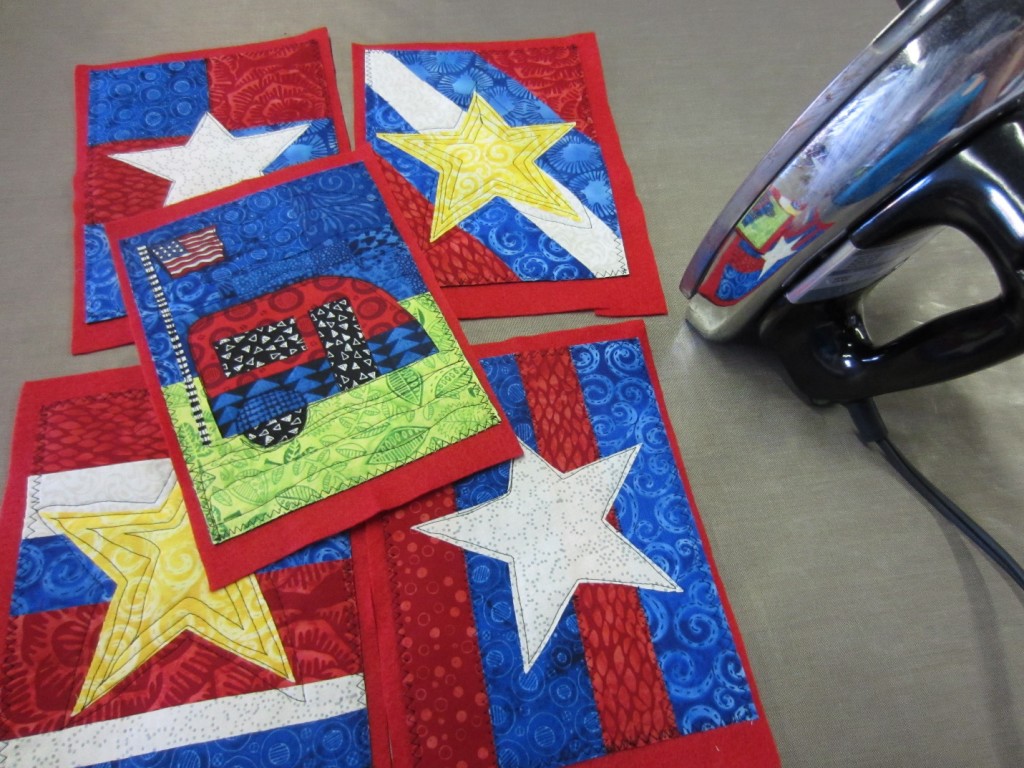 Place each flag on the felt, and make sure it is a little larger than the flag. Now is the time for the sewing machine. I free-motion machine quilted these using a free-motion foot on my machine. The edges are zig-zagged to secure them into place. The quilting is pretty simple. This is a great way to practice free motion quilting. After you are done with the stitching, press each flag with a hot iron.
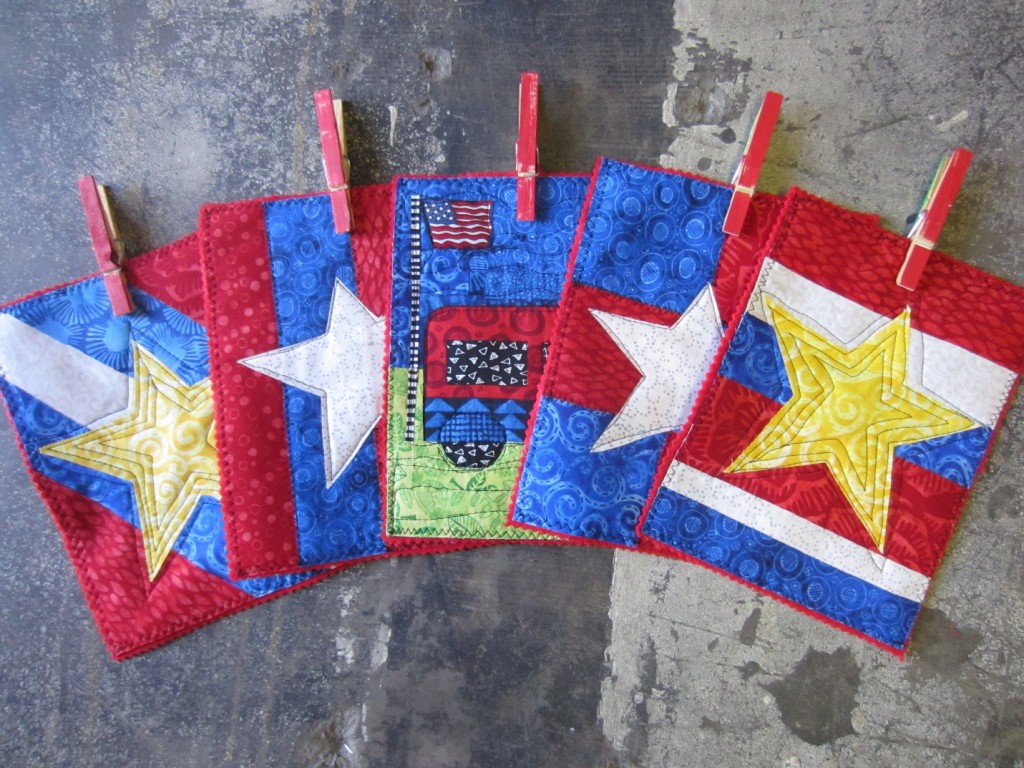 Using a pair of pinking shears, trim the red. It makes a fun edge for each piece. Five patriotic flags. You can paint wooden clothes pins with red paint for an extra touch. I usually hang my flags on laundry line you can buy anywhere. Scroll down to see each flag individually, so you can view it close up.
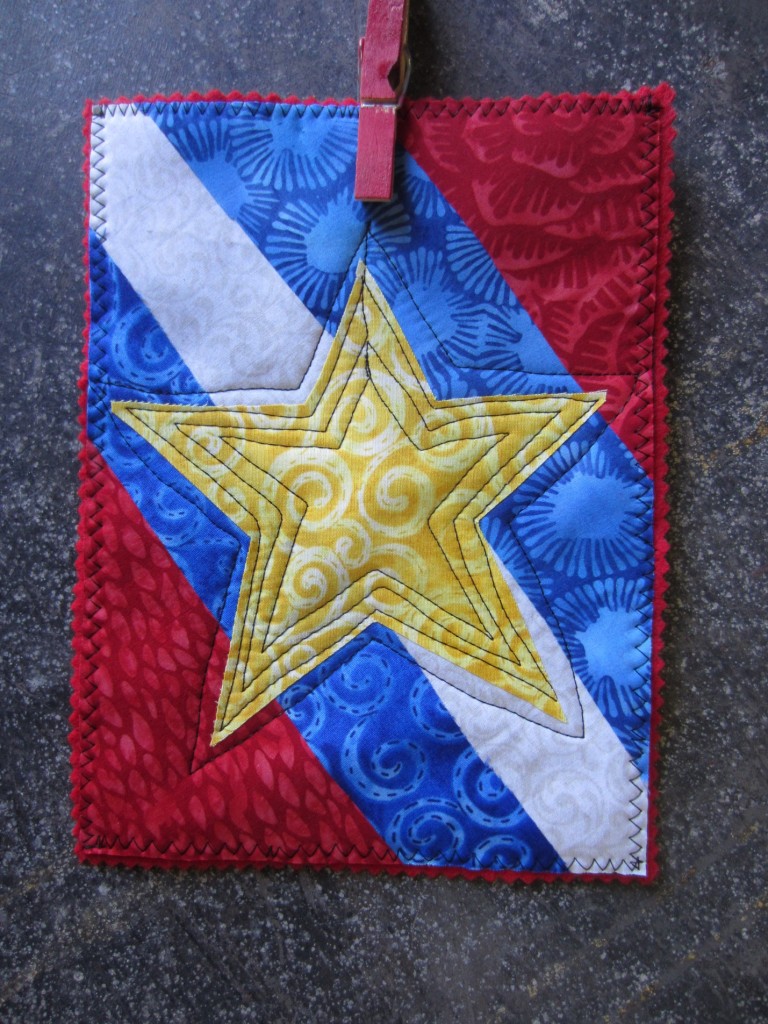 Diagonal stripe with yellow star.
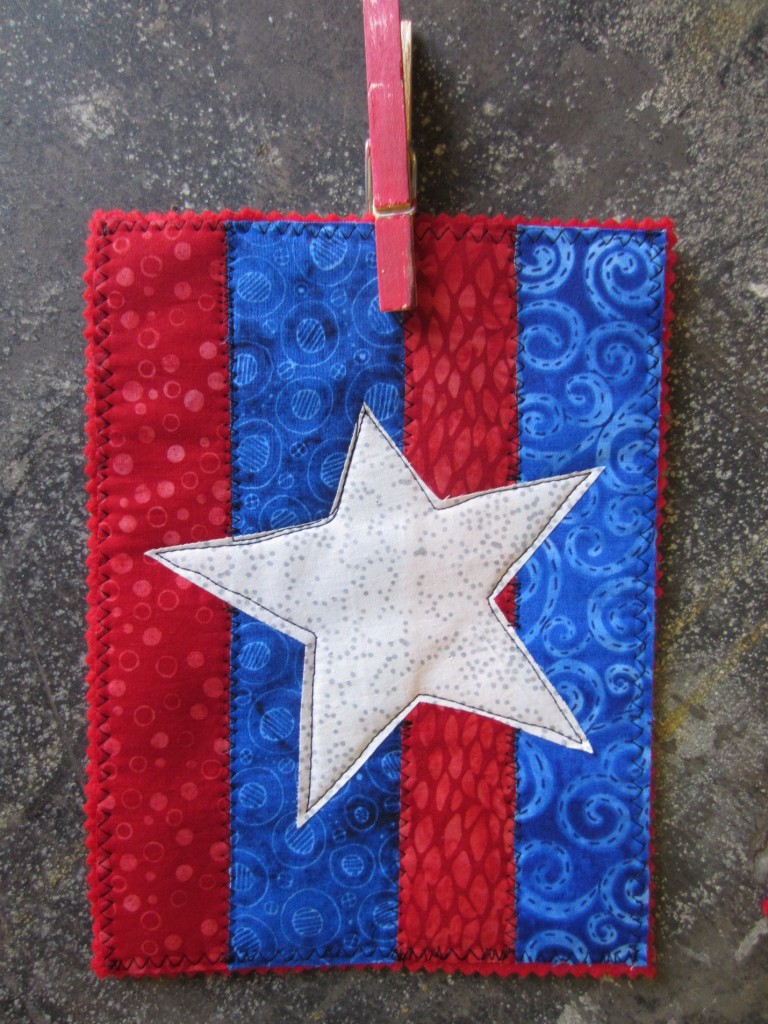 Vertical stripe with white star.
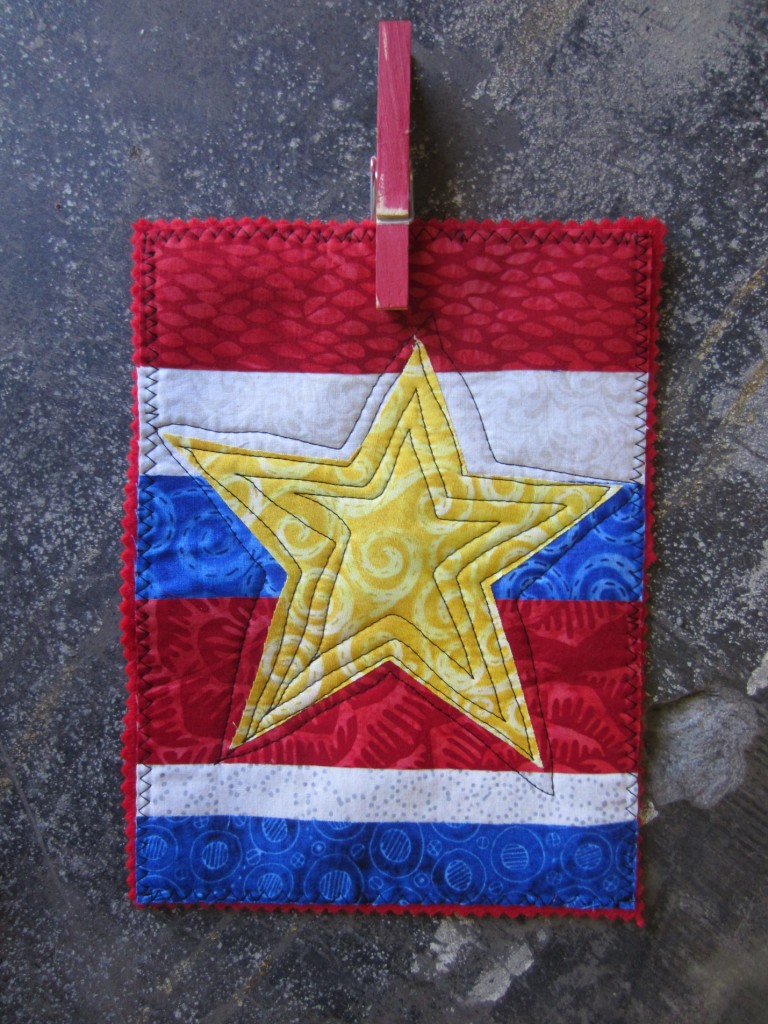 Horizontal stripes with yellow star.
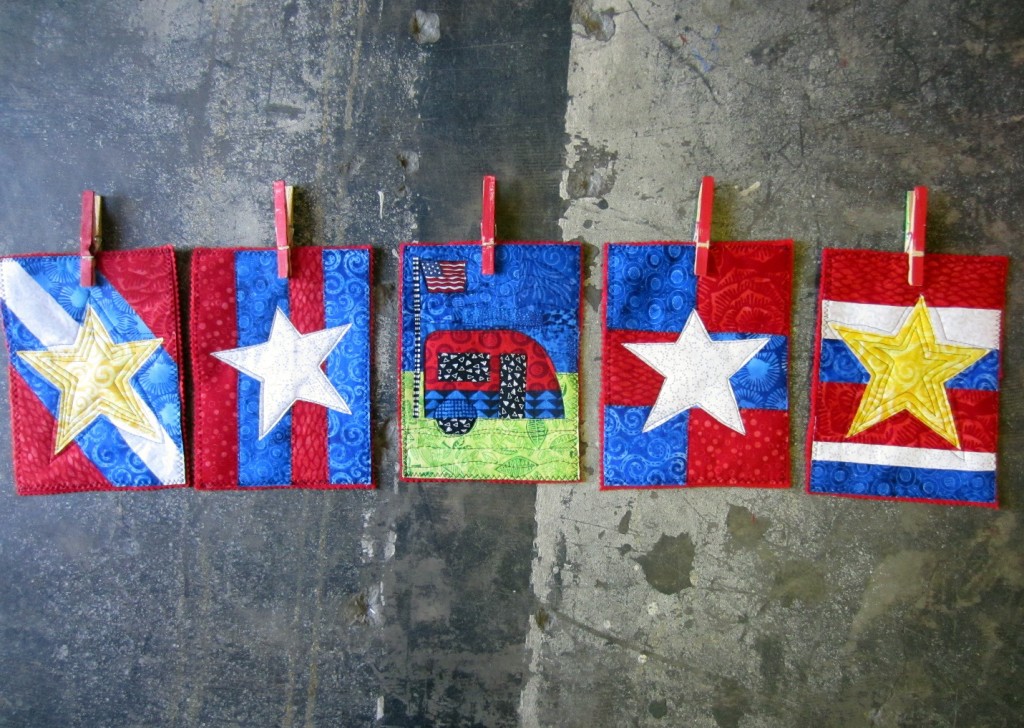 The flags! Thanks for following along! Happy Summer! Visit Jamie’s Twisted Sister blog at http://JamieFingalDesigns.blogspot.com.
Click here for exclusive deals and
savings from Havel’s Sewing!
About Jamie Fingal:
 Jamie Fingal is an artist, author, teacher, fabric designer and curator who hails from Orange, California. She is an award-winning artist and the author of the book Embellished Mini Quilts. Her whimsical and abstract work has been juried into international quilt exhibitions, featured in numerous books and magazines and has two instructional DVD’s — The Whimsical House Quilt and Rebel Quilting. She has been a guest on “Quilting Arts TV” multiple times in addition to being the other half of the curating team “Dinner at Eight Artists” with Leslie Tucker Jenison. You’ll find her work in private, public, churches and corporate collections. See more at www.jamiefingaldesigns.com.

