Charming Geese Pillow Tutorial
by Jessica Schunke of A Blue Sky Kind of Life
Do you, like me, have a million mini charm packs lying around, just waiting for the chance to be put into service? Sometimes they just seem too cute to pop open, but let’s face it, they’re not doing anyone any good just sitting in a bin. So let’s put them to use, shall we? This fun flying geese pillow uses about half of a standard mini charm pack, but you can easily expand on this idea to transform it into a wall hanging, table runner, baby quilt, or even larger project if you’re really trying to make a dent in your stash. Don’t have any mini charm packs? No worries; this pattern is super scrap friendly.
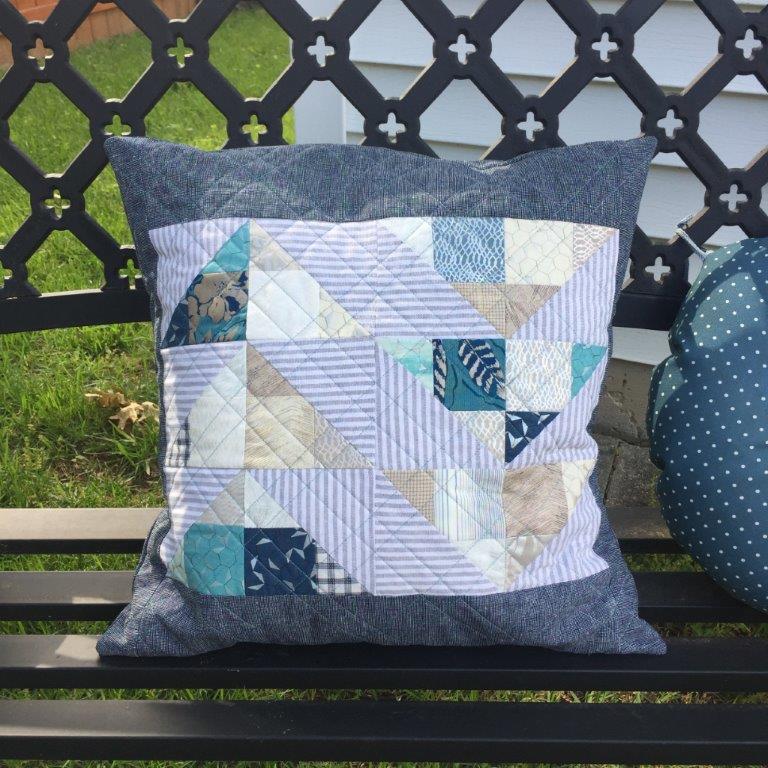
Here’s what you need to make an 18″ pillow:
(1) 24 – 2.5″ squares in a variety of fabrics (pull from a mini charm pack or cut from your stash or scraps)
(2) 1/4 yd. or FQ secondary fabric (for outside part of flying geese and binding on pillow back); sub-cut the following:
• 6 – 4.5″ squares
• 2 – 2.25″ x 18″
(3) 1/2 yd. border and backing fabric; sub-cut the following:
• 2 – 3.75″ x 15″
• 2 – 2″ x 18″
• 2 – 12″ x 18″
(4) 20″ square of batting
(5) Pillow form (I like to use the 20″ Ikea Inner pillow forms; they’re inexpensive and squish down nicely into the 18″ pillow cover)
(6) Standard sewing supplies: Havel’s rotary cutter and cutting mat, coordinating thread, ruler, marking pen
This tutorial uses a 1/4″ seam allowance throughout.
Note: If you want to add on additional geese, you will need 4 – 2.5″ squares (mini charms) and 1 – 4.5″ square of secondary fabric for each finished goose. Adjust your borders as needed to reach your desired finished size.
Instructions:
(1) Group your mini charms into sets of four. Sew each set into a four-patch block.
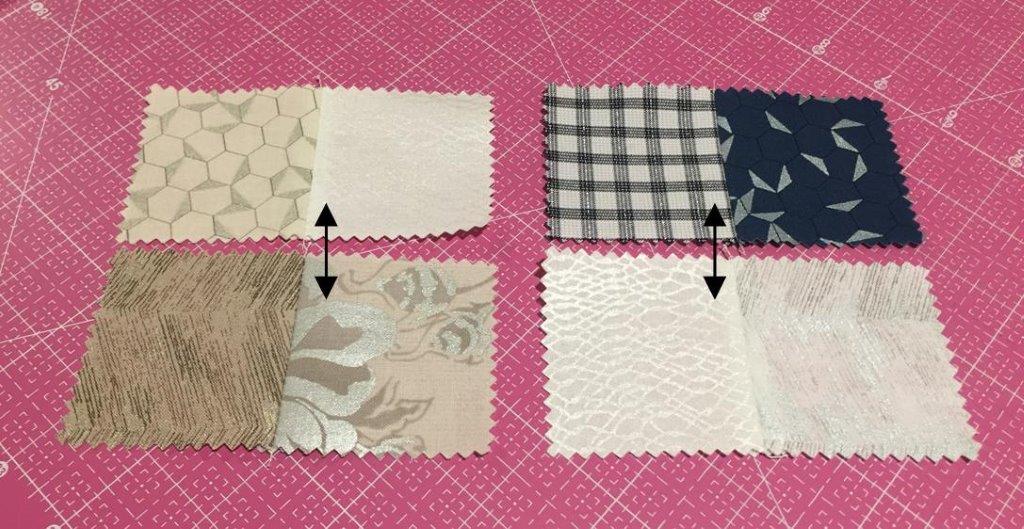
(2) Draw a line diagonally on the wrong side of each square of secondary fabric. Pair each four-patch block with a 4.5″ square of secondary fabric and place right sides together. Sew 1/4″ away from the line on each side. (Note: In the second picture, my marked line has disappeared, but you can see the sewn lines are 1/4″ to each side of the square’s diagonal.)
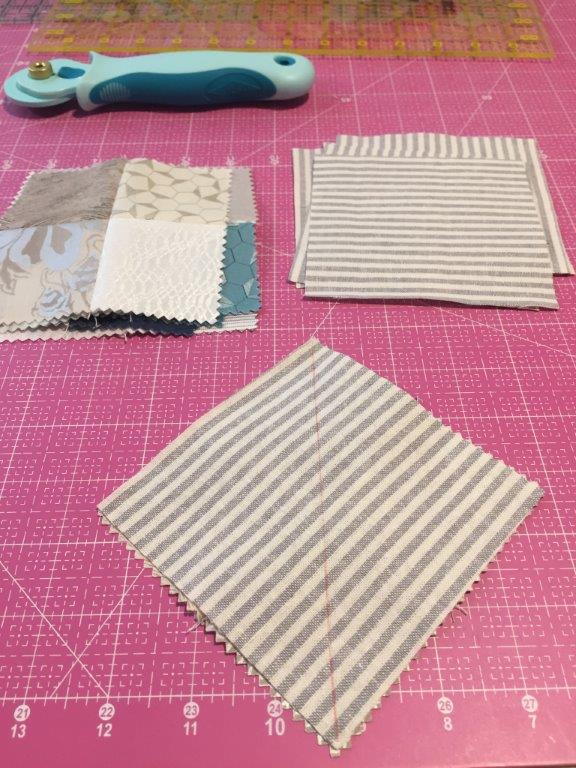
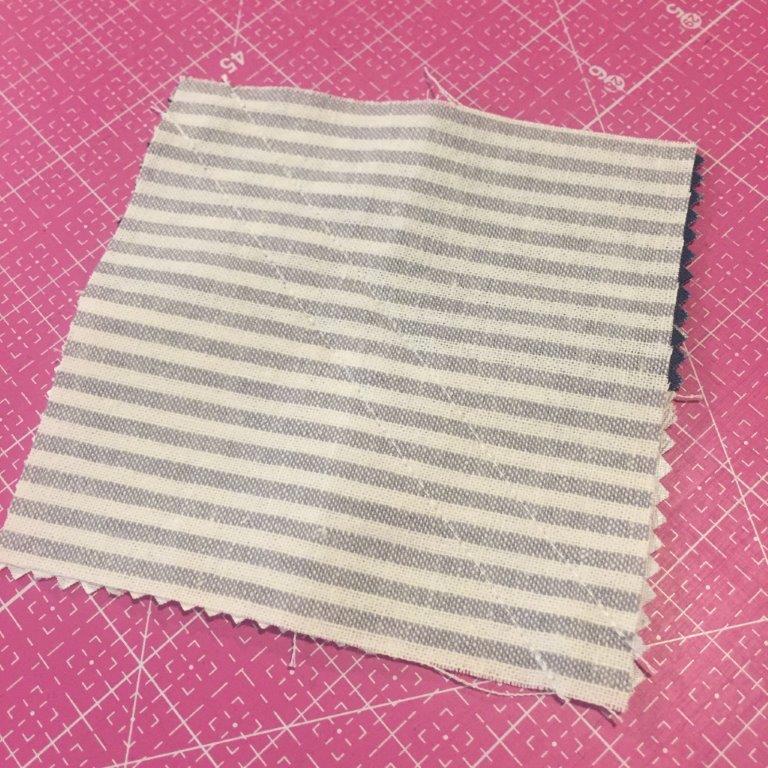
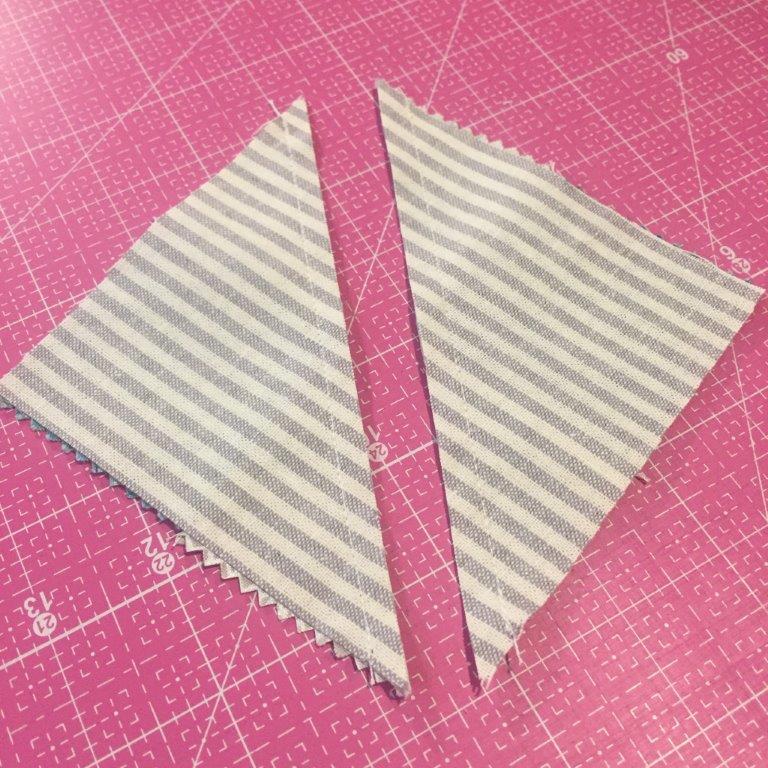
(3) Using your rotary cutter, cut each set along the marked line. Press seams open.
(4) Match up the new half-square triangle units in sets of two as shown. I chose to mix up my blocks for a scrappy look.
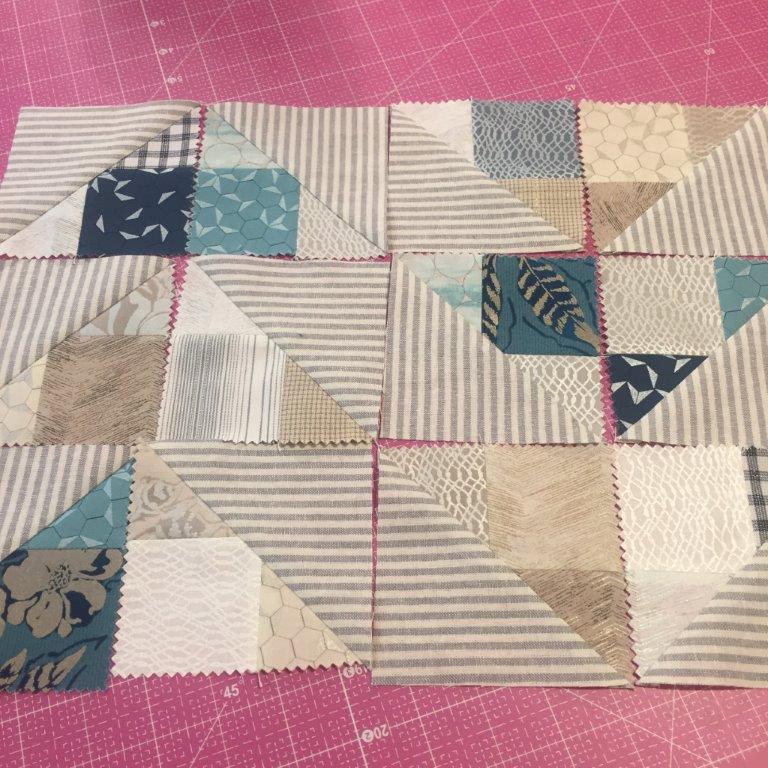
(5) Sew sets of two half-square triangle units together to form flying geese. Press seams open.
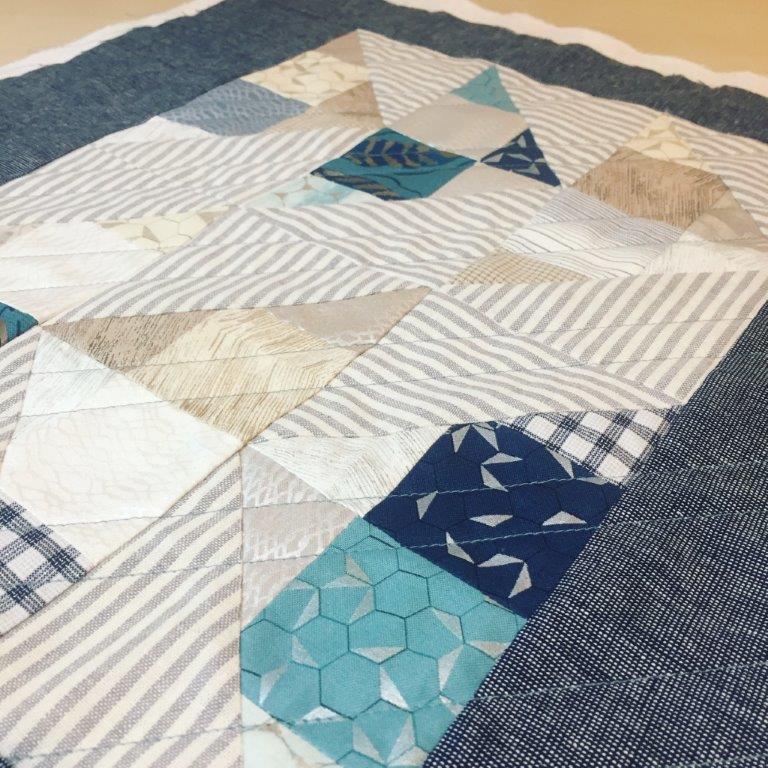
(6) Sew flying geese together into two columns and then sew the columns together. Make sure your geese are facing the direction you want (I made my columns go in opposite directions). Press seams open.
(7) Attach the two 3.75″ x 15″ border strips to the top and bottom of the geese unit. Press seams toward border strips.
(8) Attach the two 2″ x 18″ border strips to the sides of the geese unit. Press seams toward border strips.
(9) Center pillow top on top of batting and baste using your preferred method. Quilt as desired. Square up your pillow top to 18″ (don’t worry if it’s a bit smaller). Set aside.
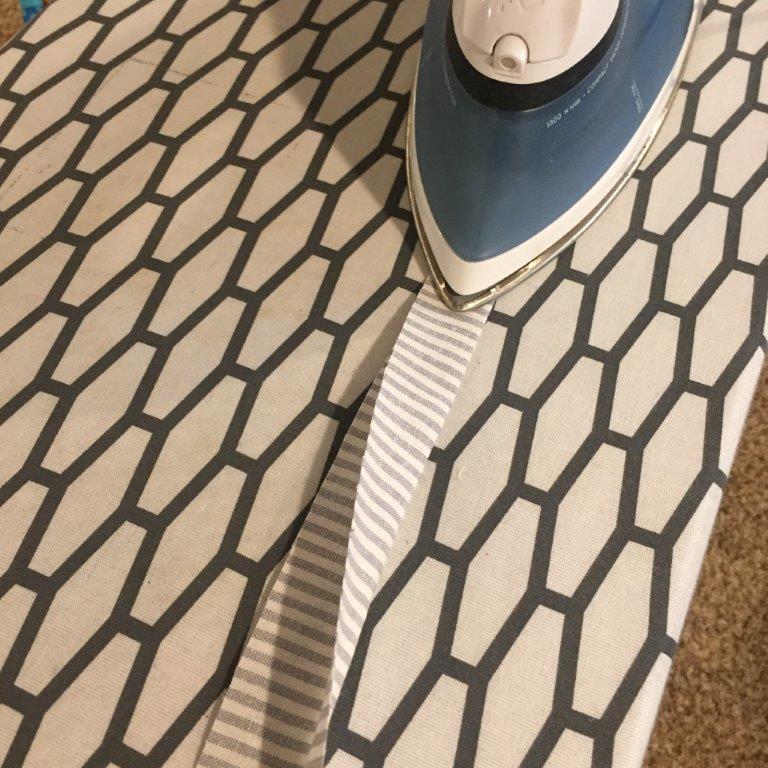
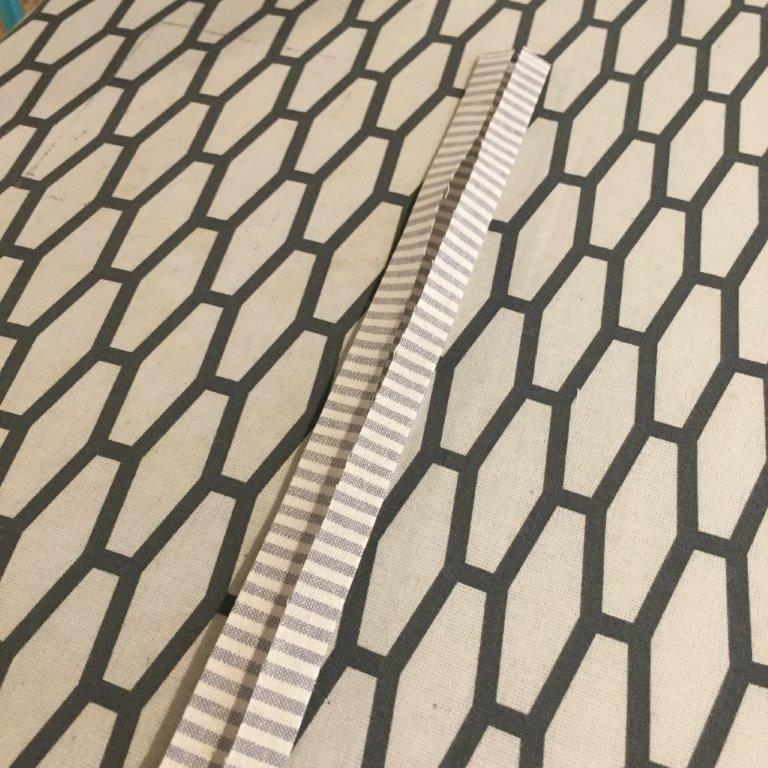
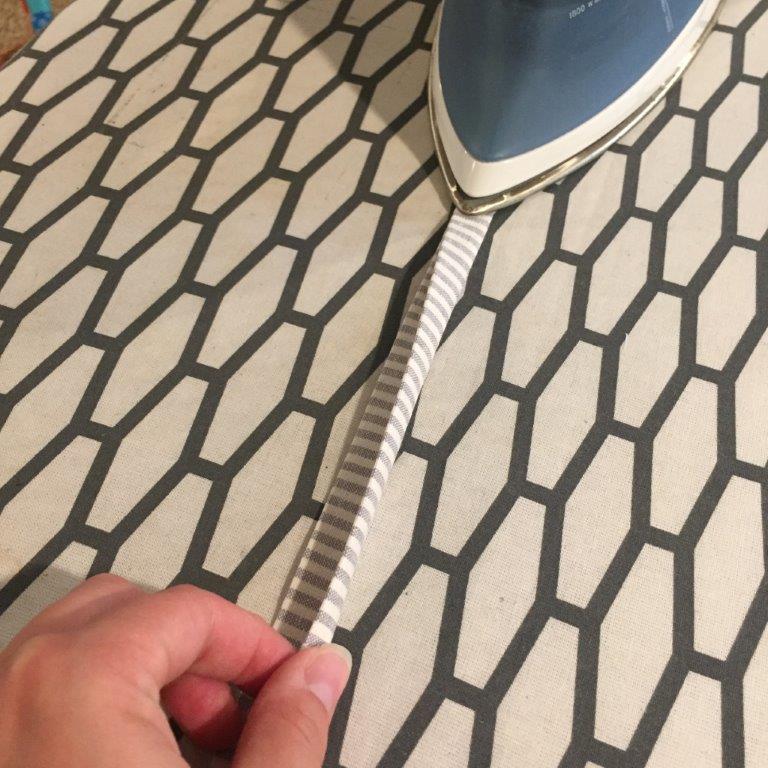
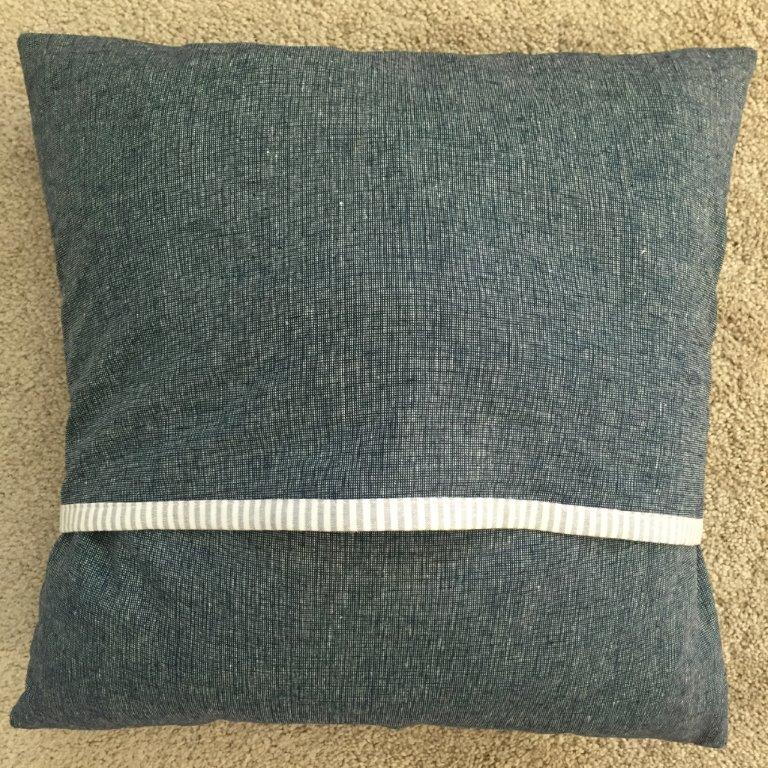
(10) To make the binding strips for the pillow back, press the two 2.25″ x 18″ binding strips in half lengthwise. Open the strips and press each side in toward the middle crease, then press the strip in half again.
(11) Sandwich each backing piece inside one of the binding strips. Clip or pin in place. Topstitch binding 1/8″ from the edge.
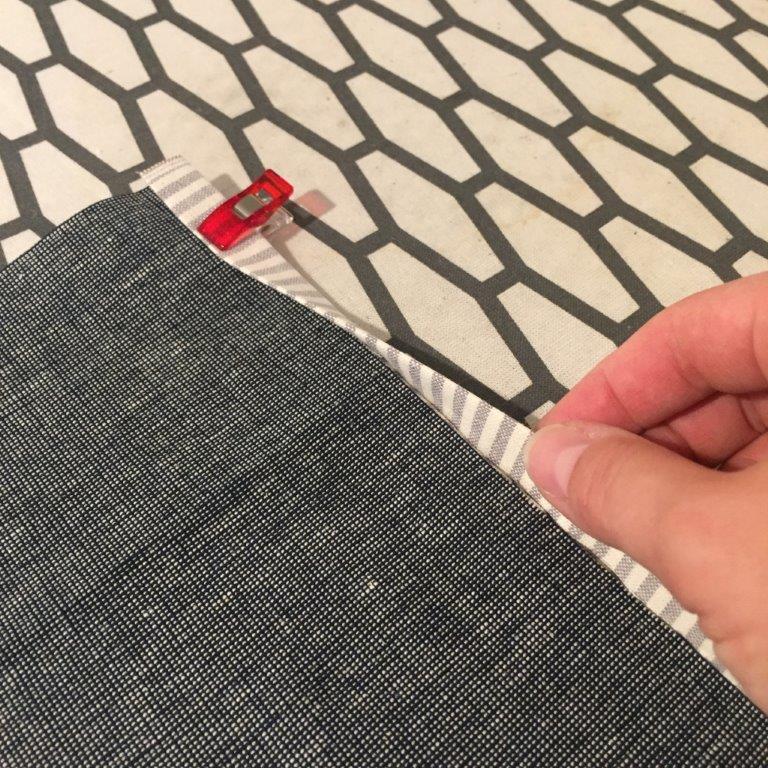
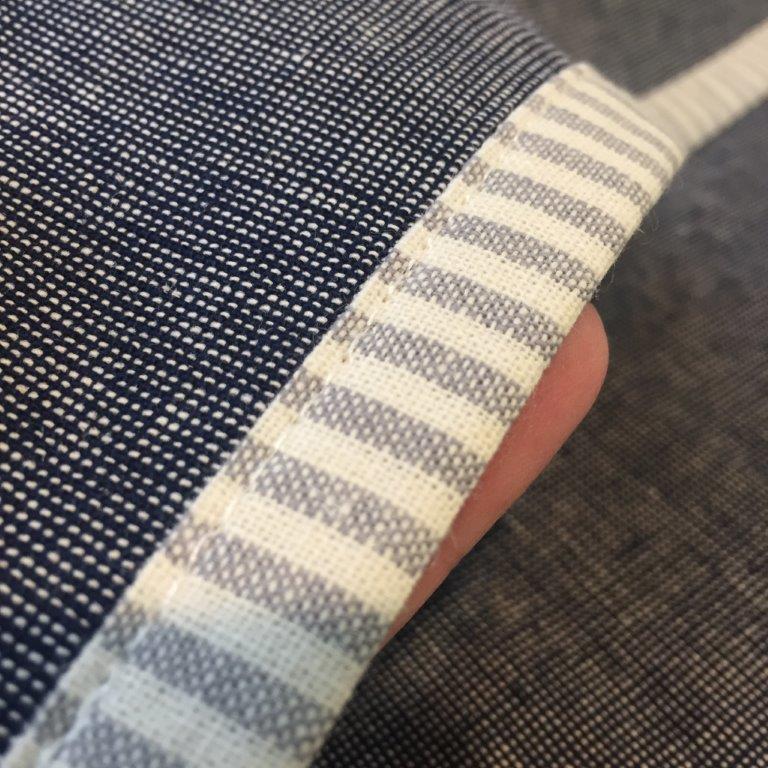
(12) Layer your pillow sandwich in the following order: (1) quilted pillow top right side up; (2) top of pillow backing, right side down (the raw edge should be at the top, aligned with the top raw edge of the pillow top; the bound side should be at the bottom); and (3) bottom of pillow backing, right side down (the raw edge should be at the bottom, aligned with the bottom raw edge of the pillow top; the bound side should be at the top). The two parts of the pillow backing will partially overlap. Clip or pin in place.
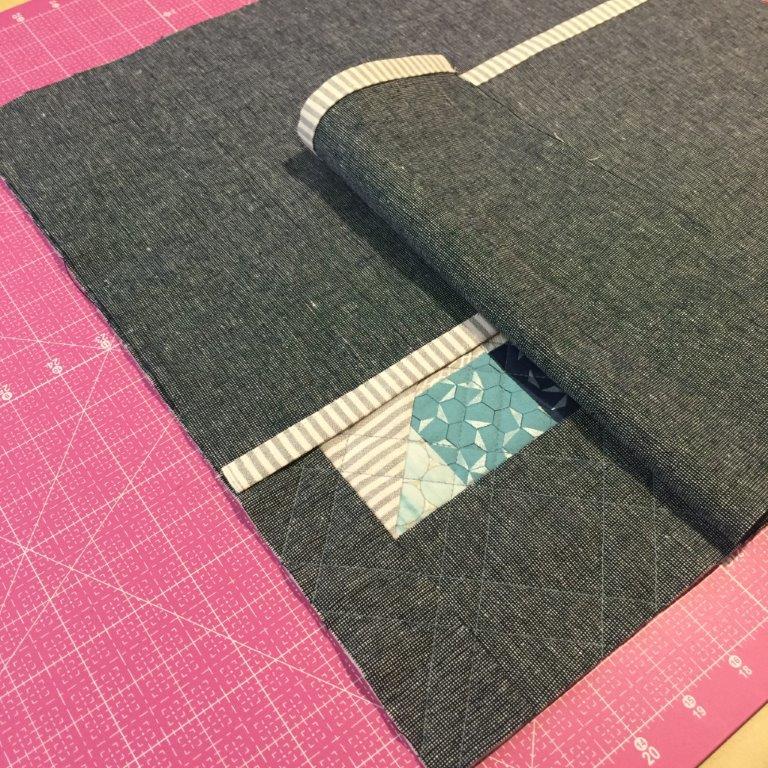
(13) Sew all around the outside edge with a 1/4″ seam allowance.
(14) Turn the pillow top inside out, push out the corners, and insert the pillow form. Enjoy your pillow!
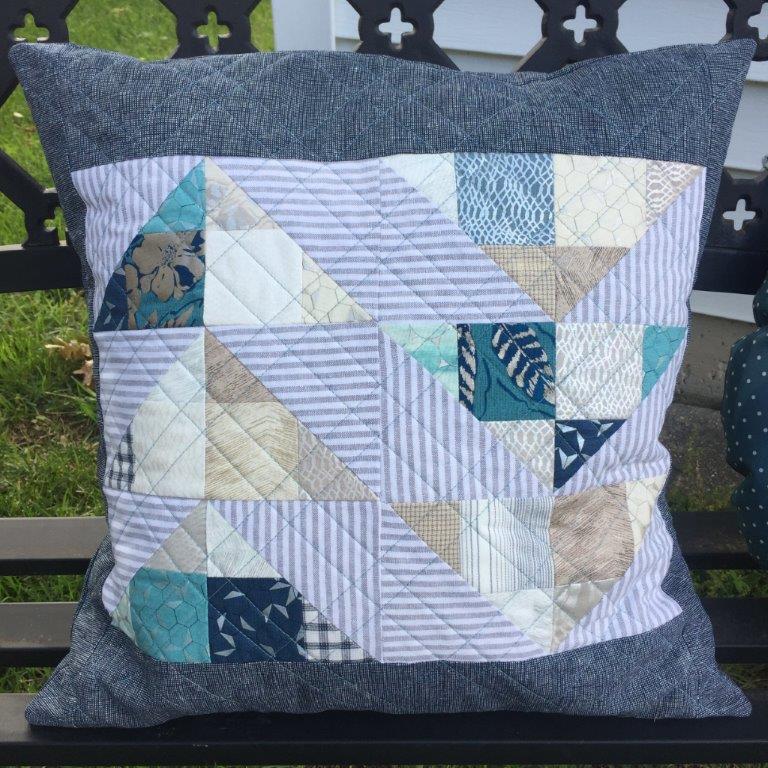
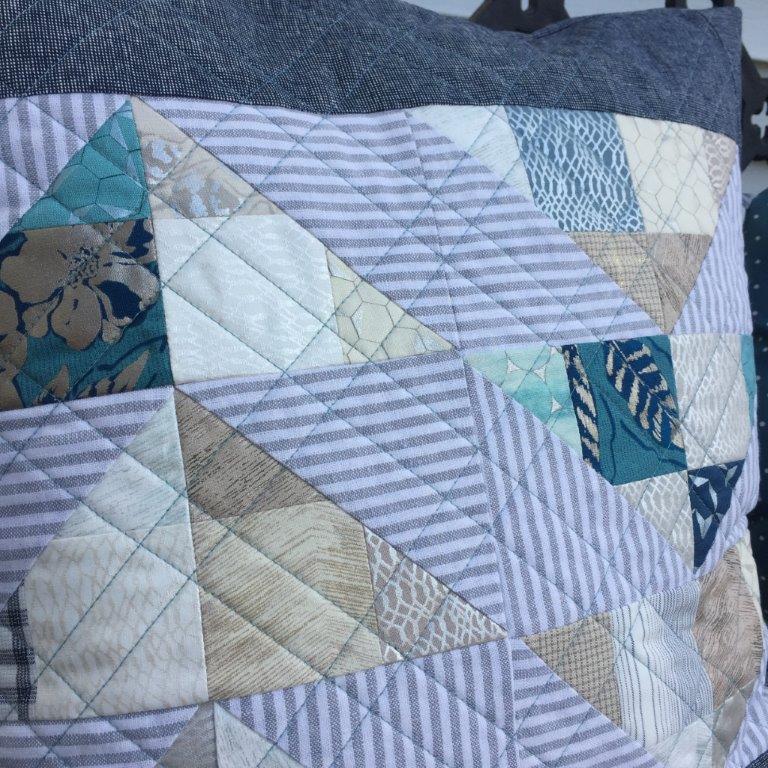
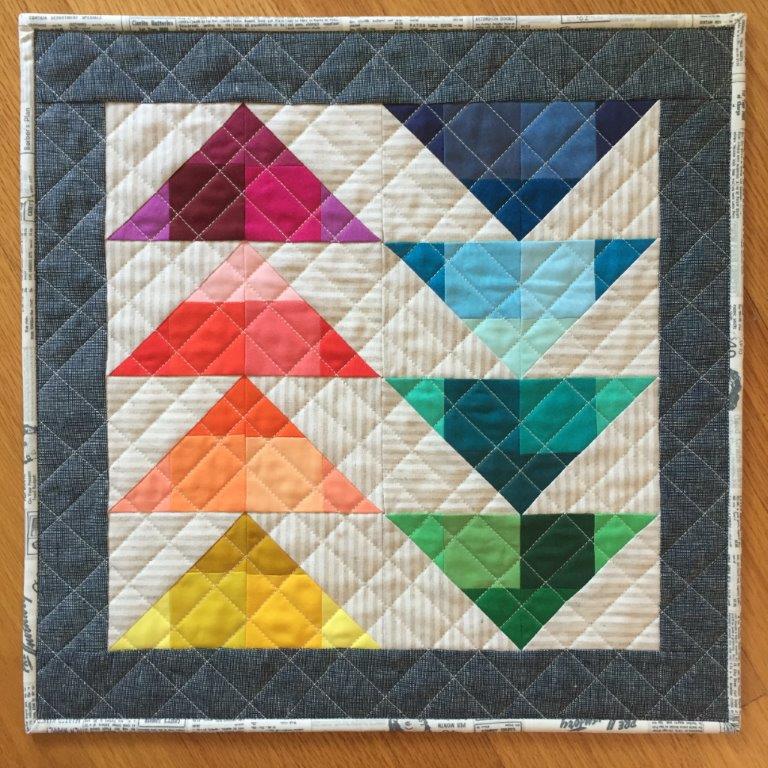
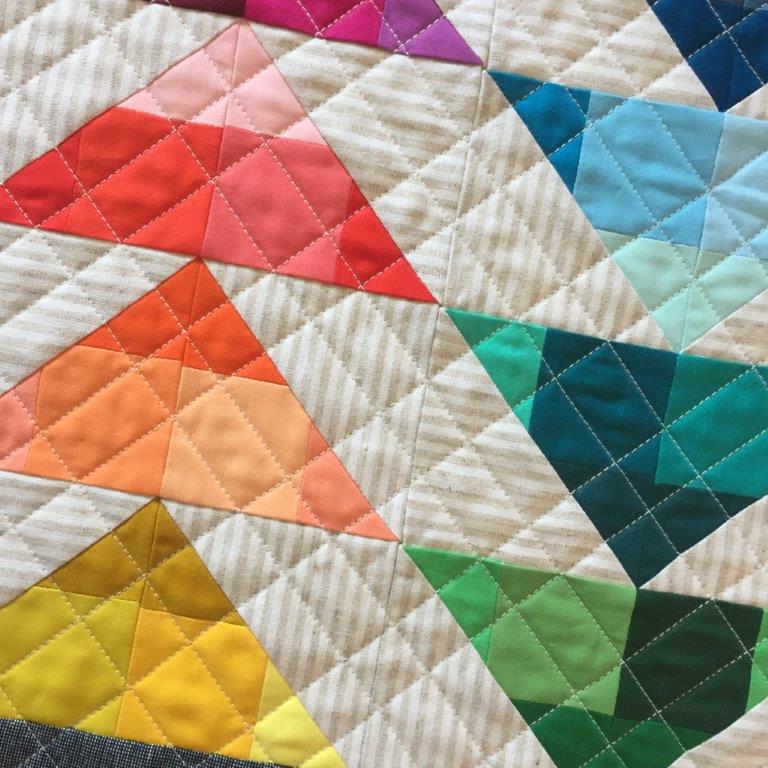
Here’s another example of a wall hanging I made using eight geese. Once you’ve made the additional geese, just adjust the size of your borders to reach your desired size. The possibilities are endless, so pop open those mini charm packs and get to work!
[Bio: Hi! I’m Jessica, a sewing, baking, editing, mommying Texan transplanted to the Midwest. I’m a proud Havel’s brand ambassador and the president of the St. Louis Modern Quilt Guild. I’m most active on Instagram, where you can find me as @blueskycrafter.]
