Free Sewing Project:
Reverse Applique Journal Cover
By Liz Kettle
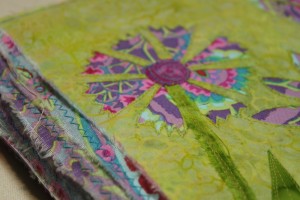
As we say farewell to the previous year and look forward to the wonders of the upcoming year it is common to become introspective and ponder how we may have our best year ever. For me that means beginning a new sketchbook or journal. I don’t actually sketch like you imagine a fine artist would sketch…indeed most of my sketches are just some rough ideas of designs for quilts and collages. I don’t actually journal either…that conjures up images of one pouring out words on clean crisp pages capturing the nuances of their life.
Just what do I do with these journals? Well my pages are an untidy mess of scribbles of shopping lists, phone numbers and details about a technique or project that I don’t want to forget. Tips written on the back of an envelope and sticky notes are stuffed in willy nilly and tend to leave a trail behind me. Quick sketches keep track of ideas when I think…that would make a great quilt!
I do keep visual art journals. These are a collection of small works of art to help me keep creating when I can’t get to the studio for a few days. I use paper, paint, fabric and bits of old projects to create collages. These collages also give me some great ideas for larger quilts and art pieces.
Whether my journal is for daily notes or a little art play time,I always make a fabric cover for them. My covers are quick to finish and make my journal special. Who wants to grab a boring black notebook when inspiration strikes? Of course these covers can be made in any size for any sort of book you like…even an electronic reader!
Supplies:
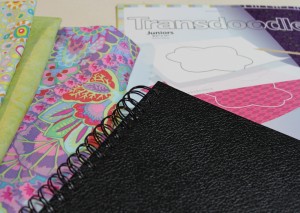
- Journal: I like spiral bound journals because they lie flat when open
- Craft felt and fabrics: enough to cover your journal. I use white felt with light colors and black felt with dark colors.
- Cotton thread, size 80 or 90 quilting or microtex machine needles and a sewing machine
- Pencil
- Rotary cutter, ruler and mat
- 51/2″ Embroidery and Snip-eze scissors
- Transdoodle transfer paper
- Misty Fuse or other fusible web
Now lets get to work…

- Lay the craft felt on your table, lay the journal, opened, on top. Trace around the edge with a pencil. Remove the book and draw another line at the top and bottom edges ¼” from the edge of the book line and extending beyond the side edge lines.
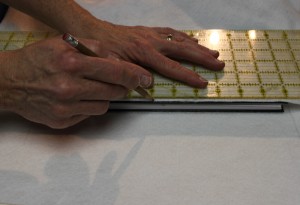
- To accommodate the spine of the book we must re-measure with the book closed. Place the journal back on the felt with one side on the side edge line. Close the book and wrap the felt around the book. Fold the felt back at the edge of the journal. Lay a ruler on top and draw a new edge line.

- Remove the journal and use your ruler to draw your final side edge line 31/2” away from the previous edge line. This will create the pockets you slide your journal into. Your felt should look like this example.
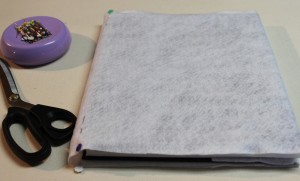
- Cut along the outside drawn lines. Try the cover on your journal with the fold back pocket edges tucked inside. Use pins to mark the edges of the journal cover.

- To create your reverse appliqué cover, choose two fabrics. The bottom layer is the fabric that will be revealed when the top fabric is cut away. I choose a muted fabric for the top layer and a wild design fabric for the under layer. You will also need a design that you want to use…my rough sketch is shown…Transdoodle transfer paper and a stylus or in this case, a knitting needle.
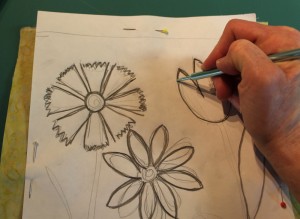
- Layer the two fabrics on a hard surface. Place the Transdoodle paper on top and your pattern on top of that. Pin in place to prevent shifting. Use the stylus/knitting needle to trace the pattern.
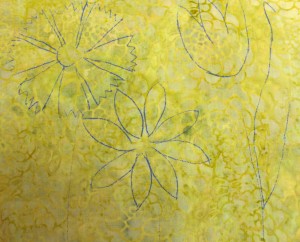
- Remove the pattern and Transdoodle paper to reveal your pattern.
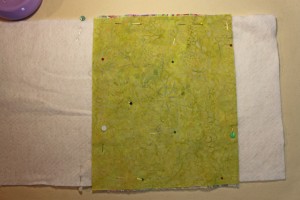
- Place the fabrics on the felt pattern. Be sure to place them on the right side of the felt (not including the pocket flap) so it will be on the cover not the back of the journal.
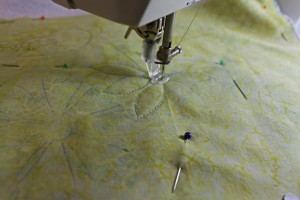
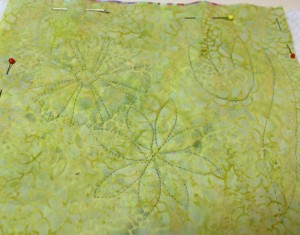
- Set your machine up for free motion stitching by dropping the feed dogs and attaching the darning or free motion foot. Stitch on the pattern lines. Don’t worry if you stray from your original line a bit. Flowers aren’t perfect.
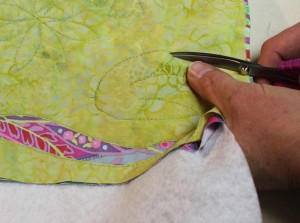
- The only scary part is cutting into the top fabric to reveal the bottom fabric. Gently, pierce the fabric with the very tip of your scissors. You want to go through the top layer but not the bottom layer of fabric. I find the 51/2” curved embroidery scissors and the Snip-Eze are perfect for this task. The tips of both of these scissors are very sharp and thin to enable you to pierce the top layer of fabric easily. The curve of the blades helps to prevent accidentally cutting into the bottom layer and allows you to get really close to the stitch line. I love these scissors and never let them stray very far from me! Cut out along the stitch line to remove the top fabric layer.
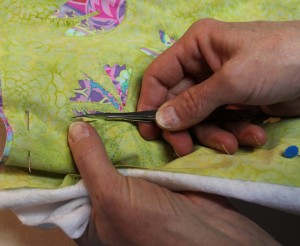
- The Snip-Eze are the perfect size for the little tiny bits.
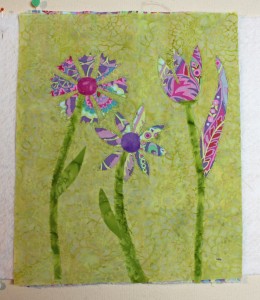
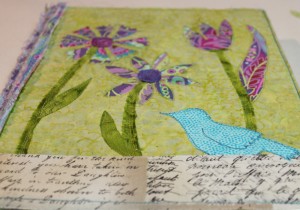
- Cut two small circles for the centers of the two flowers. Cut or rip some darker green fabric for the stems and leaves. My stems are ¼” ripped fabric and the leaves are cut from the same fabric. These pieces can be fused or basted in place.
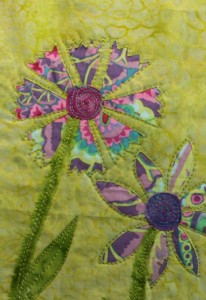
- Stitch the stems and flower centers.
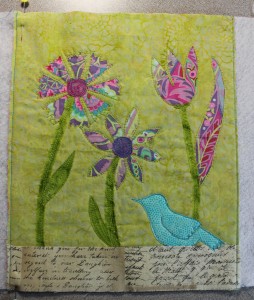
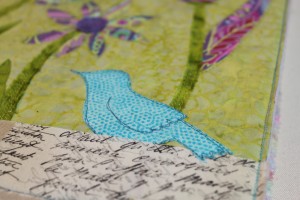
- For additional interest I added a bit of text fabric to the bottom edge and a little blue bird. The bird is a reminder for me of my focus word for the year; voice. You can add any motif that interests you, flowers, a heart, a cat or rabbit. Stitch around the edge of the bird. Finally, trim any excess fabric and stitch each side edge down to the felt.
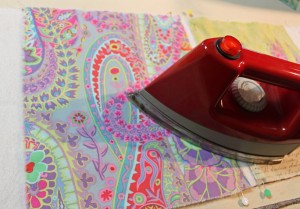
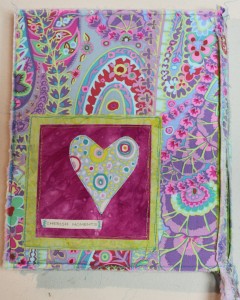
- Choose a fabric for the back of your journal. I chose the same fabric that is featured in the reverse appliqué. Cut it to size and use Misty fuse to fuse to the felt.

- For the binding cut or rip a 2” wide piece of fabric the length of your journal. Center the strip between the pins that mark the edges of the hard covers. Fuse in place.
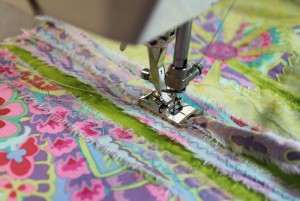
- I like to embellish the spine. I ripped ½” strips of fabric and applied them to the spine with a zigzag stitch. If you do not want to add strips of fabric or ribbon to the spine, simply stitch along the length a few times to strengthen and secure the fabric.

- A little embellishment to the back is quick and fun. I simply fused down two squares of fabric with a heart and gentle reminder printed on twill tape.
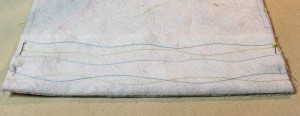
- To finish the pockets for the journal to slide into fold the felt edges to the inside and pin in place. Yes, I couldn’t resist a little bit of thread embellishment here too!
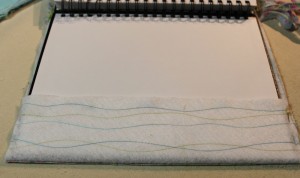
- Slide the journal into the pockets and adjust the pins as needed. You want a snug fit.
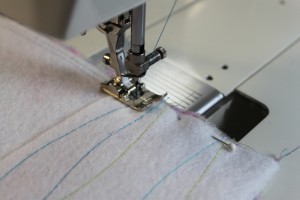
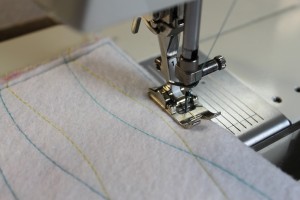
- Stitch the pocket flaps closed where you marked them with the pin. Continue stitching around the entire perimeter of the cover including the folded side edges, top and bottom.
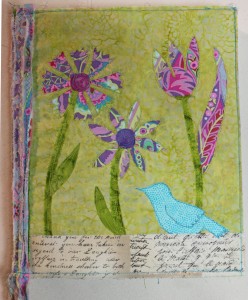
Slide your journal into the pockets, grab your pens and you are ready to journal! I probably won’t be able to resist adding some hand stitching to my cover.
Liz Kettle is a textile and mixed-media artist who loves sewing and creating and sharing that joy with others. She is co-author of two best selling books: Fabric Embellishing: The Basics and Beyond and Threads: The Basics and Beyond. Share Liz’s stitch journey on her website and blog www.TextileEvolution.com

5 Responses to Reverse Applique Journal Cover: Free Sewing Project