
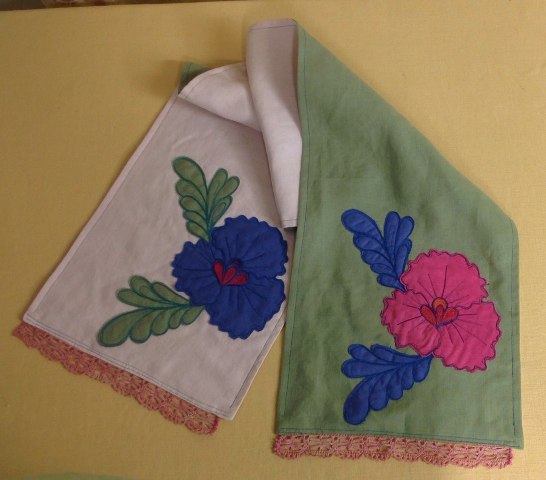
Retro Applique Linen Scarf
By Terry White
This simple retro scarf is made of linen.
Linen is one of my favorite fabrics on which to stitch and to wear. I love that it is making a comeback in fashion, and I especially love the scarves. The natural way it looks and feels, and the variety of types available make this fabric very versatile. You can wash it and it is very strong and will last a long time.
Linen is made of flax and is characterized by its even weave.
Linen is made of flax and is characterized by its even weave. The weave is even, but the threads are uneven and natural slubs occur in the fabric.
The term linen is now used in a broader way to describe any type of fabric that is made to look and feel like linen.
You can find linen at most fabric stores- especially when the spring fabrics come into the stores. There are dress linens and drapery linens. A lot of times, you can find the perfect one in the drapery department. Linen sheers are wonderful fabrics with which to use for scarves.
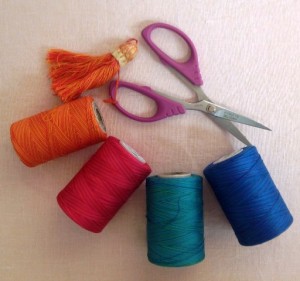
Cotton threads for the applique details.
I am warning you: Wash and dry your linen as you will wash and dry the finished scarf. It will shrink. Was and dry the fabrics you will use for applique. You want to be sure that when the scarf is finished that appliques won’t shrink everything up.
So, besides using this great linen fabric, you will use some pretty cotton threads for details on the appliques.
I use Star cotton machine embroidery thread but you can use anything called cotton machine quilting thread.
These threads are most like embroidery floss for hand embroidery because of the cotton content and the colors available.
What You Will Need:
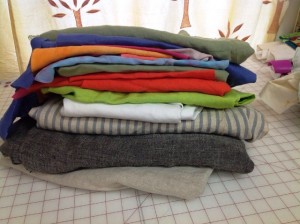
-2 pieces of linen that contrast -I used pink and green – cut at least 14″ wide and then as long as you want for your scarf.
-Small pieces of linen for the appliques. I used bright pink, blue and some of the green leftover from my scarf cut.
-1 yard of medium weight interfacing.
-Cotton threads as described above.
-Spray Starch.
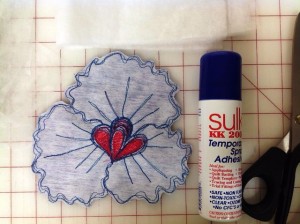
-Spray adhesive, such as Sulky Temporary Spray Adhesive.
-Morgan No-Slip Hoop or a good hand embroidery hoop. My hoop is 9″ in diameter.
Instructions:
Cut linen to size.
1. Press Your Two Linen Pieces:
Cut your linen to the size you want it to be.
How to cut the linen: Snip edge of linen and pull a thread. This will give you a guide so that you will cut the linen straight.
Press your two linen pieces with spray starch.
Tip: I buy a pillowcase from the thrift store to use as a pressing cloth when using spray starch. I cut two pieces and use one to protect my ironing surface and one to protect the iron. I use these when making fusible applique as well.
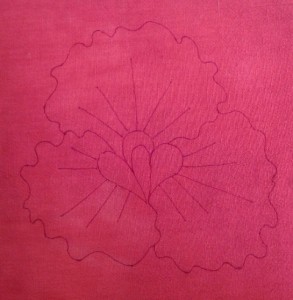
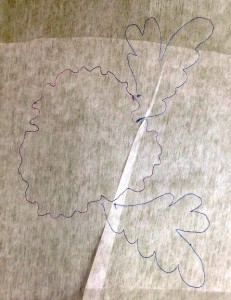
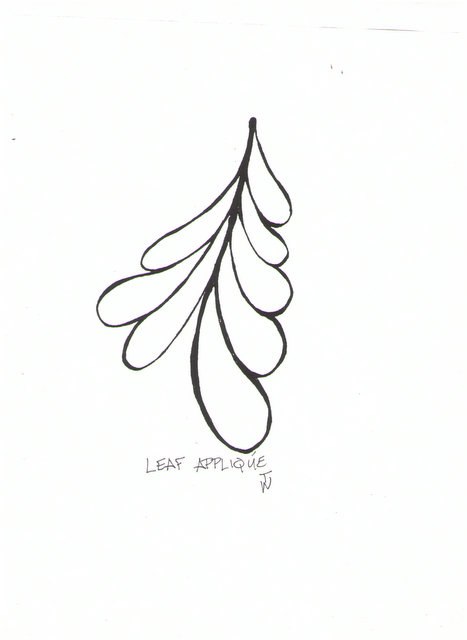
Tracing Applique designs on the linen.
2. Make Appliques:
Press your small linen pieces with spray starch.
Trace the designs onto the linen pieces. I like to use a Sharpie in a color close to the color of the thread I’ll be using. Press the tracing and will heat set the ink.
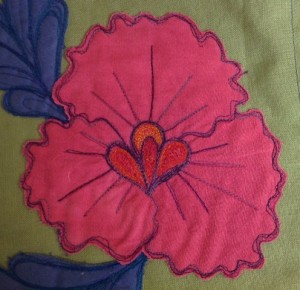
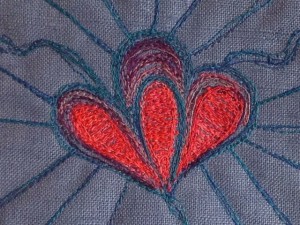
Stitch details on your appliques.
Use medium weight interfacing on the back of the applique.
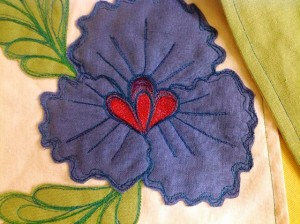
Pansy Applique.
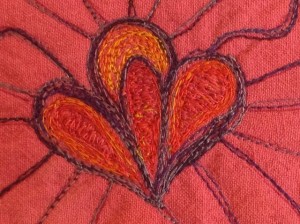
Center of the Pansy Applique Details.
Free Motion Stitched details.
You can free motion stitch the details or use a straight stitch on your machine.
You can use your favorite applique stitches on your machine or stitch the details on by hand if you prefer.
You can find how-to’s on machine applique in Havel’s Sewing’s Guide to Quilting.
Cut out the appliques close to the stitching.
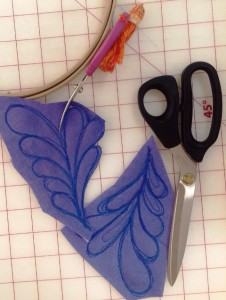
Curved scissors will help with getting close to the stitching.
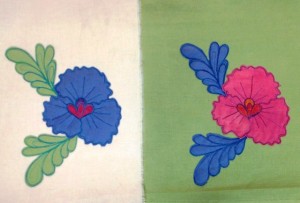
The applique being used on the scarf.
3. Stitch Appliques to Each Side of the Scarf:
Position the appliques on each side of the scarf.
I suggest using spray adhesive to place the pieces.
Use interfacing away from the fabric. This prevents accidental snips into the linen.
Using Interfacing.
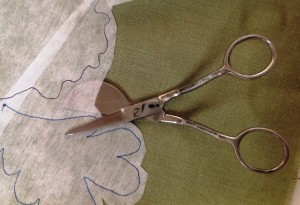
Duckbill scissors being used to cut out appliques.
4: Stitch Scarf Together:
Stitch the two pieces together right sides facing in along the long sides.
Turn and press.
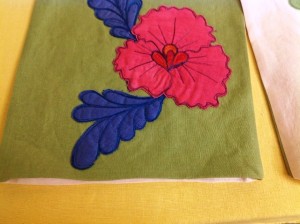
Applique on the scarf.
Topstitch about 1/2 inch to the two sides of the scarf.
Details of the blue pansy.
Here are the two sides of the scarf.
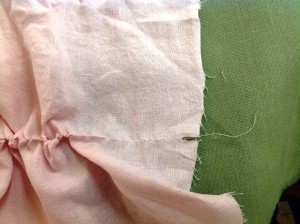
Opening edges to press.
Press the opening edges about 1/2 inch to the inside.
Place trim on the pressed side of the scarf.
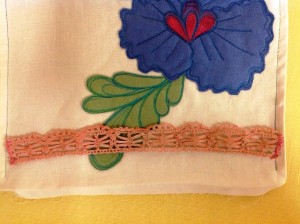
Trim for the scarf.
Stitch.
Applying the scarf’s trim.
Fold and press.
Topstitch the ends.
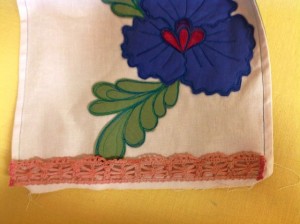
What the trim will look like on your scarf.
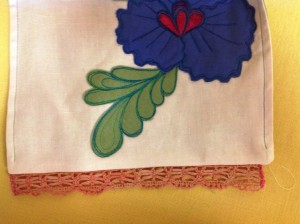
Trim added to the other side.
Press.
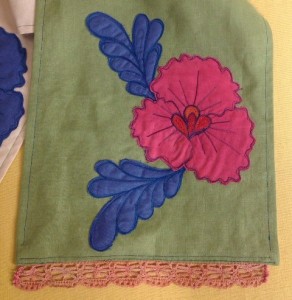
The end result will look like this:
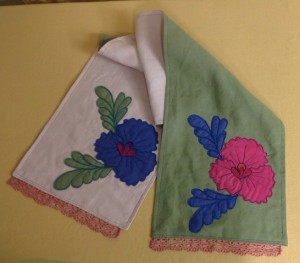
Retro Applique Linen Scarf.
Hopefully you enjoyed making your new retro appliqued linen scarf! This is the perfect scarf for spring and summer so be sure to make scarves for all of your friends and loved ones to add to their wardrobe this season.
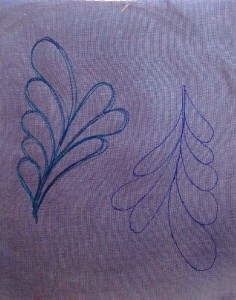
Below are the applique patterns that you can print out and use for making your scarf:

Check out more of Terry’s fantastic projects here.
***
[hs_action id=”5636″]