By Beth Novak
The pineapple is a symbol of friendship and hospitality, making this quilt a welcoming addition to your home.
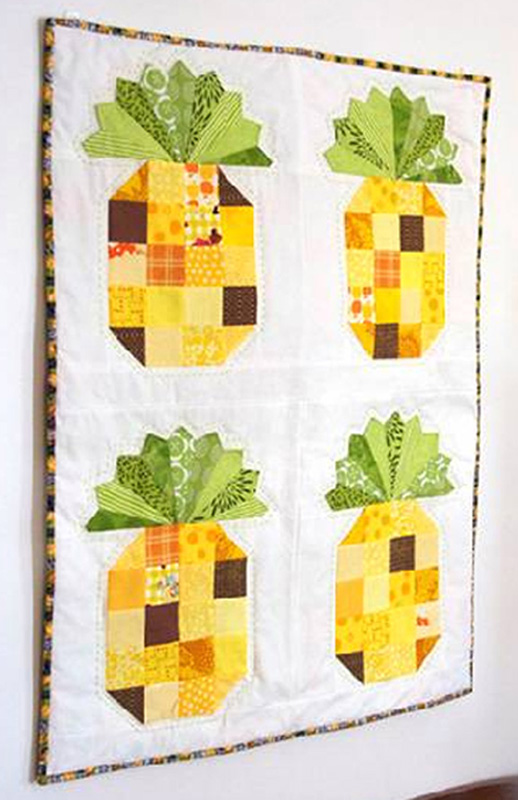 This quilted wall hanging would look great in your foyer, adapted as a table runner for your dining room table, or even made into a pillow for a housewarming gift.
I’m also a big fan of Hawaiiana, so until I master Hawaiian appliqué, this is my tribute to my favorite state! Also, check out my blog for a variation on this block – especially for those of you who prefer peacocks to pineapples!
Supplies:
- Scraps at least 2.5″ square of tan, yellow, gold, or brown fabric
- Scraps at least 2.5″ by 5.5″ of green fabric
- Solid white fabric or the background fabric of your choice
- Backing, binding, thread
- Rotary cutter, ruler, cutting mat, and sewing machine
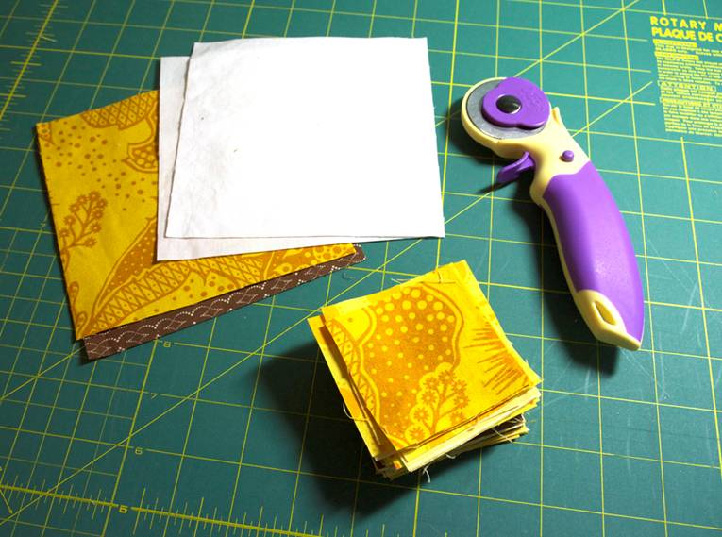
1. Cut enough yellow, brown, tan, and gold scraps to make sixteen (16) 2.5” squares.
2. Let’s make quick half square triangles! This method will make enough corners for two (2) pineapples. Cut out one (1) white 5.5” square and also one (1) yellow, brown, tan or gold 5.5” square.
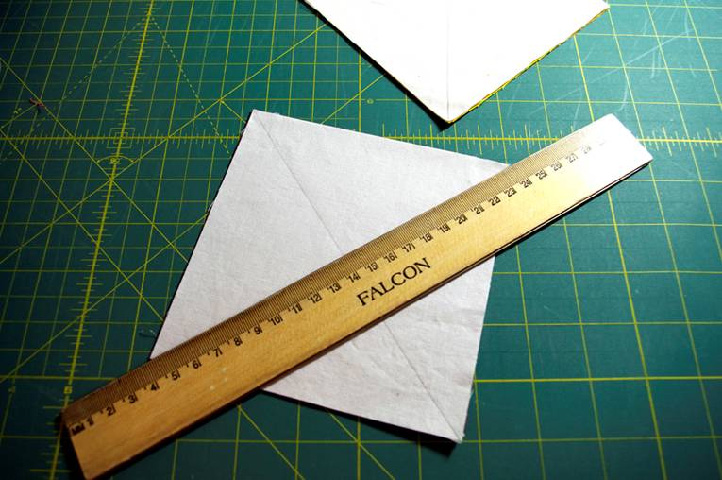
3. Lay the white 5.5” square on top of the color 5.5” square, right sides together. Using a ruler, draw a line from corner to corner, making an X through the center.
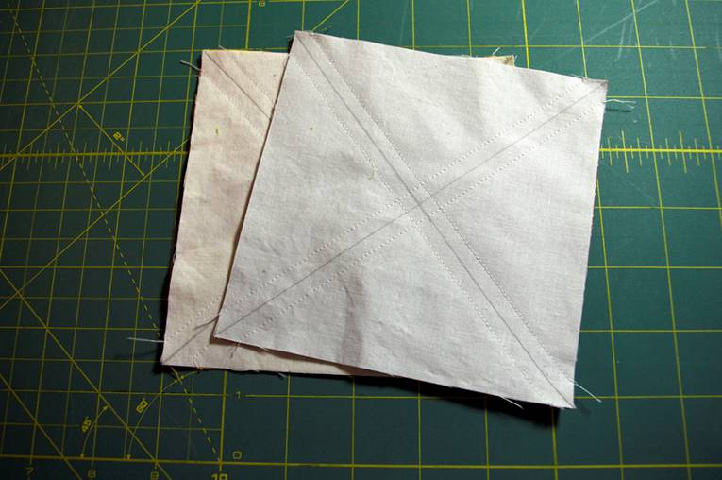
4. Sew 1/4” on either side of each line (4 seams per pair).
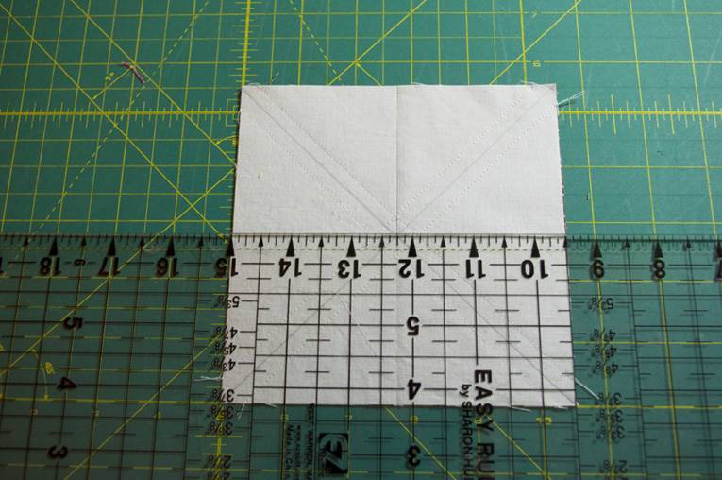
5. Cut on the center point both horizontally and vertically.
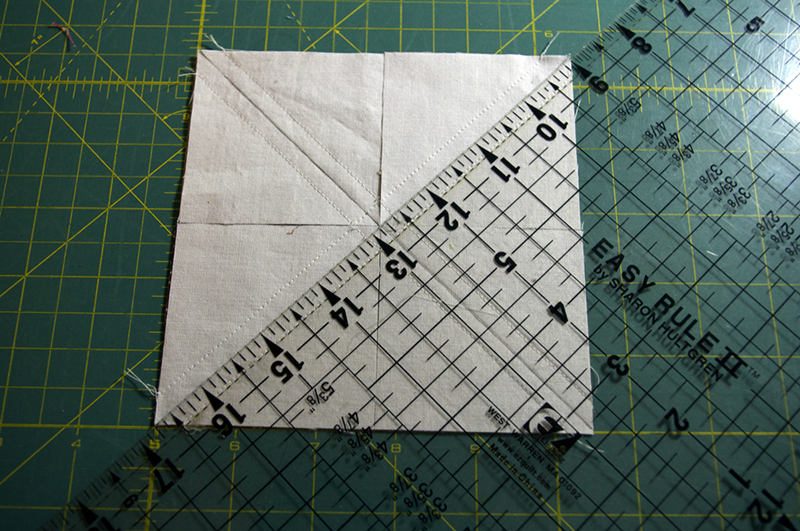
6. Now cut diagonally following the lines you drew earlier. Voila! Eight half square triangles!
7. Press your seams away from the white.
8. Now assemble your pineapple “body.” Using a 1/4” seam allowance, sew together five (5) 2.5” squares. Repeat, making two rows.
9. Sew together three (3) 2.5” squares. Sew one half square triangle unit to the top (so the color triangle is on the bottom right), and sew one half square triangle to the bottom (so the color triangle is on the top right).
Repeat.
10. Sew one complete row to the other complete row on the long edge, using 1/4” seam allowance. Add a half square triangle row to one side making sure the white portions of the half square triangles are on the outside.
Repeat, sewing a half square triangle row to the other side.
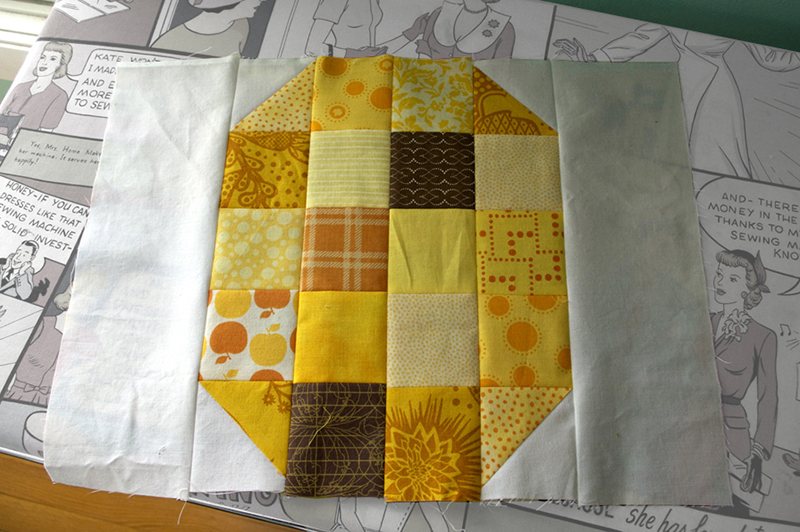
11. Cut two pieces of white 3.5” by 10.5”. Using 1/4″ seam allowance, sew a piece of white to either long side of your pineapple body.
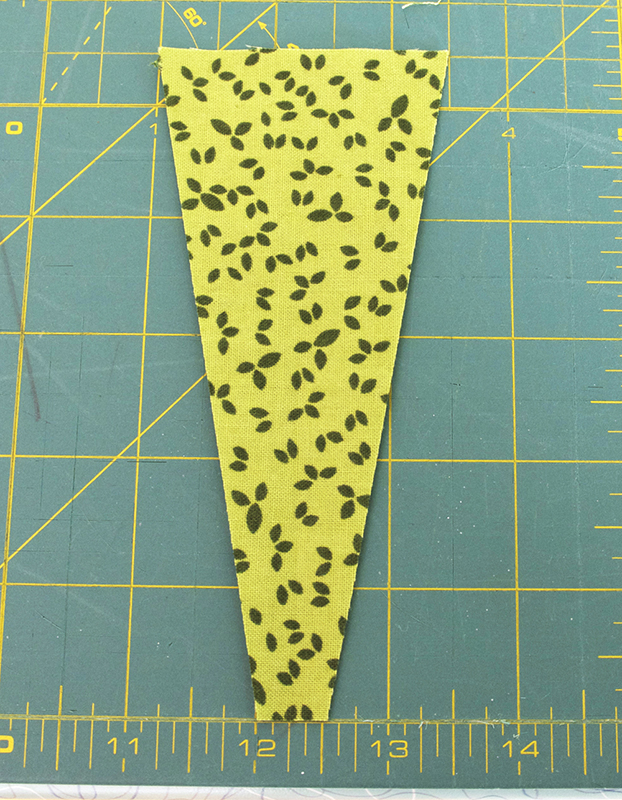
12. Now for the stem. From your green scraps, cut nine (9) 2.5” by 5.5” rectangles.
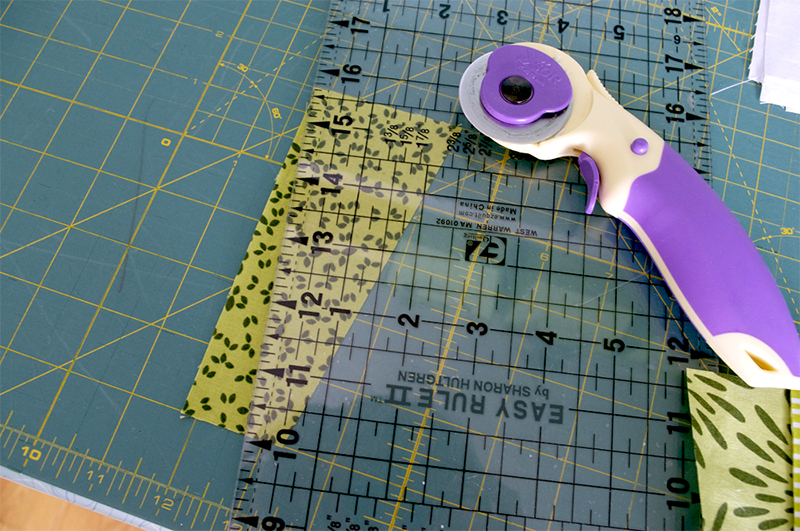
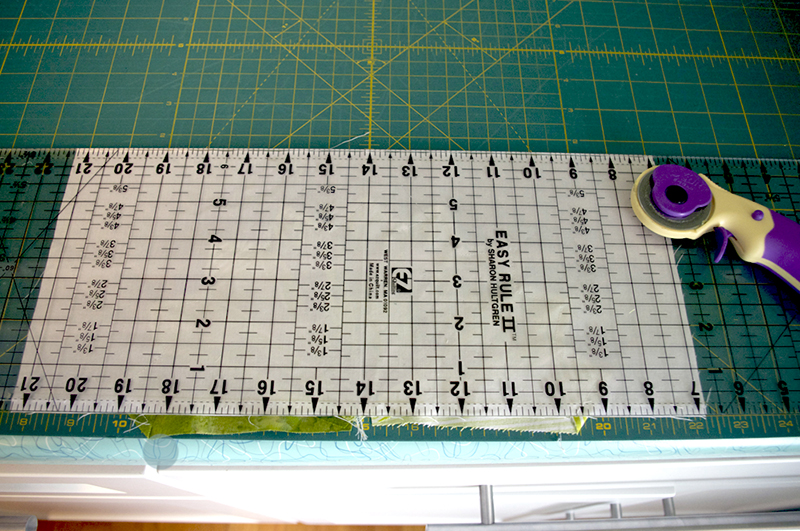
13. Fold one scrap in half lengthwise and finger press. Line up your ruler so the 1/4” mark goes through the center point at the bottom, and aligns with the top edge forming a diagonal.
14. Trim along this edge and then repeat for the other side. This should yield a wedge that is 1/2” at the bottom and 2.5” at top (and still 5.5” tall).
Repeat this with the rest of your green pieces.
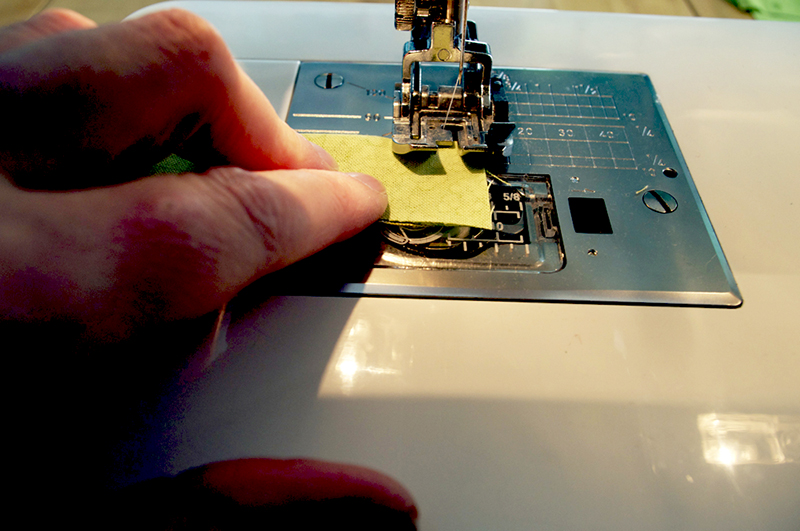
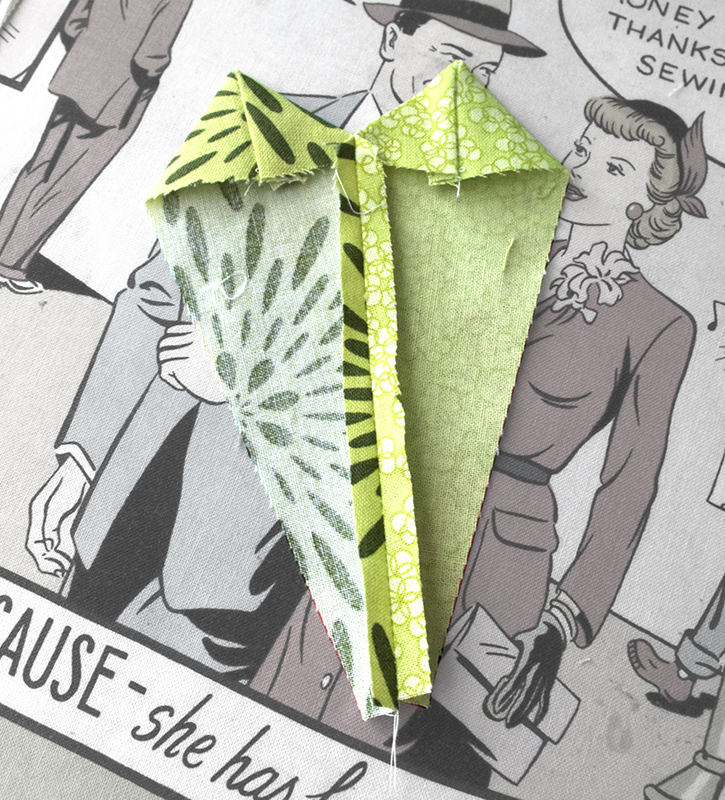
15. Fold one wedge in half lengthwise right side together. Sew a 1/4” seam along the wide edge of the wedge.
Repeat this with the rest of your green pieces.
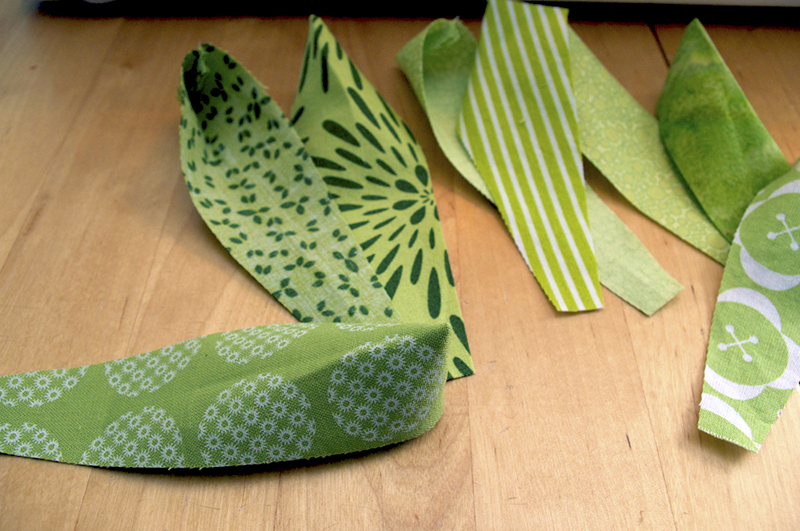
16. Turn right side out to form a “point.” You may need to use Havel’s Laying Tool or your scissors to poke out the point, just be careful not to poke through the fabric if you use scissors!
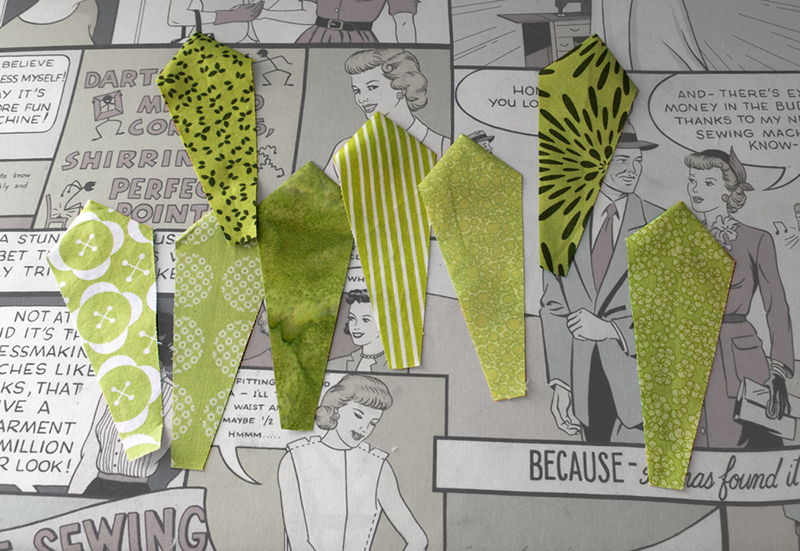
17. Press flat, creating a petal.
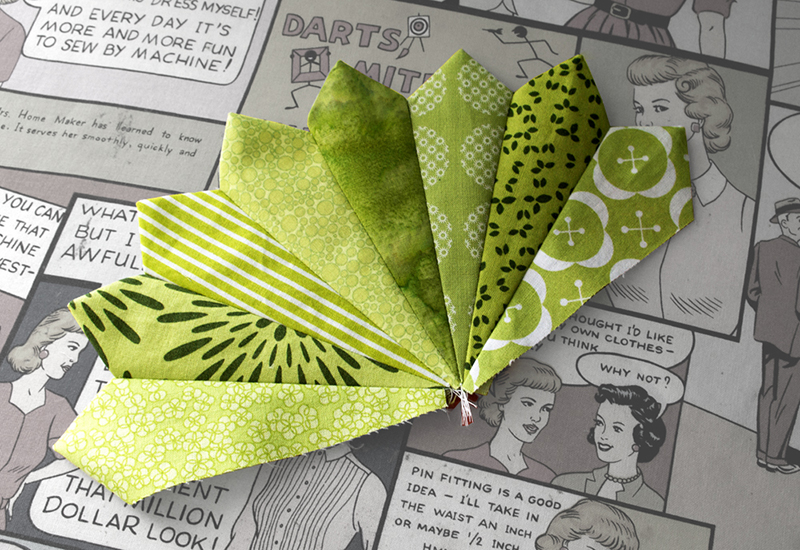
18. Take two wedges and place right side together. Sew a 1/4” seam on one long edge. Press seam open.
19. Repeat with all petals until you have a fan.
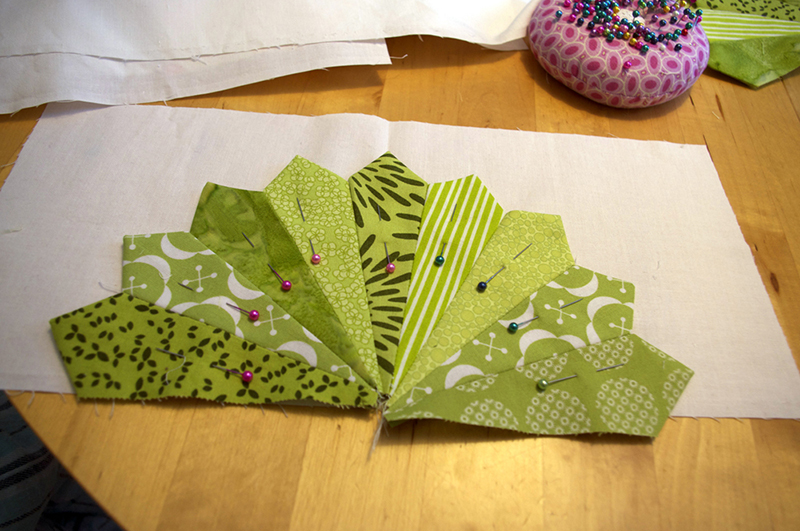
20. Cut a piece of white 6.5” by 14.5”. Fold in half and finger press, then open and place the fan so the center petal aligns with the center crease.
Note: do not align the bottom of your fan to the bottom of the white fabric. Instead, align it so that the arch made by the bottoms of the petals will be completely hidden in your seam allowance.
Pin really well. (You’ll be happy you did later!)
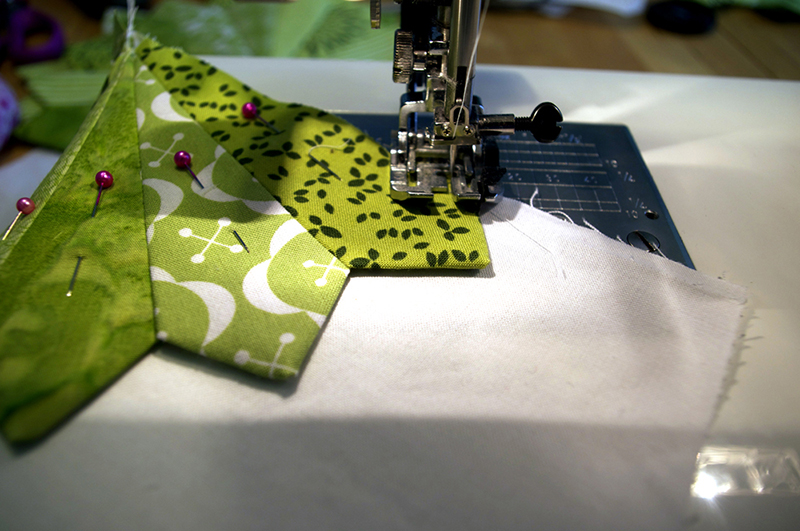
21. Appliqué the petals to the background fabric by stitching between 1/4” and 1/8” from the edge of the petals.
22. Trim the bottom edge so the green fabric is even with the white.
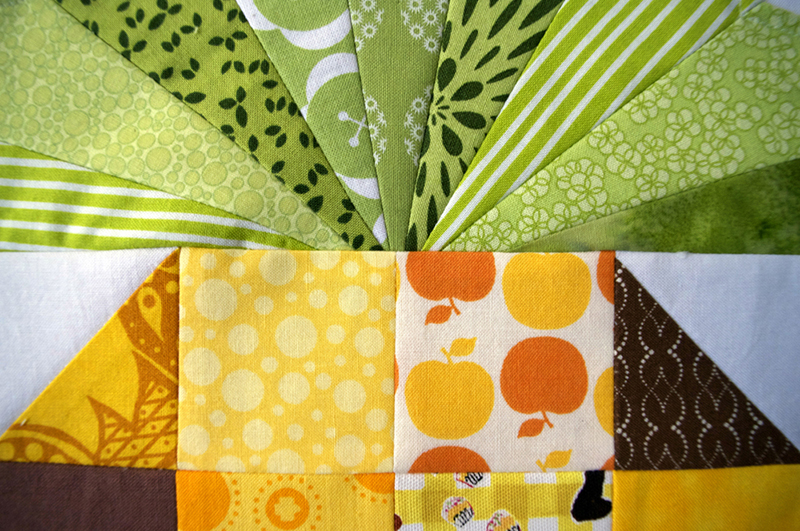
23. Placing the fabrics right sides together, align the bottom of the appliquéd petals to the top of your pineapple body. Sew 1/4” seam. Press.
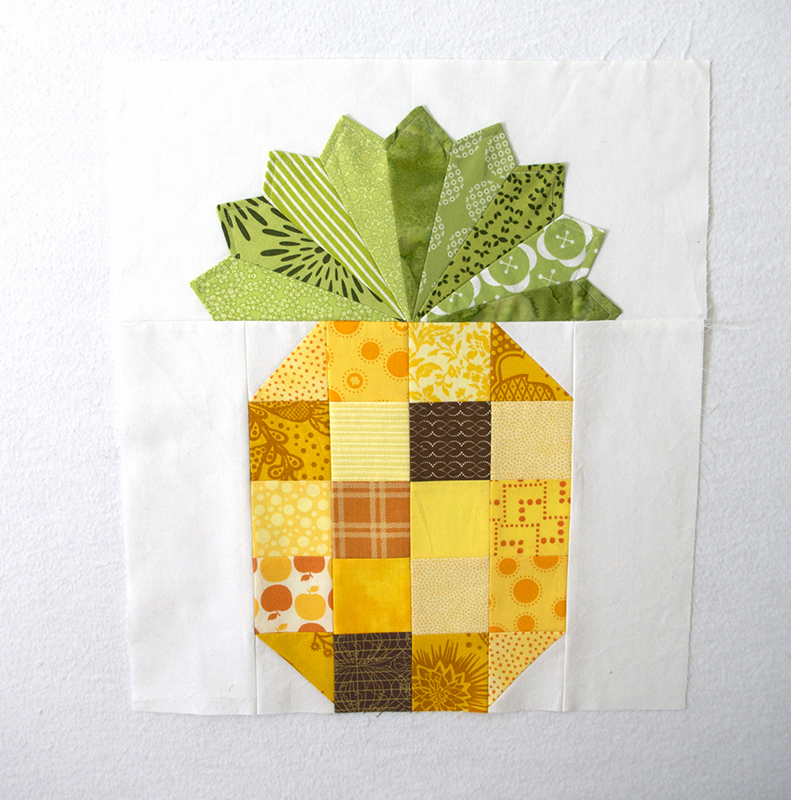
You will now have created one pineapple block!
To create the wall hanging: make a total of four of these units.
Stitch two pairs together along the long edge making two horizontal rows of pineapples.
Add a 2.5” by the width of the row (approximately 28”) piece of fabric to the bottom of each row.
Back, quilt, and bind.
You’re now done! Thank you for checking out my tutorial and I hope you enjoyed this fun and summery quilt project!
If you have any questions email me at modernJax@gmail.com.
 Beth Novak is a mother, wife, sewist, blogger, and comedienne (in her own mind) living in southeast Ohio. She also finds time to work full time as a professor of digital media. Contact her at modernJax@gmail.com, or find her on Flickr, Twitter, and Pinterest, too!



Pingback: Pineapple tutorial